Index
DemoCreator User Guide
How to use Wondershare DemoCreator? Learn the step by step guide below
Available for:
DemoCreator User Guide
-
Get Started - Mac
-
Video Recording - Mac
-
Video Editing - Mac
-
Keyboard Shortcuts - Mac
-
Audio Recording - Mac
-
DemoCreator Effects - Mac
-
Export & Share - Mac
-
Audio Editing - Mac
-
New Demo Mode - Mac
DemoAir User Guide
-
DemoCreator Cloud Service - Get Started
-
Video Creation Mode
-
Export&Share
FAQs
Follow Us on Social Media
-- keep up to date with all the DemoCreator news
Audio Editing (New Voice Changer) - Mac
When creating a video, it’s significant to capture and edit good, quality audio. There are some ways to work with audio in DemoCreator in the timeline directly.
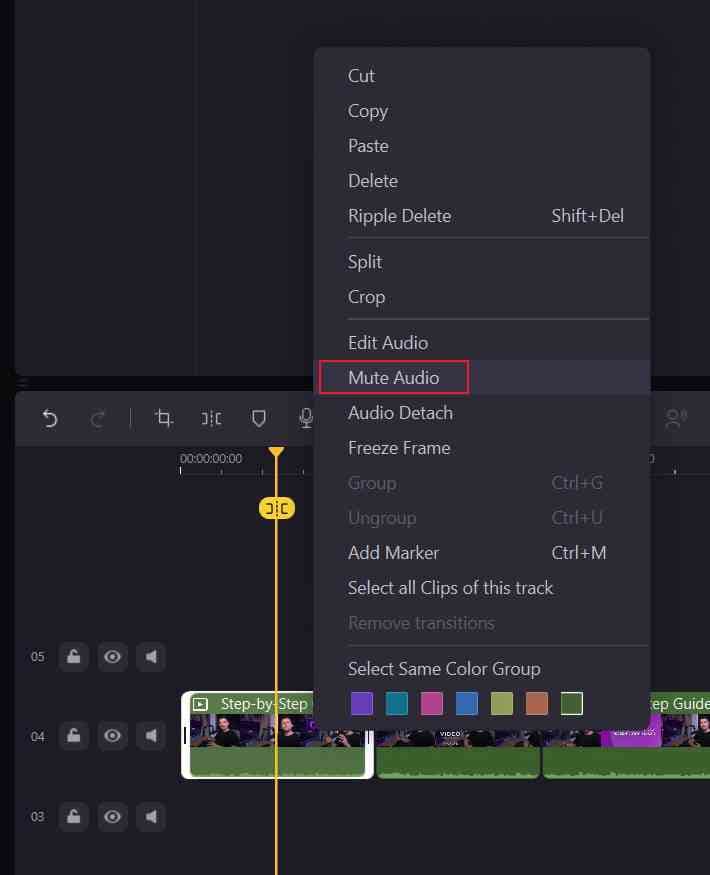
1. Mute Audio
Once a video clip is in your timeline, you can mute it or detach the audio for separate editing.
To mute the audio of a clip, right-click on the clip and select Mute Audio.
2. Audio Detach
To detach the audio from a video clip, right-click on the clip and select Audio Detach. The detached audio file will be placed in the upper track automatically and you will be able to edit it separately from the video clip.

3. Audio Fade in and Fade Out
Hover the mouse over the video or audio clip on the timeline.
Then drag the small purple dots on the audio line to adjust the sound effects.

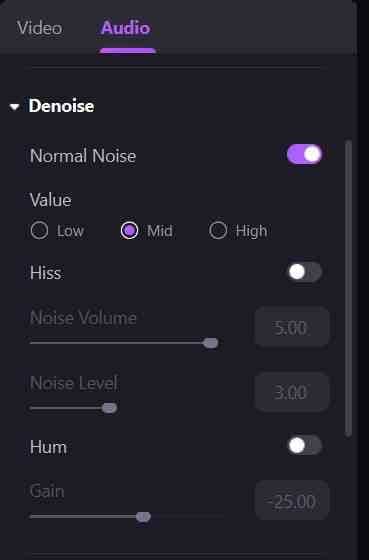
4. Audio Denoise
In the upper right of the properties area, click the Audio icon and then check Enable under the denoise tab to filter out background noises.
There are 3 settings to choose from: Low, Mid, and High.
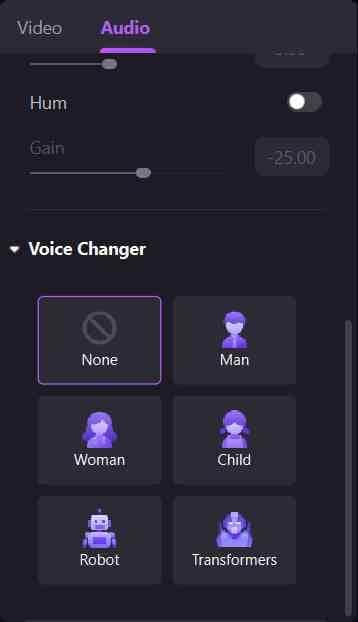
5. Voice Changer
Change your voice in fun ways and enjoy listening to your modified voice with the new Voice Changer feature! There are 5 kinds of voice-changing effects, which include male voice, female voice, child voice, robot voice, and Transformers voice. Choose from dozens of fun voices and sound effects.
- First import the media files (video, audio) that you want to make voice change. Then drag the file to the timeline, and select the clip.
- At the right properties panel, select the "Audio". Then you can find the Voice Changer tab. Choose the one you like to apply to your file.