DemoCreator User Guide
How to use Wondershare DemoCreator? Learn the step by step guide below
DemoCreator User Guide
-
Get Started - Mac
-
Video Recording - Mac
-
Video Editing - Mac
-
Keyboard Shortcuts - Mac
-
Audio Recording - Mac
-
DemoCreator Effects - Mac
-
Export & Share - Mac
-
Audio Editing - Mac
-
New Demo Mode - Mac
DemoAir User Guide
-
DemoCreator Cloud Service - Get Started
-
Video Creation Mode
-
Export&Share
FAQs
IOS Device Recording
DemoCreator’s iOS Device Recording feature enables users to record iPhone or iPad screens directly on their Mac with a wired connection. Whether for mobile tutorials, educational recordings, product demos, or gaming content, this feature simplifies the process of capturing and editing high-quality screen recordings.
This guide provides step-by-step instructions to help you record, edit, and export iOS device screen recordings using Wondershare DemoCreator on Mac.
Index
-
How to Record iOS Screen on Mac with DemoCreator
-
Editing iOS Screen Recordings in DemoCreator
-
Exporting and Sharing Your iOS Screen Recordings
Part 1: How to Record iOS Screen on Mac with DemoCreator
Step 1: Connect Your iOS Device to Mac
-
Use a USB cable to connect your iPhone or iPad to your Mac.
-
Unlock your iOS device and trust the computer when prompted.
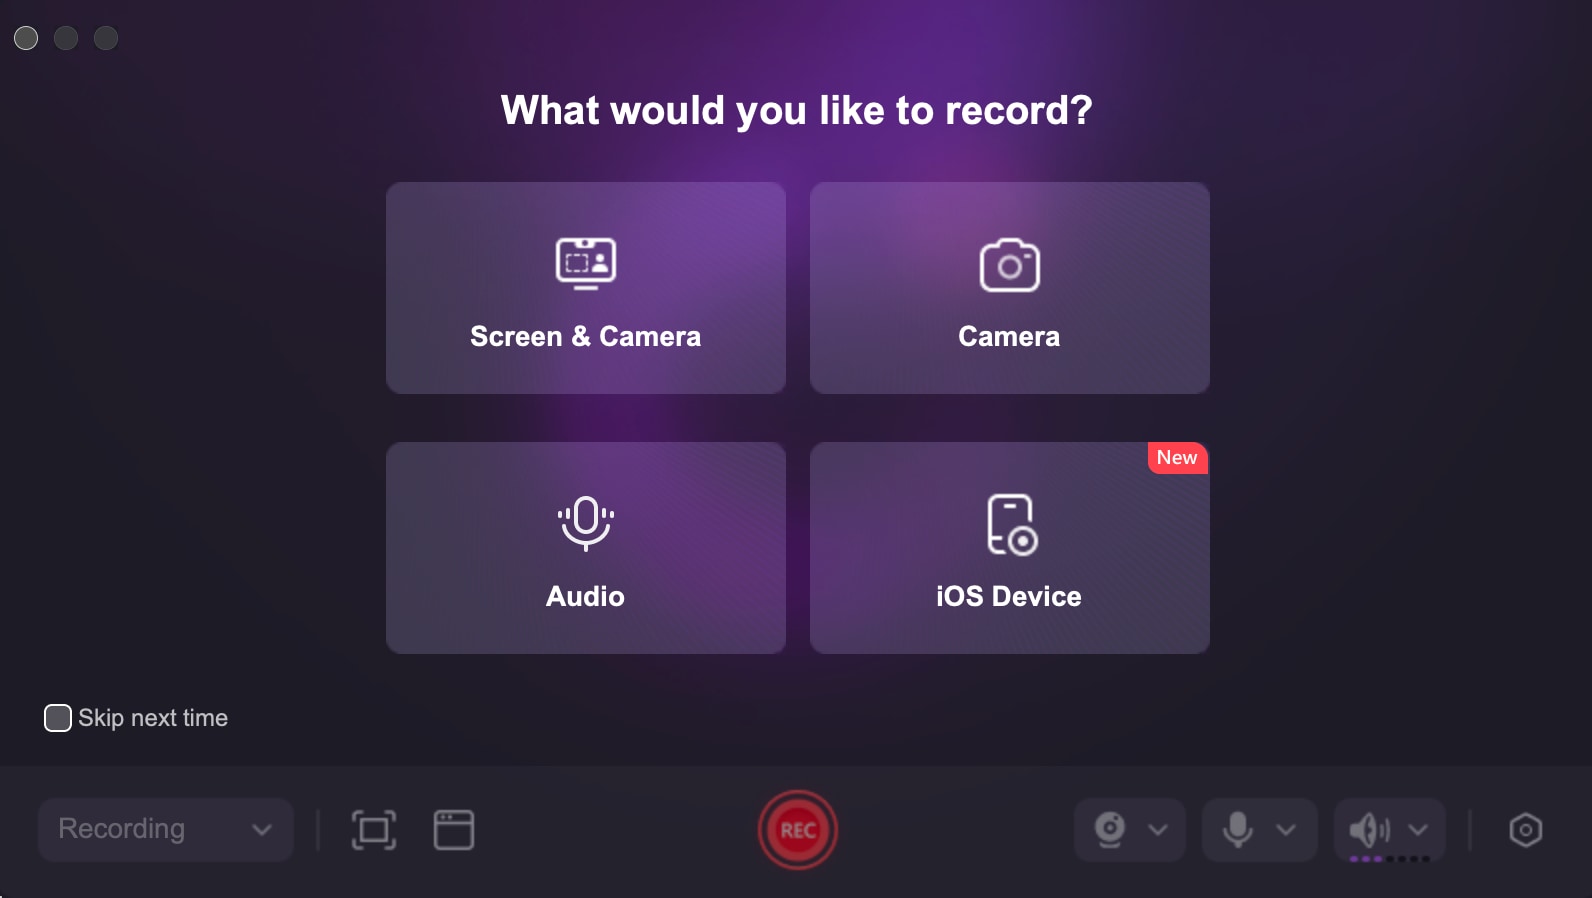
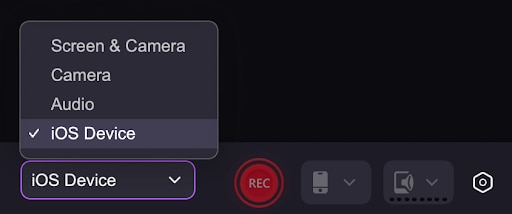
Step 2: Launch DemoCreator and Select iOS Device Mode
-
Open DemoCreator on your Mac.
-
In the recording options window, select iOS Devices Mode.
Step 3: Adjust Recording Settings
-
Choose whether to record screen only or screen + audio.
Step 4: Start Recording
-
Click the Record button to begin capturing your iOS screen.
-
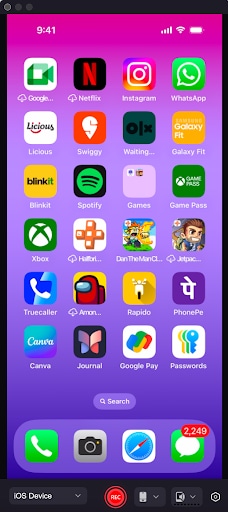
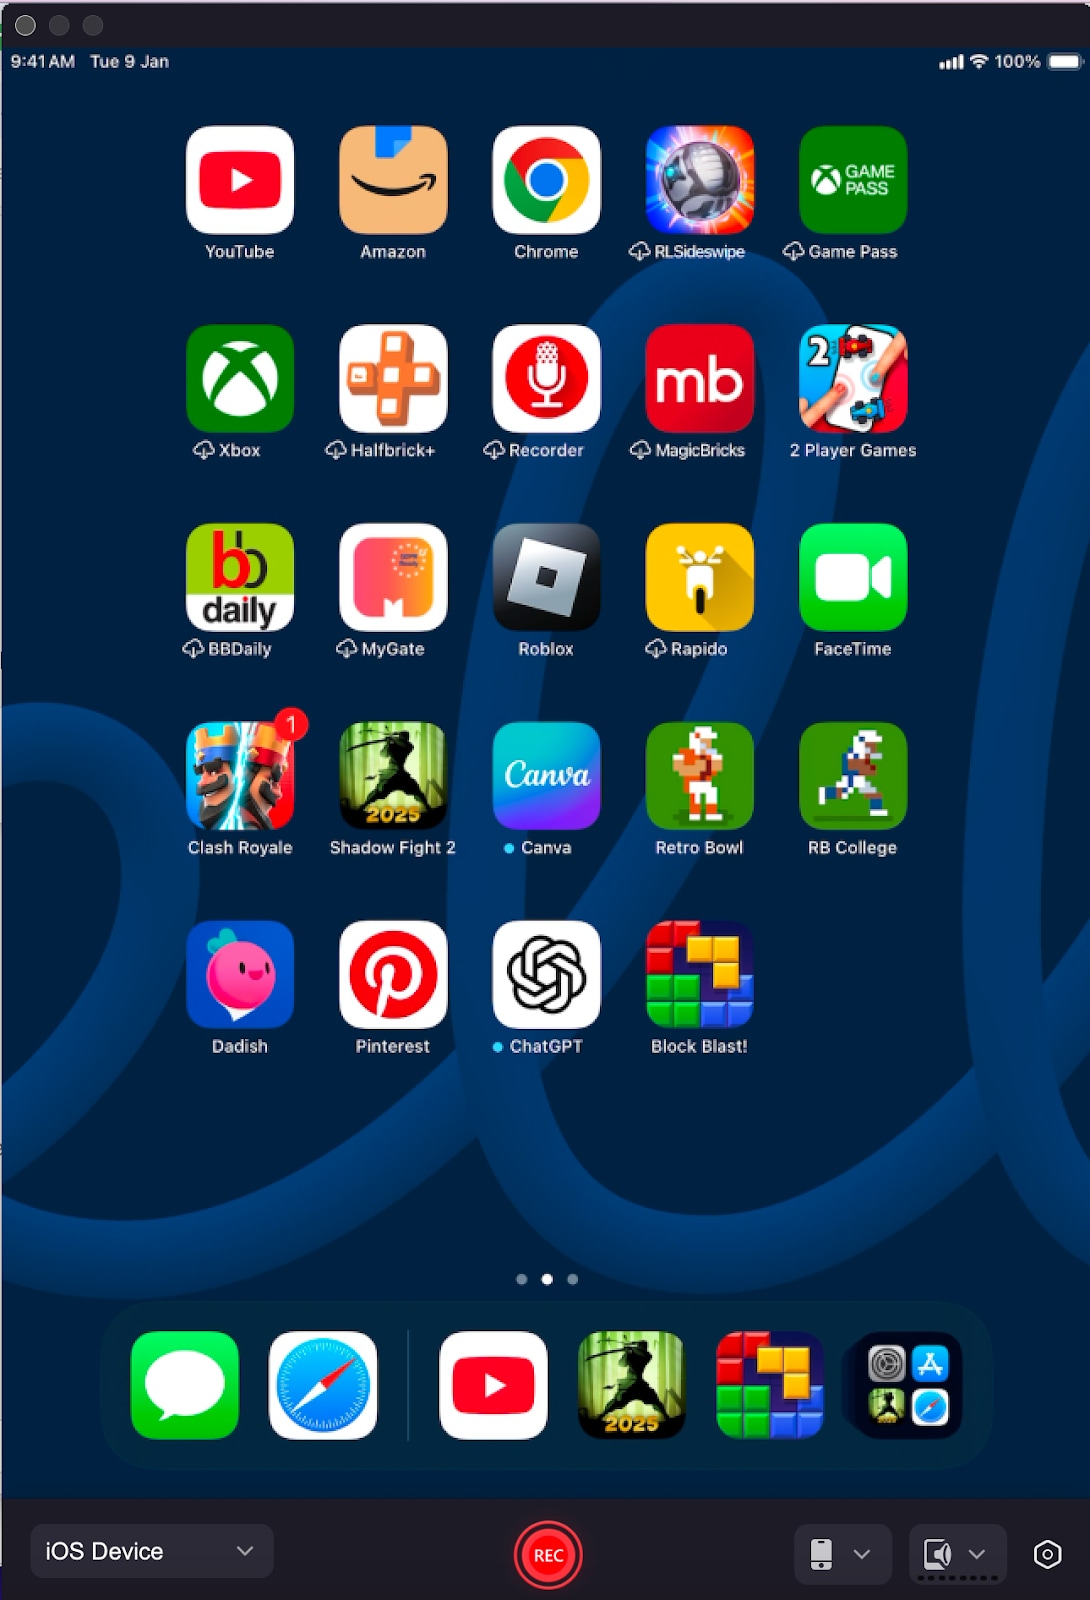
Perform the desired actions on your iPhone or iPad while the recording is in progress.
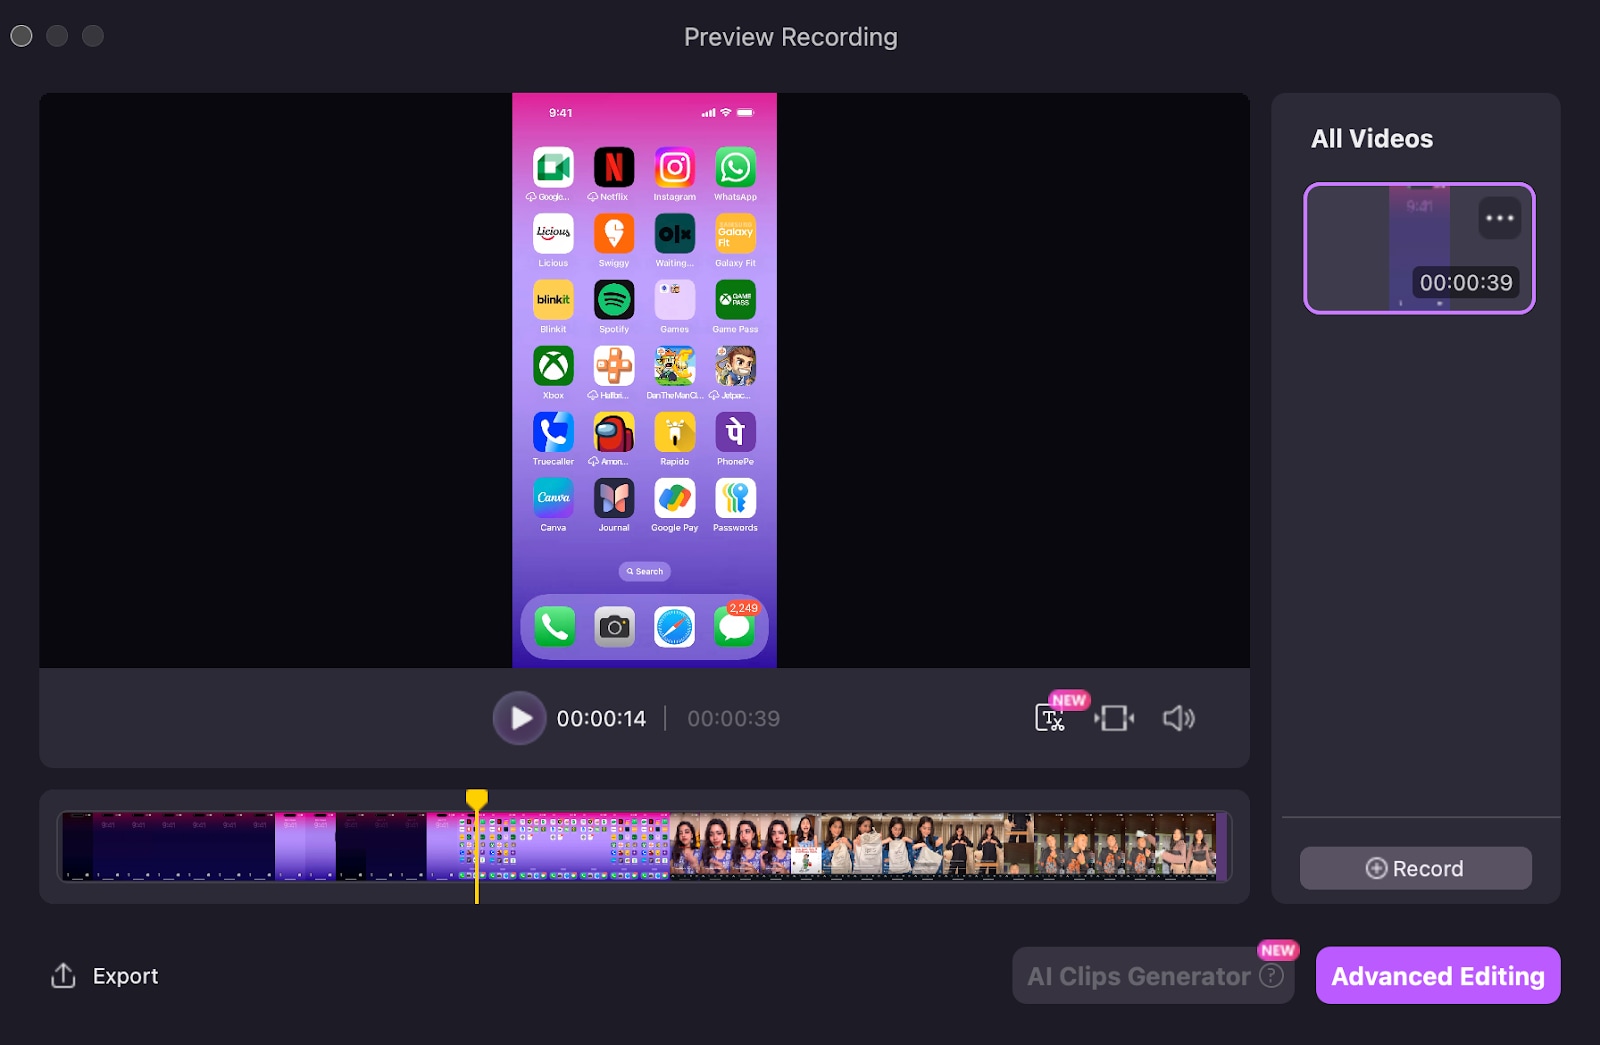
Step 5: Stop and Preview the Recording
-
Click the Stop button to end the recording session.
-
The recorded file will automatically be saved to DemoCreator’s editor for further modifications.
Part 2: Editing iOS Screen Recordings in DemoCreator
Once the recording is complete, you can enhance it using DemoCreator’s built-in editing tools.
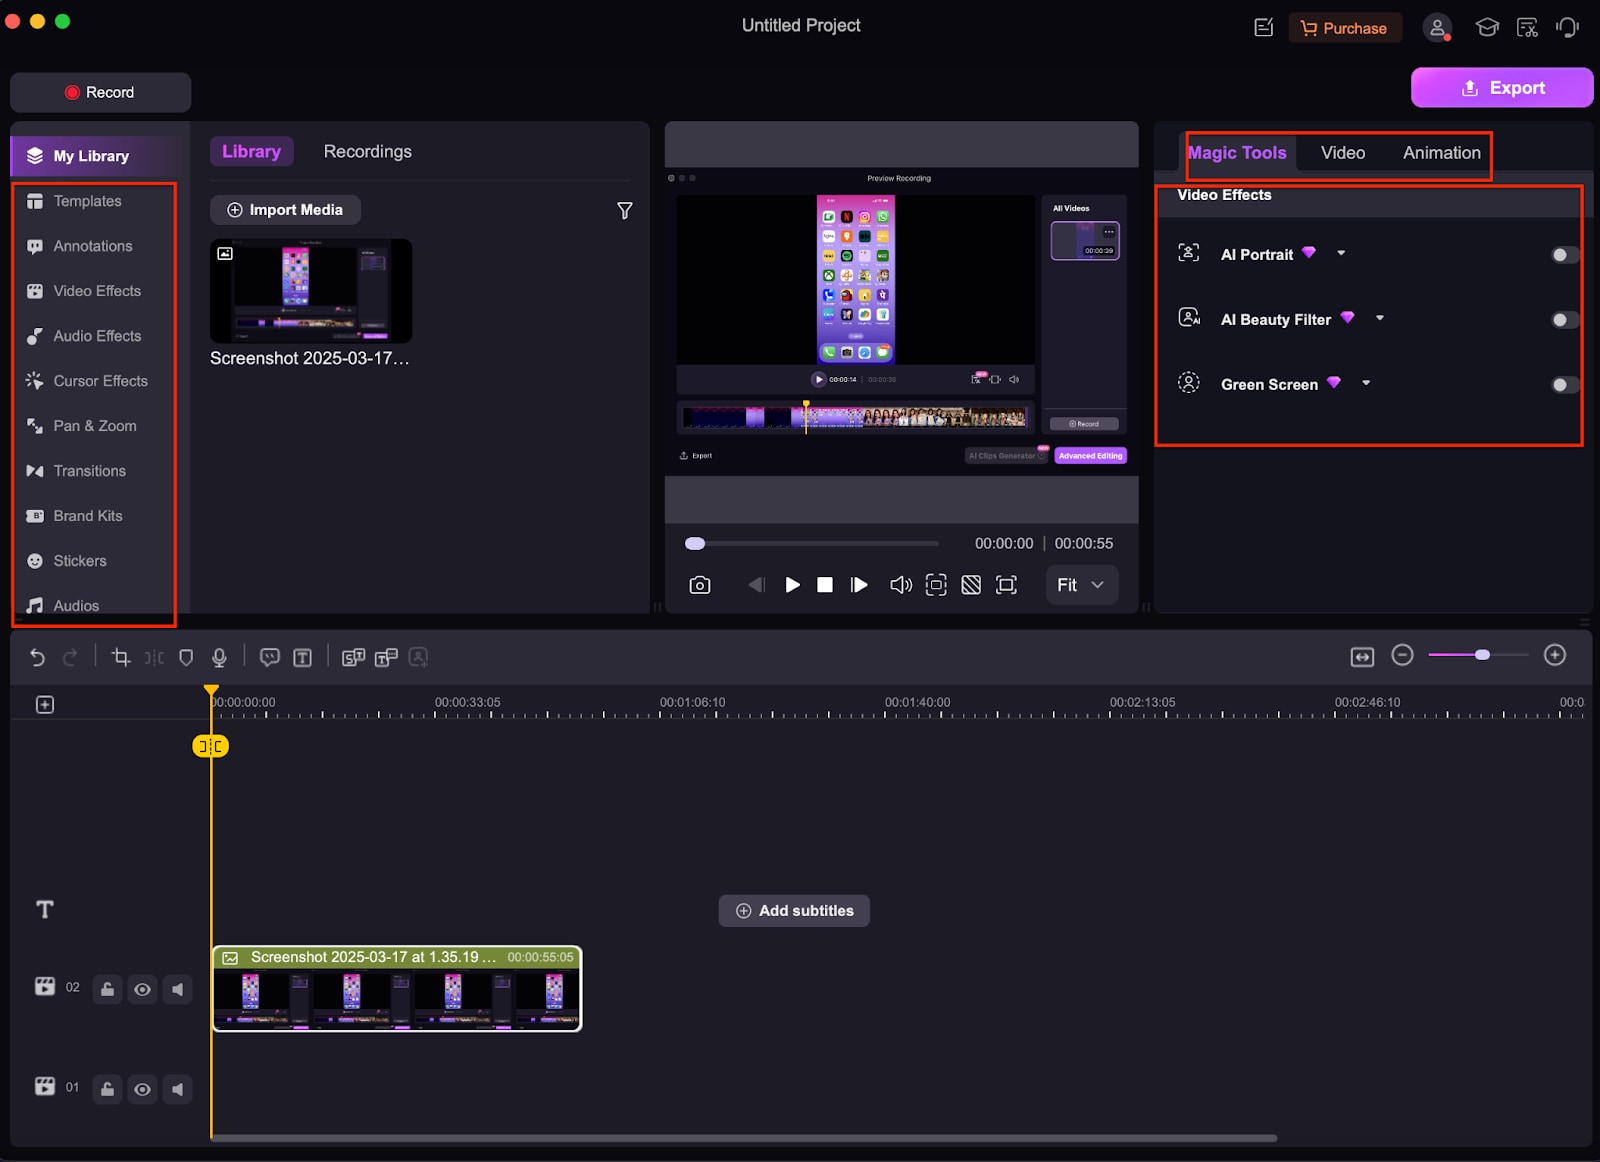
Step 1: Trim and Cut Unwanted Sections
-
Use the timeline editor to remove unnecessary parts of the recording.
Step 2: Add Annotations and Effects
-
Insert text, arrows, or highlight tools to emphasize key sections of the recording.
Step 3: Adjust Audio for Clarity
-
Reduce background noise or enhance voiceovers using DemoCreator’s AI-powered audio editing tools.
Step 4: Apply Transitions and Enhancements
-
Use smooth transitions, zoom effects, and cursor highlights for a polished final video.
Part 3: Exporting and Sharing Your iOS Screen Recordings
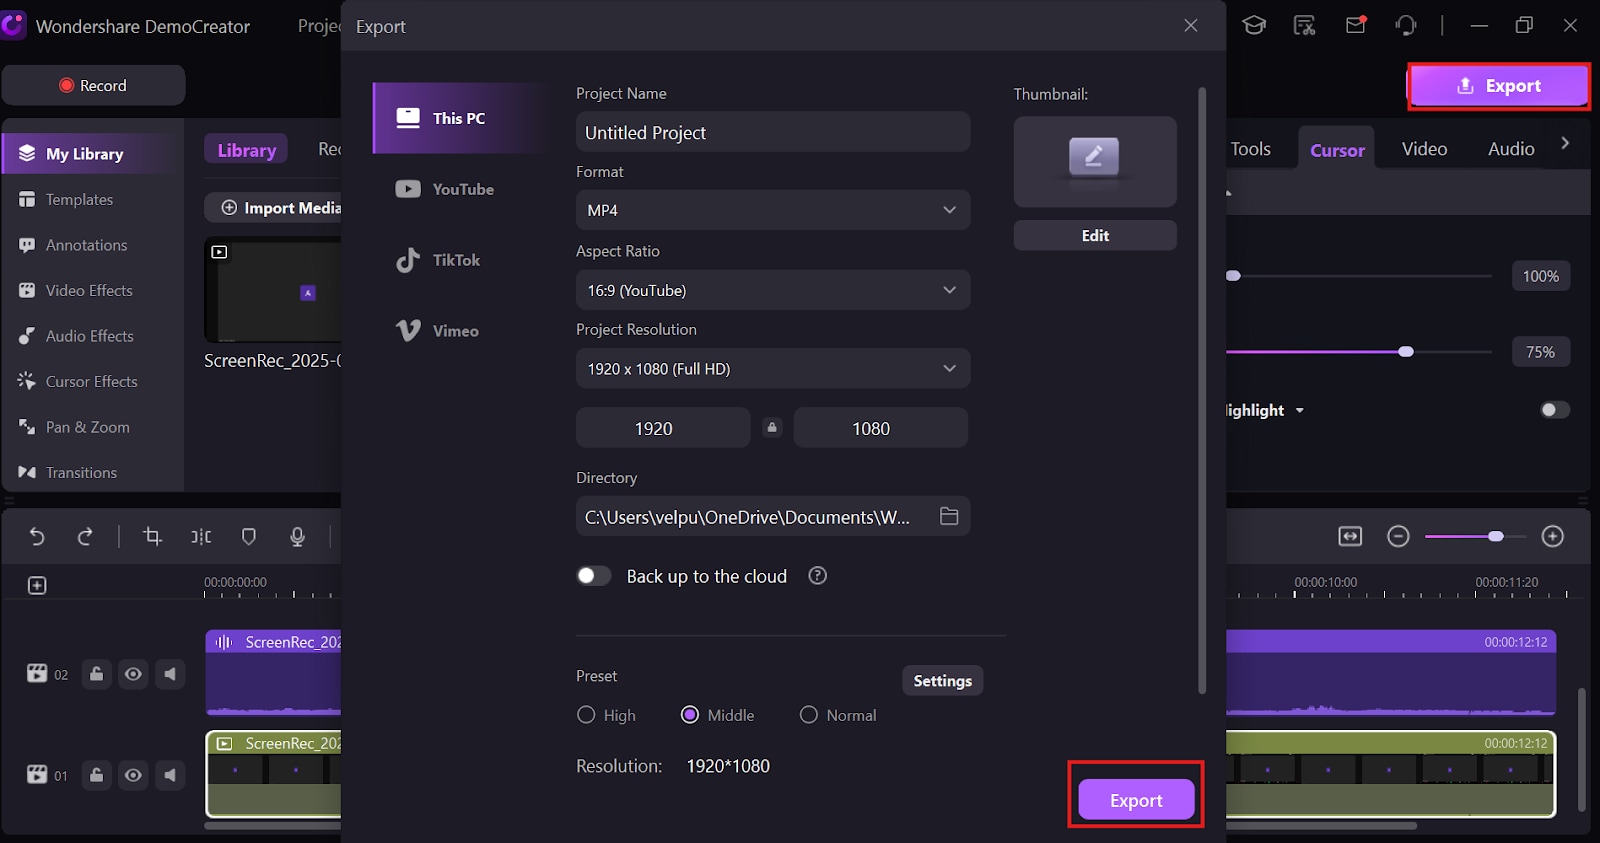
Step 1: Export the Video
-
Click on the Export button in the top-right corner.
-
Choose the desired resolution, frame rate, and format (MP4, MOV, etc.).
Step 2: Save as a Subtitle File (Optional)
-
If you need subtitles, export the caption file as TXT or SRT for future use.
Step 3: Share Your Video
-
Directly upload to YouTube, social media, or cloud storage.
-
Save the video locally for offline access and further editing.

