DemoCreator User Guide
How to use Wondershare DemoCreator? Learn the step by step guide below
DemoCreator User Guide
-
Get Started - Mac
-
Video Recording - Mac
-
Video Editing - Mac
-
Keyboard Shortcuts - Mac
-
Audio Recording - Mac
-
DemoCreator Effects - Mac
-
Export & Share - Mac
-
Audio Editing - Mac
-
New Demo Mode - Mac
DemoAir User Guide
-
DemoCreator Cloud Service - Get Started
-
Video Creation Mode
-
Export&Share
FAQs
Video Recorder - Camera Recording
In this guide, you'll learn:
1. Start camera recording
1. Customize Recording Setting
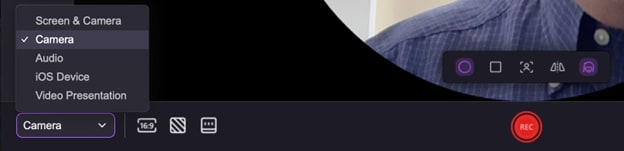
Camera Recording mode allows you to record the camera.
You can add a camera border to elevate your presence when recording the camera. It’s especially useful for creating training and knowledge-sharing videos where your delivery can benefit from your image. Click the “Circle” or “Rectangular” icon on the floating panel to select a camera border.
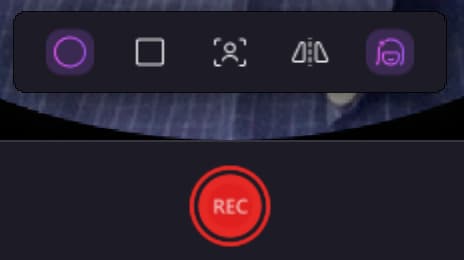
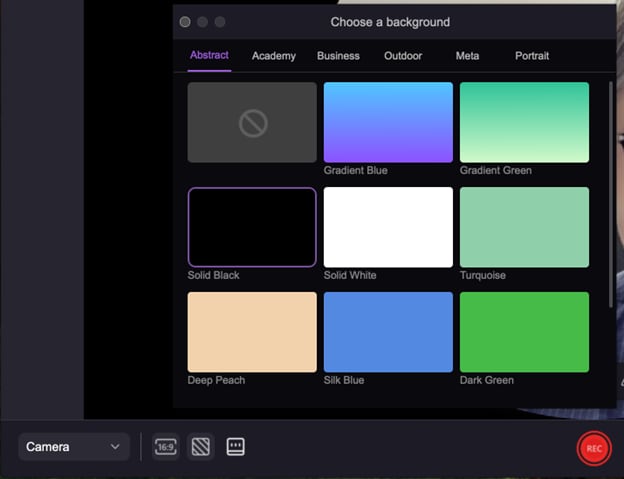
After finishing all settings, including screen size, camera, microphone & audio settings, and recording settings, you can easily select a suitable background and start recording by clicking “REC”.
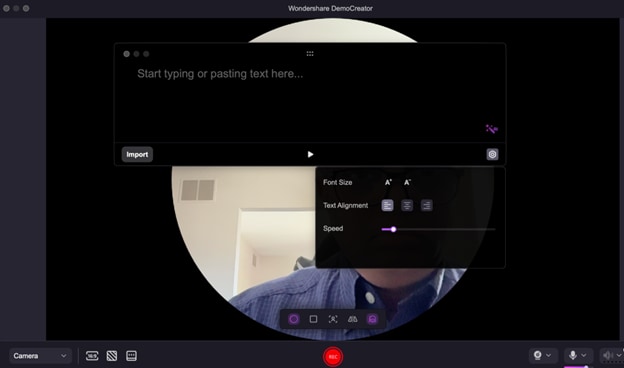
2. Teleprompter
1. Type your script.
2. Preset your script’s Font Size, Text Alignment, and play Speed in the setting board.
3. Try the AI function to optimize your script.
4. Click “REC” to start recording.
5. Play teleprompters. Now you can record videos with teleprompters to make your presentation videos more professional.