DemoCreator User Guide
How to use Wondershare DemoCreator? Learn the step by step guide below
DemoCreator User Guide
-
Get Started - Mac
-
Video Recording - Mac
-
Video Editing - Mac
-
Keyboard Shortcuts - Mac
-
Audio Recording - Mac
-
DemoCreator Effects - Mac
-
Export & Share - Mac
-
Audio Editing - Mac
-
New Demo Mode - Mac
DemoAir User Guide
-
DemoCreator Cloud Service - Get Started
-
Video Creation Mode
-
Export&Share
FAQs
AI Text-Based Editing
DemoCreator for Mac introduces AI Text-Based Editing, a revolutionary feature allowing users to edit videos by modifying their transcription. This tool simplifies the editing process, enabling silence removal, seamless video cuts, and subtitle generation directly through text-based inputs. Below is a step-by-step guide to using AI Text-Based Editing on DemoCreator.
In this guide, you'll learn:
- Recording or Importing Video
- Transcribing Audio into Text
- Removing Silence
- Editing Video Using Text
- Exporting to Timeline
- Exporting the Edited Video
01. Recording or Importing Video
DemoCreator enables you to begin editing with AI text tools by recording a video or importing an existing one.
- Launch DemoCreator: Open the software on your Mac PC and select New Project.
- Record or Import:
Choose Video Recorder to capture fresh footage.
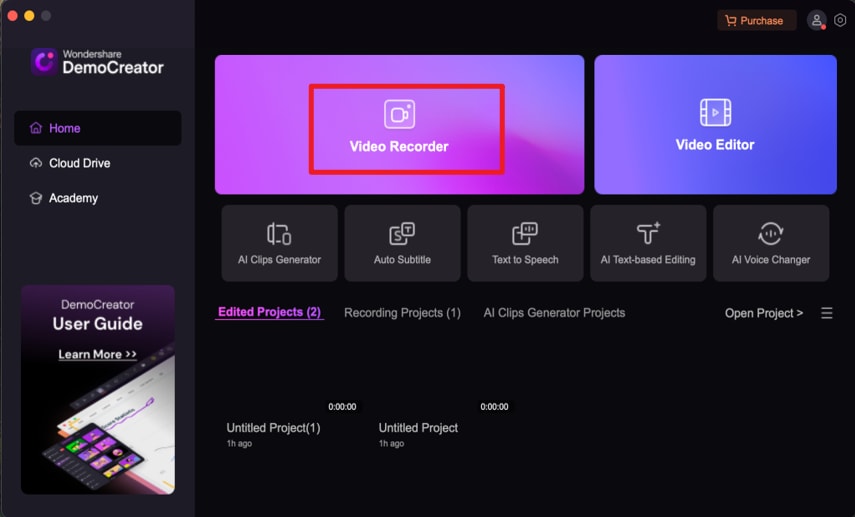
Alternatively, click Video Editor to upload an existing file from your computer.

This prepares your content for transcription and text-based editing.
02. Transcribing Audio into Text
The AI Text-Based Editing feature automatically transcribes your video's audio, aligning it with the timeline.
1. Click the scissor icon on the top right hand corner.
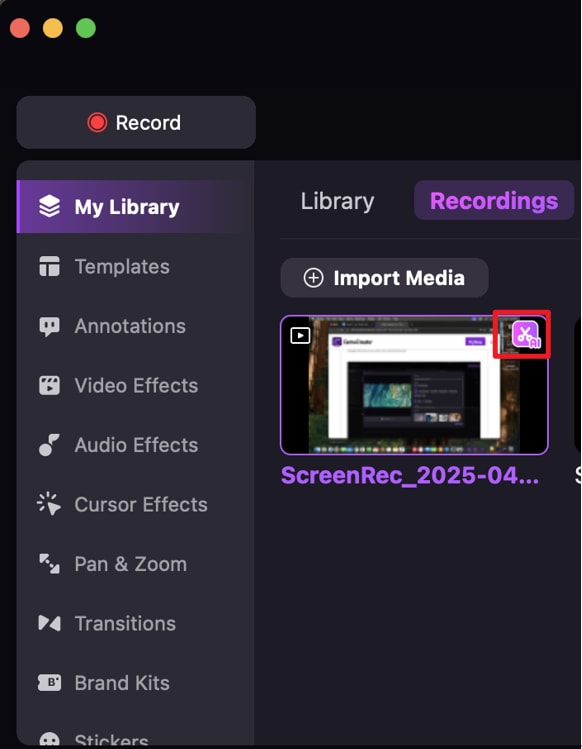
2. Click “AI Text-based Editing.”

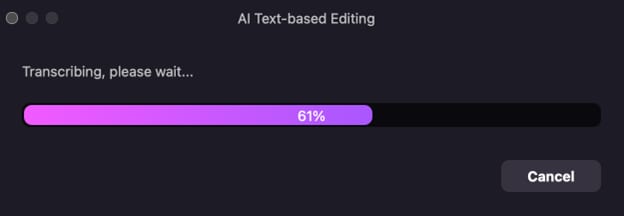
3. From the dropdown menu, select your desired language for AI transcription.

DemoCreator processes the audio and generates an editable text transcript synchronized with the video timeline.
This step provides a text-based interface to make video edits effortless.
03. Removing Silence
Identify and remove silent sections to keep your video engaging.
1. In the transcription panel, enable Silence Detection.
2. Click on Auto-Detect Silences to highlight pauses in the timeline.

3. Trim or delete these sections to create a smoother viewing experience.
This feature maintains a consistent flow in your video content.
04. Editing Video Using Text
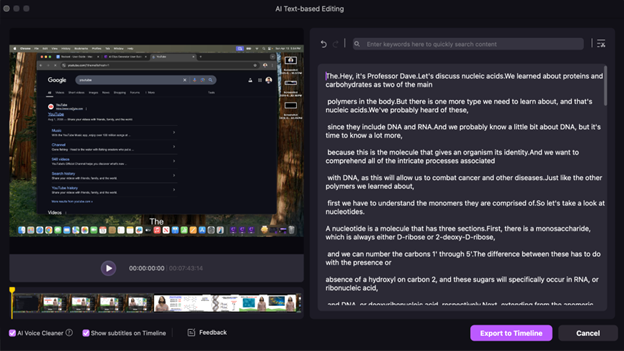
The AI Text-Based Editing feature allows you to make precise edits by interacting directly with the transcript.
1. Highlight Text Sections: Locate and highlight the parts of the transcript corresponding to the video segments you want to modify.
2. Delete Text: Remove Segments: Delete unwanted text to eliminate corresponding parts of the video.

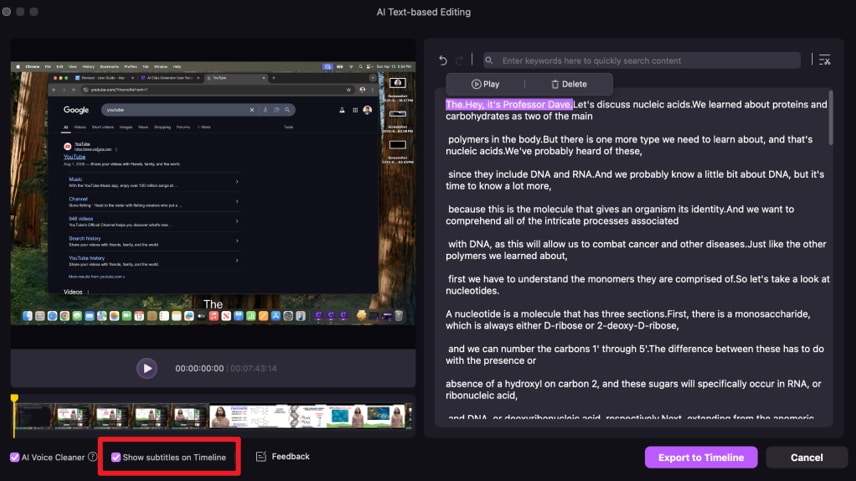
3. Enable AI Tools: Toggle the Show Subtitles on Timeline option to view and adjust subtitles directly alongside the transcript.
4. Real-Time Updates: All changes made to the transcript are instantly reflected in the video timeline, ensuring seamless synchronization.
This intuitive feature enhances editing efficiency and ensures accuracy, making video editing accessible even for beginners.
05. Exporting to Timeline
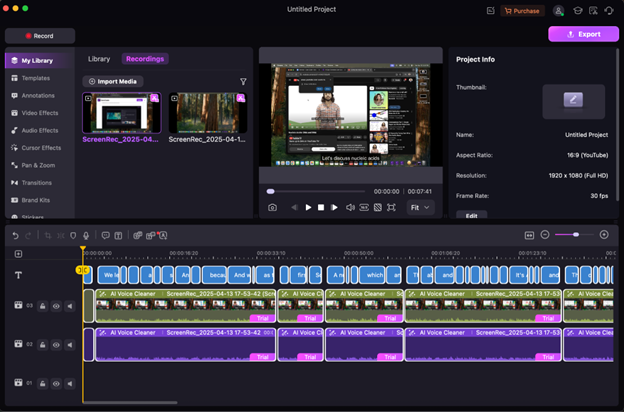
Once you have edited the transcript, you can export it to the timeline for further refinement.
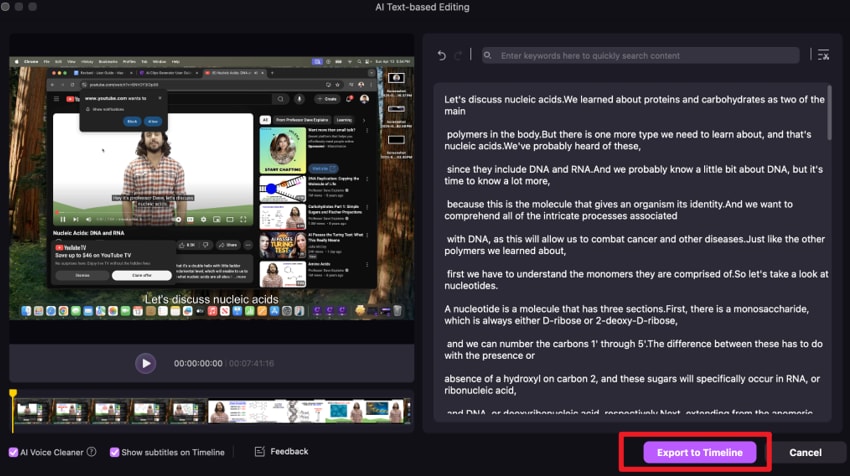
1. Export Transcript: Move the edited transcript to the timeline.
2. Customize Appearance: Change transcript fonts, letter spacing, text shadow, or text color in the Settings panel.
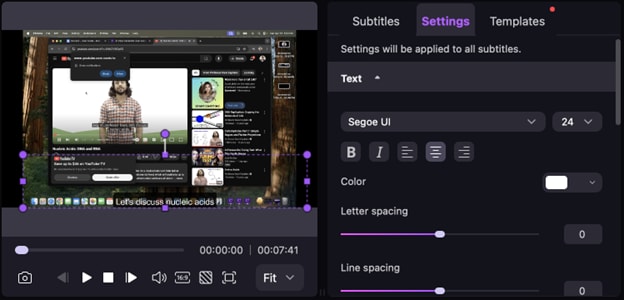
Animate text using predesigned templates to make your video more dynamic.
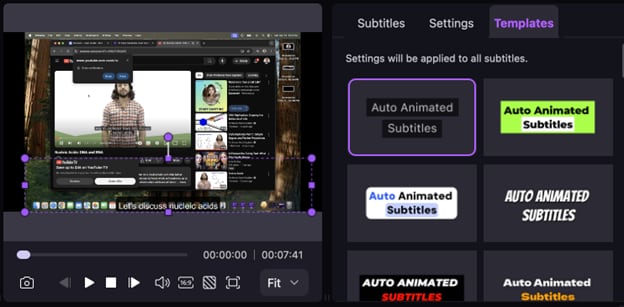
This step allows you to fine-tune the visual elements of your text before finalizing the video.
06. Exporting the Edited Video
After editing, save your work and share it seamlessly.
- Click Export in the top-right corner.
- Choose the desired video format and resolution.
- Save the edited video to your device or directly upload it to platforms like YouTube.
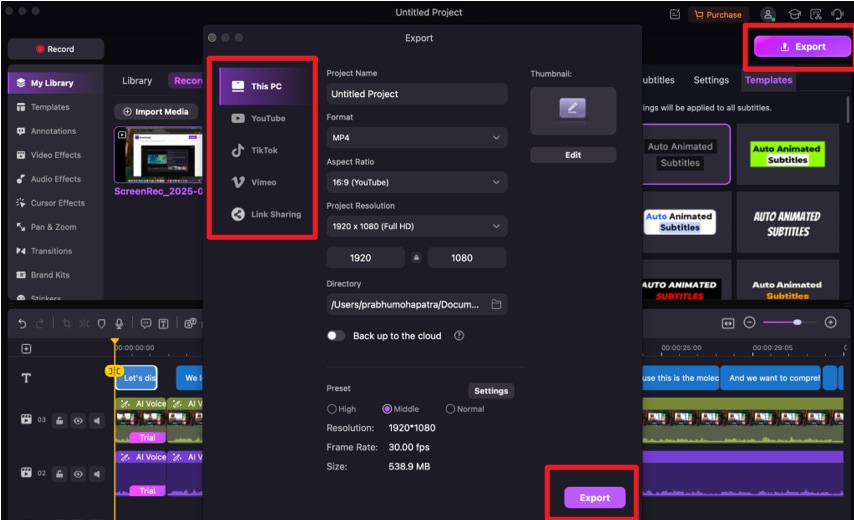
This final step ensures your polished video is ready for distribution.

