DemoCreator User Guide
How to use Wondershare DemoCreator? Learn the step by step guide below
DemoCreator User Guide
-
Get Started
-
Video Recorder
-
Video Presentation
-
Video Editing
-
Audio Edit
-
DemoCreator Effects
-
Export & Share
-
Keyboard Shortcuts - Windows
DemoAir User Guide
-
DemoCreator Cloud Service - Get Started
-
Video Creation Mode
-
Export&Share
FAQs
Editing
This part is frequently asked questions about editing.
1. Why the playback on timeline appears to be lagging or out of sync?
The choppy playback on the timeline occurs mostly by the files with a high Bit Rate. Most files coming directly from an HD camera or Drone have a high Bit Rate, such as MOV and MTS files. But generally, the output video quality will not be affected. As an alternative, you can try to transcode the imported videos to.MP4 before loading to our program. The whole re-encoding process will help you reduce the high Bit Rate and keep the video quality.
2. How to speed up or slow down a video?
To make a video clip faster or slower in your created project, simply click on the clip in the timeline.
① Drag and drop the video into the timeline.
② Click on the clip in the timeline.
③ Go to the Properties window on the right side of the screen, drag left or right to adjust the speed. You can also input the percentage to speed up or slow down to adjust the speed.

3. Why there is a quality loss after conversion?
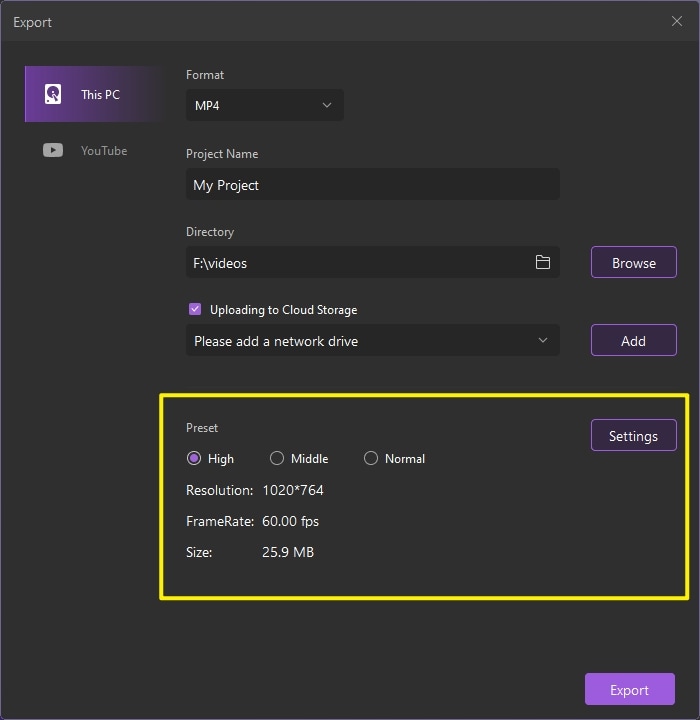
Generally, if the video dimensions are different while recording, editing, and exporting, it can cause a quality loss after conversion. Also, it will be affected by the output Bit Rate, Resolution, FrameRate as well.
Before you export your video, you can change the output settings. Selecting a higher Bit Rate, Resolution, FrameRate.
4. Why the conversion process is so slow?
The conversion speed depends on not only the size, length of the source video, but also depends on the output settings. Meanwhile, it will be affected by the performance of your computer as well. There are things you can do to export more quickly.
① Optimized Media
To encode more quickly, the videos in your sequence should be optimized as much as possible before export. First of all, while using effects increases the time it takes to encode a video, it is suggested to cut down the unnecessary effects when in the editing phase. Besides, when exporting, please keep the Resolution, Frame Rate, and Bit Rate the same as those in your original video to shorten the encoding process for scaling. You can check the original parameters in Media Library, right click, and see the properties.


5. Why can't I add the cursor effects to the recorded media files?
(1) Only if choose the Screen+Webcam recording mode, the recorded file supports adding the cursor effect. The Screen Only and Game Mode do not support adding the cursor effects to the recorded files.

(2) If you want to define whether the previously recorded files support adding the cursor effects. Click the clip in the timeline, check if the Properties Panel exists Cursor. If yes, then you can add the cursor effect.

If not, you can’t add the cursor effect to the recorded file.

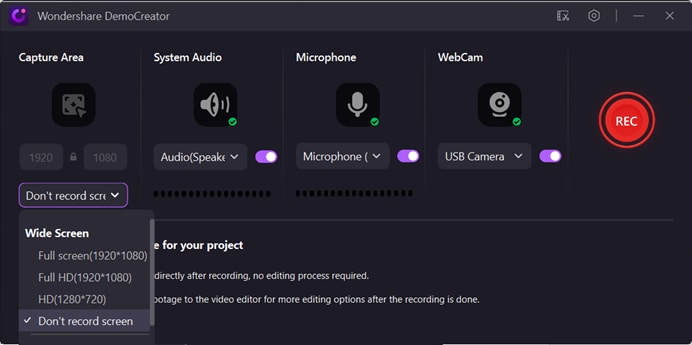
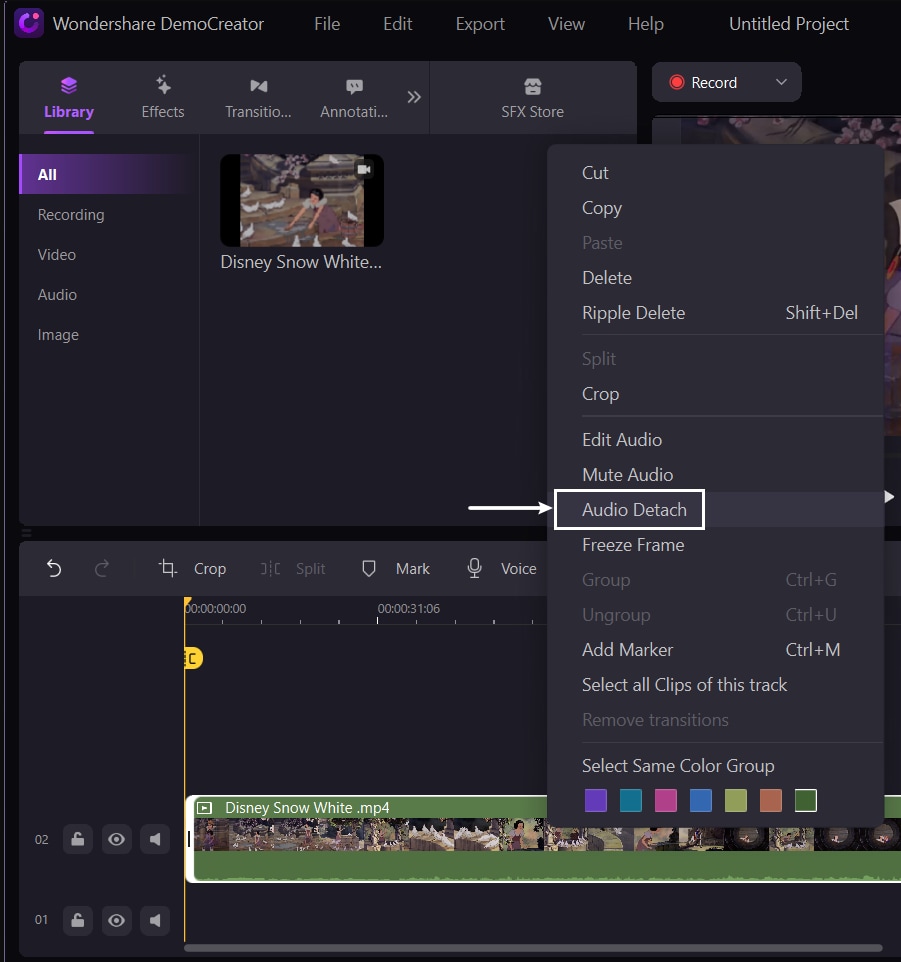
6. How to get the separate system audio?
Method one: After you've finished recording, your recorded screen and the system audio have been combined into one track. Right-click the clip in the timeline, and select the Audio Detach. Then you can get the separate system audio track.
Method two: Before recording, under Screen+Webcam mode, select Don’t record screen. Then you can record the system audio separately.