DemoCreator User Guide
How to use Wondershare DemoCreator? Learn the step by step guide below
DemoCreator User Guide
-
Drawing Tools
-
Install & Uninstall Extension
-
Record Browser Tab
-
Get Started
-
Video Recorder
-
Video Presentation
-
Video Editing
- Import Media
- Basic Video Editing
- PIP (Picture in Picture) Mode
- Transition Effects
- Annotation
- Caption (New Auto-Caption)
- Stickers
- Filters
- AI Text-to-Speech
- AI Object Remover
- AI Vocal Remover
- AI Voice Changer
- AI Beauty Filter
- DemoCreator Templates
- Brand Kits
- Thumbnail Maker
- AI Text-Based Editing
- AI Clips Generator
-
Audio Edit
-
DemoCreator Effects
-
Export & Share
-
Keyboard Shortcuts - Windows
DemoAir User Guide
-
DemoCreator Cloud Service - Get Started
-
Video Creation Mode
-
Export&Share
FAQs
Video Recorder - Camera Recording
1. Customize Recording Setting
Camera Recording mode allows you to record the camera.
Enter the startup page, click Video Recorder.
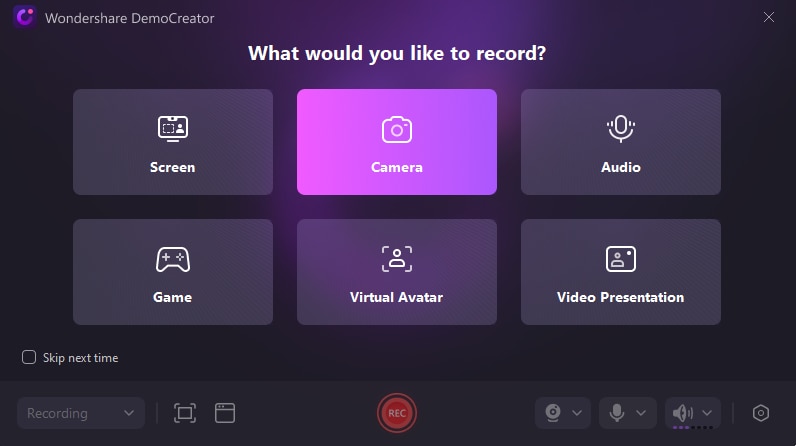
Select Camera recording mode
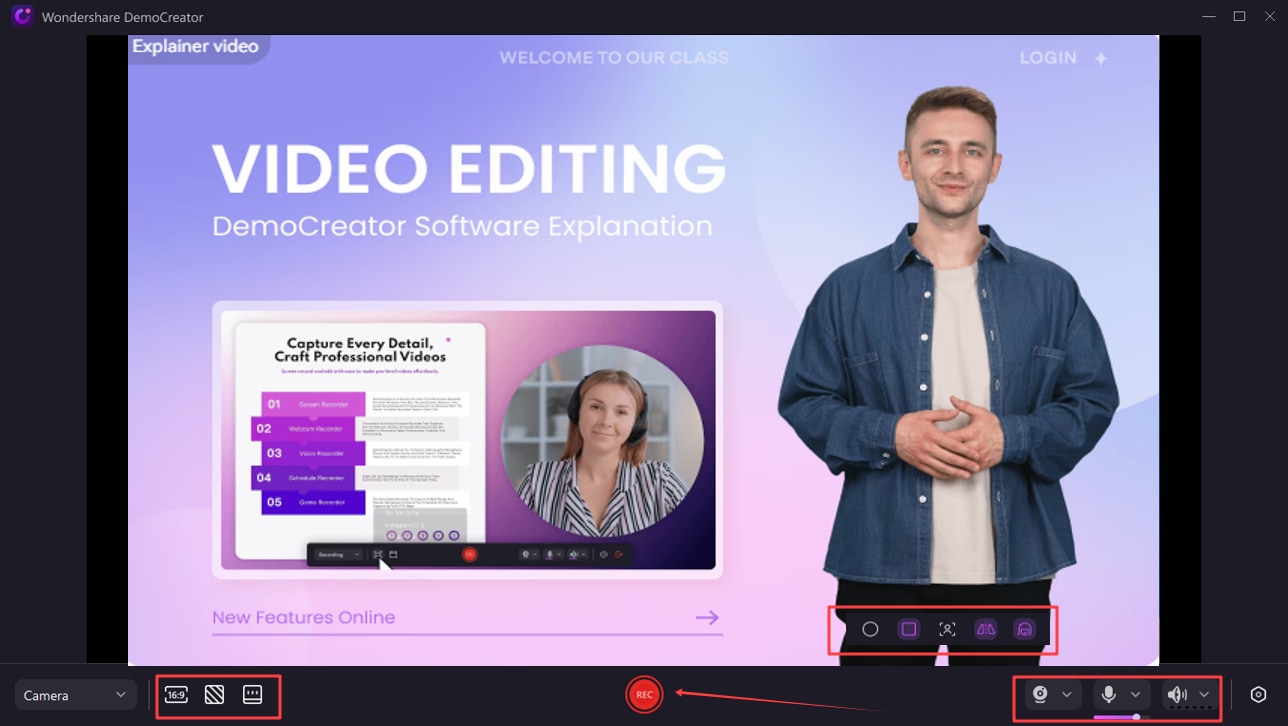
Portrait settings are as follows:
- Camera shape: supports circular and square shapes
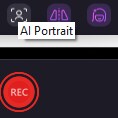
- AI Portrait: Set whether to remove the portrait background through AI intelligence
- Mirror: Portrait supports mirroring
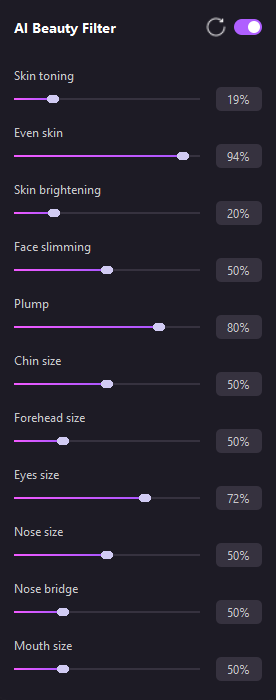
- AI Beauty Filter: supports portrait beauty parameters adjustment
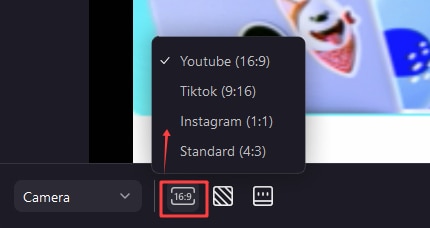
Video settings:
- Video ratio settings: supports Youtube (16:9), Tiktok (9:16), Instagram (1:1), Standard (4:3)
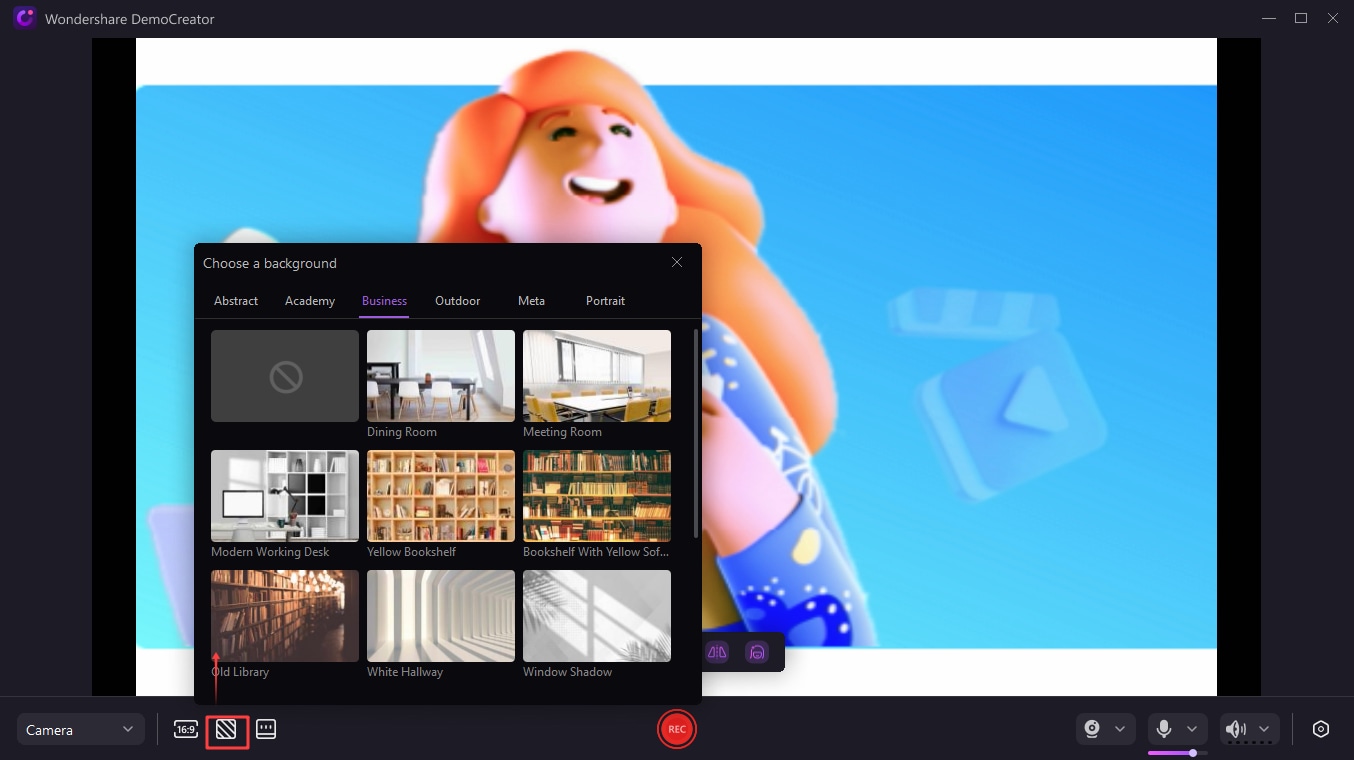
- Video background settings: supports setting video background selection
After finishing all settings, including screen size, camera, microphone& audio settings, and recording settings, you can easily select a suitable background and start recording by clicking “REC”.
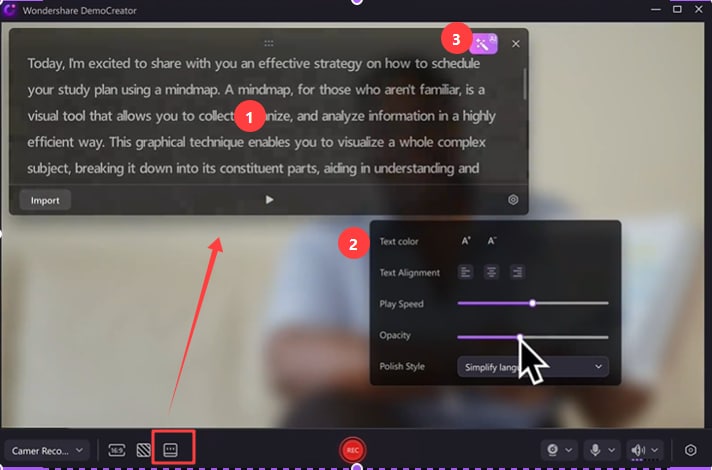
2. Teleprompter
1. First, type your script and preset your script's color, alignment, play speed, Opacity, and polish style in the setting board. Then, try the AI function to optimize your scripts.
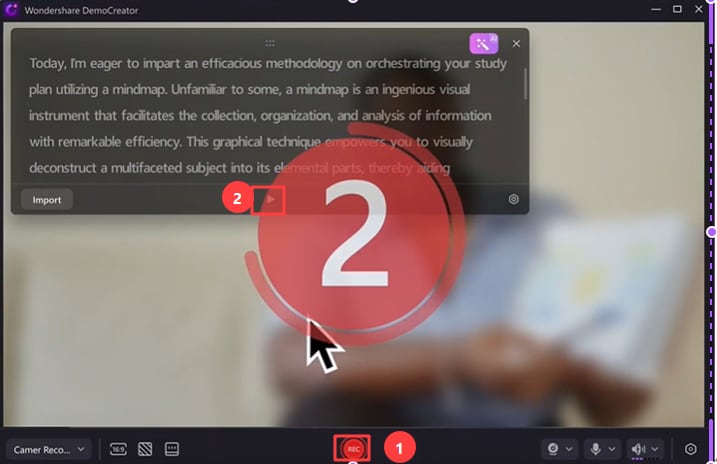
2. Click"REC", start recording, and play teleprompters. Now you can record videos with teleprompters to make your presentation videos more professional
 Secure DownloadSecure Download
