DemoCreator User Guide
How to use Wondershare DemoCreator? Learn the step by step guide below
DemoCreator User Guide
-
Drawing Tools
-
Install & Uninstall Extension
-
Record Browser Tab
-
Get Started
-
Video Recorder
-
Video Presentation
-
Video Editing
- Import Media
- Basic Video Editing
- PIP (Picture in Picture) Mode
- Transition Effects
- Annotation
- Caption (New Auto-Caption)
- Stickers
- Filters
- AI Text-to-Speech
- AI Object Remover
- AI Vocal Remover
- AI Voice Changer
- AI Beauty Filter
- DemoCreator Templates
- Brand Kits
- Thumbnail Maker
- AI Text-Based Editing
- AI Clips Generator
-
Audio Edit
-
DemoCreator Effects
-
Export & Share
-
Keyboard Shortcuts - Windows
DemoAir User Guide
-
DemoCreator Cloud Service - Get Started
-
Video Creation Mode
-
Export&Share
FAQs
Learn About the Panel of the Video Presentation
Wondershare DemoCreator does support video presentation mode, a feature that allows you to make awesome presentations using PowerPoint, screen recorders, and more. Also, you can leverage this intuitive software to record your screen while making these presentations.

1. Navigate the Video Presentation Panel
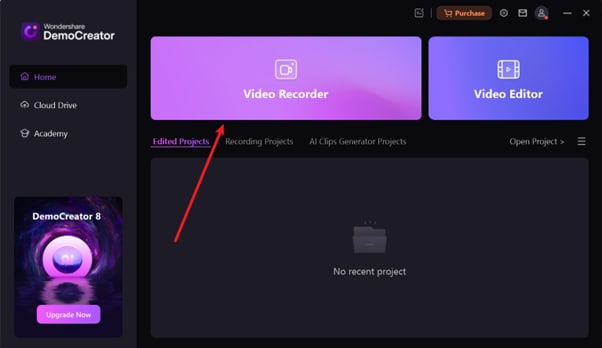
Launch DemoCreator on your Windows after successful installation from the official website. You will be presented with the following screen. Choose Video Recorder from the functions displayed.
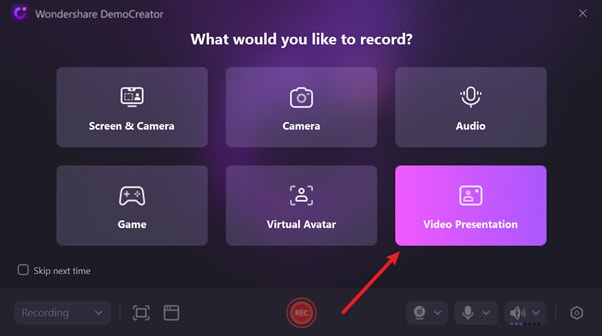
The software will direct you to the following screen where you select what you would like to record. Choose the Video Presentation function to proceed.
Now, get the PowerPoint you want to present ready and import it to DemoCreator. To do this, select Import from PowerPoint and you will be directed to your computer local storage.
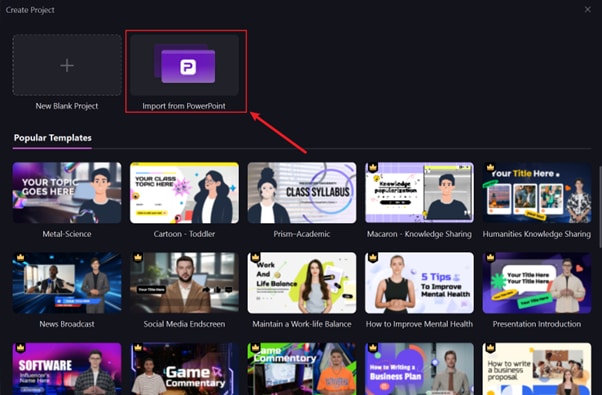
You can also choose to create a new PowerPoint presentation from scratch using existing templates provided by DemoCreator by simply selecting from the options underneath the Popular Templates panel. Perhaps you want a blank PowerPoint to build yourself, click the New Blank Project icon.
Once the PowerPoint is ready, you should have an interface similar to this. Mind you, a ready made template was selected when creating this guide.
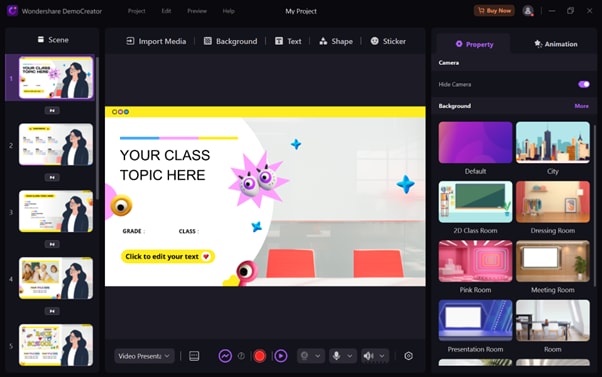
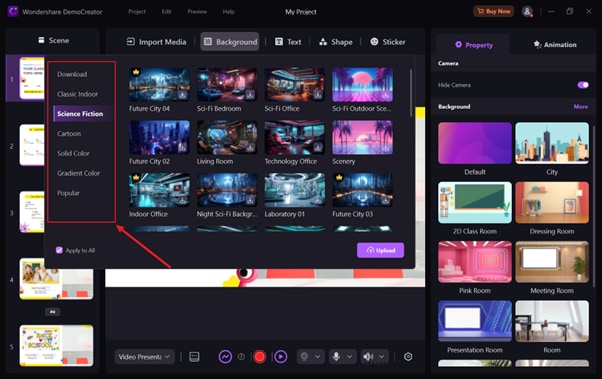
If you decide to pimp your PowerPoint, DemoCreator supports functions like Background editor which allows you to pimp the background of your presentation to suit your project requirements.
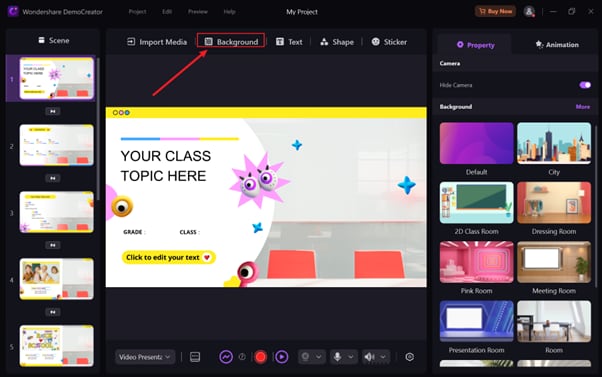
You have amazing background colors that fit different moods and styles. Just select the group that connects with your presentation by clicking on the icons on the left side of the Background screen.
Also, you have features like Text, Shape, and Sticker for you to further pimp your PowerPoint presentation. Click on the appropriate button for advanced setup.
2. Record in Presentation Mode
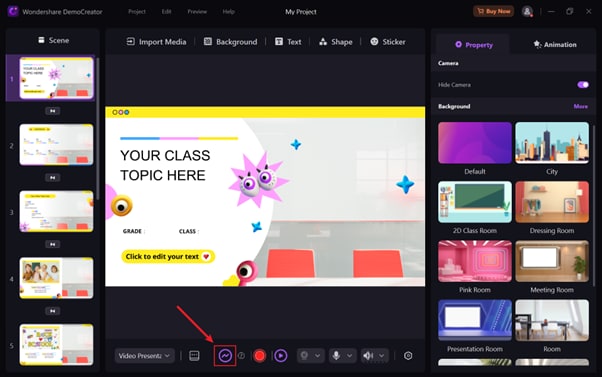
Using the illustrative guide below, you can learn more about the presentation mode function on DemoCreator.
1. Preview PowerPoint Presentation
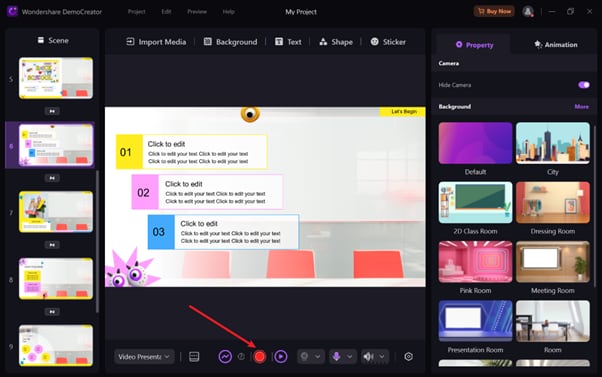
Having pimped your PowerPoint presentation to your taste, you can preview it before showcasing it to your client. Click on the purple Play icon at the bottom of the screen just like you have in the image below.
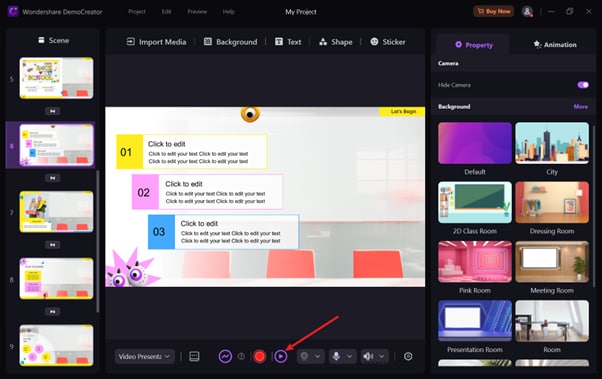
Click Back to Editing after previewing the presentation.
2. Record the Video Presentation
Navigate your cursor to the bottom of your screen and select the red circular Start Recording icon to capture your presentation screen.
To the right of the preview button, you have important buttons such as Webcam (1), Microphone (2), and Speaker (3).
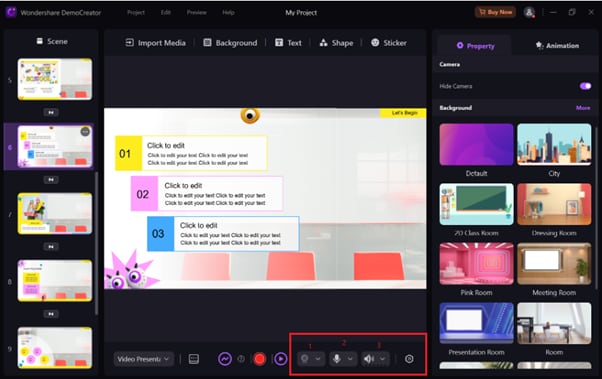
Each button has a drop-down icon next to it which you can click on to access the settings panel or select a tool.
3. Stream Presentation
In case you have to stream your presentation for your online audience to view, you can use the Stream button to get this done. The image below shows what the stream button looks like on the DemoCreator software.
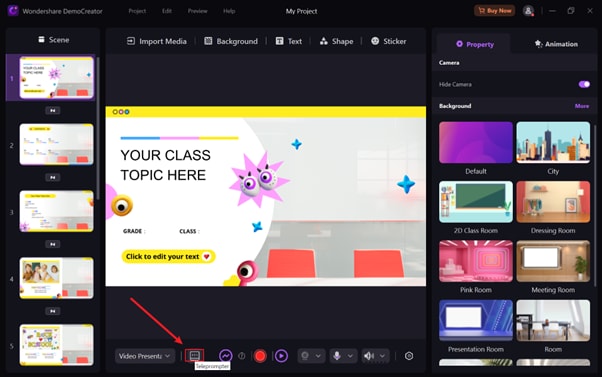
4. Teleprompter
Want to add a script to your presentation to help your audience comprehend your presentation faster without having to listen to the audio? The Teleprompter button is what you need. With this, you can import script to your PowerPoint presentation without hassles, making your project appear professional.