DemoCreator User Guide
How to use Wondershare DemoCreator? Learn the step by step guide below
DemoCreator User Guide
-
Drawing Tools
-
Install & Uninstall Extension
-
Record Browser Tab
-
Get Started
-
Video Recorder
-
Video Presentation
-
Video Editing
- Import Media
- Basic Video Editing
- PIP (Picture in Picture) Mode
- Transition Effects
- Annotation
- Caption (New Auto-Caption)
- Stickers
- Filters
- AI Text-to-Speech
- AI Object Remover
- AI Vocal Remover
- AI Voice Changer
- AI Beauty Filter
- DemoCreator Templates
- Brand Kits
- Thumbnail Maker
- AI Text-Based Editing
- AI Clips Generator
-
Audio Edit
-
DemoCreator Effects
-
Export & Share
-
Keyboard Shortcuts - Windows
DemoAir User Guide
-
DemoCreator Cloud Service - Get Started
-
Video Creation Mode
-
Export&Share
FAQs
Navigating DemoCreator
Index
Windows Panel Layout
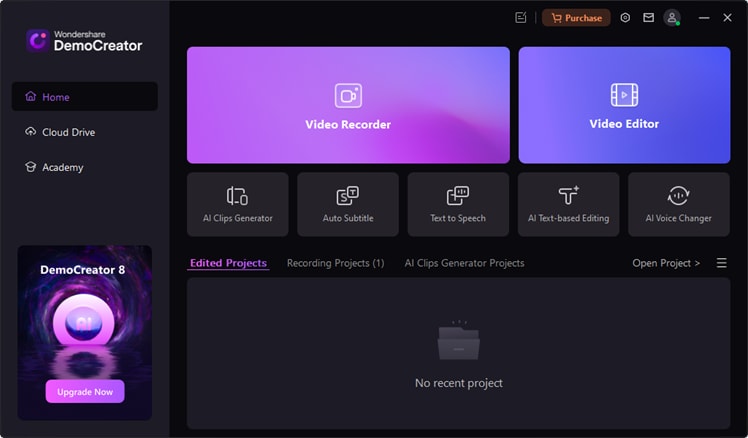
Launch DemoCreator, then come to the start-up panel. Including four parts, below are the basic introduction to each part.
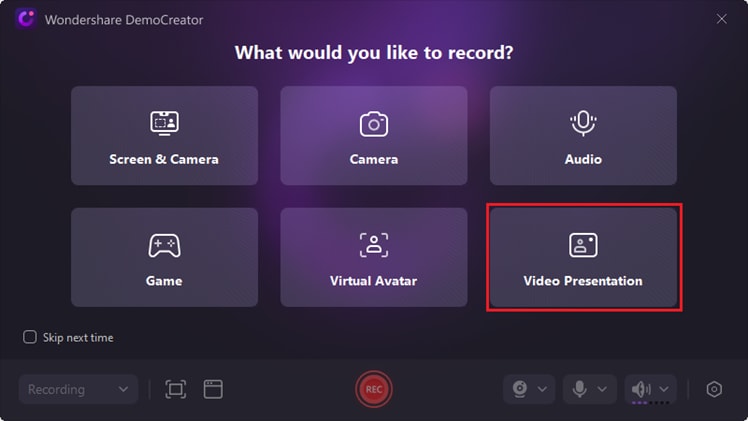
1. Video Recorder
In Video Recorder, there are six distinct recording modes tailored to suit various needs, ensuring a fluid and exceptional recording experience.
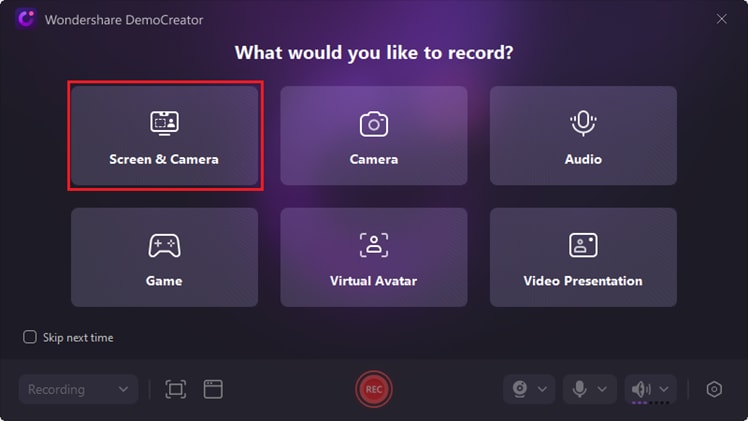
1. In Screen mode, Camera mode, and Audio mode, you can record screen or simultaneously record screen, audio, webcam, or record camera only. Rich screen drawing tools support real-time screen annotation, whiteboard, brush, etc. And before recording, you can turn on Smart Zoom, Cursor Highlight, etc. in Magic Tool, and these effects will be automatically added after recording. The flexibility of Video Recorder gives you full control over your recording projects.Video Recorder flexibility gives you complete control over your recording projects.
2. The Game Recording supports you to record the game screen, audio, and webcam. Record your games in a completely lag/freeze environment (up to 120 fps). Start recording your videos in high definition with in-game and webcam displays. Then, edit, add transitions, effects, and more to make your favorite gaming moment, and share your best moments with a smooth recording experience for all viewers to see.

3. In Virtual Avatar, now users can effortlessly personalize their recording experience by selecting diverse avatars to mirror their expressions and movements, adding a fun and dynamic touch to their videos.
![]()
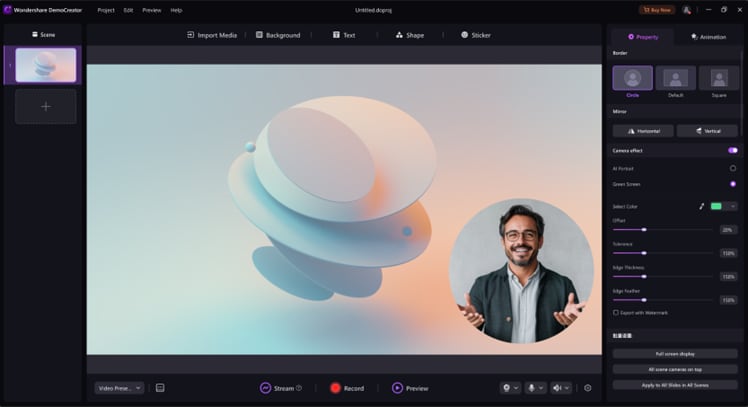
4. The Video Presentation feature lets users convert PPTs into video lessons, use multi-scene templates to quickly create content, and connect with Zoom, Tencent Meeting, Google Meet, and more for screen recording or live presentations. It's ideal for online instructors and trainers to deliver both recorded and real-time courses using PPTs or built-in templates.

2. Video Editor
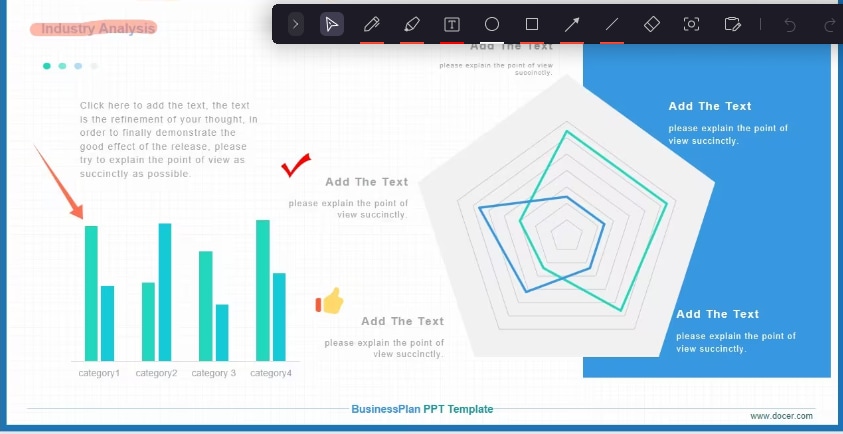
In the Video Editor Panel, you can edit the imported media files and the recorded video. There are Effects, Transitions, Annotations, Captions, Stickers, Filters, Audio, SFX Store(tones of effects packs included). At the same time, we have also added several powerful AI features to enhance the professionalism of your videos. After you've finished your editing, click "Export" button to export your video.
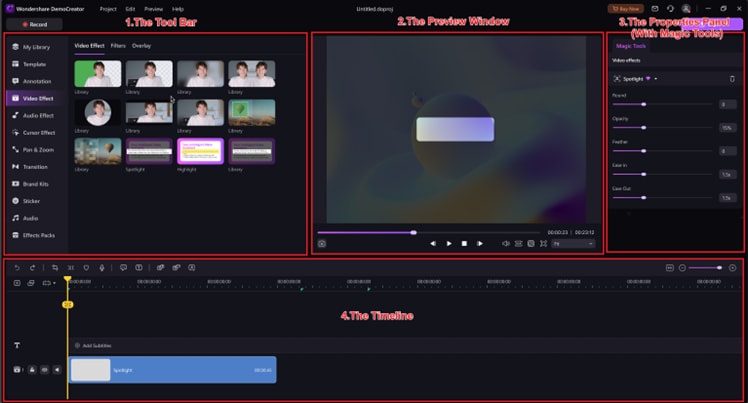
- Tool Bar: Allows you to import media files and acquire editing effects and resources.
- Preview Window: The Preview Window shows how you play the video in the Timeline.
- Properties Panel: Here you can adjust the parameters of your video including transform, speed, border, hotkey tips, and audio.
- Timeline: The Timeline is where you assemble the media files (video clips, photos, audio.) and effects for your video project.
3. Recent Projects
This part shows your recent projects. You can double-click to open the project.
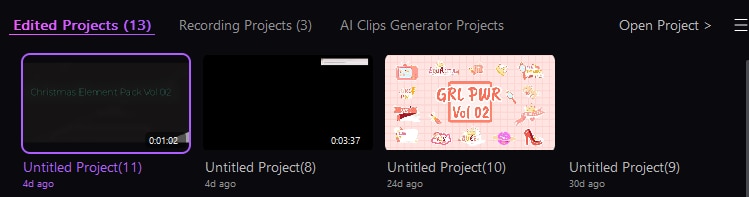
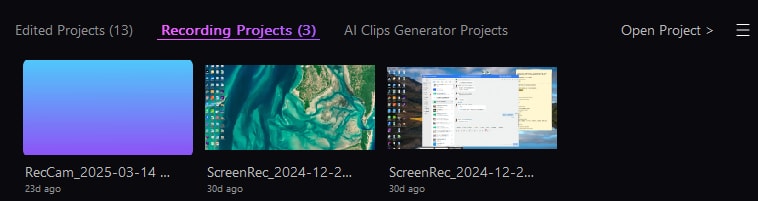
4. Recording Files
In this tab, you can easily access and export your recently recorded projects for quick review and export.
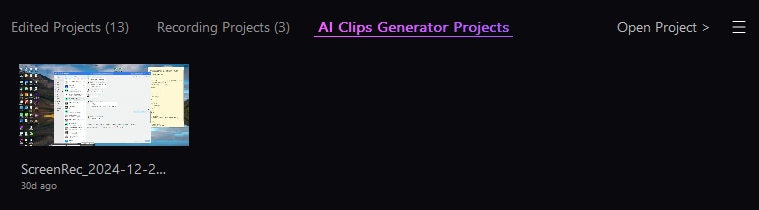
5. AI Clips Generator Projects
In this tab, you can easily access your recent AI Clips Generator projects for quick review and export.