DemoCreator User Guide
How to use Wondershare DemoCreator? Learn the step by step guide below
DemoCreator User Guide
-
Drawing Tools
-
Install & Uninstall Extension
-
Record Browser Tab
-
Get Started
-
Video Recorder
-
Video Presentation
-
Video Editing
- Import Media
- Basic Video Editing
- PIP (Picture in Picture) Mode
- Transition Effects
- Annotation
- Caption (New Auto-Caption)
- Stickers
- Filters
- AI Text-to-Speech
- AI Object Remover
- AI Vocal Remover
- AI Voice Changer
- AI Beauty Filter
- DemoCreator Templates
- Brand Kits
- Thumbnail Maker
- AI Text-Based Editing
- AI Clips Generator
-
Audio Edit
-
DemoCreator Effects
-
Export & Share
-
Keyboard Shortcuts - Windows
DemoAir User Guide
-
DemoCreator Cloud Service - Get Started
-
Video Creation Mode
-
Export&Share
FAQs
Basic Video Editing
Once you've imported your files, you can start editing them. In this section, you'll learn how to perform basic video editing tasks for a polished final video.
Index
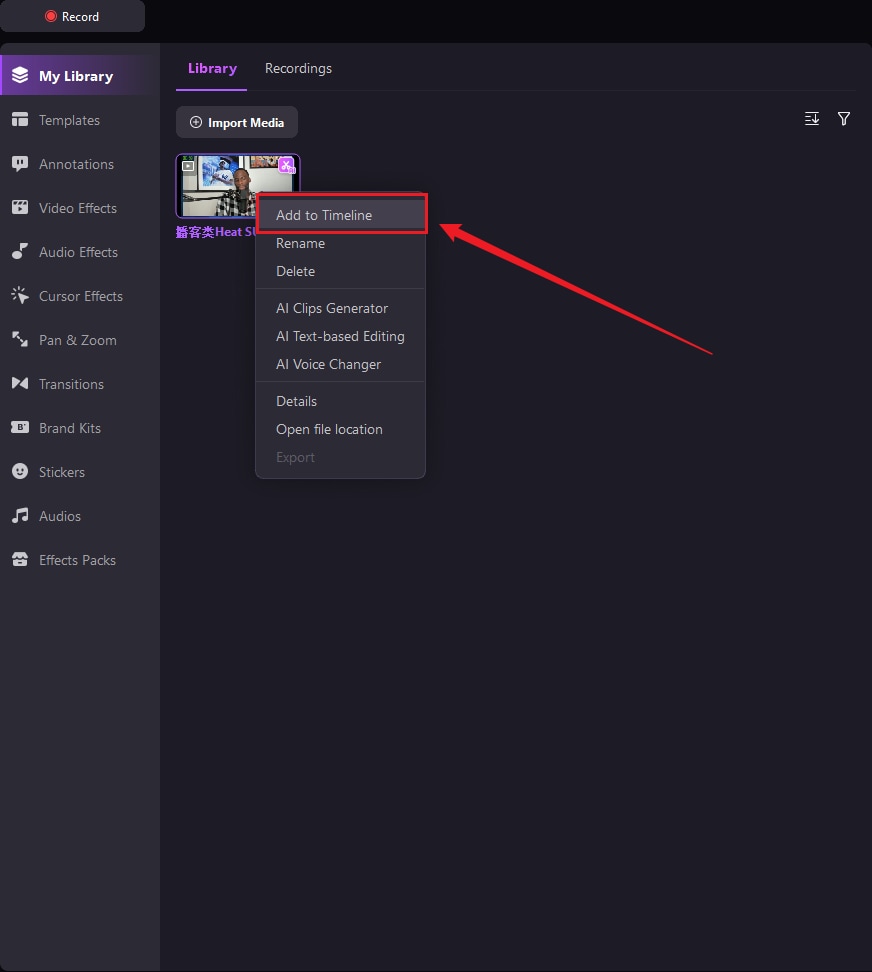
1. Add Media Files to Timeline
There are several ways to add media to your timeline. And double-click the file you can preview it
- Drag and drop media files from the Media Library to the timeline or to the Preview Window
- Right-click a media file and select Add to Timeline at Playhead
2. Trim Videos Clips
Select the clip and then cursor to the clip edge, then drag it forward or backward to trim your clip.

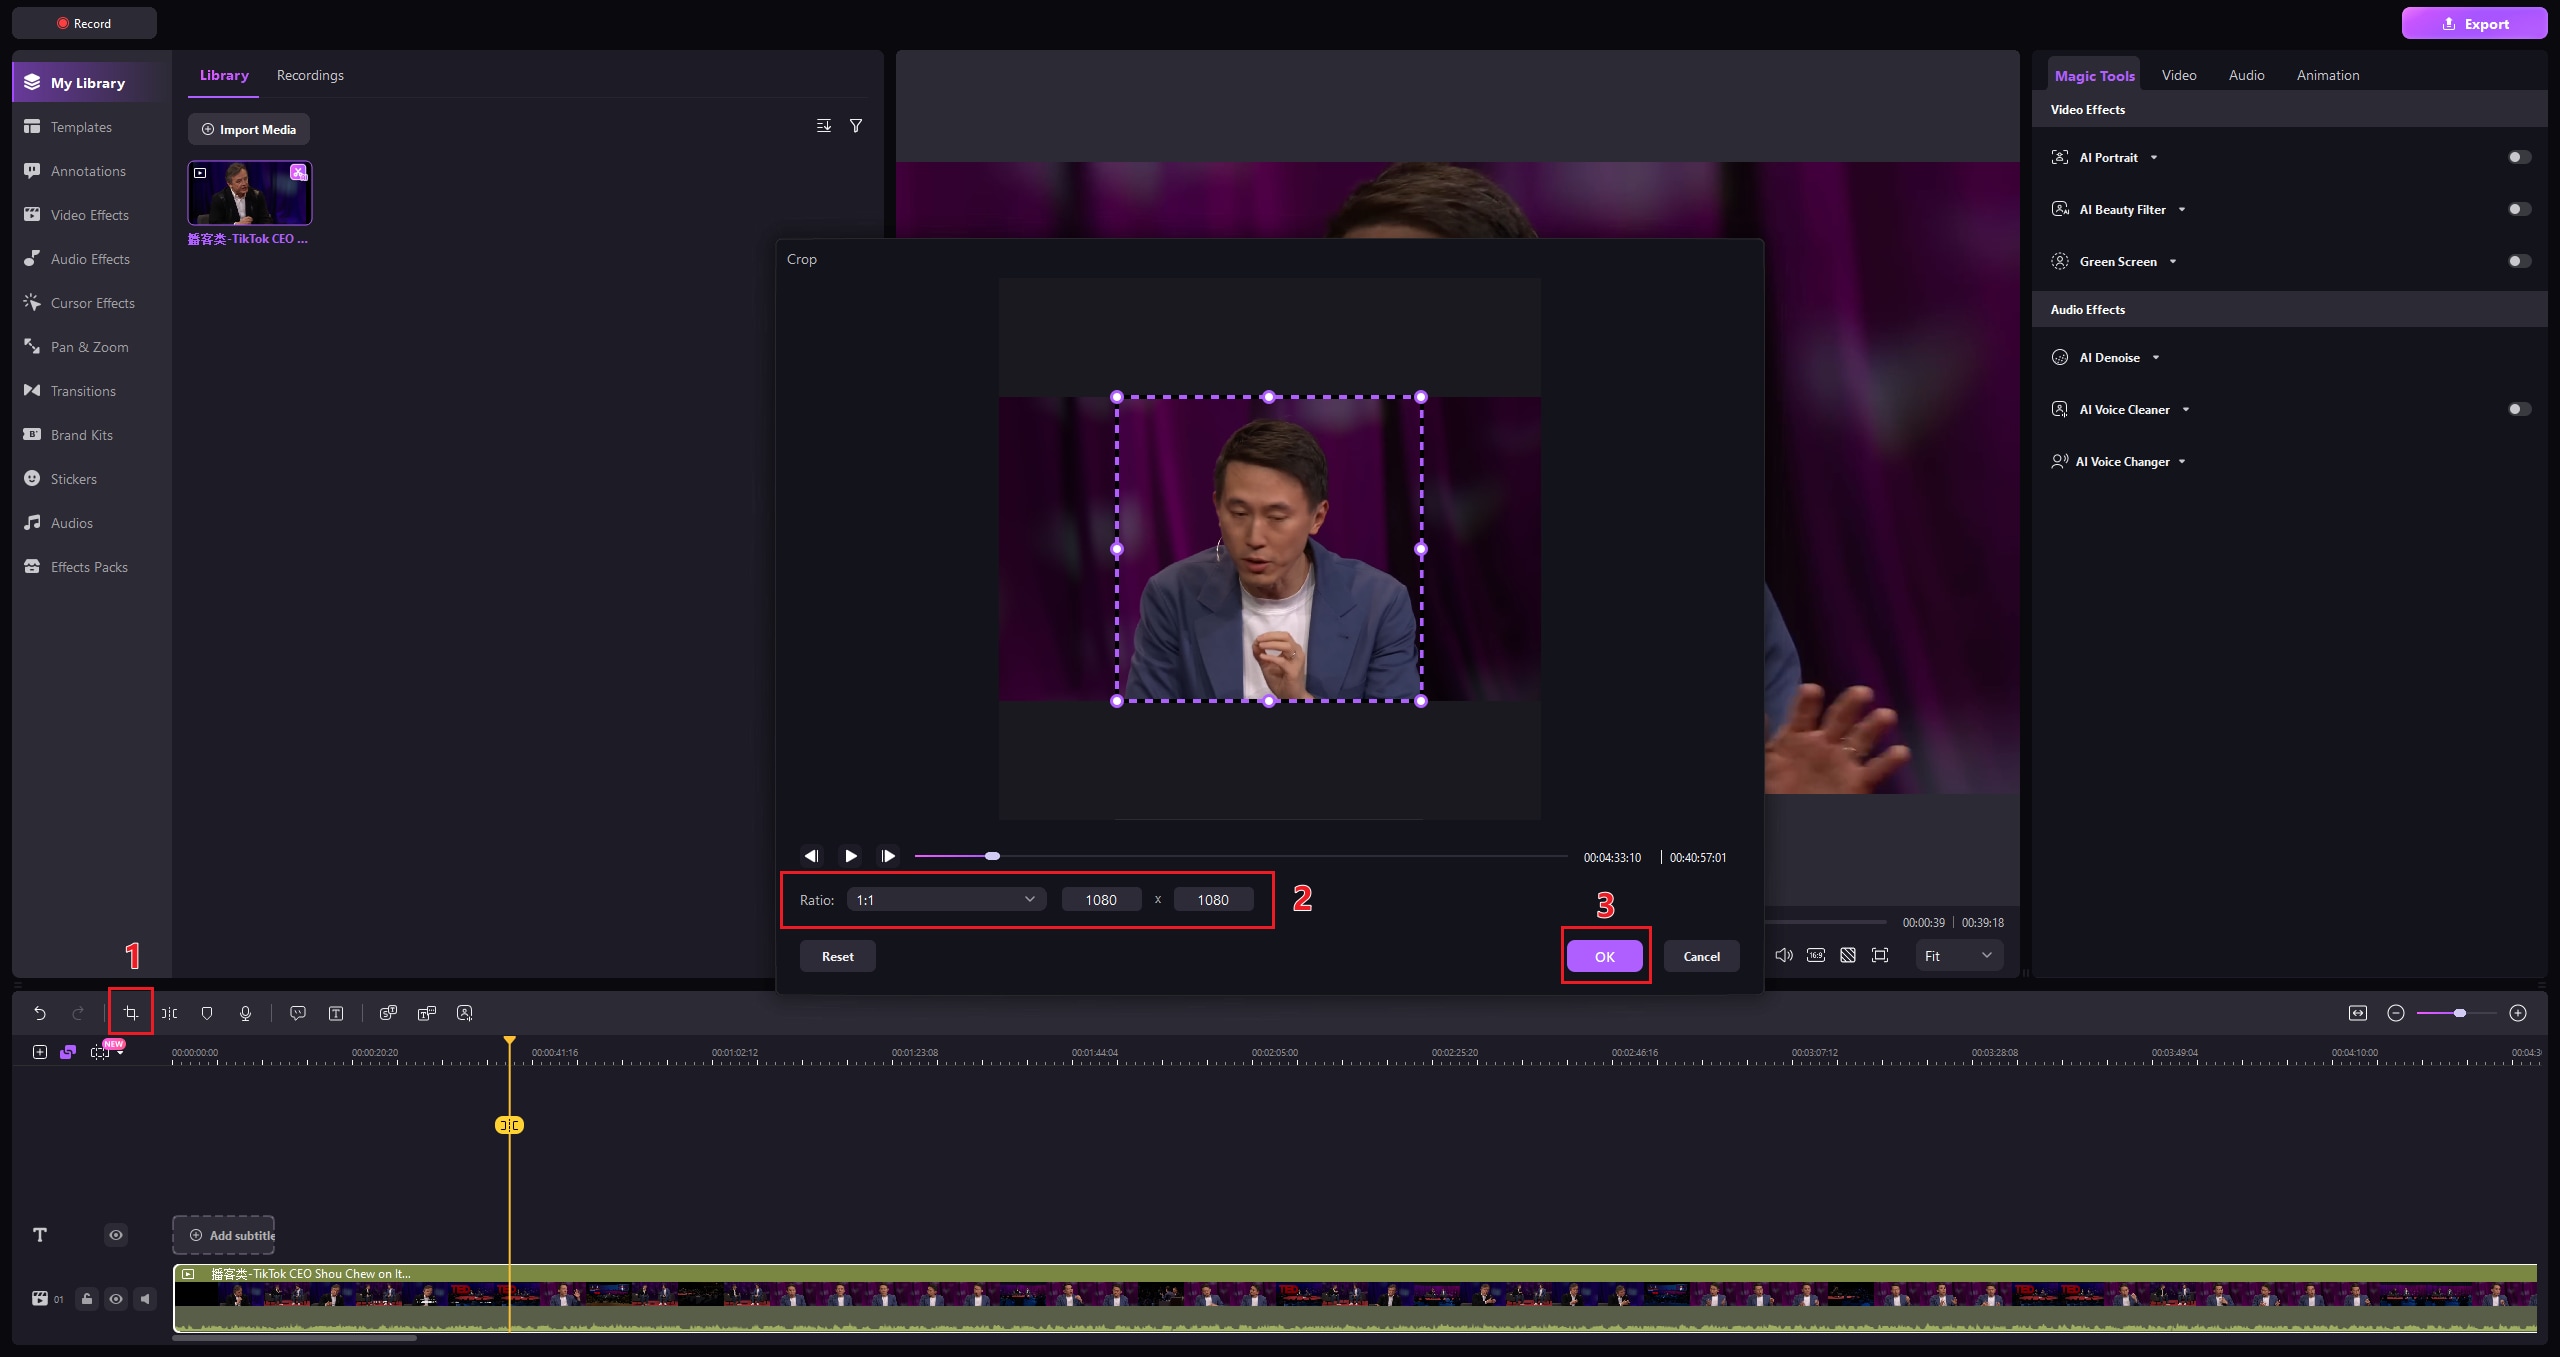
3. Crop Video Clips
You can crop your video down in Crop mode. Click the Crop button.
In the pop-up crop window, you can change the portion of the clip you want to crop down to. And then click OK to finish the settlement.
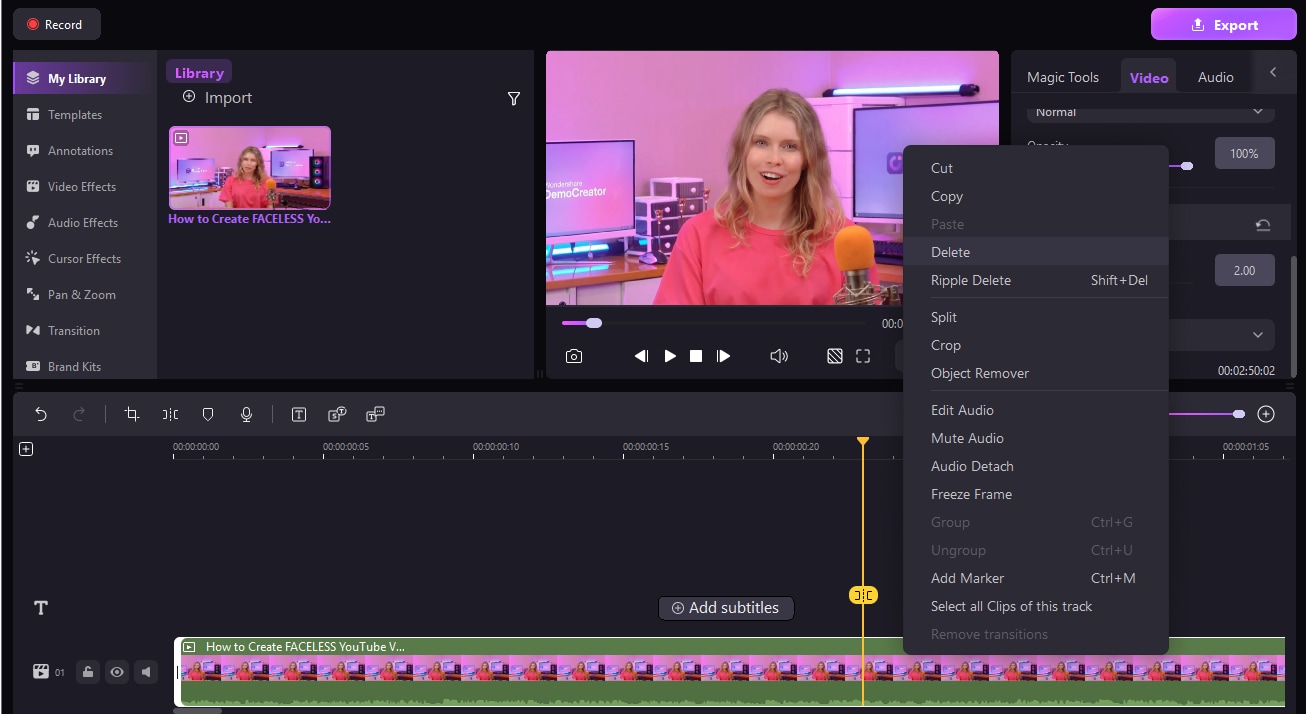
4. Split Video
You can split your video into separate clips and then edit those clips separately. Here's how:
Place the Playhead over the clip you want to split.
Choose the clip you want to split, Right-click and choose Split, or click on the forth icon on the toolbar or on the playhead.
![]()
![]()
5. Cut Video Clips
Right-click on the clip you want to cut and select Cut.
To cut a section of a clip, place your playhead before the section you want to cut and split the clip in two. Then, place your playhead at the end of the section you want to cut and split it again. Once you have split your clip twice, you will have three clips. Right-click the middle clip and select Cut, or simply drag it to a new location.
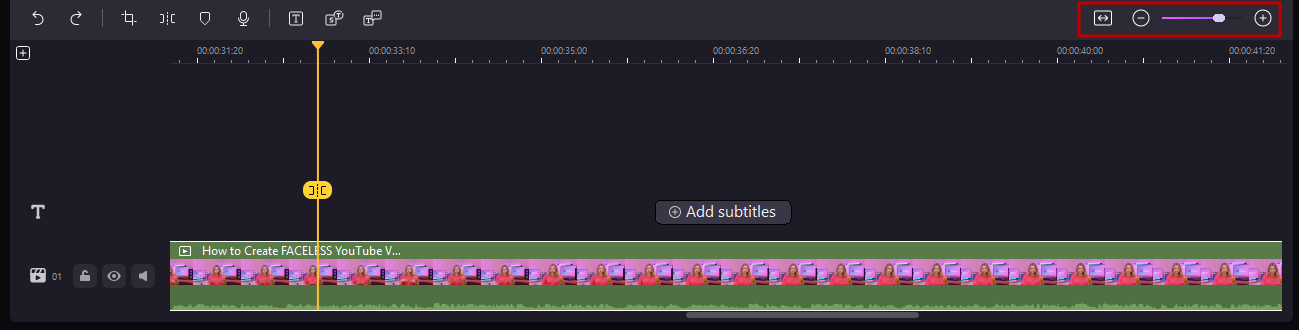
Note: You can use the zoom slider to get a different view of your timeline.
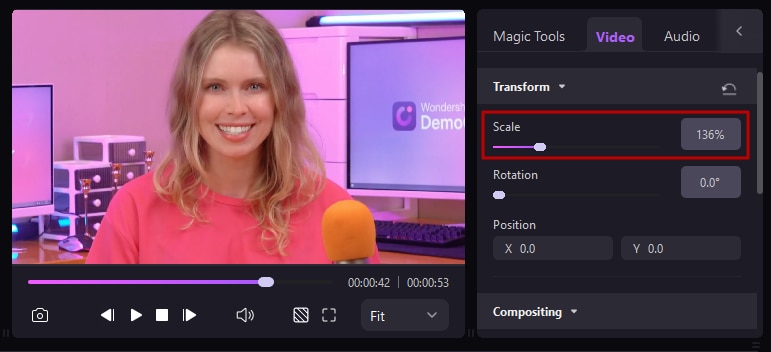
6. Resize Videos
Click the clip, hover your mouse to drag the purple frame to resize the video on the preview board, or go to the properties area, change the percentage of Scale.
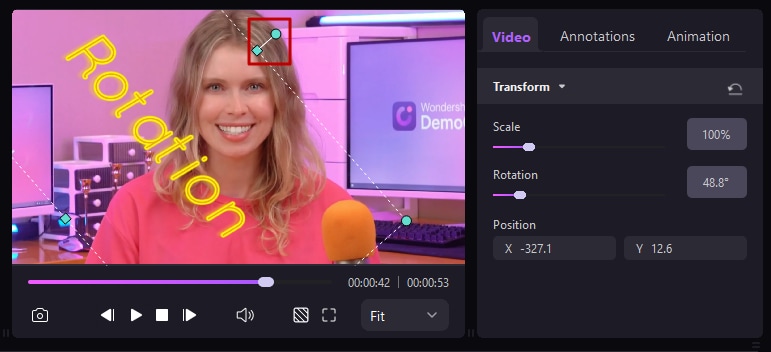
7. Rotate Video Clips
To rotate a clip, select the clip in your timeline and adjust the Rotation settings under the properties area.

You can also rotate the clip using the center handle in the Preview Board.
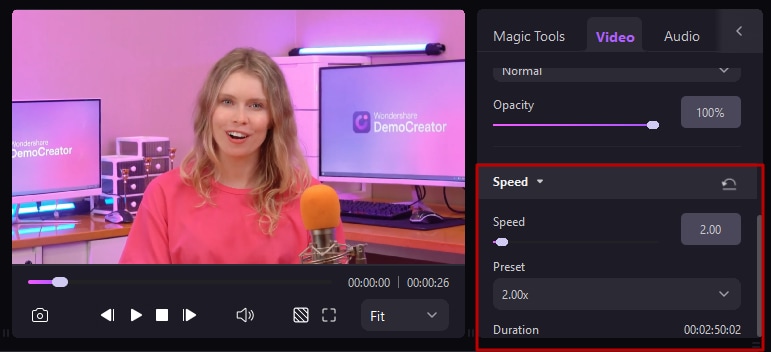
8. Change the Clip Speed
To speed up or slow down media, select the video clip in the timeline, and change the speed in the properties area to get the desired effect.
9. Delete Media
Select the clip you want to delete from your timeline and press Delete on your keyboard. Or, right-click on the clip and select Delete.
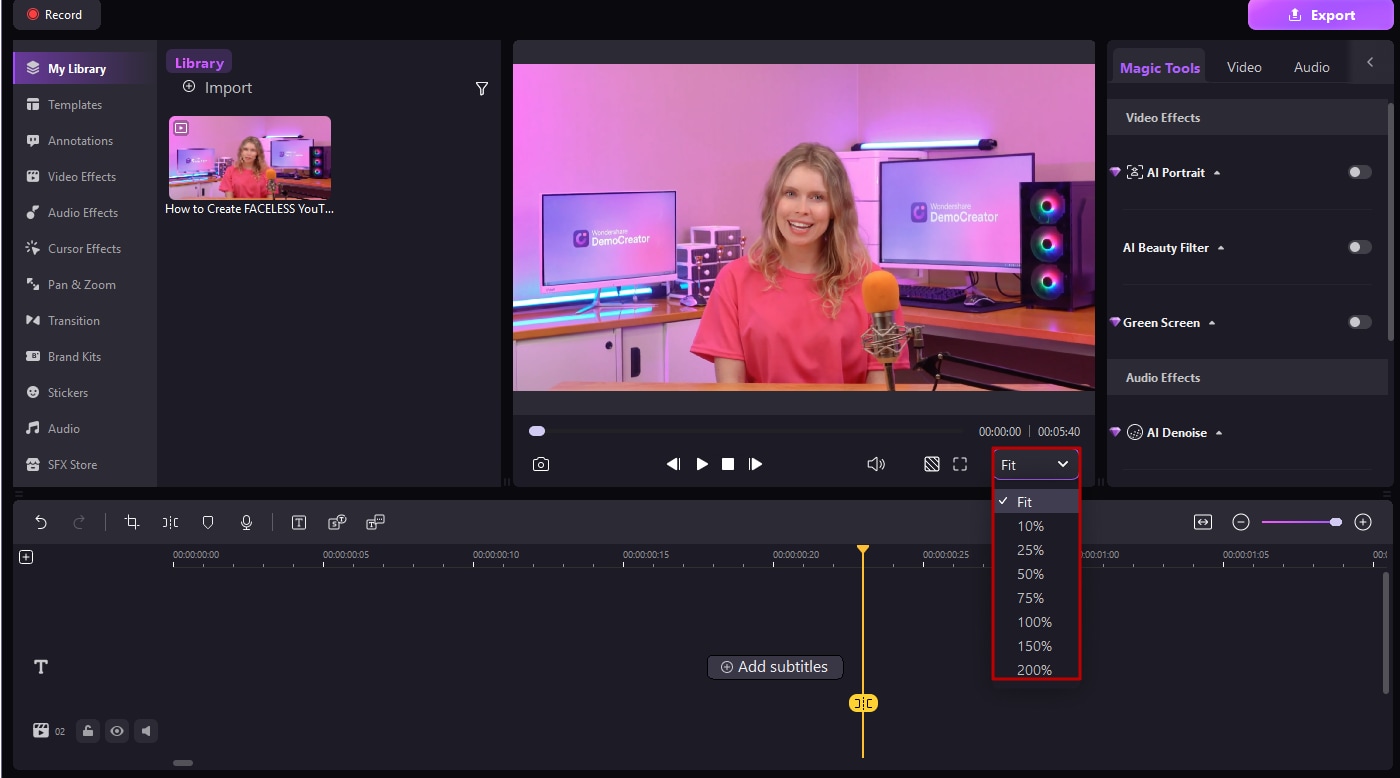
10. Playback Resolution
In the preview window, right-click on the clip, then you can choose the playback quality in the drop-down list.
11. SnapShot
Below the Preview Window, click the Snapshot icon to take a still image of a video frame. You will be able to find your Snapshot here: C:/Users/admin/Documents/DemoCreator.

12. Voice Recorder
Use VoiceOver to record yourself talking. This is a great way to give viewers more information. Just click the Voice Over icon in the toolbar. You can even play your video back while you create this audio recording.
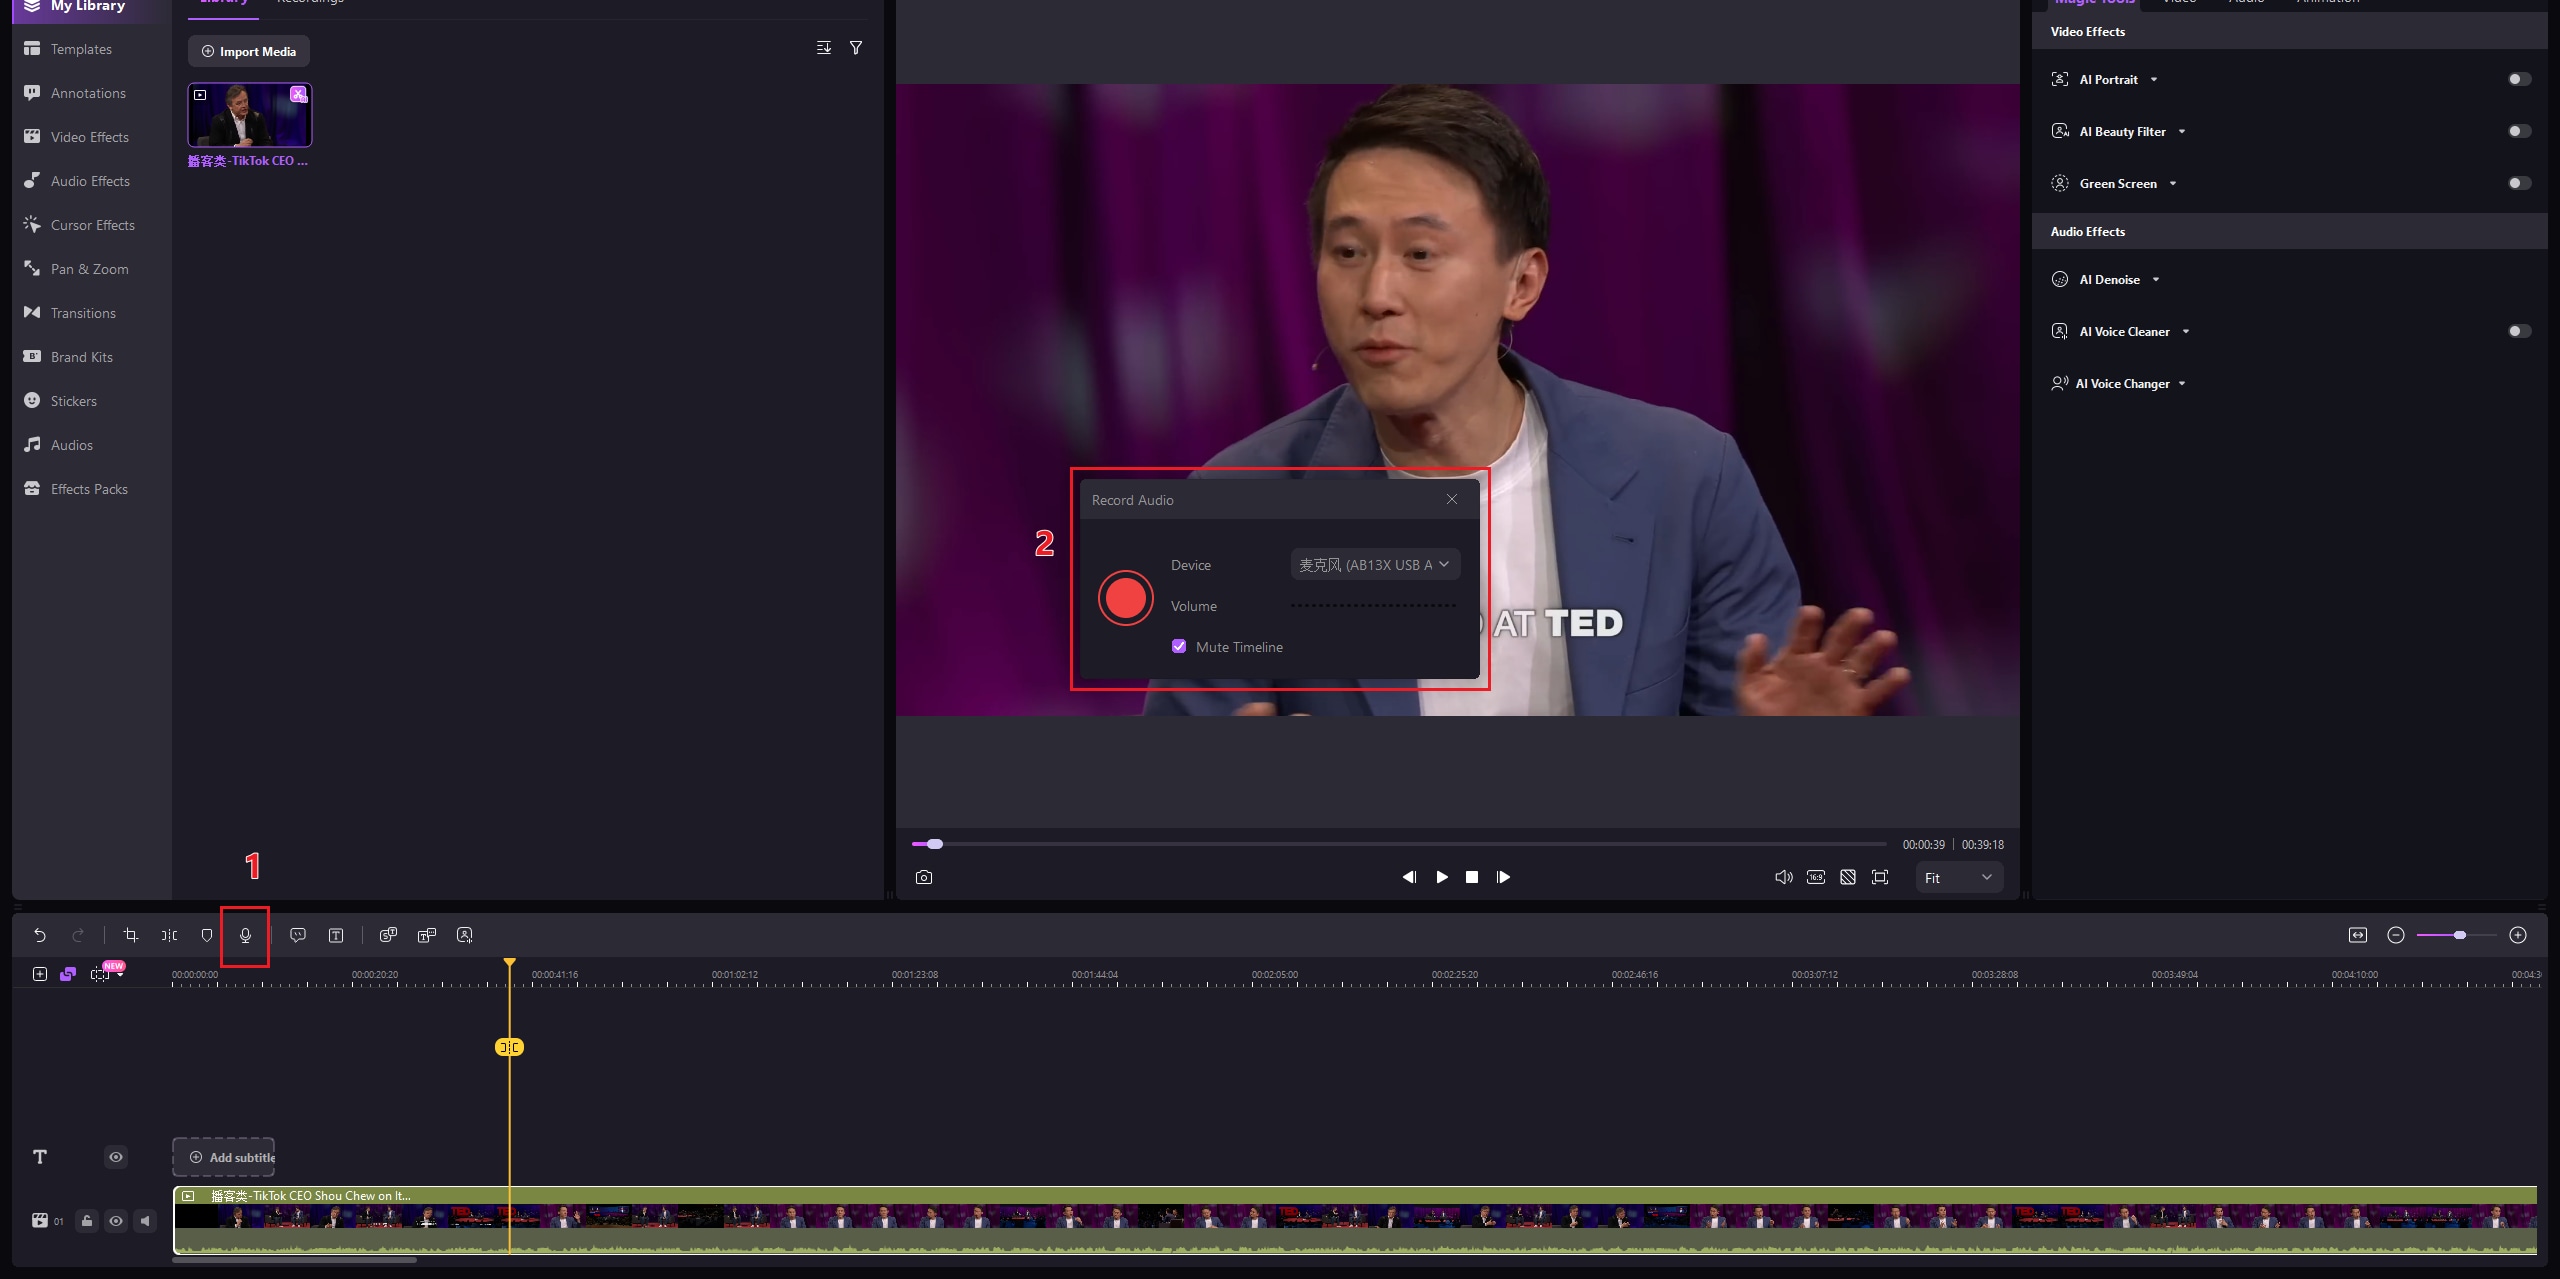
Note: Before recording audio, please connect your recording device (i.e. a microphone) to your computer.
13. Add Marker
You can add markers to important frames. Click the marker icon in the toolbar to add a marker to the timeline.

Or right-click the clip, then you can find Add Marker in the drop-down list.

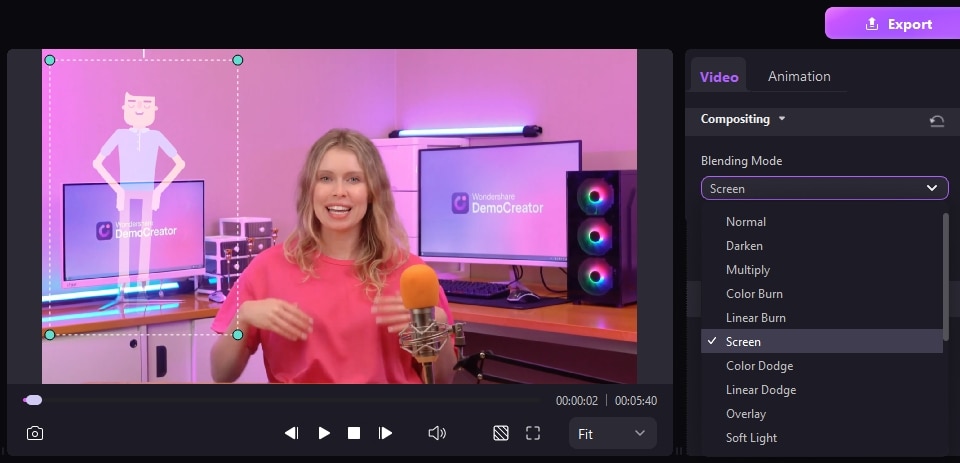
14. Compositing
Blending mode will allow you to access a number of effects, like Darken and Color Dodge. You can also adjust the opacity of an overlaid image. Go to the Property Area and click Compositing to access this feature.
15. Record Hotkeys
It is important to let viewers know what hotkey is being used without misunderstanding, especially when you use a lot of hotkeys to record a video.
At the top right of the property area, click the HotKey Tips tab and then click Enable. You can set the size, filter, position, style, color, and opacity of your hotkeys.
Note: Hotkeys will only appear in your exported videos and not in your recordings as you make them.
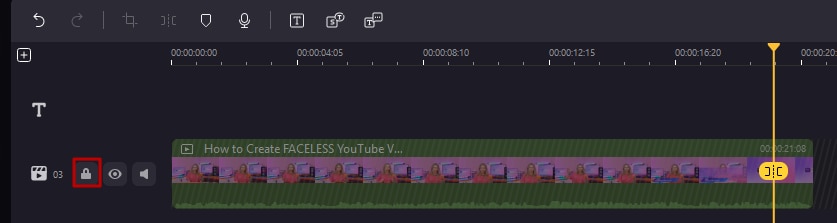
16. Toggle Track Output and Track Lock
By toggling the track output button on and off, you can choose whether or not a track will appear in your exported video.
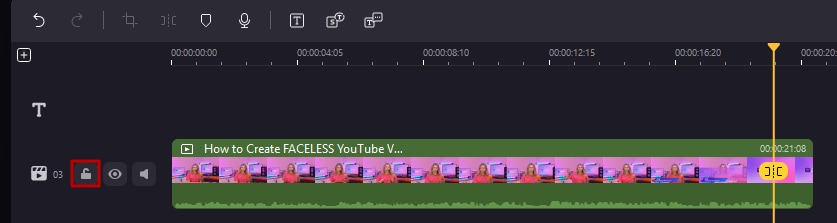
By toggling the track lock on and off, you can choose whether or not a track is editable.
17. Group Clips & Batch Processing
With clip groups and batch editing, you can effortlessly apply a set of transforms, effects, and format conversions to many clips at once.
Select the clips as much as you want and apply transition, scale, rotation, blending or other effects, all settled with one click.

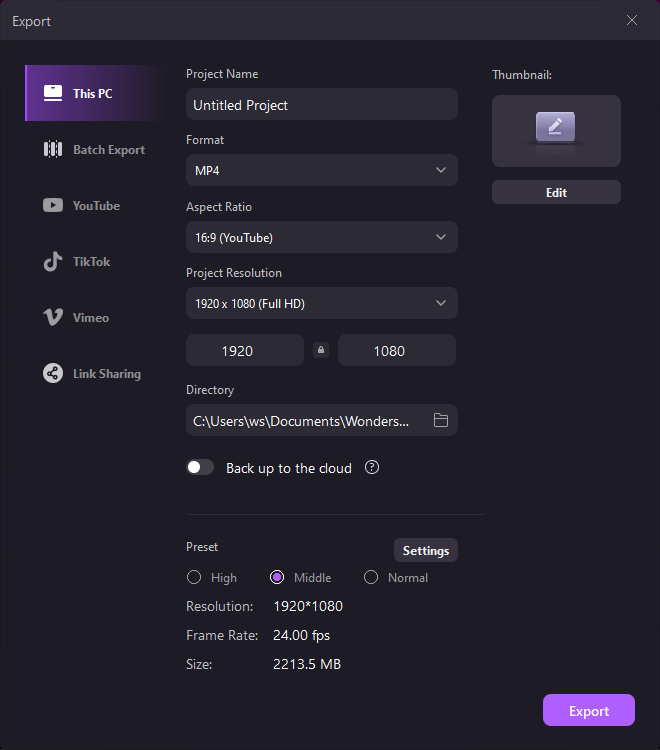
18. Export
After you've finished editing you can export your video as an MP4, WMV, AVI, MOV, GIF and MP3 file. You will be able to name your video and choose a location to store the exported file. You will also be able to adjust your video's resolution, frame rate, bitrate, and other settings in this Export window. When you've finished your settings, click Export.