DemoCreator User Guide
How to use Wondershare DemoCreator? Learn the step by step guide below
DemoCreator User Guide
-
Drawing Tools
-
Install & Uninstall Extension
-
Record Browser Tab
-
Get Started
-
Video Recorder
-
Video Presentation
-
Video Editing
- Import Media
- Basic Video Editing
- PIP (Picture in Picture) Mode
- Transition Effects
- Annotation
- Caption (New Auto-Caption)
- Stickers
- Filters
- AI Text-to-Speech
- AI Object Remover
- AI Vocal Remover
- AI Voice Changer
- AI Beauty Filter
- DemoCreator Templates
- Brand Kits
- Thumbnail Maker
- AI Text-Based Editing
- AI Clips Generator
-
Audio Edit
-
DemoCreator Effects
-
Export & Share
-
Keyboard Shortcuts - Windows
DemoAir User Guide
-
DemoCreator Cloud Service - Get Started
-
Video Creation Mode
-
Export&Share
FAQs
Live Streaming with DemoCreator
Index
1. Supported Live Stream Platforms
Here is the total list of Live Stream Platforms that DemoCreator currently work with:
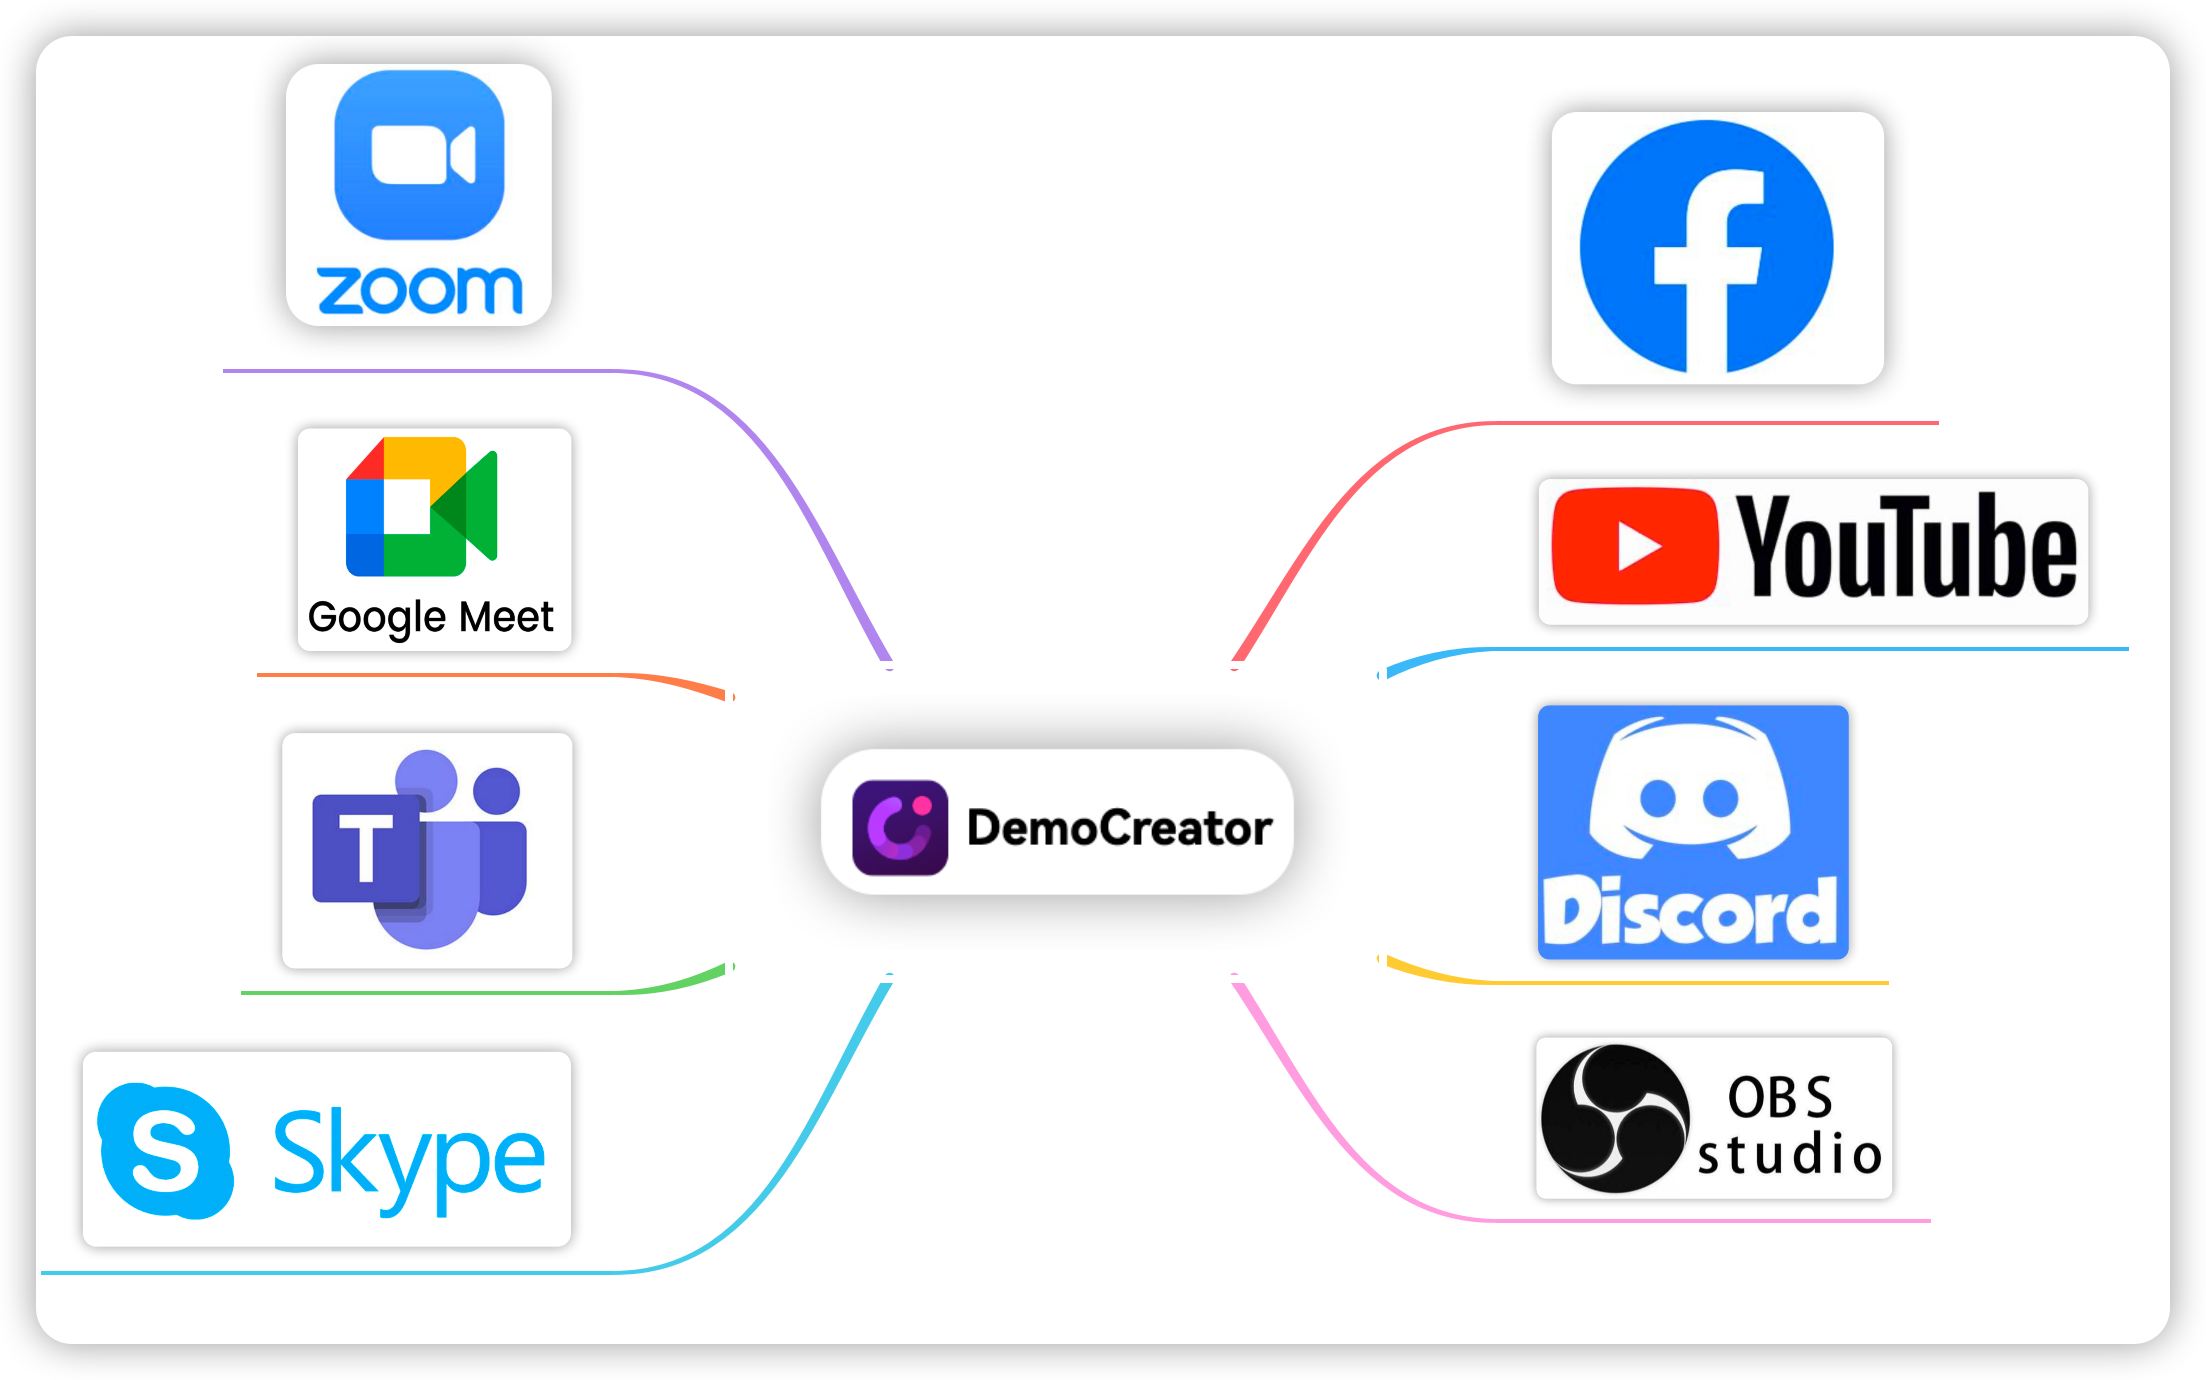
DemoCreator can help you make live-streaming on conference platforms and live-streaming platforms, such as Zoom, Skype, Teams, Google Meet, YouTube Live, Facebook Live, and other platforms easily.
2. What can DemoCreator do with Live Streaming
Live Streaming is an effective way to share your knowledge and thoughts with the audience from all over the world. Through talking, sharing, and interacting, helping to convey your message and make a lasting impact.
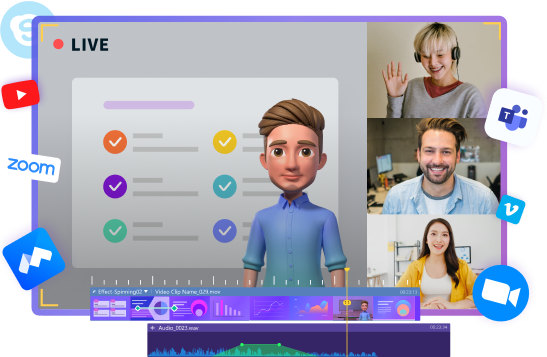
DemoCreator is a powerful and effective live-streaming service that allows you to broadcast your live content to your favorite streaming platforms simultaneously. DemoCreator helps you to make live-streaming on Twitch, YouTube Live, and other live stream platforms easy, attractive, and memorable.
① Drive action during your live streams
Numerous built-in elements and virtual animated backgrounds help to add a call-to-action or other important messages to make your viewers take action.
② Engage with your audience in real-time
The text tool helps to highlight messages from all your channels to drive engagement.
3. Preparations for Live Streaming in the DemoCreator
①Launch DemoCreator, and select “Video Presentation.”
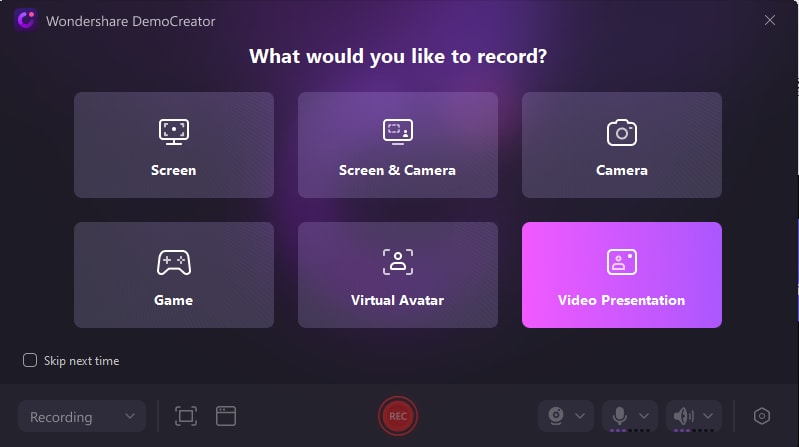
②In the DemoCreator Video Presentation mode, you can prepare your content through different tools.
- Select a window to record.
- Set up the webcam, you can try the CAM Effect, which will help you to adjust the webcam settings and create a more visually pleasing presenter.
- Add a virtual background, and change your backdrop to a variety of fun but professional backgrounds, making your live stream more attractive.
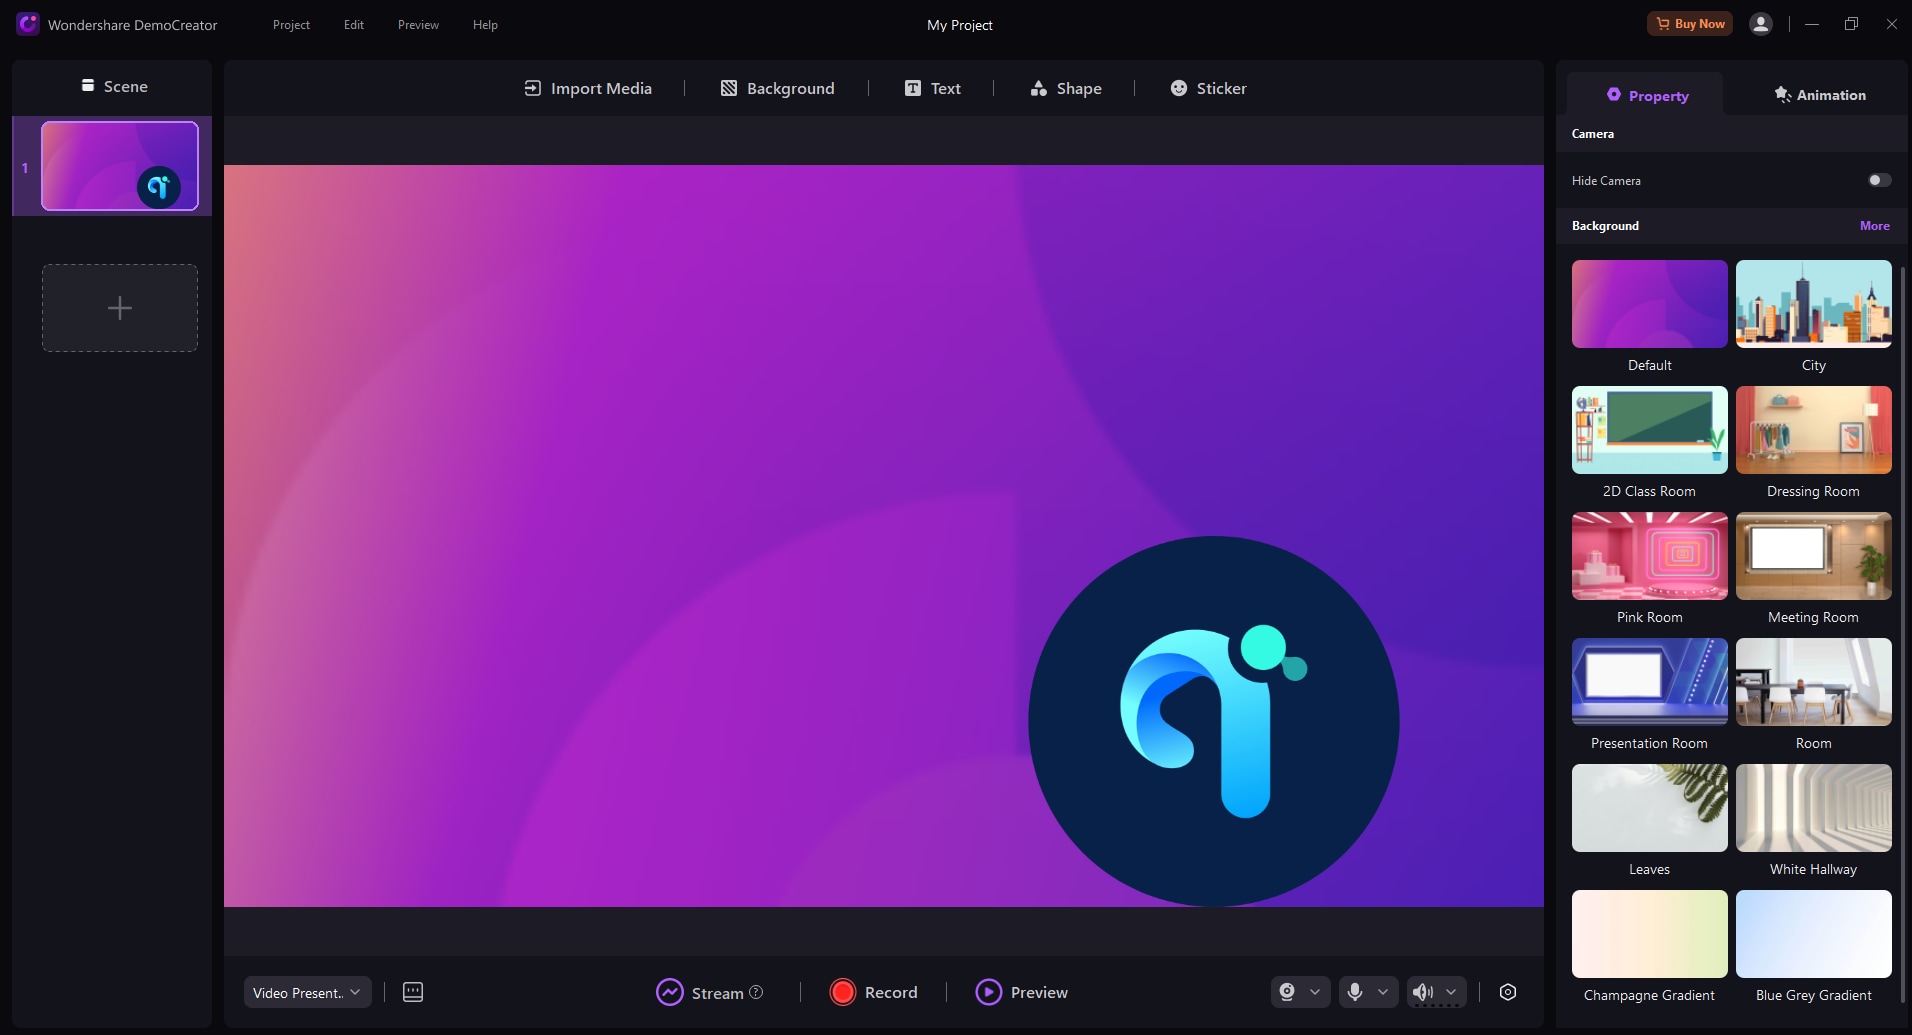
③ Click the "Stream" button to start the live stream.

4. Live Streaming on Twitch with DemoCreator
Twitch is an interactive live-streaming service for content spanning gaming, entertainment, sports, music, and more. DemoCreator helps to broadcast to the streaming platforms.
Before-Start Note: Both DemoCreator and Twitch need to be opened on a Windows device to establish the connection. And please ensure you've finished the preparations for live-streaming in the DemoCreator.
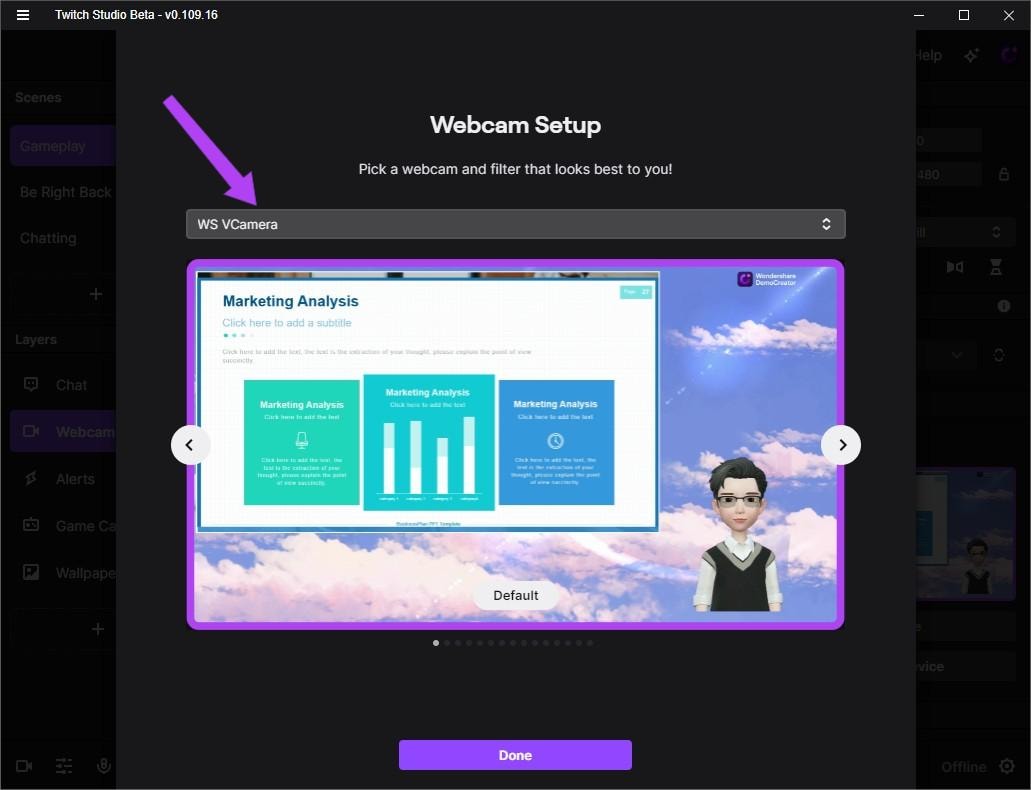
Step1. Launch Twitch, set the webcam and microphone input, and find the webcam settings.
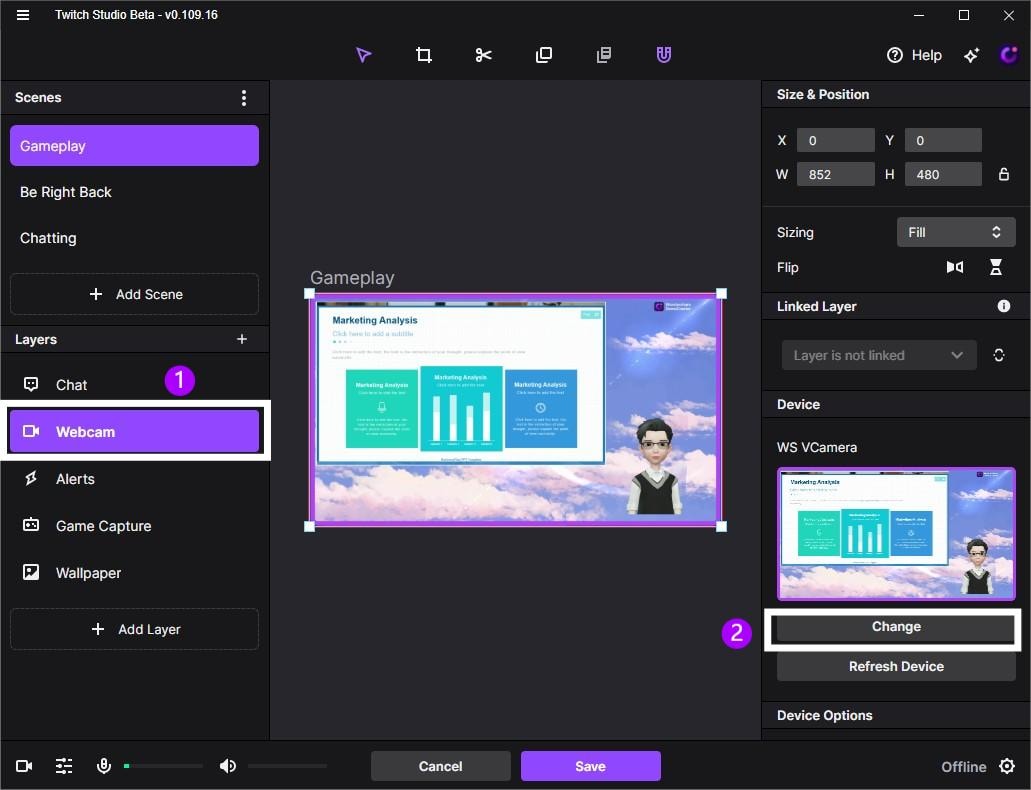
Setp2. Set the webcam input as “DemoCreator Virtual Camera”, then save the settings.
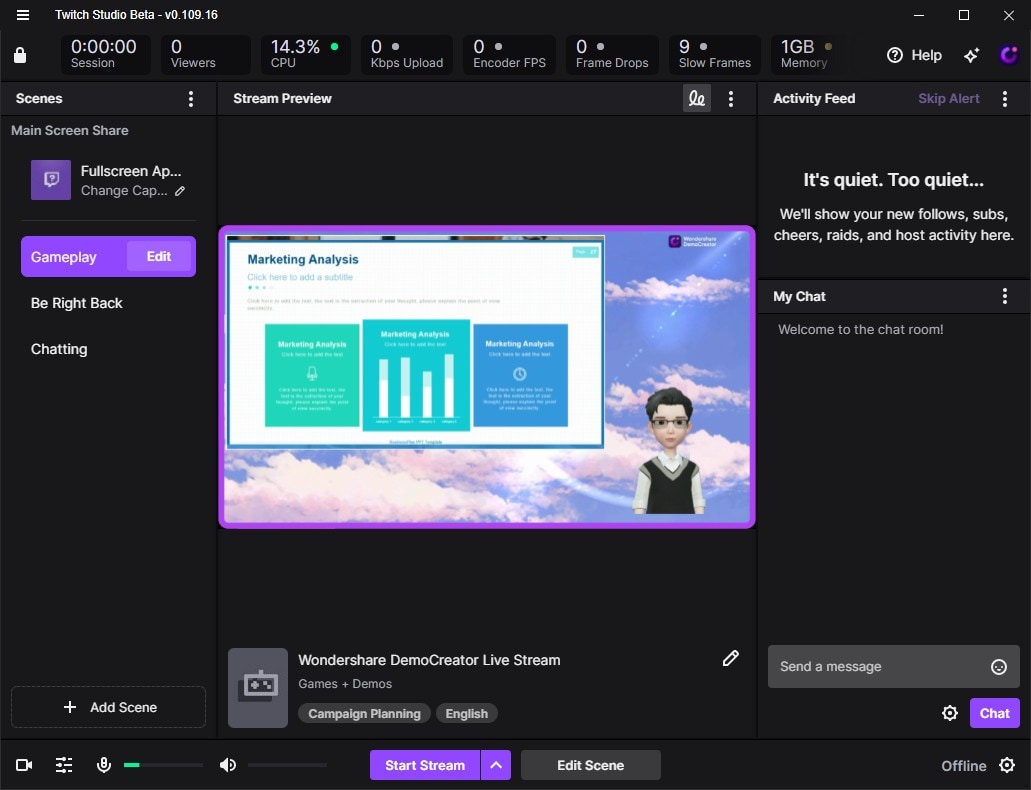
Step3. After finishing all the settings, click “Stream” to start your live streaming on Twitch.
5. Live Streaming on YouTube Live with DemoCreator
Before starting, please ensure you've finished the preparations for live-streaming in the DemoCreator.
Below are the steps to go live on YouTube Live:
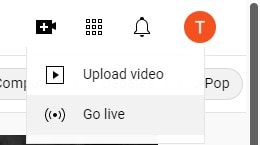
Step1. Go to YouTube and log in to your YouTube account, click the "Create" icon in the top right corner and choose Go Live.
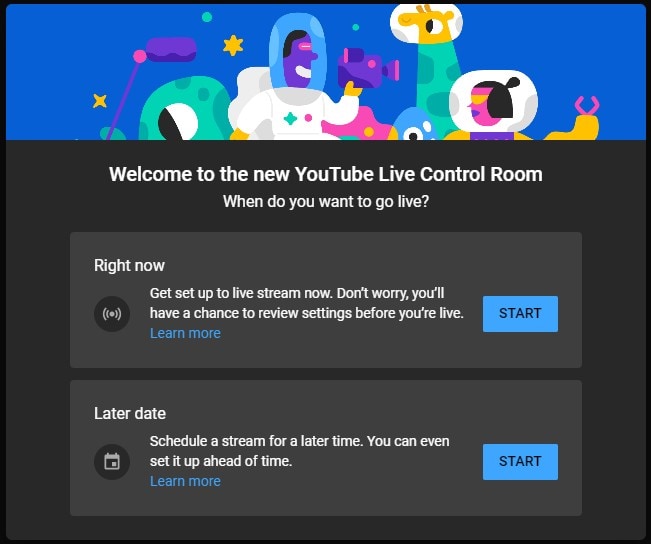
Step2. Choose the time to go live, right now or later date.
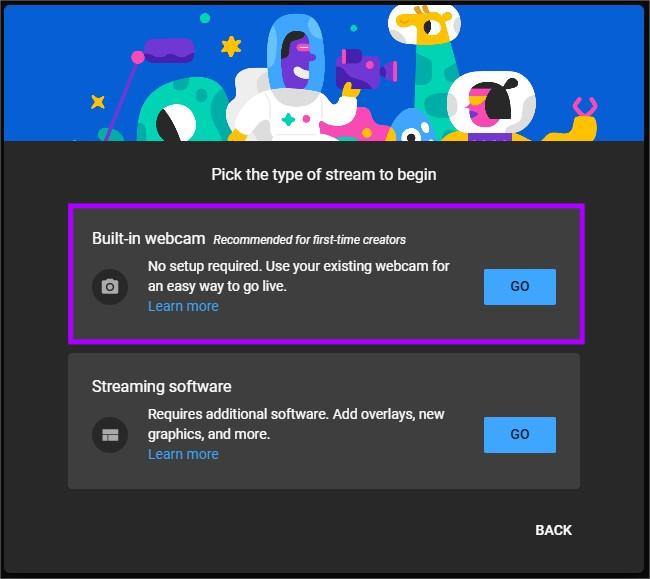
Step3. Pick the type of stream to begin, choose Built-in webcam and click Go. And allow YouTube to access your microphone and camera.
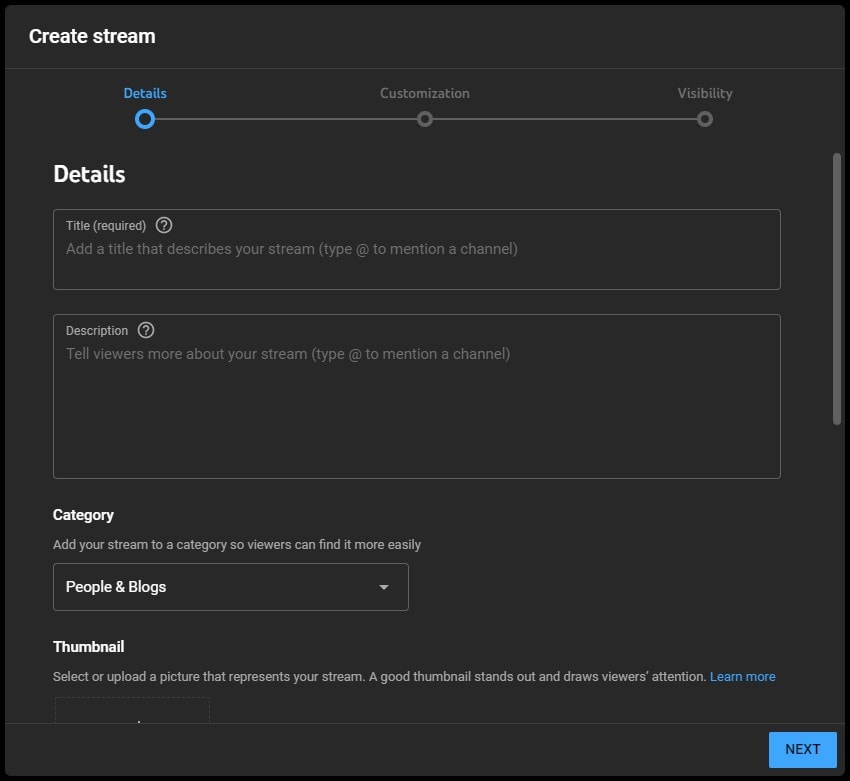
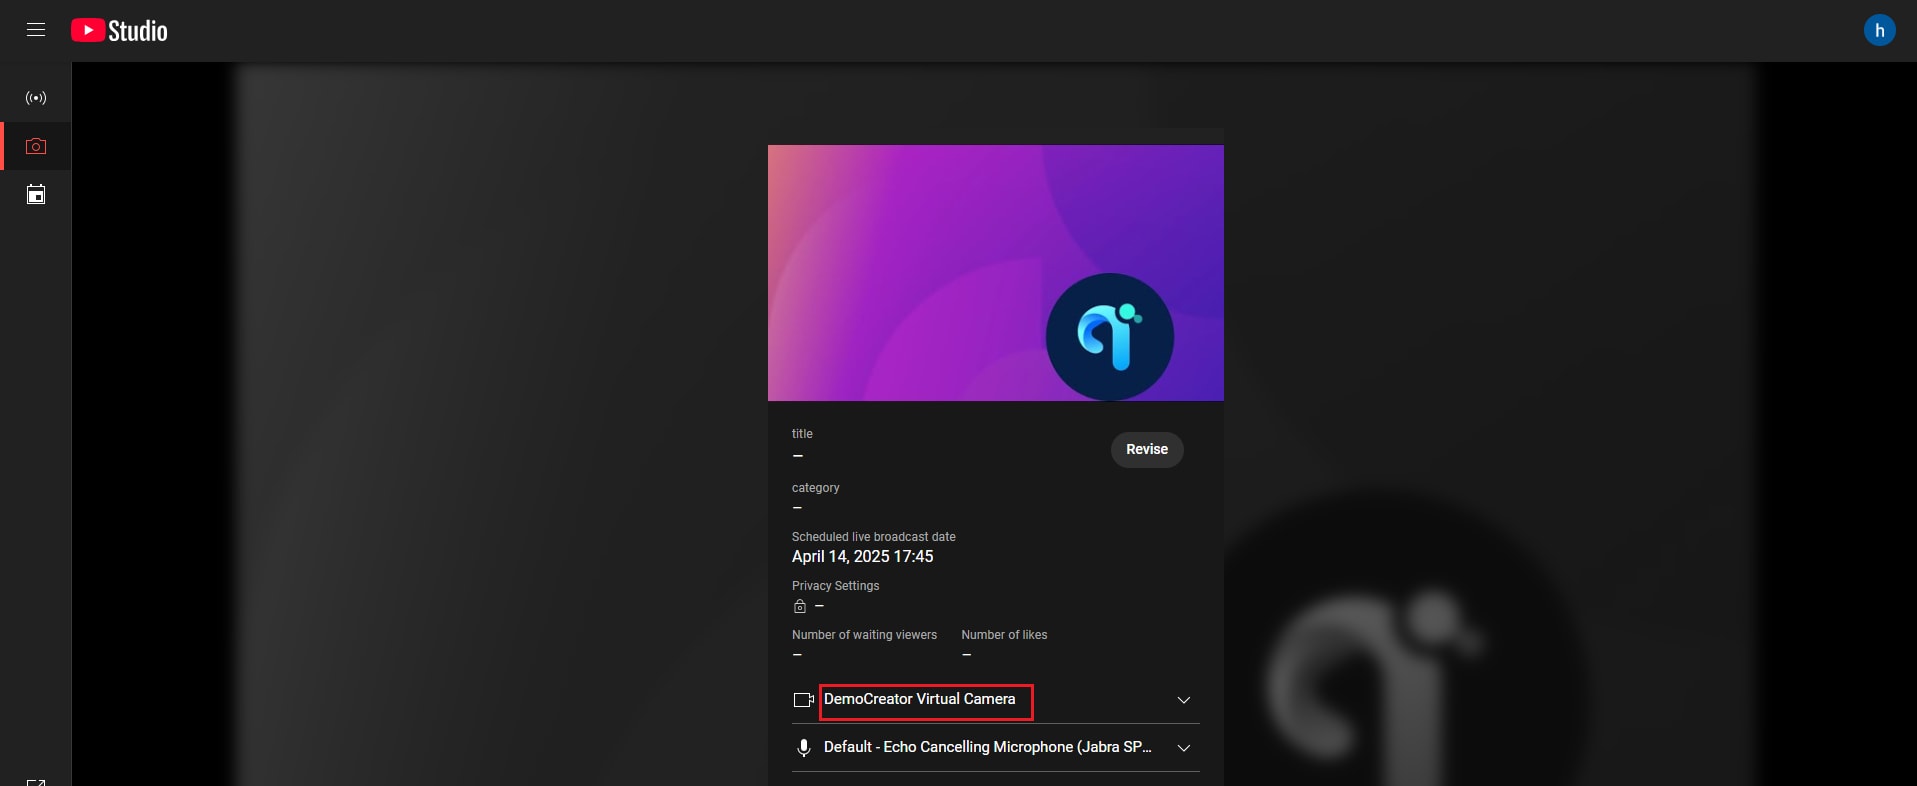
Step4. Fulfill all the stream details, customize stream settings, and set up the visibility.
Step5. Under the Stream Preview, select “DemoCreator Virtual Camera” from the list. Once you’ve selected, you’ll see the camera in the YouTube update to show the same view as in DemoCreator.
6. Connect DemoCreator with Zoom Meeting
The section below walks through how to connect DemoCreator with Zoom meeting.
Before-Start Note: Both DemoCreator and Zoom need to be opened on Windows device in order to establish the connection. And please ensure you've finished the preparations for the meeting in the DemoCreator.
Step1. Launch Zoom, in Zoom Setting, set "DemoCreator Virtual Camera" as your camera input.
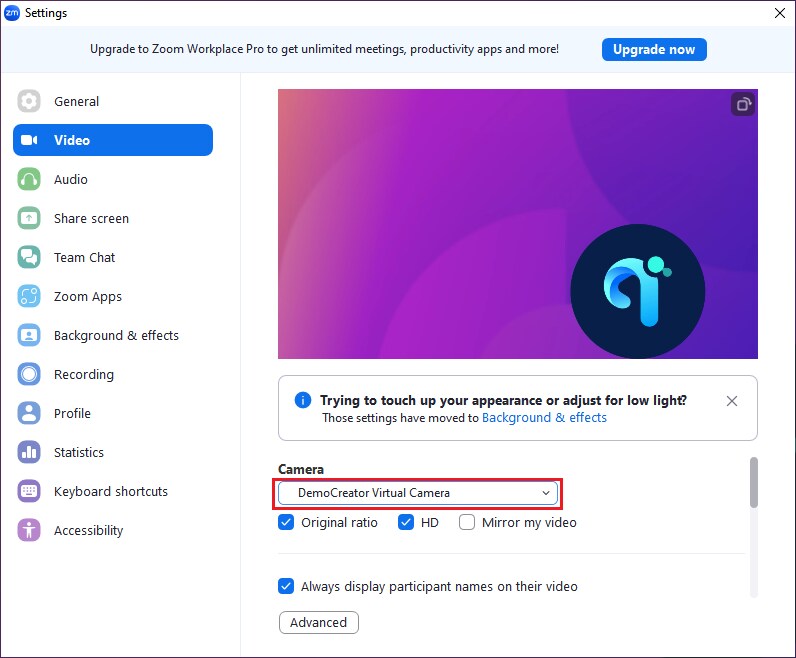
Note:
1. To ensure the quality of the video, you can check "Original Ratio" and "HD".
2. If you find the video is reversed, please select "Mirror my video."
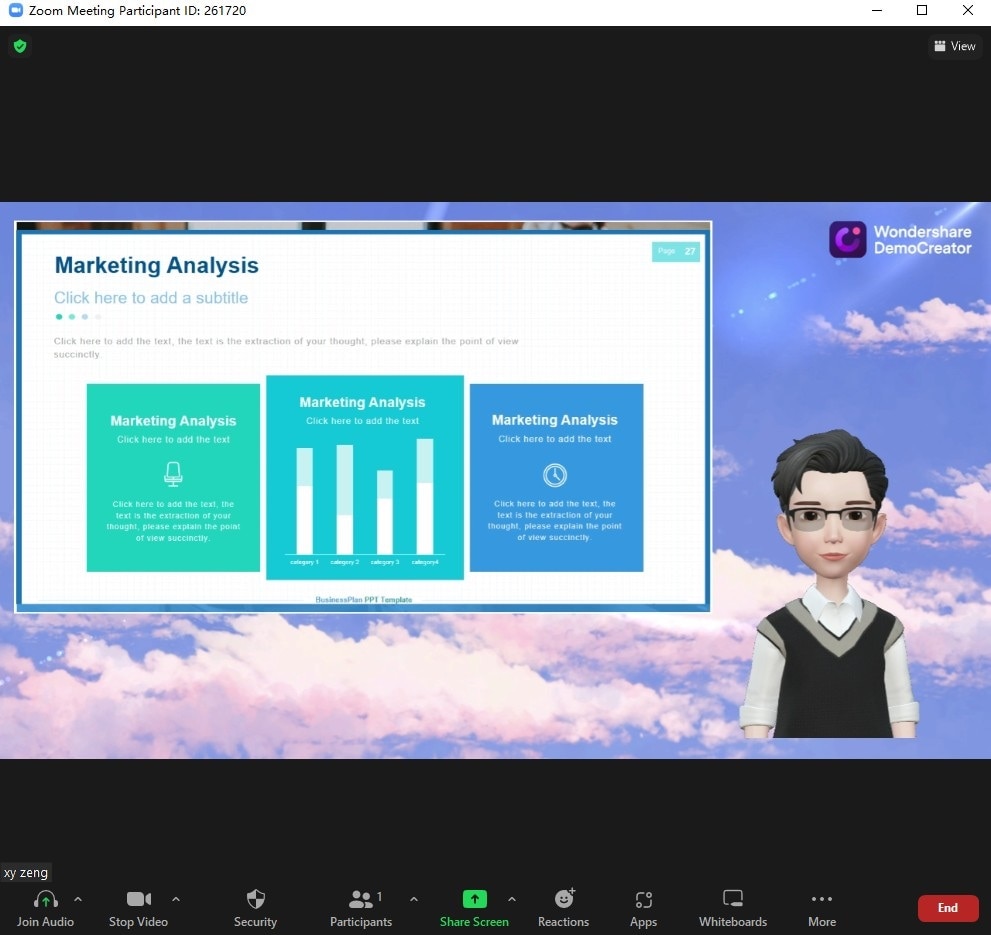
Step2. After you've finished the camera settings, you'll see the camera in Zoom update to show the same view as in DemoCreator.
7. Connect DemoCreator with Google Meet
The section below walks through how to connect DemoCreator with Google Meet.
Before-Start Note: Both DemoCreator and Google Meet need to be opened on Windows device in order to establish the connection. And please ensure you've finished the preparations for the meeting in the DemoCreator.
Step1. Open Google Meet, in Google Meet Setting, set "DemoCreator Virtual Camera" as the camera input.
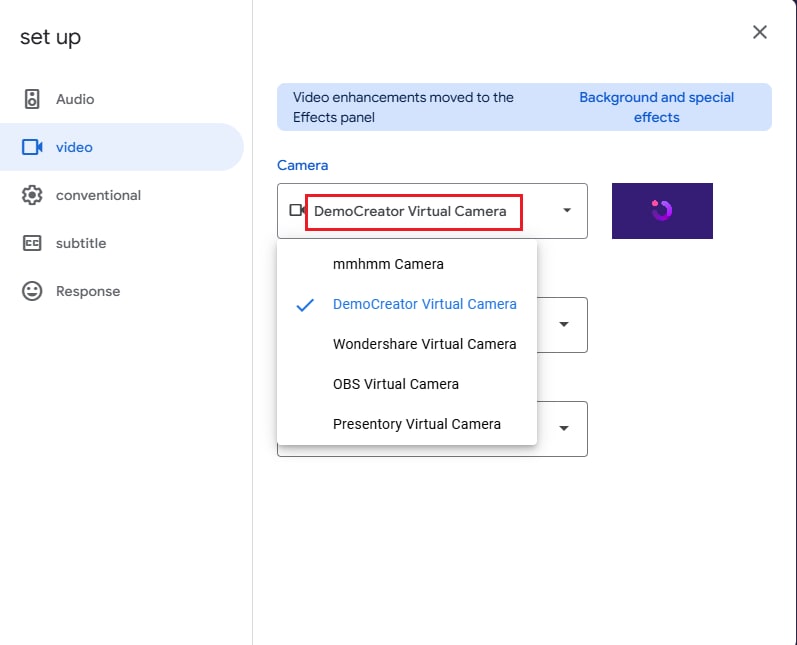
Note: To ensure the quality of the video, you can change the Send and Receive resolution to High definition (720p) .
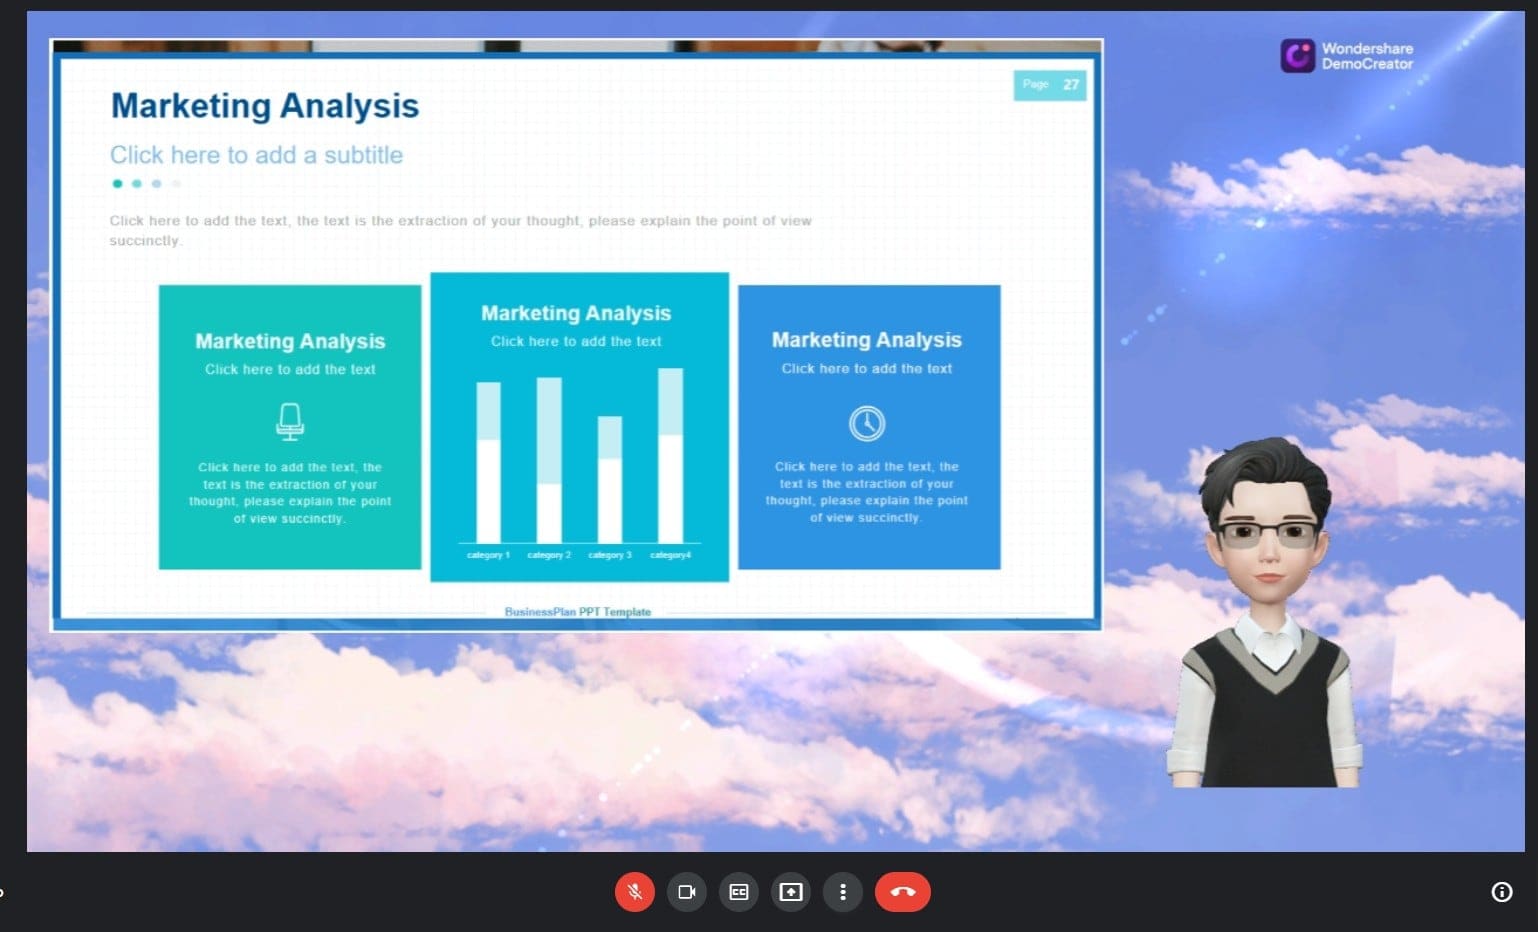
Step2. After you've finished the camera settings, then you'll see the camera in Google Meet update to show the same view as in DemoCreator.