DemoCreator User Guide
How to use Wondershare DemoCreator? Learn the step by step guide below
DemoCreator User Guide
-
Drawing Tools
-
Install & Uninstall Extension
-
Record Browser Tab
-
Get Started
-
Video Recorder
-
Video Presentation
-
Video Editing
- Import Media
- Basic Video Editing
- PIP (Picture in Picture) Mode
- Transition Effects
- Annotation
- Caption (New Auto-Caption)
- Stickers
- Filters
- AI Text-to-Speech
- AI Object Remover
- AI Vocal Remover
- AI Voice Changer
- AI Beauty Filter
- DemoCreator Templates
- Brand Kits
- Thumbnail Maker
- AI Text-Based Editing
- AI Clips Generator
-
Audio Edit
-
DemoCreator Effects
-
Export & Share
-
Keyboard Shortcuts - Windows
DemoAir User Guide
-
DemoCreator Cloud Service - Get Started
-
Video Creation Mode
-
Export&Share
FAQs
AI Voice Changer
If you are looking to tweak and fine-tune the voice in your video or audio file, Wondershare DemoCreator is the ideal tool to use. With the AI Voice Changing feature, you can customize the sound from your video and audio projects with high precision and accuracy.
Follow the guide below to use Wondershare DemoCreator on your Mac.
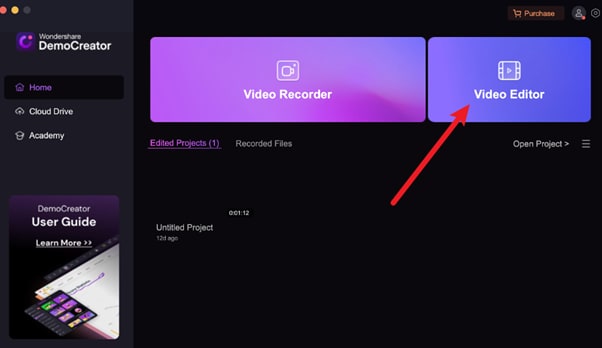
Step 1: Install and Launch DemoCreator
Install and open DemoCreator on your Mac. Then, select the Video Editor icon as your preferred option to work with.
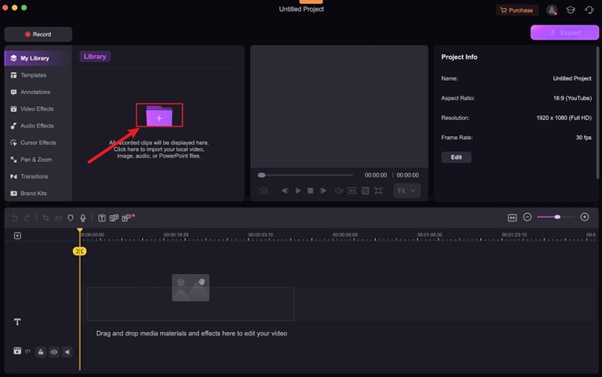
Step 2: Import Your Video or Audio File
Upload a video or audio file from your local storage for editing. To do that, click the + icon on the subsequent screen.
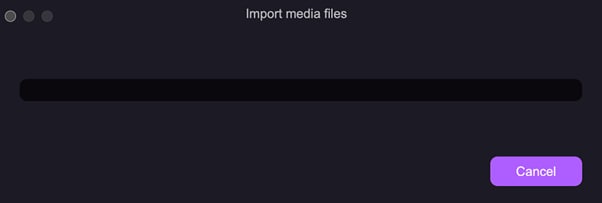
Your video or audio will be uploaded in no time.
Step 3: Apply the AI Voice Changer Effect
Move the video to the timeline panel and click on Audio Effects on the left sidebar.
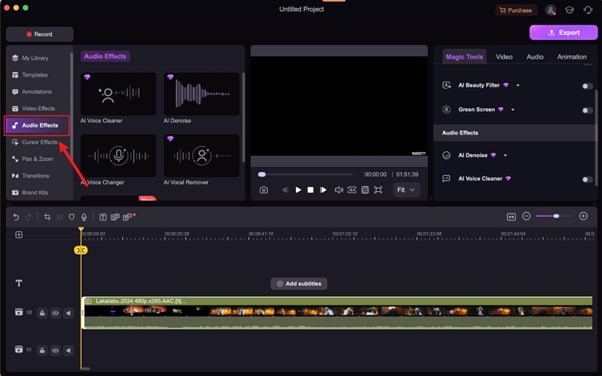
To use AI Voice Changer, drag and drop the AI Voice Changer icon to the timeline where you have the video or audio.
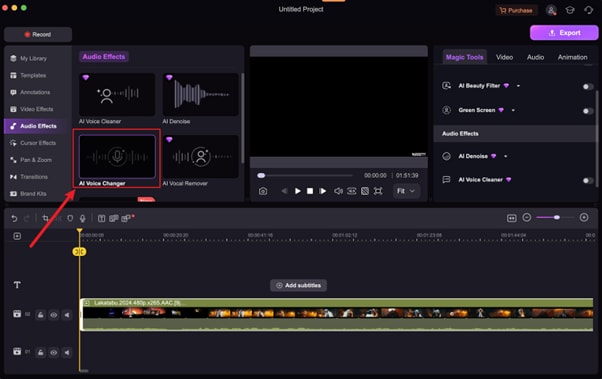
Alternatively, you can go to the right-hand panel and toggle the AI Voice Changer icon to activate it.

