DemoCreator User Guide
How to use Wondershare DemoCreator? Learn the step by step guide below
DemoCreator User Guide
-
Drawing Tools
-
Install & Uninstall Extension
-
Record Browser Tab
-
Get Started
-
Video Recorder
-
Video Presentation
-
Video Editing
- Import Media
- Basic Video Editing
- PIP (Picture in Picture) Mode
- Transition Effects
- Annotation
- Caption (New Auto-Caption)
- Stickers
- Filters
- AI Text-to-Speech
- AI Object Remover
- AI Vocal Remover
- AI Voice Changer
- AI Beauty Filter
- DemoCreator Templates
- Brand Kits
- Thumbnail Maker
- AI Text-Based Editing
- AI Clips Generator
-
Audio Edit
-
DemoCreator Effects
-
Export & Share
-
Keyboard Shortcuts - Windows
DemoAir User Guide
-
DemoCreator Cloud Service - Get Started
-
Video Creation Mode
-
Export&Share
FAQs
Connect DemoCreator with Meeting Platforms
Wondershare DemoCreator is a multifunctional video editing utility with robust integration with several collaboration/meeting platforms. Using the Video Presentation feature, you can collaborate with clients, teammates, etc., from the comfort of your home without hassles. In this illustrative guide, you will learn about:
The Video Presentation mode allows you to connect to other meeting platforms like Zoom and Google Meet. Video Presentation mode helps to make your online meeting remarkable and amplifies and enhances the effectiveness of the meeting.
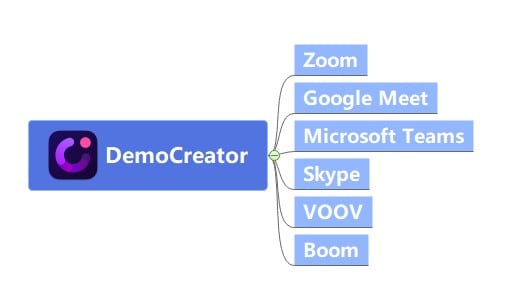
1. Supported Meeting Platforms
Find below some of the supported meeting platforms that you can connect with Wondershare DemoCreator:
2. Core Functions of DemoCreator When Connected to a Meeting Platform
Wondershare DemoCreator powers several useful features that you can leverage to engage your audience while presenting your PowerPoint presentation during a meeting. Here are some of the core features of the DemoCreator software:
- CAM Effect: With this feature, you don’t have to worry about your look when presenting to your audience. CAM Effect is trained to capture end-users in portrait mode and also adjust your webcam recording to create a more visually appealing presenter photo.
- Virtual Background: Virtual Background is another noteworthy feature present on DemoCreator. Using this, you can easily manipulate your backdrop to a professional background that would hide whatever you have behind you and the surroundings.
- Cool Annotations: Easily draw your audience’s attention to your presentation details using the cool annotation and transition tools provided on DemoCreator.
- Support for Virtual Avatar: DemoCreattor has 16 professional looking virtual avatars that you can choose from and use to spice up your online meetings, and presentations.
3. Configuring DemoCreator for Meetings
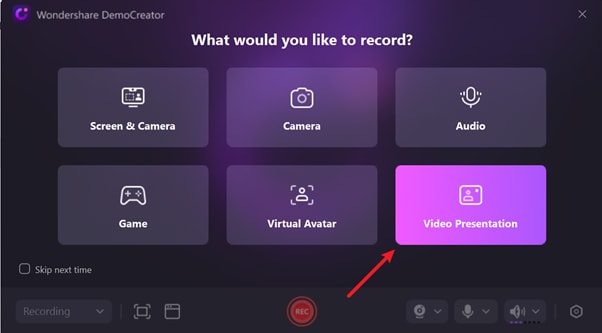
Initiate Wondershare DemoCreator installation on your computer, launch it and select Video Record on the main dashboard that appears.

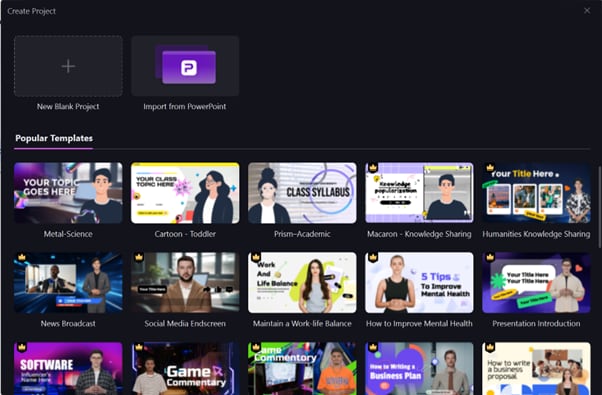
Choose Video Presentation when the following screen pops up.
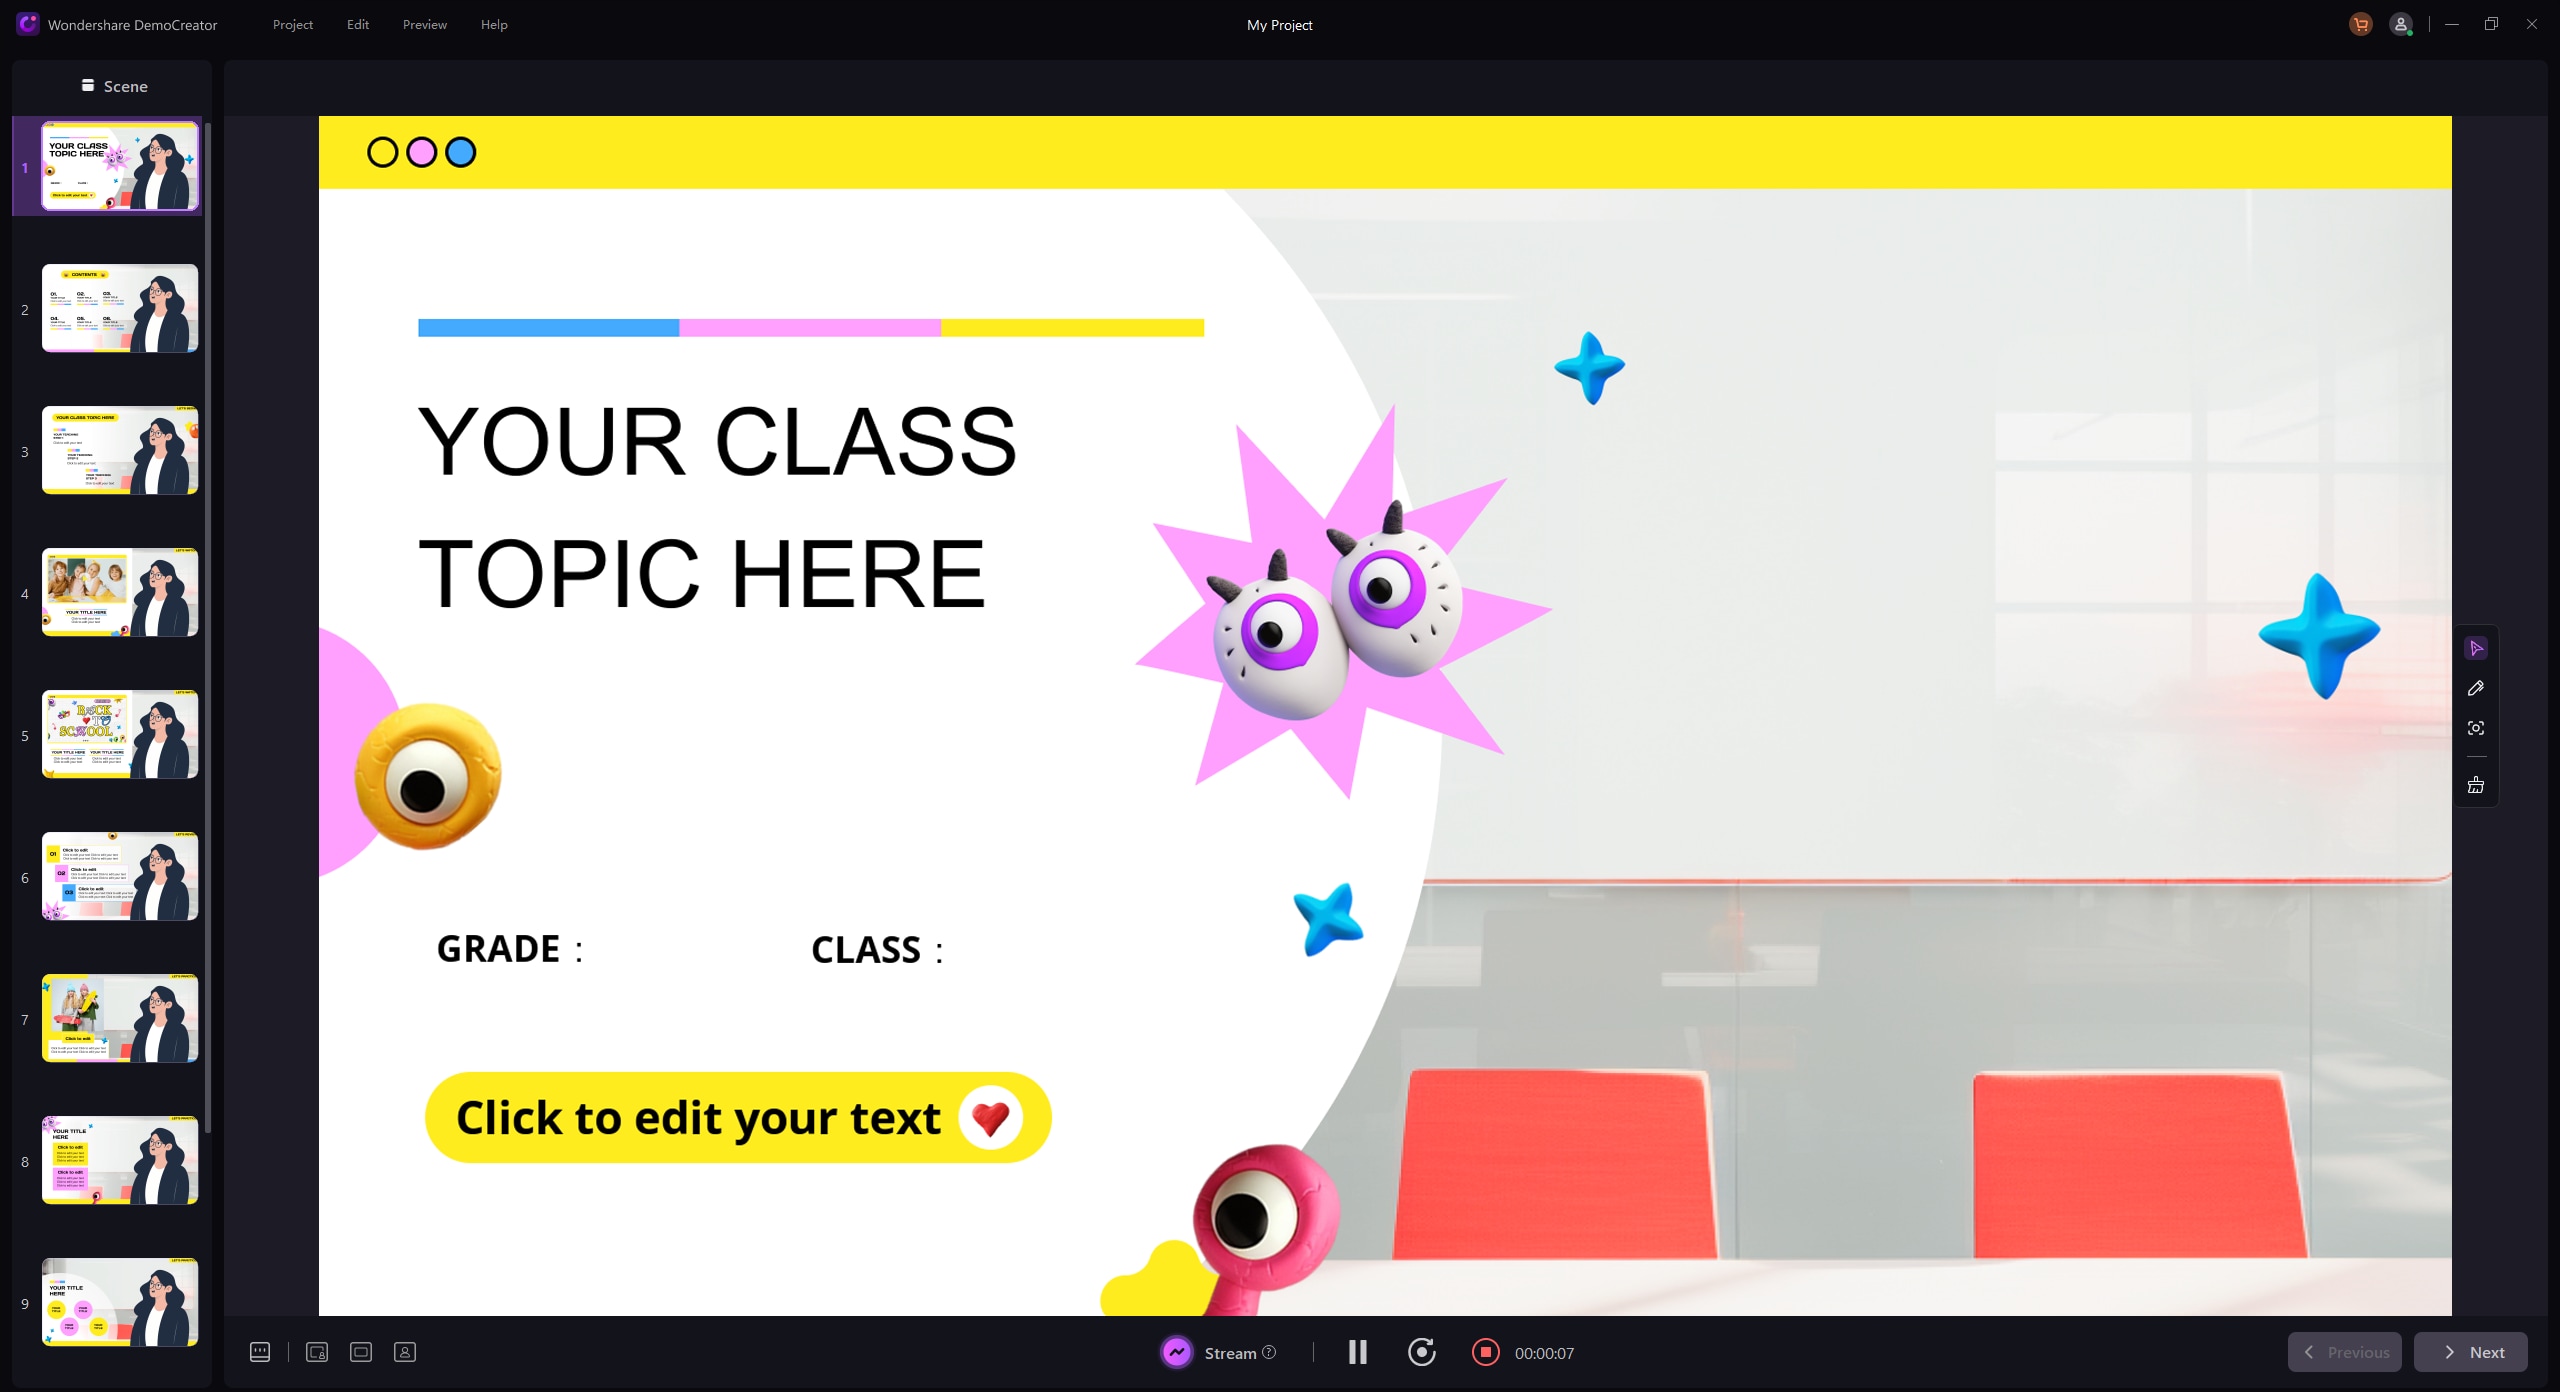
Next, you have to prepare your PowerPoint presentation for your meeting. You can do this by importing the corresponding file if you have it already. Alternatively, you create one if you haven’t prepared it.
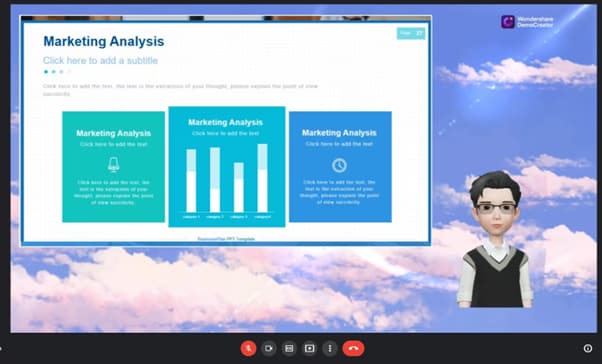
When on the video presentation dashboard, DemoCreator provides you with several content creation tools, such as recorder, sound configuration, annotation tools, and virtual background.
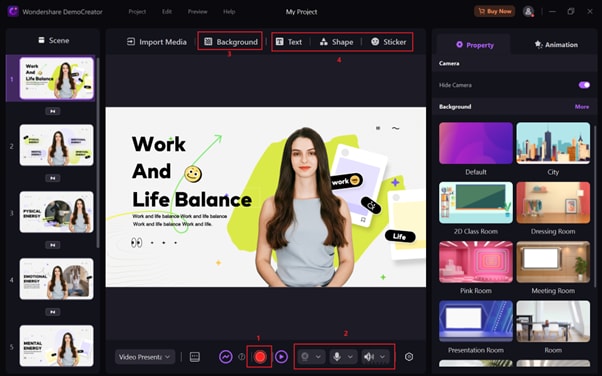
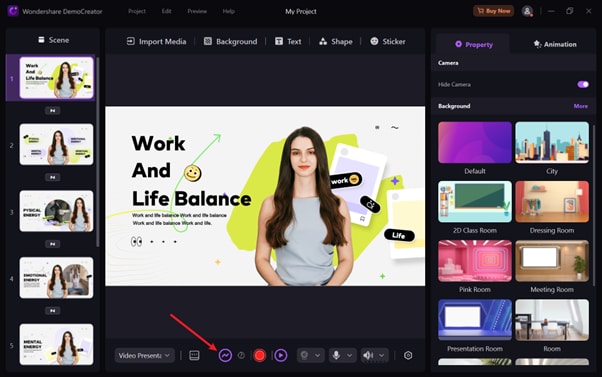
Use the Streaming button to commence meeting with your colleagues or audience.
4. Connect DemoCreator with Zoom Meeting
In this part of the guide, you will discover how to connect DemoCreator with Zoom for easy collaboration with your team members and business partners. However, before describing the guide, it’s imperative you note that both DemoCreator and Zoom have to be opened on your Windows for seamless establishment of connection. Also, you must make sure all that’s needed for your meeting is in place.
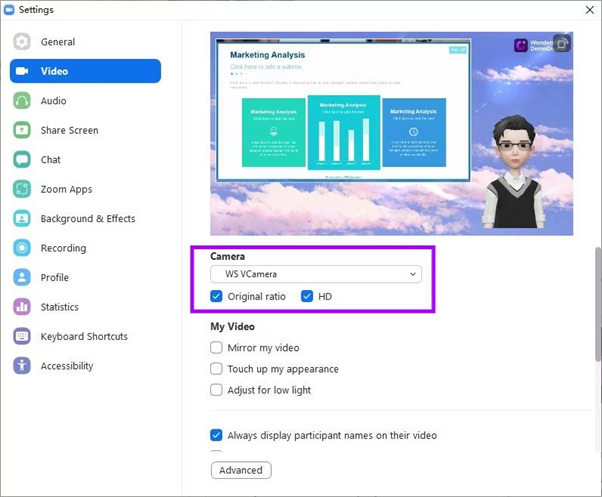
Step1. Run the Zoom Meeting program on your computer, navigate to the Settings panel and set “WS Camera” as your preferred input camera.
 Note:
Note:1. To ensure the quality of the video, you can check "Original Ratio" and "HD".
2. If you find the video is reversed, please select "Mirror my video."
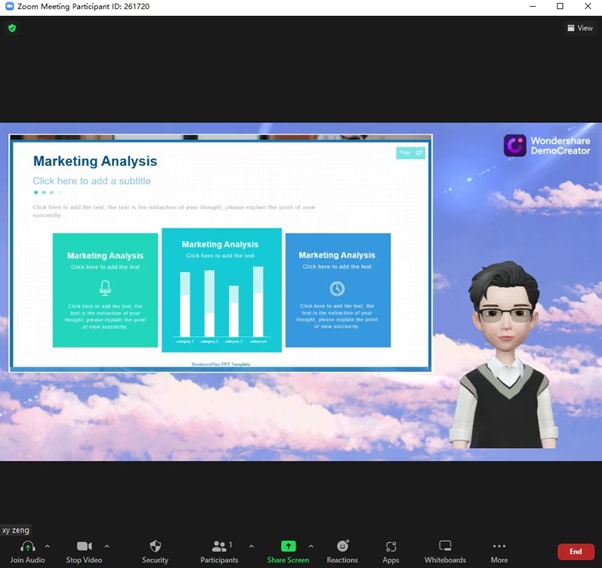
Step2. Afterward, you will find the camera on Zoom, giving you the same view as DemoCreator.
5. Connect DemoCreator with Google Meet
Here, you have how to connect DemoCreator with Google Meet for smooth collaboration. However, before we get started, you must ensure DemoCreator and Google Meet are both opened on your computer for easy connection. Once that’s settled, and you have the PowerPoint for your meeting prepared, then follow this guide.
Step1. Launch Google Meet, go to the Settings section and choose WV VCamera as your camera source.
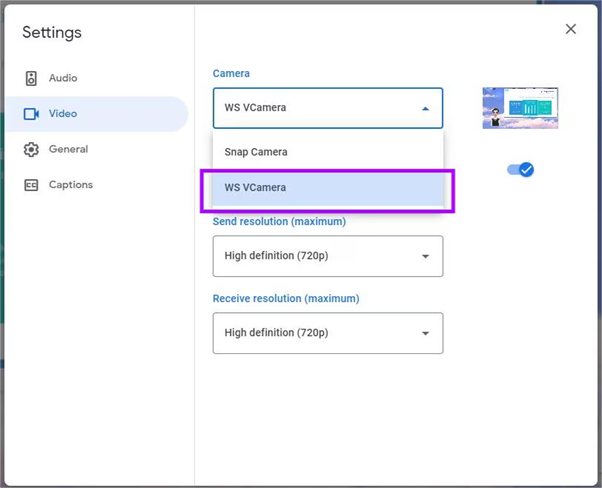
Note:1. To ensure the quality of the video, you can change the Send and Receive resolution to High definition (720p) .
Step2. Now, you will find the camera on Google Meet update giving the same view as your have on DemoCreator.