DemoCreator User Guide
How to use Wondershare DemoCreator? Learn the step by step guide below
DemoCreator User Guide
-
Drawing Tools
-
Install & Uninstall Extension
-
Record Browser Tab
-
Get Started
-
Video Recorder
-
Video Presentation
-
Video Editing
- Import Media
- Basic Video Editing
- PIP (Picture in Picture) Mode
- Transition Effects
- Annotation
- Caption (New Auto-Caption)
- Stickers
- Filters
- AI Text-to-Speech
- AI Object Remover
- AI Vocal Remover
- AI Voice Changer
- AI Beauty Filter
- DemoCreator Templates
- Brand Kits
- Thumbnail Maker
- AI Text-Based Editing
- AI Clips Generator
-
Audio Edit
-
DemoCreator Effects
-
Export & Share
-
Keyboard Shortcuts - Windows
DemoAir User Guide
-
DemoCreator Cloud Service - Get Started
-
Video Creation Mode
-
Export&Share
FAQs
Record Audio - Win
Wondershare DemoCreator enables users to record high-quality audio along with their screen or webcam footage, making it perfect for tutorials, presentations, gameplay, and more.
This guide walks you through the entire process — from selecting audio sources to adjusting settings and ensuring your microphone and system sound are recorded clearly and effectively.
Index
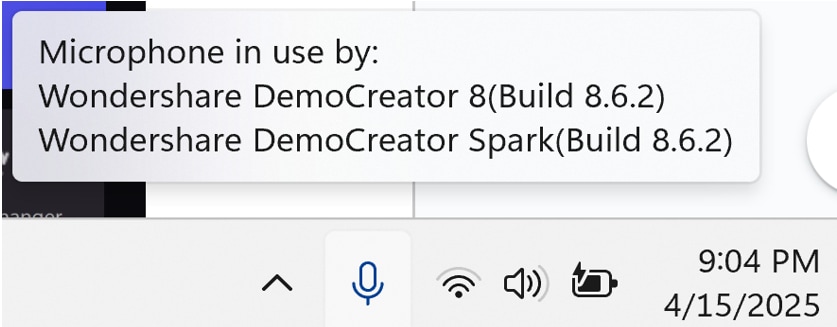
Step 1. Enable Microphone Access
Please ensure your microphone is in use by Wondershare DemoCreator.
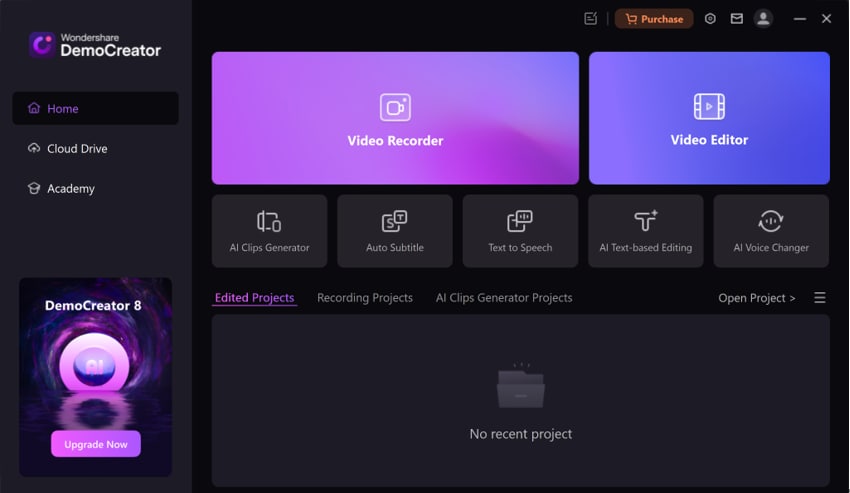
Step 2. Launch Video Recorder
Click Video Recorder.
Step 3. Select Audio Tab
Click Audio.
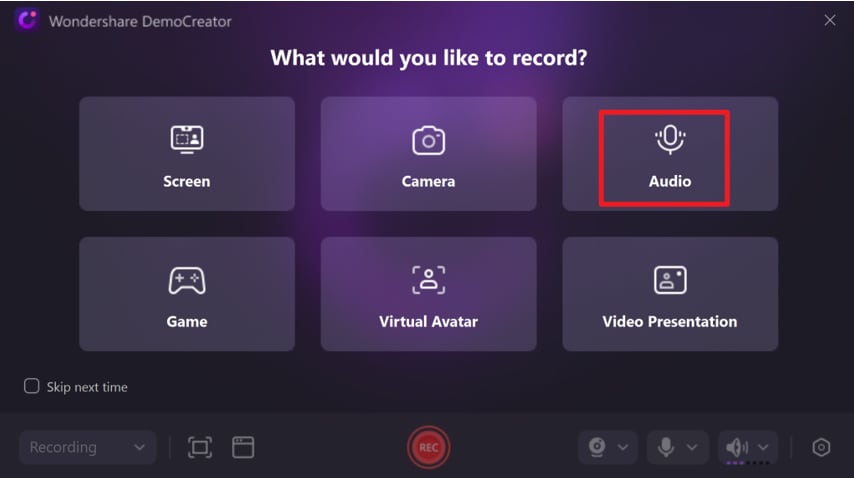
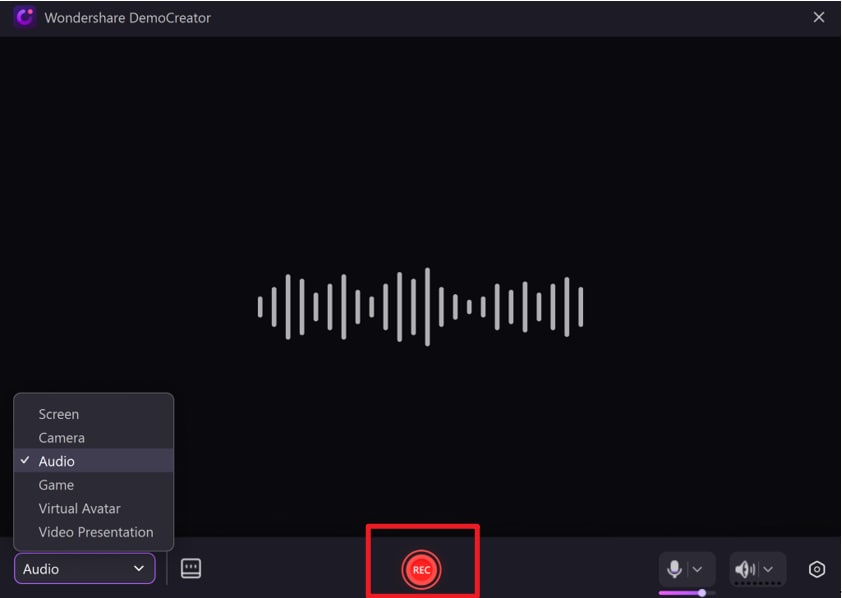
Step 4. Start Recording Audio
Click the red button “REC” to start recording.
Press F10 to stop.
Press F9 to Start / Pause / Resume.

Step 5. Preview Your Recording
Click the on button to preview recording.

Step 6. Export the Recording
Click Export to export the recording.

A pop up window shows Output Options.
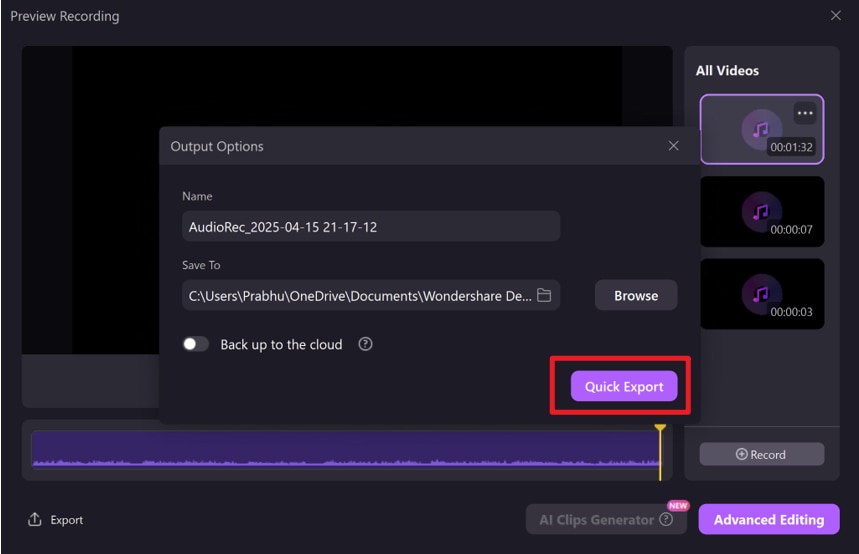
Click Quick Export. The audio recording is saved as an mp3 file.
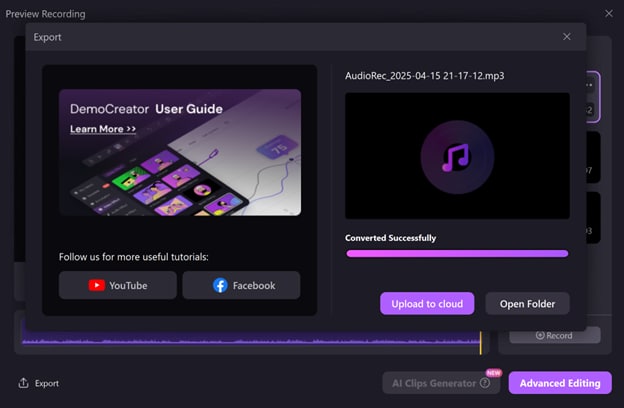
Step 7. Locate Saved File
Click Open Folder to view the saved file.

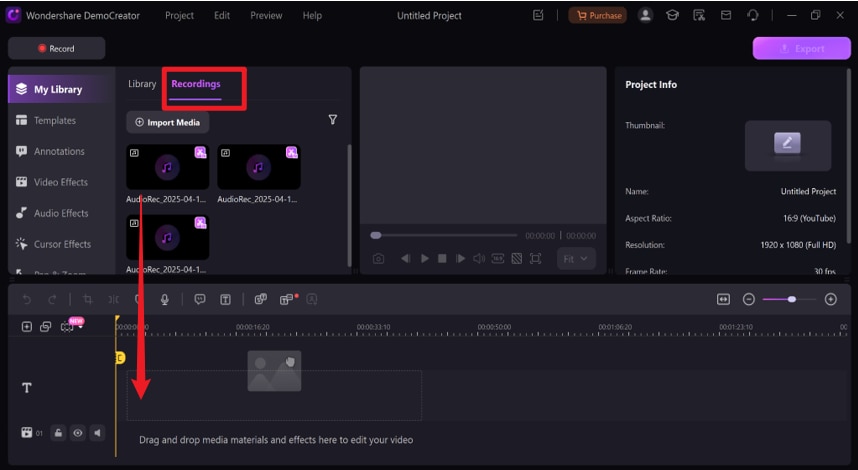
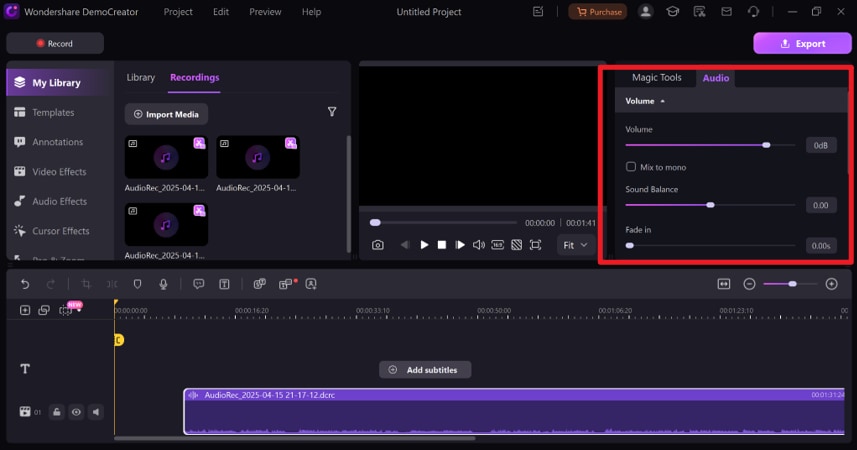
Step 8. Edit Audio in Timeline
Use Advanced Editing options to adjust the Volume, Sound Balance, Fade in, etc.
Drag and drop the Audio Recording to Timeline for editing.