
Do you ever find yourself needing to capture the sounds coming from your computer? Maybe you want to record a tutorial video explaining how to use a software program. Or perhaps you need to save an online lecture or webinar for future reference. Audacity computer sound recording is the perfect solution for these situations and many more.
Audacity is a powerful yet user-friendly program that allows you to audacity record computer sound with just a few clicks. This free, open-source audio editor has become incredibly popular because it's simple to use, even for beginners, while still offering advanced features for audio professionals.
In this comprehensive guide, we'll walk through every step of using Audacity to record sounds from your computer. We'll cover setting up the software, configuring audio settings, capturing desktop audio, and even sharing pro tips for interruption-free recordings.
So get ready to level up your audio game!
In this article
Part 1: Overview of Audacity Computer Sound Recording
Audacity is a versatile audio editor that offers a wide range of features for recording, editing, and processing audio files. One of its standout capabilities is the ability to record audio directly from your computer's sound card, allowing you to capture system sounds, application audio, and even microphone input simultaneously.
Recording computer sound with Audacity involves capturing the audio output from your computer's sound card, which can be achieved through various methods depending on your operating system and sound configuration. Whether you're running Windows, macOS, or Linux, audacity provides several options to ensure you can record your computer's audio effortlessly.
Part 2: How to Use Audacity to Record Computer Audio
Whether you're a teacher, content creator, gamer, or just someone who needs to save computer sounds, this guide can simplify the Audacity computer sound recording process.
Let's dive in and learn how to use Audacity to record sound from PC:
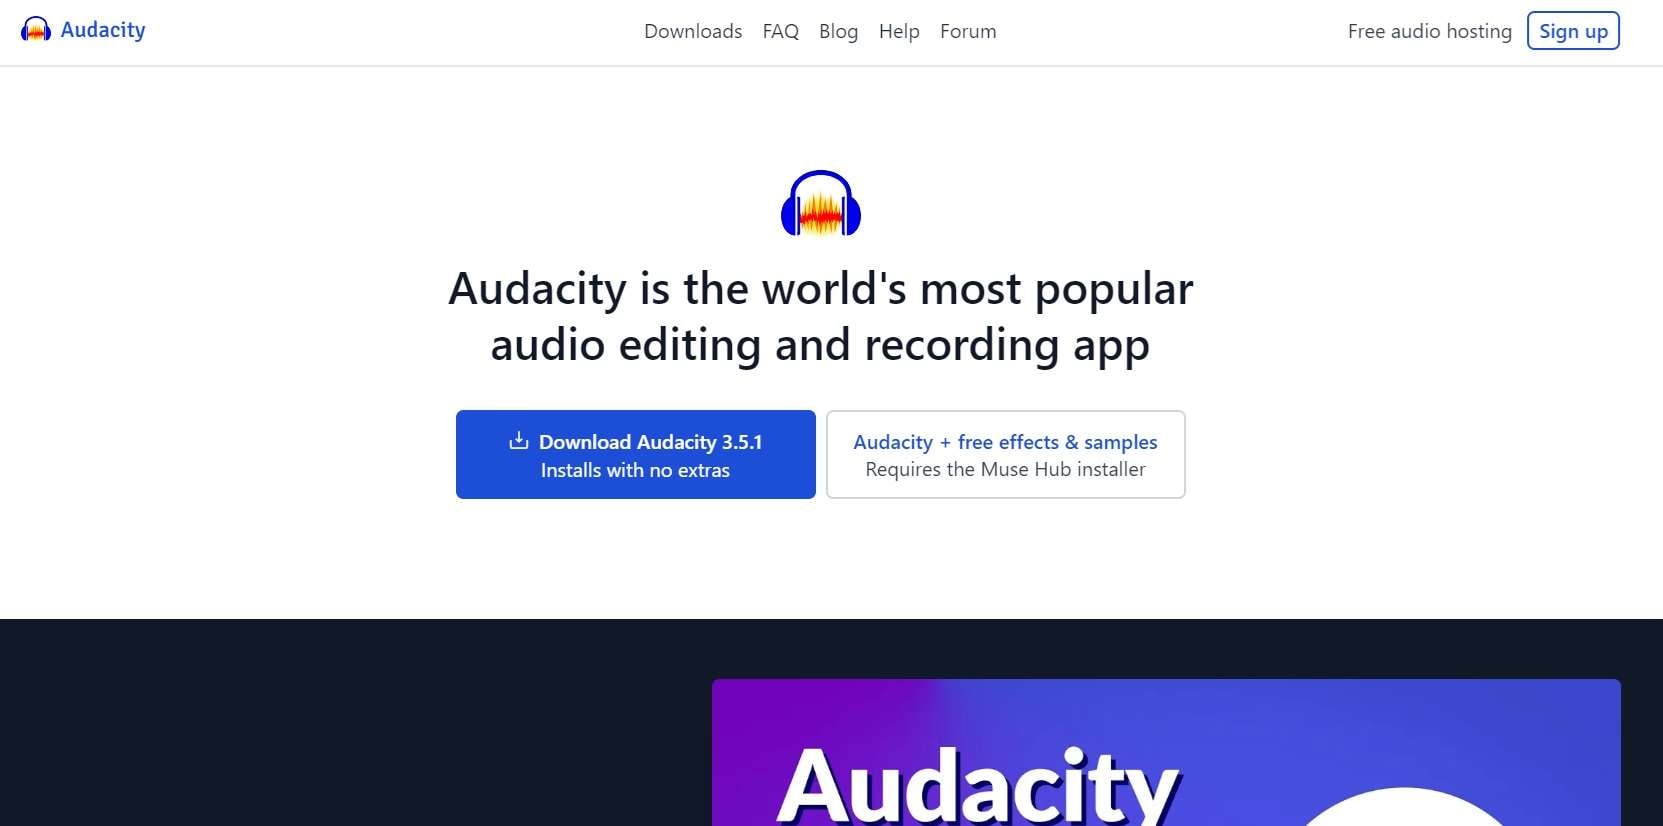
Step 1: Before you can begin recording computer audio, you'll need to download and install the latest version of Audacity from their official website. The installation process is straightforward and user-friendly, making it accessible to users of all skill levels.
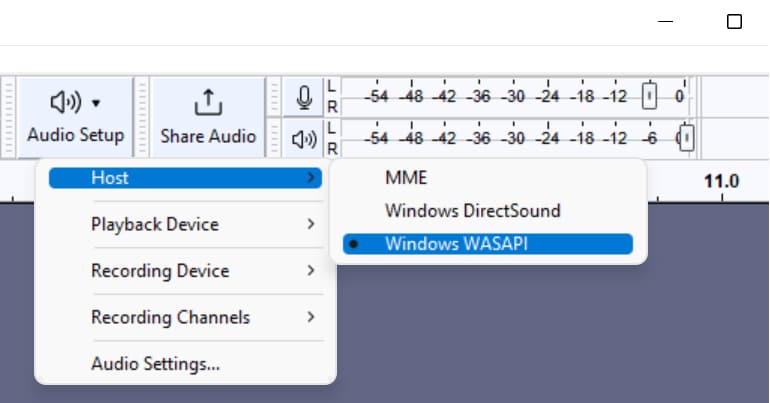
Step 2: Launch Audacity on your device and select "Windows WASAPI" as the Host.
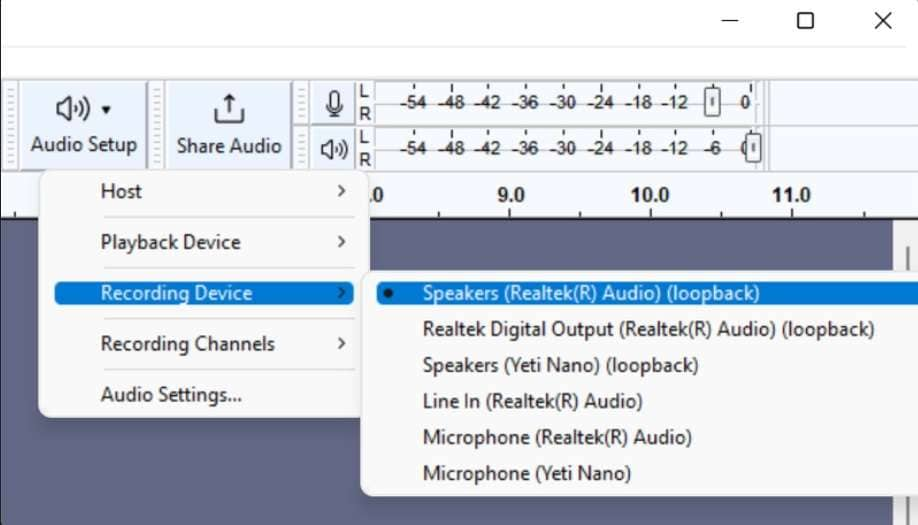
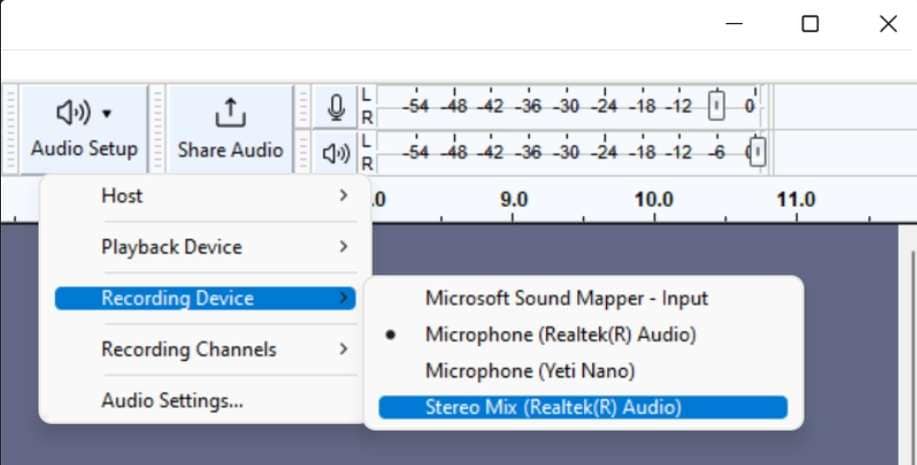
Step 3: In the Audio Setup, choose the output device you are using to listen to audio as the input device. Look for the device marked with "(loopback)" after its name. Ensure you select the loopback option for the device from which you want to record audio.
Step 4: If using the default MME device, you might find a virtual microphone named "Stereo Mix," "What You Hear," or something similar. This option can also be used to record your desktop audio.
Verify Settings:
Step 5: Play the audio you want to record to ensure it is audible. Press the record button in Audacity to start recording your desktop audio.
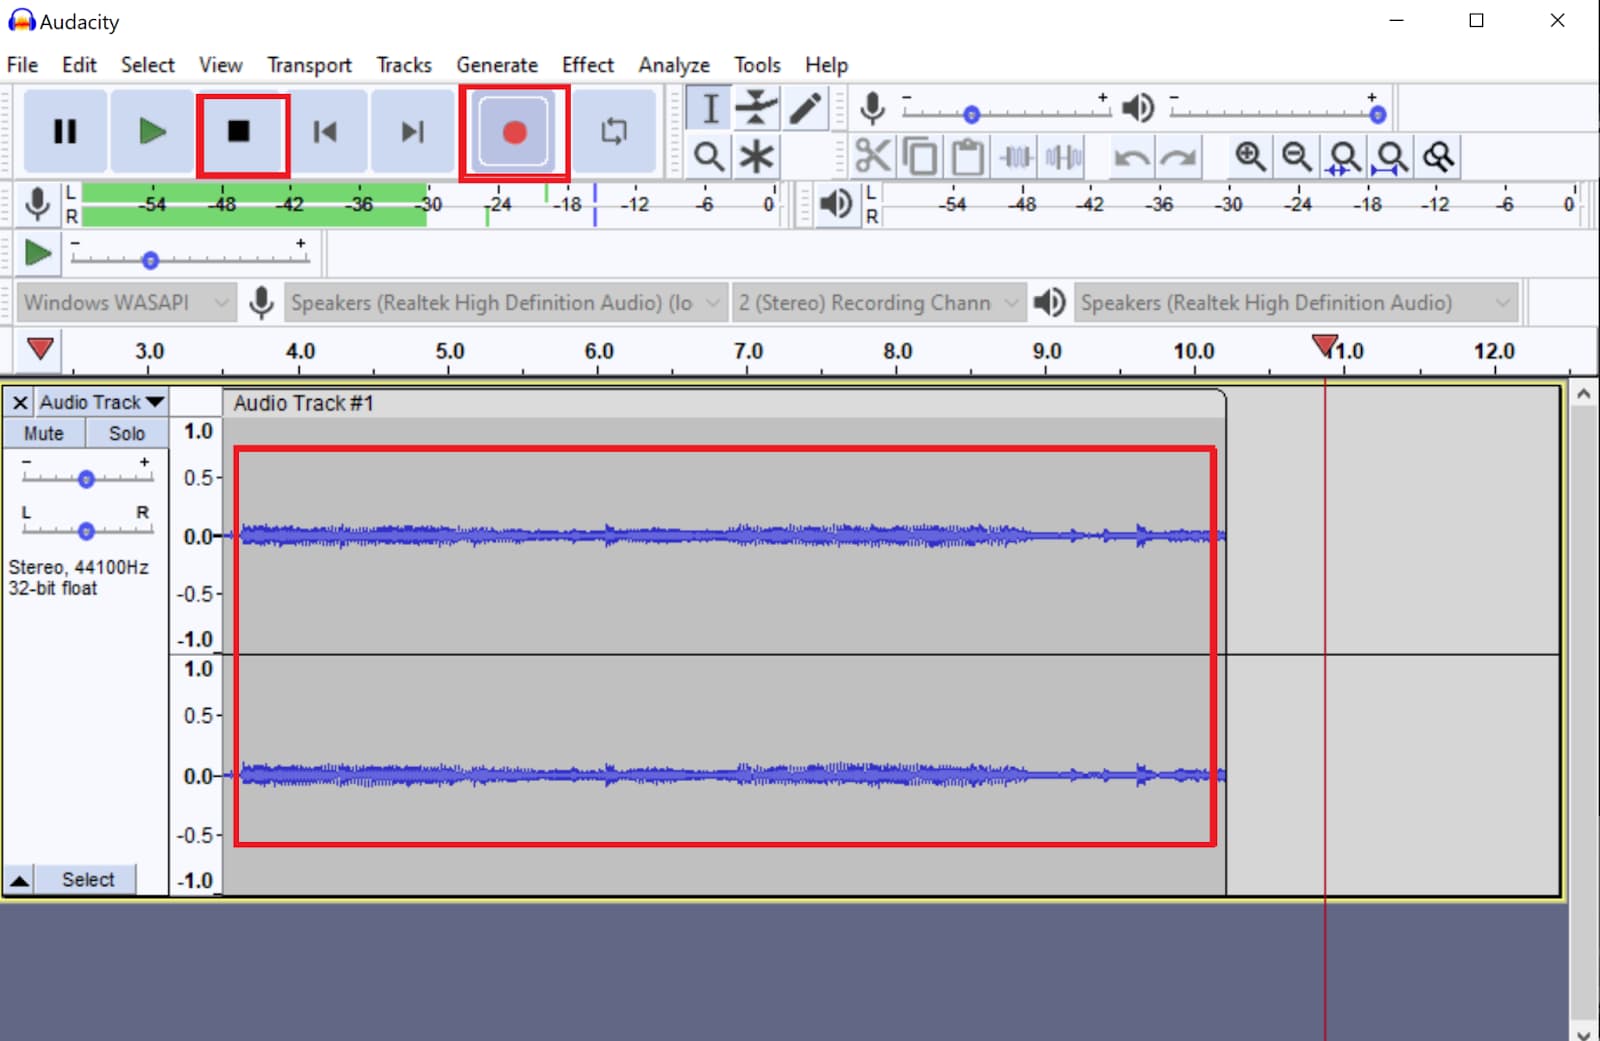
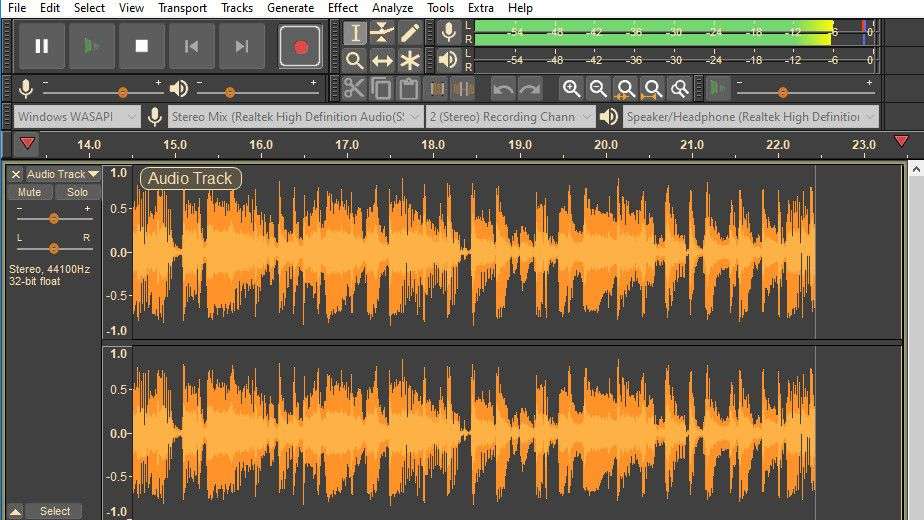
Step 6: When you've captured all the desired audio, click the square "Stop" button or press the spacebar to stop the recording. Audacity will now display the recorded audio waveform, allowing you to review, edit, and export the audio as needed.
Part 3: Best Alternative to Audacity: DemoCreator
While Audacity is a robust and feature-rich tool for recording computer audio, it may not be the most intuitive or streamlined solution for some users. In such cases, DemoCreator emerges as an excellent alternative, offering a more user-friendly and specialized approach to capturing desktop audio, video, and screen activity seamlessly.
DemoCreator is a screen recording and video editing software designed for creating high-quality tutorials, demonstrations, and screencasts with ease. It seamlessly combines audio and video recording capabilities with a comprehensive suite of editing tools, making it a one-stop solution for capturing and producing professional-grade multimedia content. With its intuitive interface and focused functionality, DemoCreator simplifies the process of recording computer audio while providing a cohesive and efficient workflow.
Here are some key features that make DemoCreator a superior alternative to Audacity for recording computer audio:
- Seamless audio and video synchronization: DemoCreator automatically synchronizes the recorded audio with the on-screen activity, ensuring a seamless and cohesive viewing experience.
- Powerful editing tools: With DemoCreator, you can trim, split, and merge video clips, add annotations, callouts, and captions, and enhance the overall quality of your recordings.
- Multi-track audio recording: DemoCreator allows you to record multiple audio tracks simultaneously, such as system audio, microphone input, and webcam audio, providing greater flexibility and control over your audio sources.
- Customizable recording settings: You can adjust the recording settings to suit your specific needs, including video resolution, frame rate, audio quality, and more.
- Export options: DemoCreator supports a wide range of export formats, making it easy to share your recordings across various platforms and devices.
Steps to use DemoCreator for recording computer audio:
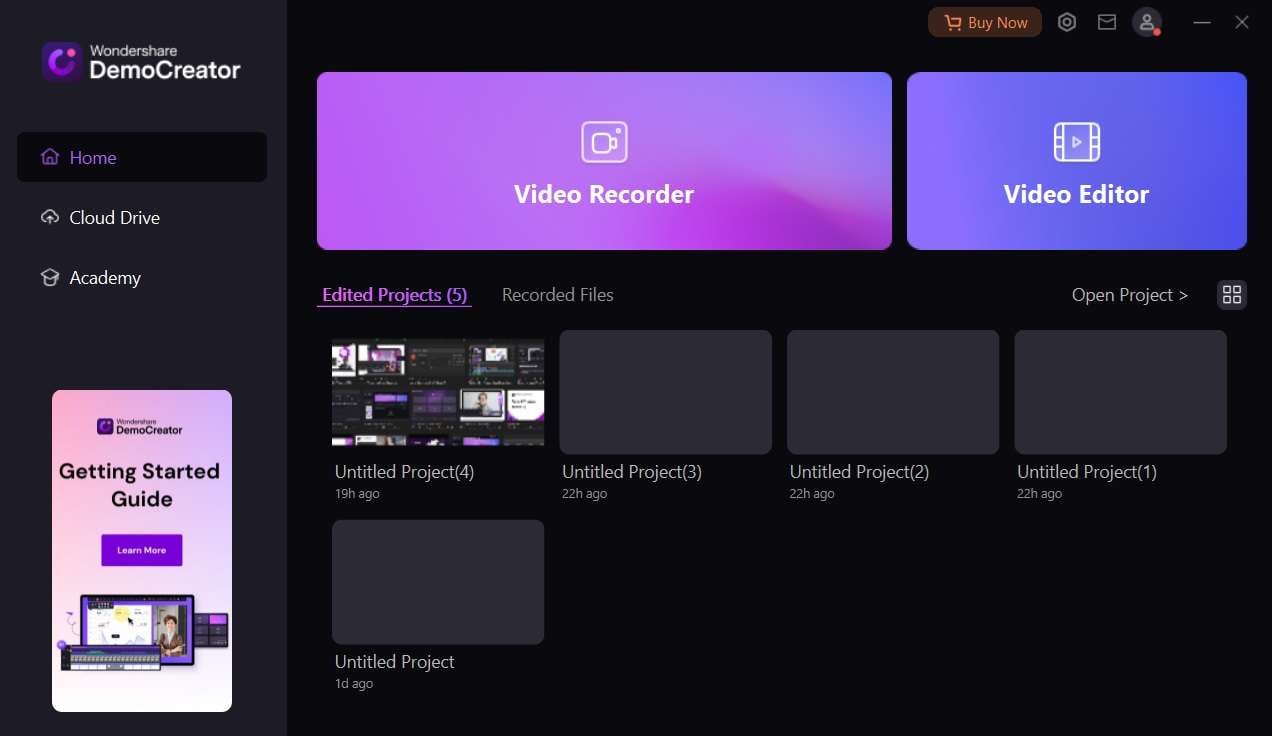
Step 1: Go to the official website of DemoCreator. Download and install DemoCreator from the official website. Launch DemoCreator and select the "Video Recorder" option from the main interface.
Step 2: Now select “Screen” recording mode. In the recording settings, choose the audio sources you want to capture, such as "System Audio" and "Microphone."
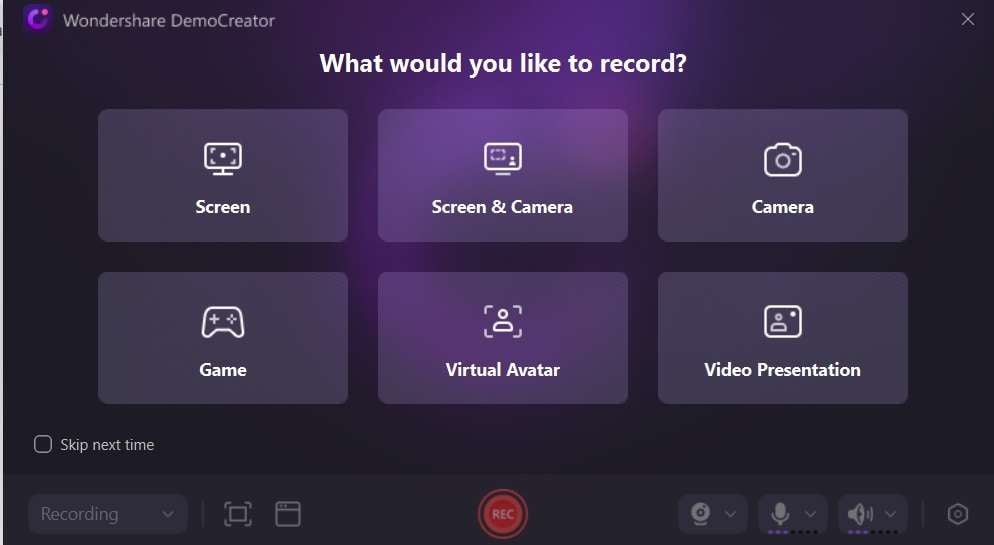
Step 3: Adjust any additional settings as desired, such as video resolution, frame rate, or recording hotkeys. Click the "Rec" button to start capturing your computer's audio and on-screen activity.

Step 4: Once you've finished recording, click the "Stop" icon to end the recording session.
Step 5: The recorded audio and video will be automatically added to the DemoCreator timeline, where you can edit, trim, and enhance the content as needed.
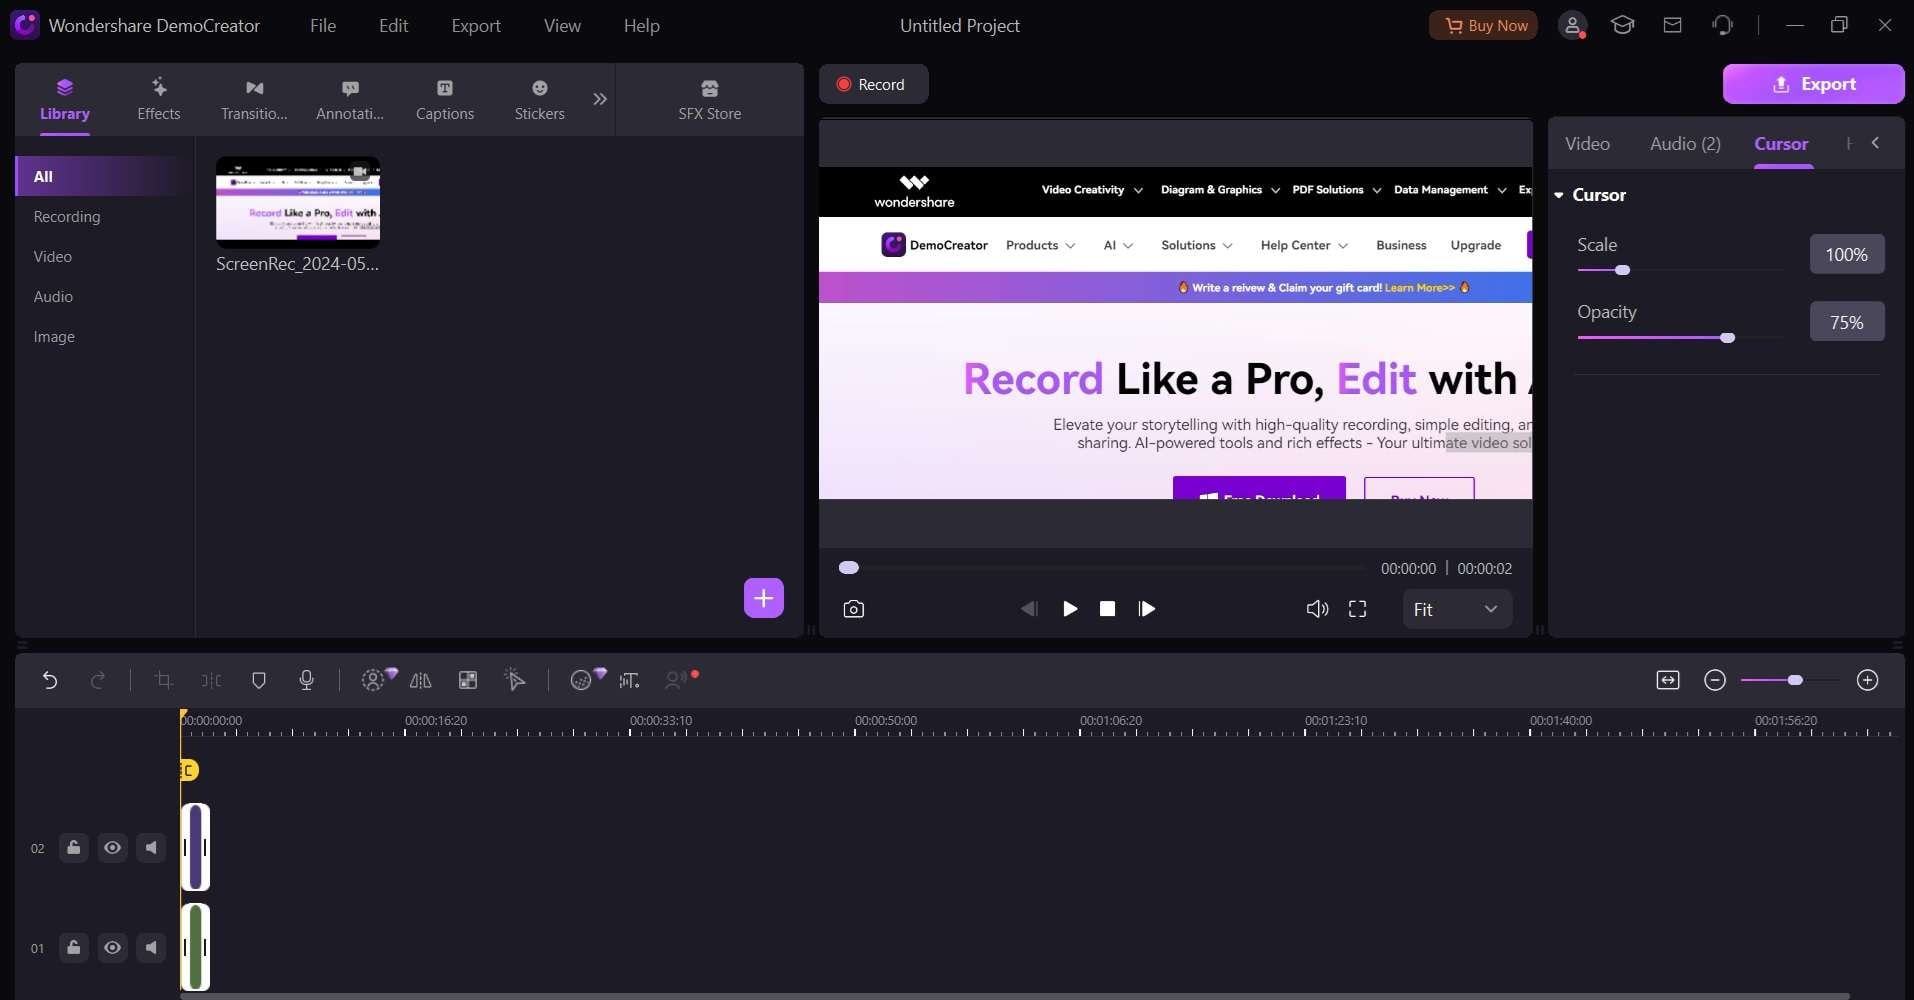
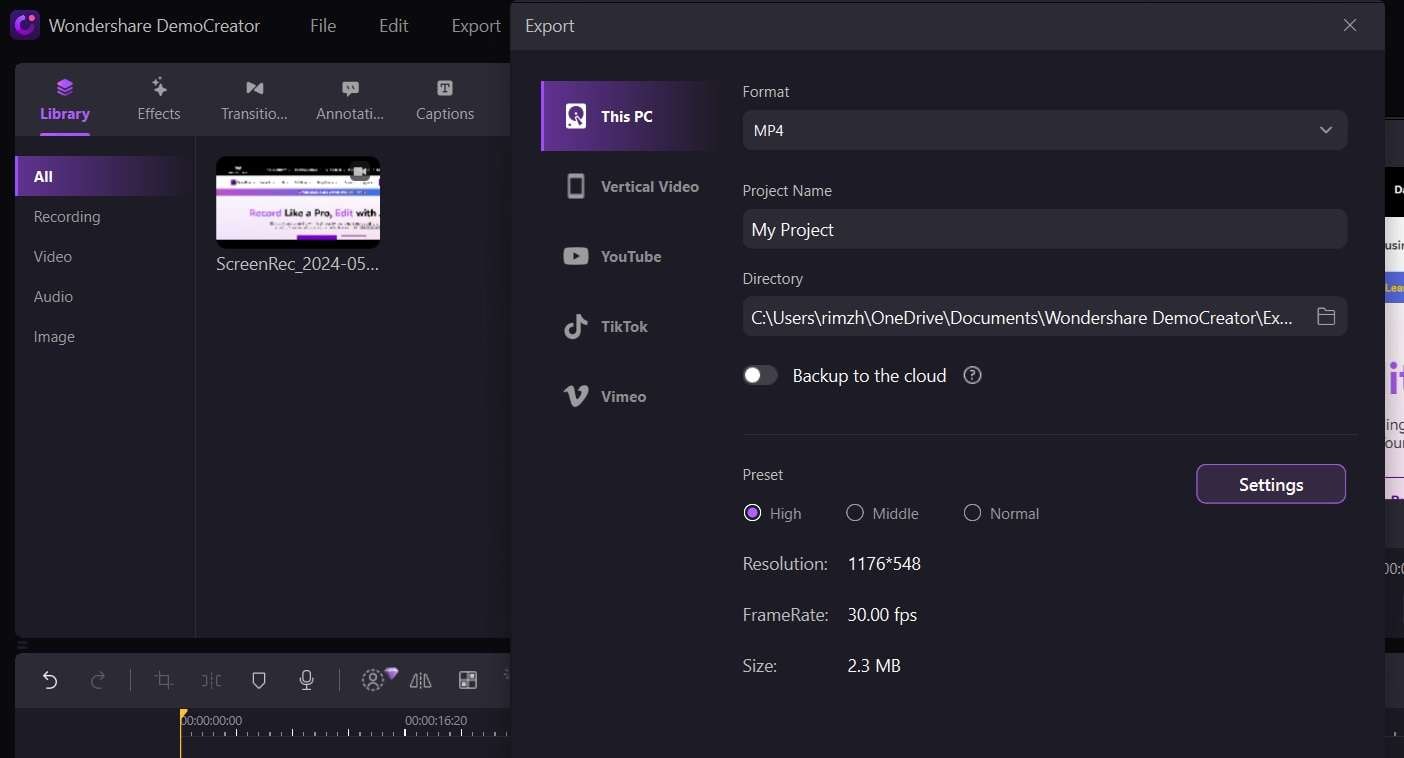
Step 6: Export your final project in the desired format, such as MP4, AVI, or WMV, for sharing or archiving.
DemoCreator offers an easy-to-use interface, powerful editing tools, and smooth audio-video synchronization. This makes it simple to create high-quality tutorials, demonstrations, and screencasts. It's more user-friendly and streamlined than Audacity.
Part 4: Useful Tips to Record Desktop Audio Without any Interruptions
Recording computer audio can sometimes be challenging, especially when dealing with potential interruptions or background noise. To ensure a smooth and high-quality recording experience, consider the following tips:
- Close unnecessary applications: Before starting your recording, close any applications or programs that are not essential to the process. This will help minimize background noise and reduce the risk of interruptions caused by notifications or system sounds.
- Disable system sounds: To avoid unwanted system sounds from interfering with your recording, consider disabling them temporarily. On Windows, you can access the sound settings and disable system sounds, while on macOS, you can use the "Sound" preferences to adjust the sound effects volume.
- Use a dedicated microphone: If you plan to record your voice along with the computer audio, consider using a dedicated microphone instead of relying on your computer's built-in microphone. External microphones typically offer better audio quality and can help reduce background noise and interference.
- Choose a quiet environment: Recording in a quiet environment will minimize background noise and improve the overall audio quality. If possible, choose a room with minimal external noise sources, such as traffic, appliances, or other people.
- Use noise reduction software: If background noise is unavoidable, you can use noise reduction software or plugins to help reduce or eliminate unwanted sounds during the editing process. Audacity and DemoCreator both offer noise-reduction tools that can be applied to your recordings.
- Monitor audio levels: During the recording process, keep an eye on the audio levels to ensure they are within an appropriate range. If the levels are too low, the audio may be difficult to hear, while excessively high levels can cause clipping and distortion.
- Test your setup: Before starting your actual recording, perform a brief test run to ensure everything is working correctly. This will allow you to identify and resolve any potential issues, such as audio source conflicts or software compatibility problems, before investing time in a full-length recording session.
By following these tips and practicing good recording habits, you can minimize interruptions and improve the overall quality of your desktop audio recordings, whether you're using Audacity, DemoCreator, or any other audio recording software.
Conclusion
Learn how to master Audacity computer sound recording process is an essential skill in today's digital landscape, catering to various needs such as creating tutorials, capturing online lectures, or recording gameplay commentary. Audacity has long been a popular choice for its user-friendly interface and powerful audio editing capabilities.
However, for those seeking a more streamlined and intuitive solution, DemoCreator emerges as a superior alternative, offering seamless audio-video synchronization, powerful editing tools, and a user-friendly interface tailored specifically for creating professional-quality screencasts and tutorials.
Whichever tool you choose, mastering the art of recording computer audio requires practice, patience, and attention to detail. By following the steps outlined in this guide and implementing the provided tips, you'll be well on your way to capturing high-quality desktop audio recordings that meet your specific needs.
FAQ
What are the system requirements for using Audacity or DemoCreator?
Audacity has relatively modest system requirements and can run on most modern computers. However, for optimal performance, it's recommended to have a computer with at least 2 GB of RAM and a recent version of Windows, macOS, or Linux operating system.Can I record audio from multiple sources simultaneously?
Yes, both Audacity and DemoCreator allow you to record audio from multiple sources at the same time. In Audacity, you can capture system audio, microphone input, and other audio devices simultaneously by selecting the appropriate recording channels in the preferences.How do I prevent background noise or interference during recording?
Minimizing background noise is crucial for achieving high-quality audio recordings. Here are some tips:- Close any unnecessary applications or programs that might generate unwanted sounds.
- Disable system sounds or notifications that could interfere with the recording.
- Use a dedicated external microphone instead of your computer's built-in microphone.
- Record in a quiet environment with minimal external noise sources.
- Consider using noise reduction software or plugins to filter out background noise during the editing process.


