
VLC is a famous application that is known for its media player capabilities. However, despite its popularity, only some people know that the VLC media player also offers excellent screen recording capabilities.
Allowing VLC record screen with audio offers an effective solution for people who want a reliable screen recorder and media player without downloading different applications. But how to use VLC to record screen with audio? We have the answers right here, so let’s get into it!
In this article
-
- Step 1: Download and Install the VLC Media Player
- Step 2: Launch VLC Media Player
- Step 3: Access the Media Menu
- Step 4: Configure Screen Recording Settings
- Step 5: Choose the Destination File
- Step 6: Configure Recording Settings
- Step 7: Start Screen Recording
- Step 8: Stop Recording and Save
- Step 9: Playback and Edit Recorded Video
- FAQs
Part 1: How to Use VLC to Record Screen With Audio
VLC desktop recording with audio is a greasy tool for creating high-resolution screen recordings. It also has recording and editing features that allow the application to capture your computer screen and audio, making it a convenient solution for creating tutorials, capturing gameplay, or demonstrating software features. Let’s talk about how to use VLC to record screen and audio:
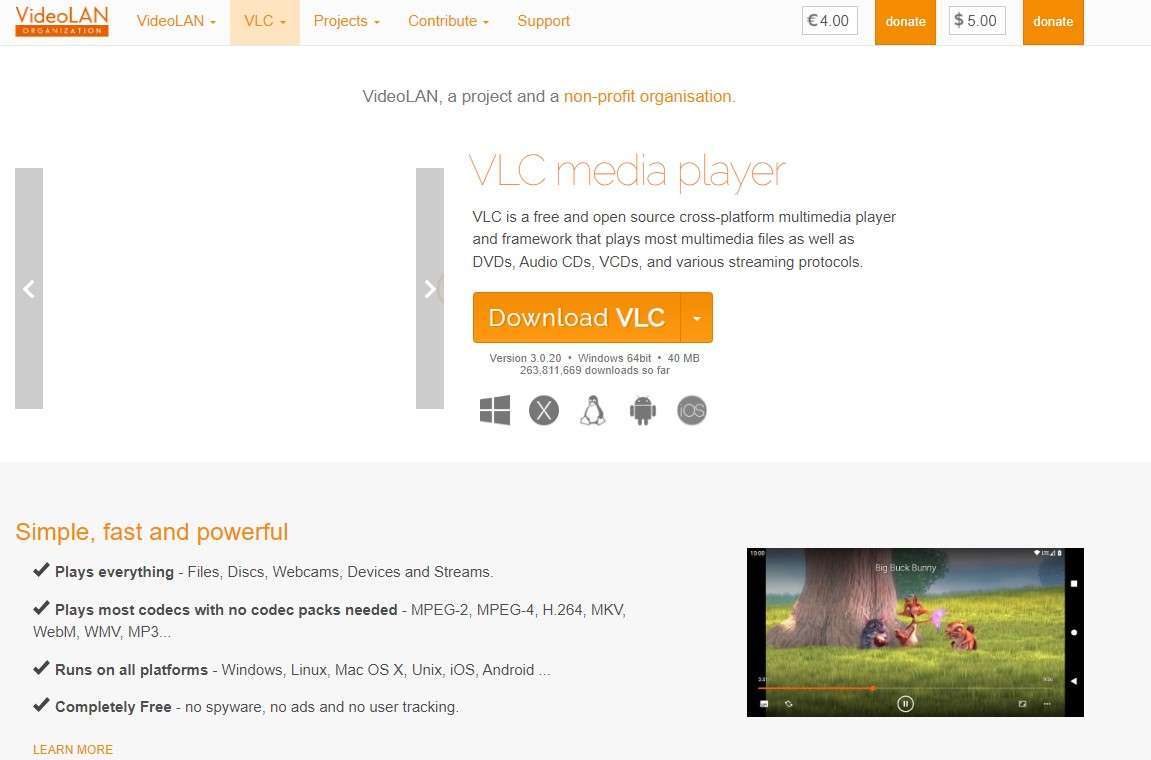
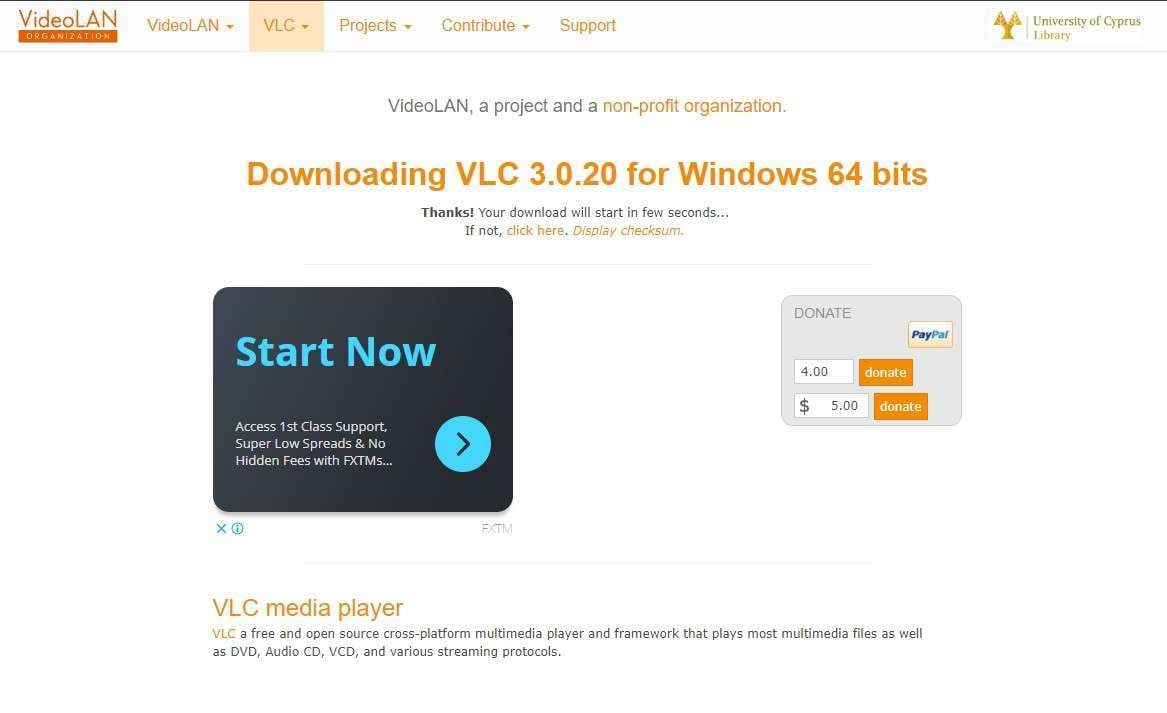
Step1Download and Install the VLC Media Player
If you don't already have VLC Media Player installed on your computer, you can download it for free from the official VLC website. Then, following the instructions on your operating system, install the application on your PC.
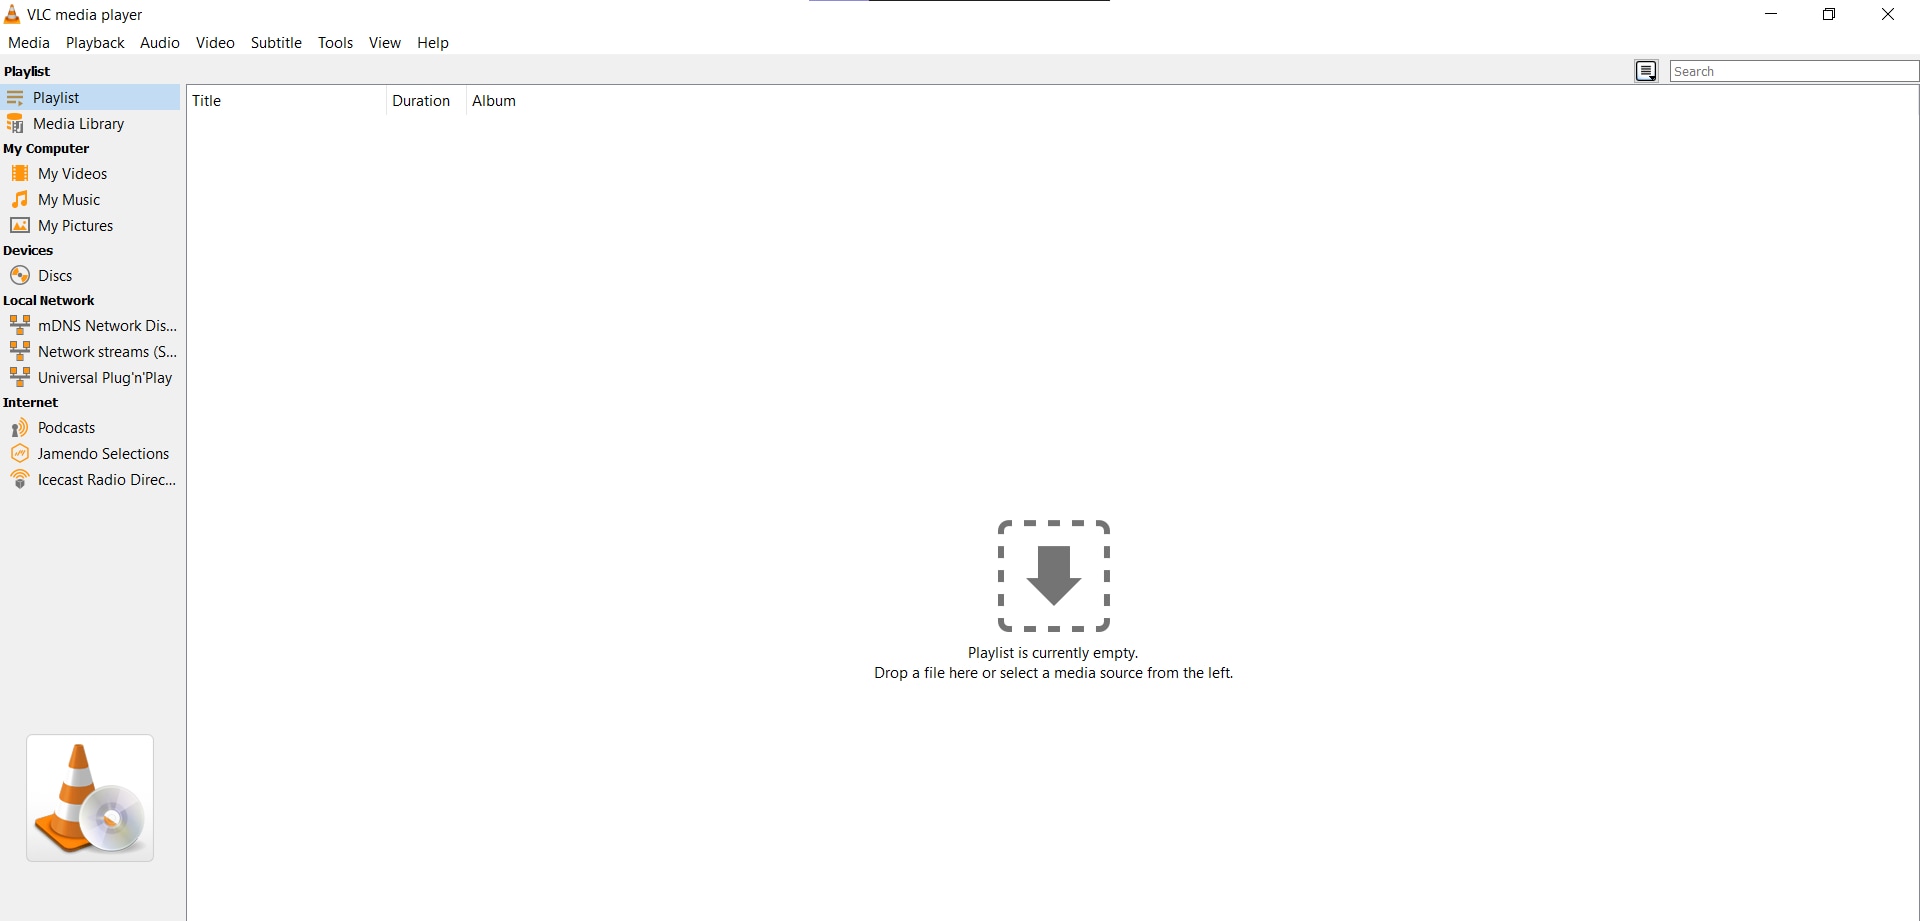
Step2Launch VLC Media Player
Launch the application on your computer once you’ve installed VLC Media Player.
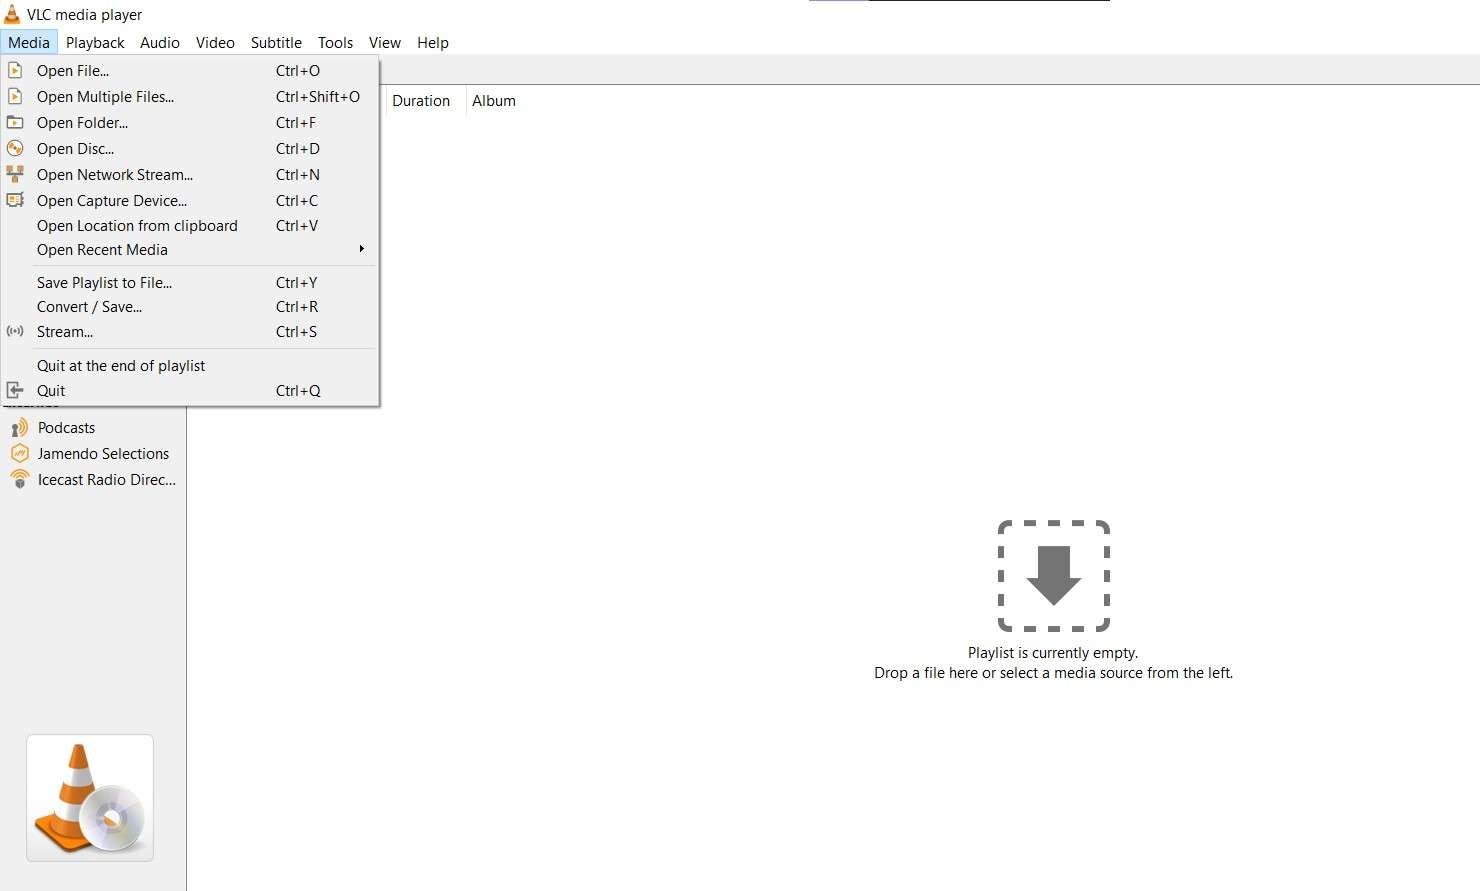
Step3Access the Media Menu
In the VLC menu bar, locate and tap Media and select Open Capture Device from the dropdown menu.
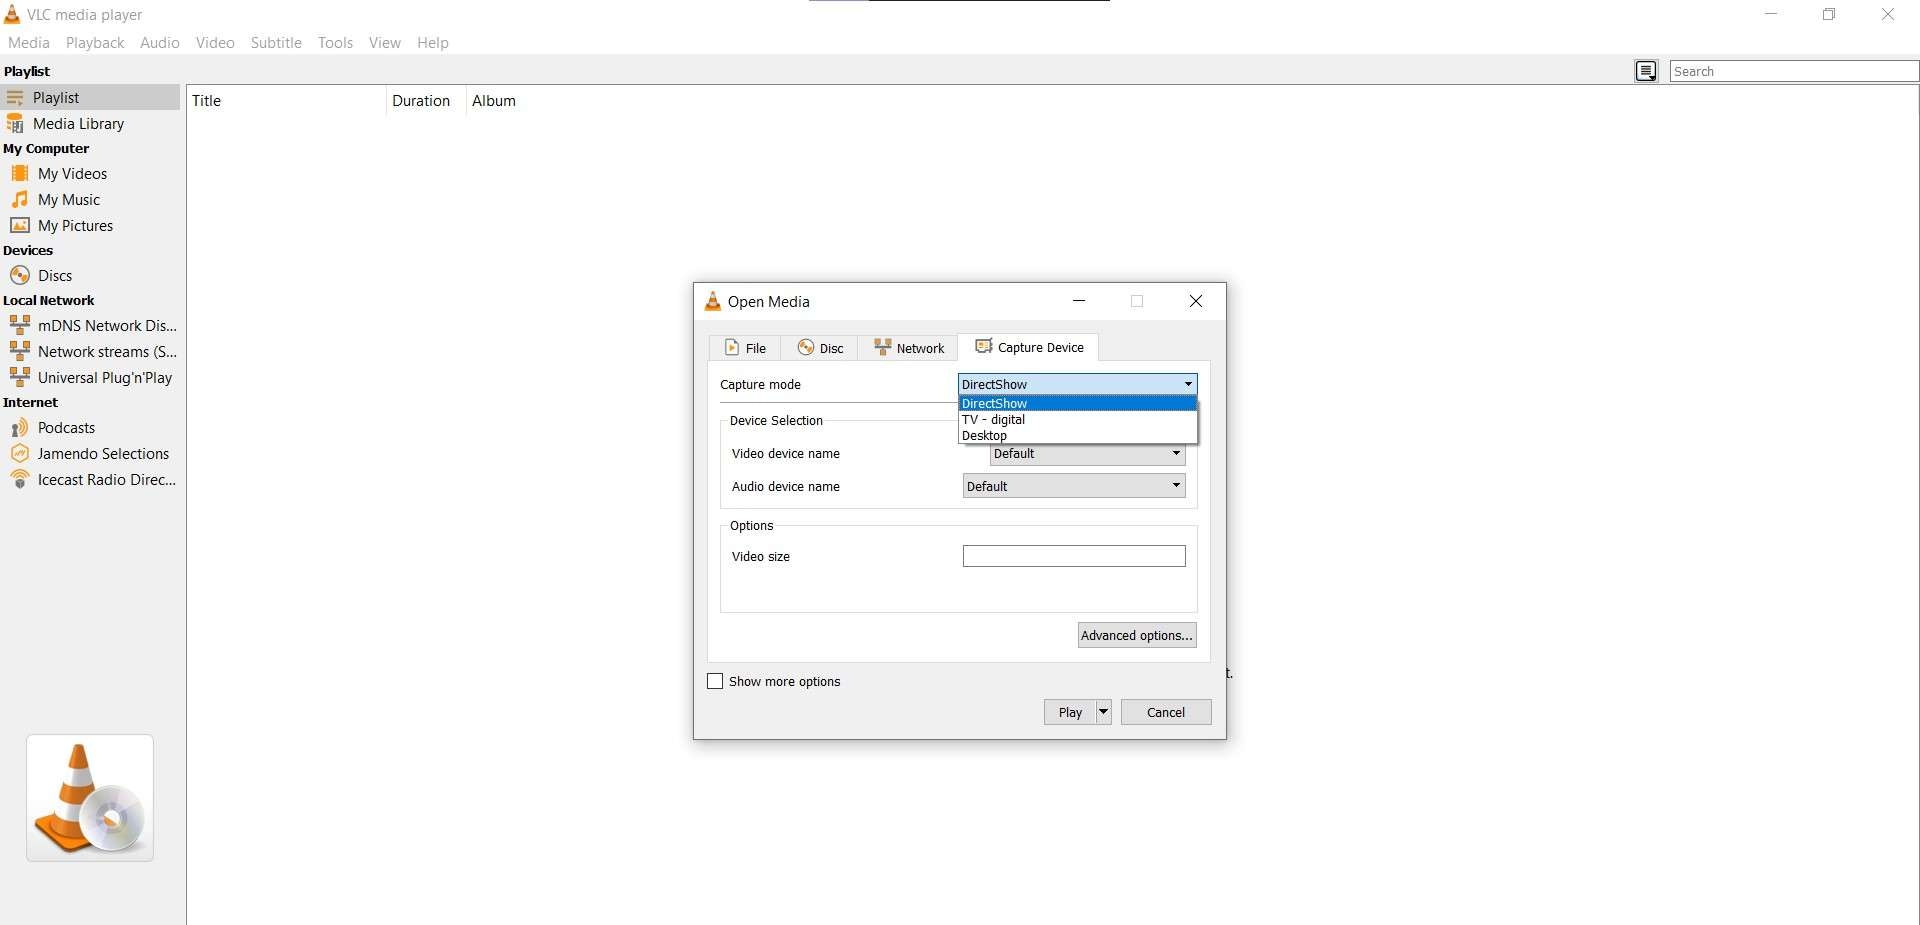
Step4Configure Screen Recording Settings
The application will display the open media dialog box on the screen. Open the Capture Device tab. Then, select Capture Mode to view the dropdown menu. Following this, tap on Desktop to capture your entire screen.
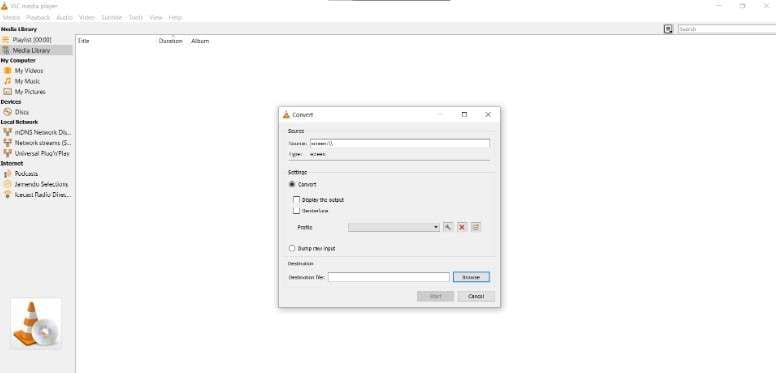
Step5Choose the Destination File
Click on the arrow next to the Play button and select Convert from the dropdown menu. This will open the Convert dialog box, from which you can choose the destination where you want the recording to be saved on your PC by clicking Browse.
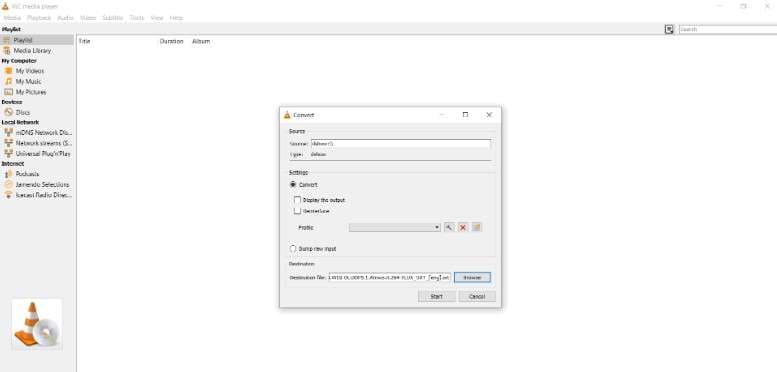
Step6Configure Recording Settings
Analyze the settings to make sure everything is in place and make adjustments where necessary.
Step 7: Start Screen Recording
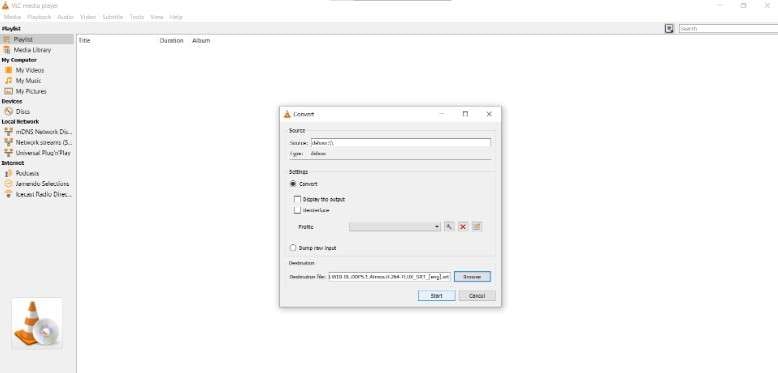
Step7Start Screen Recording
Click on the Start button to begin your VLC desktop recording with audio. VLC will automatically begin capturing your screen activity and the selected audio input.
Step8Stop Recording and Save
To stop the screen recording, click the Stop button in the VLC Media Player interface at the bottom of your screen. Your recorded video will then be saved to the location you specified earlier.
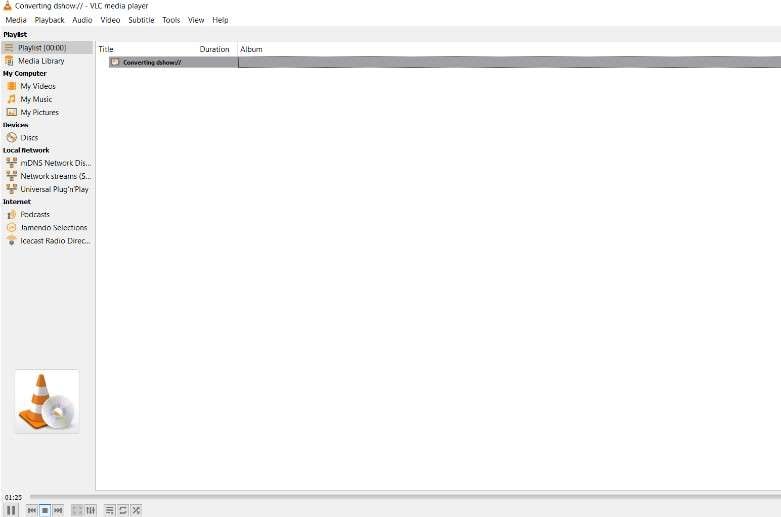
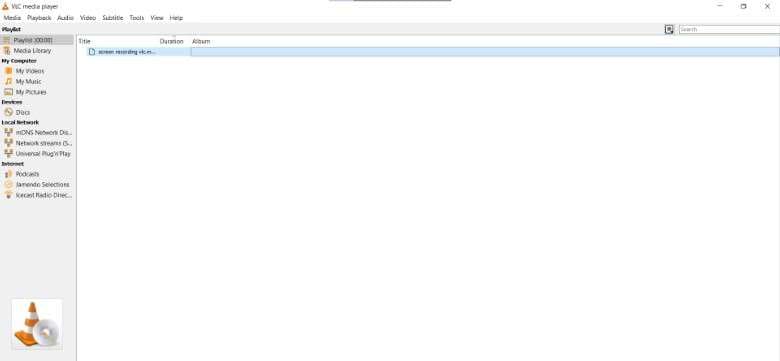
Step9Playback and Edit Recorded Video
After recording, you can find your work in the playlist page. You can playback your video from here using VLC Media Player or any other media player. If you want to edit the video, you can use external video editing software such as Adobe Premiere Pro, Final Cut Pro, or VLC's built-in editing capabilities.
Part 2: Bonus Tip: Using DemoCreator to Record Your Screen
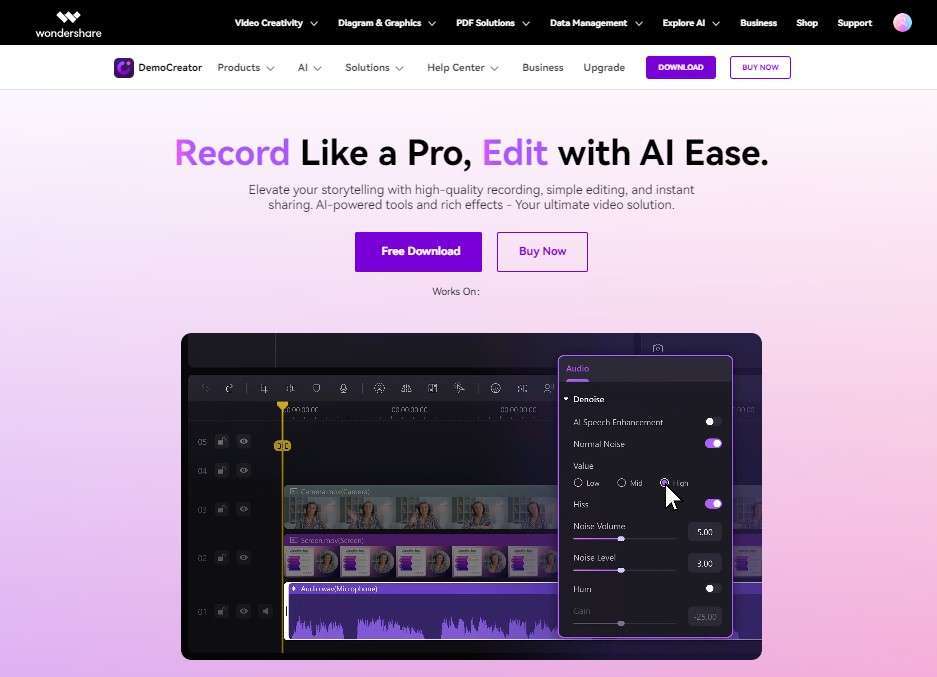
DemoCreator is a screen recorder application you can use as a substitute, especially if you find VLC screen recording challenging. This easy-to-use platform enables you to record screen activity in crisp and clear quality, offering high video resolutions of 720p and 1080p.
Key Features of DemoCreator
Despite its simple, user-friendly interface, DemoCreator offers advanced features for screen recording. These capabilities make the platform versatile and suited to all your recording needs. The following are some of its key features:
- It allows for high-quality screen recording
- It offers advanced recording editing features
- You can perform webcam recording using the platform
- It is easy to navigate with a user-friendly and intuitive interface
- DemoCreator offers six modes for recording your screen, so no matter your needs, it has the tools to cater to them.
How to Use DemoCreator
Below, we will explore the steps to using DemoCreator to record your screen:
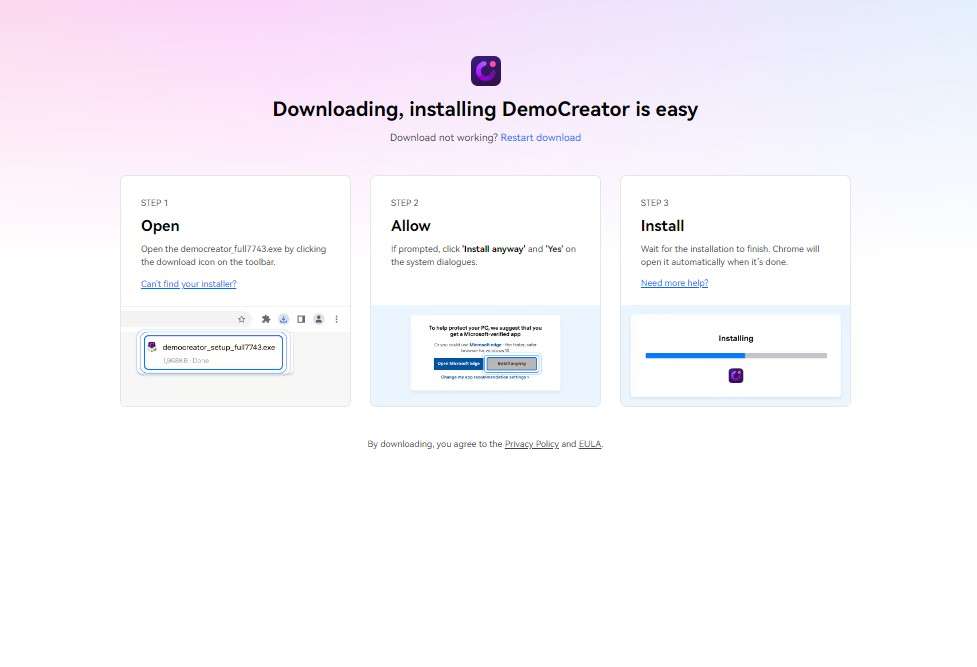
Step 1: Start by downloading the application from the official website. Choose the download package according to your laptop's operating system (Windows or Mac). After downloading, install DemoCreator on your PC.
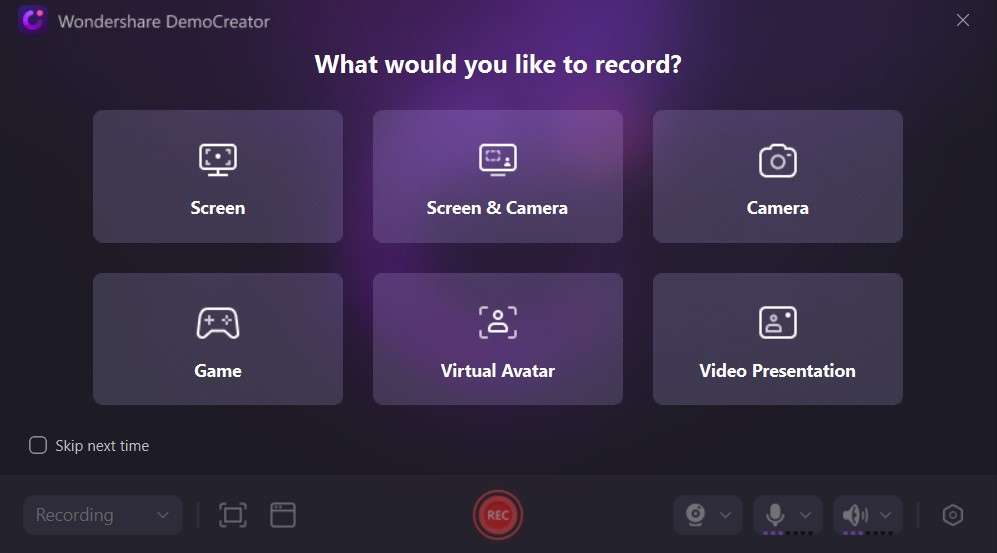
Step 2: Click Video Recorder and set your recording mode to Screen Recording. After this point, you can record part or all of your screen. You can also decide whether to use system sounds, microphone input, or both. After everything is set, review your settings before proceeding.
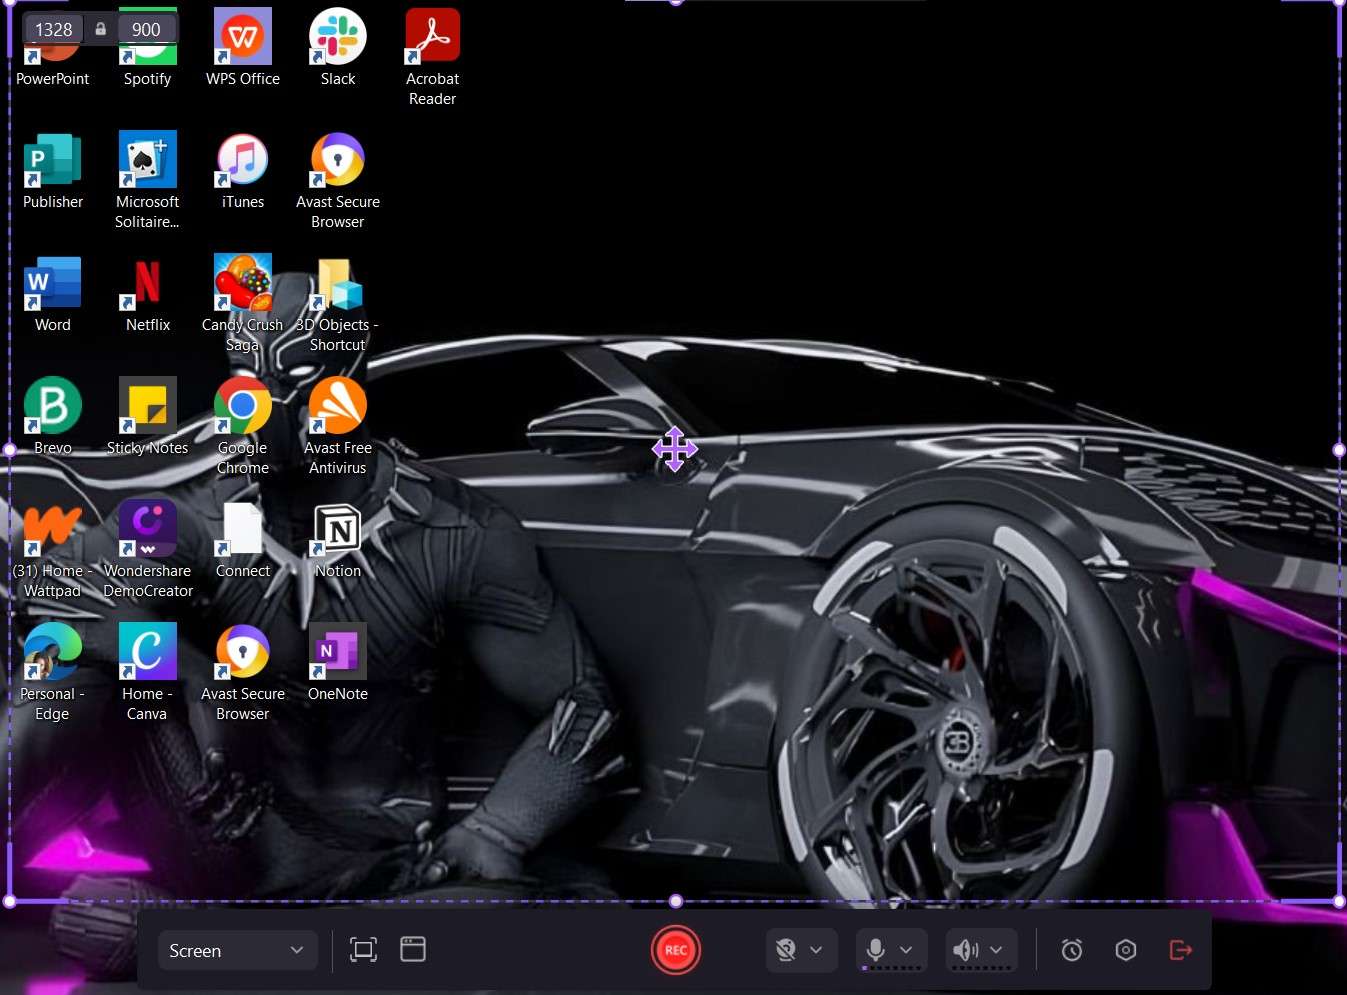
Step 3: Tap REC or Press F10 to start the recording. The application will automatically start recording your screen. Once done, you can stop the recording by clicking F10.
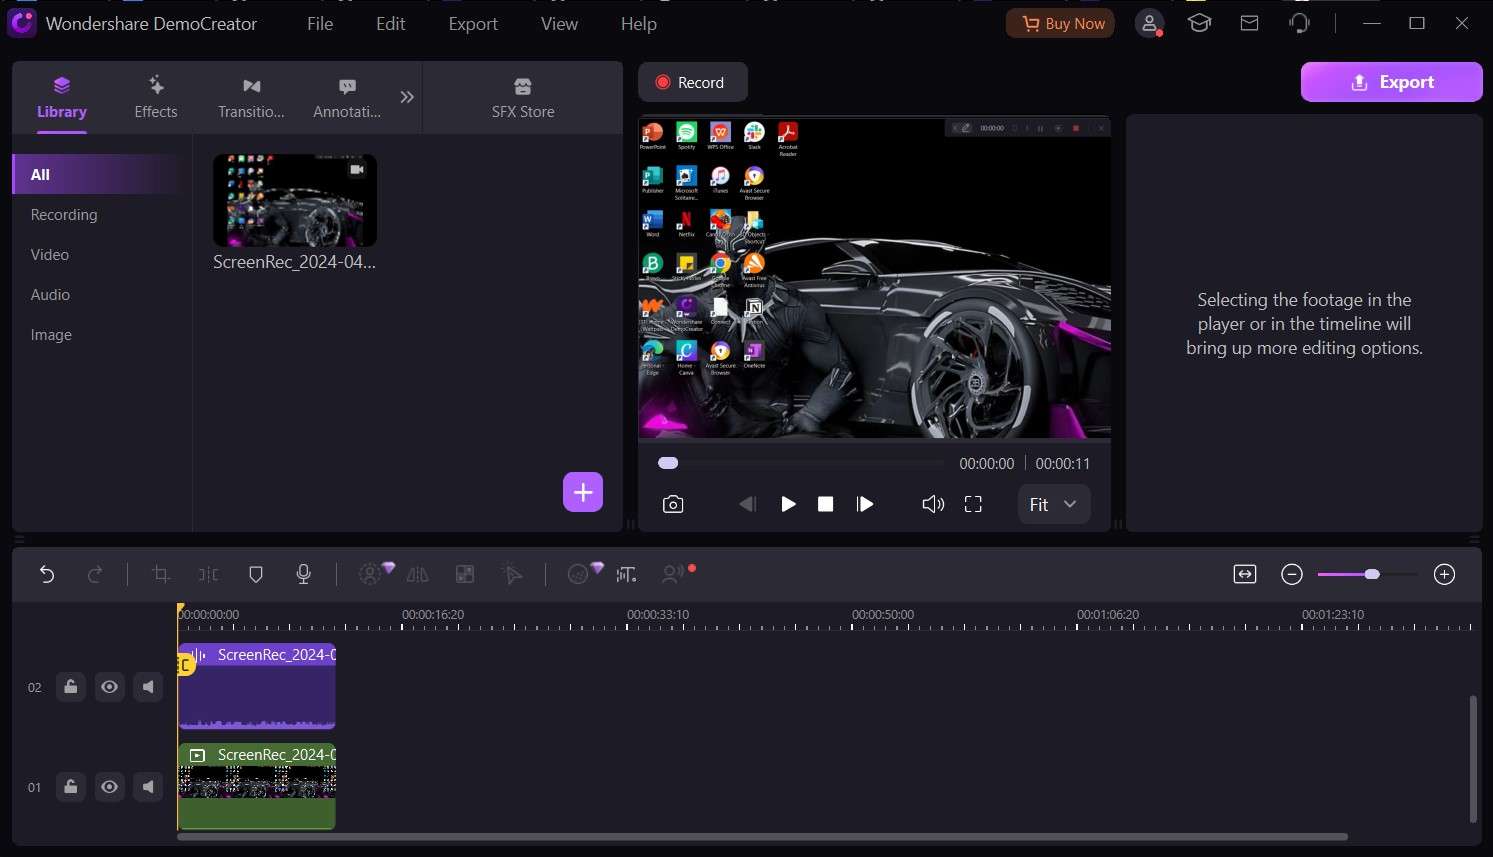
Step 4: Edit your recording using DemoCreator's built-in editing tools for video trimming the video, audio adjusting, or text overlays.
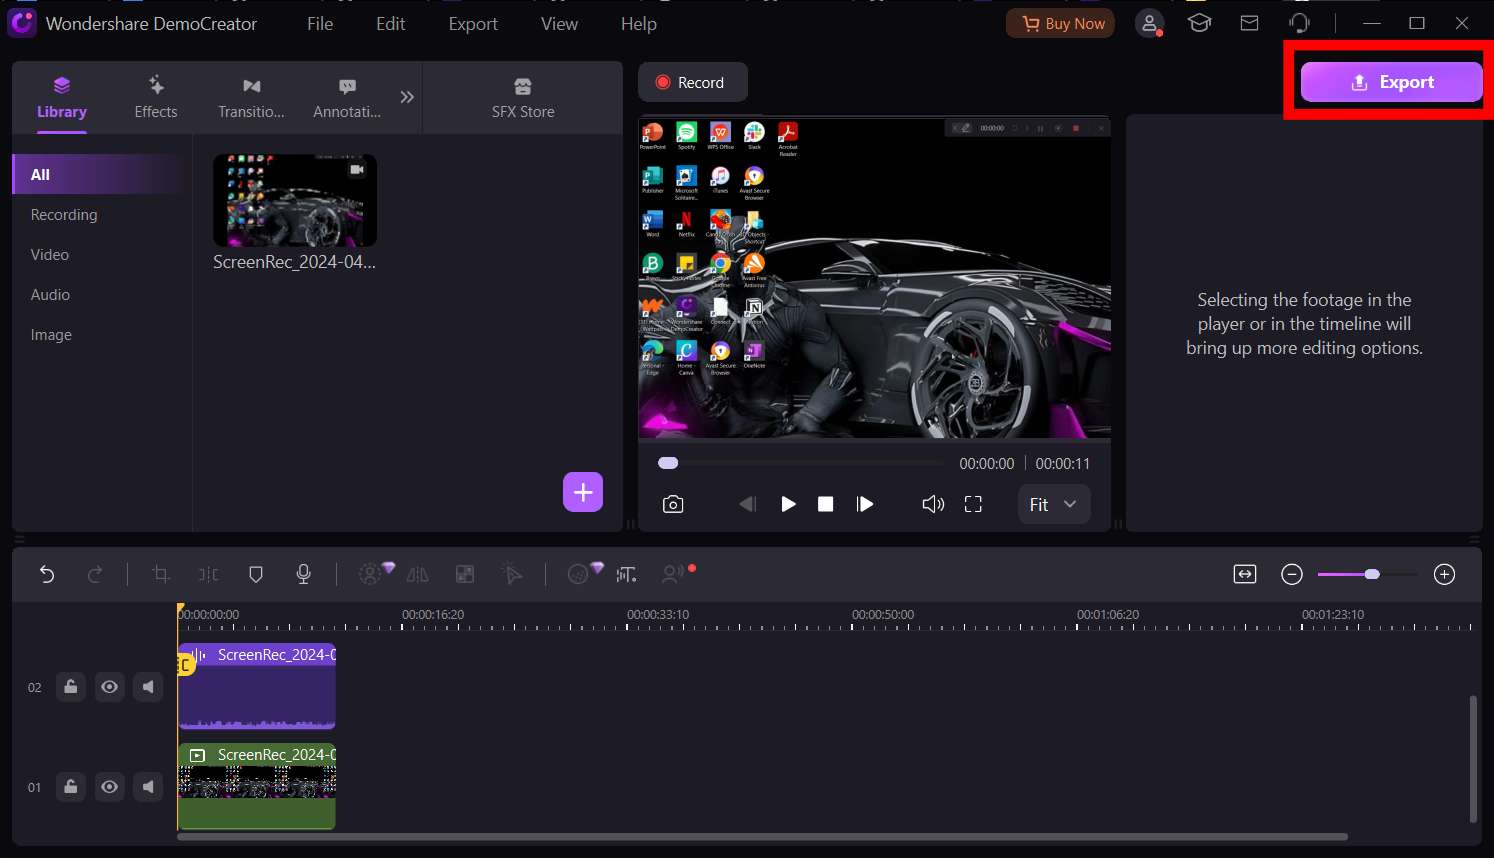
Step 5: Save the screen recording to your PC after everything meets your taste. You can aslo share it if you want to.
Conclusion
VLC Media Player's screen recording feature provides a convenient and accessible way to capture your computer screen and audio. Whether you're creating tutorials, recording gameplay, or demonstrating software features, VLC’s desktop recording with audio feature offers a versatile solution for content creators.
Although it has benefits, VLC can be challenging to navigate. If you need a more straightforward tool, DemoCreator is a perfect choice. From its versatility to advanced editing and recording tools, DemoCreatr has everything you need to create stunning screen recordings. How to use VLC to record screen with audio? Ready to step up your screen recording game? Download DemoCreator for free to begin!
FAQs
-
What types of audio can I record with VLC screen recording?
VLC can record system audio from your computer applications and external audio, such as your voice, through a microphone. -
In what formats does VLC save my screen recordings?
VLC saves screen recordings to pre-determined destination files in MP4, AKI, or MKV formats. -
Can I record specific parts of my screen with VLC?
No. VLC does not support recording just a part of your screen, as there are no options for particle screen recording. It automatically records your entire screen when you click Start.


