

Chromebooks are versatile devices. They’re perfect for students, teachers, and professionals needing to record audio. Knowing how to record audio on a Chromebook is essential for lectures, meetings, or personal notes.
The article will show you four different ways to record sound on a Chromebook. Stay tuned to learn about using apps, web-based tools, and other easy tricks to capture audio. Read on to learn more.
In this article
Part 1. Why Using an Audio Recording Tool Is Better for Chromebook?
Using a dedicated audio recording tool on a Chromebook offers several advantages:
- Convenience
Dedicated tools often provide more intuitive interfaces and advanced features. They make the recording process smoother and quicker.
- Improved productivity
Features like automatic transcription, noise reduction, and easy file management save time. They also streamline workflows.
- Enhanced learning
For students, advanced tools can include functionalities such as lecture recording with timestamps. It aids in better note-taking and study practices.
- Creative expression
Musicians and content creators benefit from high-quality audio inputs, multi-track recording, and editing capabilities. It allows for professional-grade outputs.
- Accessibility
Many dedicated recording apps, such as Wondershare DemoCreator offer accessibility features. It can do the things you need to ensure you can get started.
Part 2. How To Record Sound on Chromebook [4 Ways]
Recording sound on a Chromebook can be done both offline and online. Here are four different methods to capture audio, catering to various needs and preferences. These options will help you record sound on your Chromebook effectively:
Way 1: Record Sound on Chromebook Using a Dedicated Software
DemoCreator is an excellent tool for audio recording on your Chromebook. It’s packed with features designed to meet your many recording needs. It’s one of the top choices for users seeking a reliable and versatile audio recorder. Here are its key strengths that make it an ideal companion for your audio recording tasks:
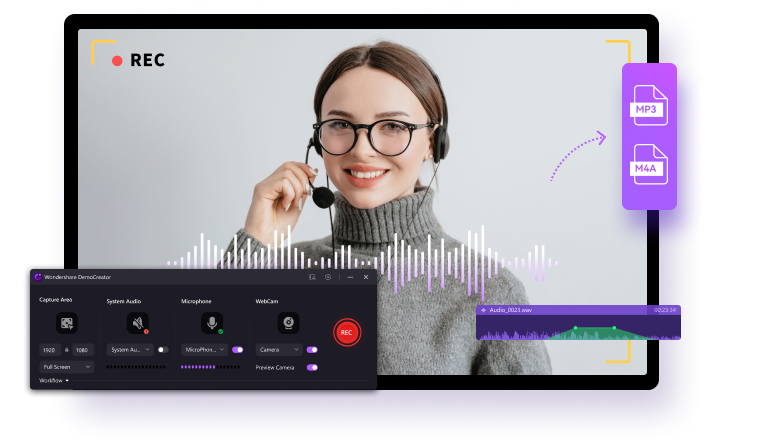
- Record computer and microphone audio simultaneously. Capture both system sounds and your voice for comprehensive recordings
- Transcribe voice recordings in one click. Convert your audio to text, saving time on manual transcription
- Voice changer effects. Add fun and creativity to your recordings with various voice modulation options.
- Export audio with no quality loss. Ensure your recordings retain their original clarity and quality when exporting.
How To Record Audio on a Chromebook With DemoCreator
Follow the steps to start recording audio on your Chromebook using DemoCreator:
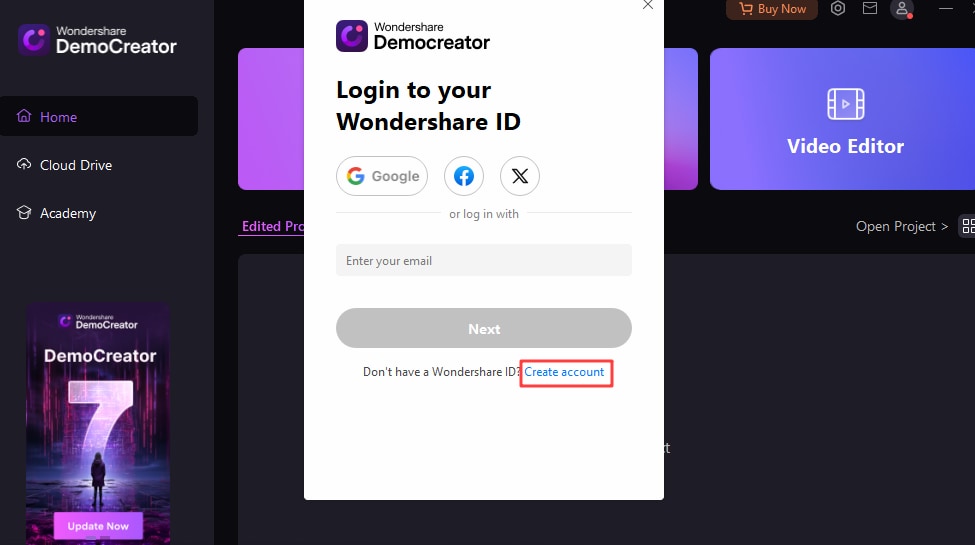
Step 1: Download, Install, Register, and Launch
Download the Chromebook-compatible version. Install the software following the on-screen instructions. If you haven’t already, register for an account and then launch the application.
Step 2: Configure Recording Settings
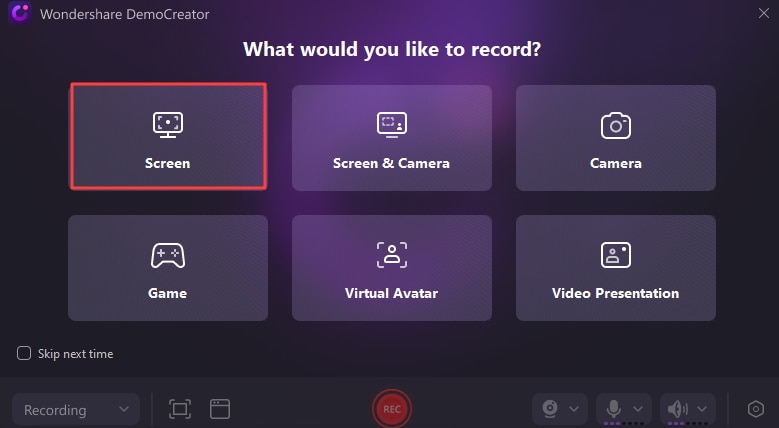
Go to the recording interface. Click Home > Video Recorder. Select what you would like to record. For audio recording only, choose Screen. Select the audio sources you want to capture – computer audio, microphone, or both. Adjust the input levels to ensure clear recording quality.
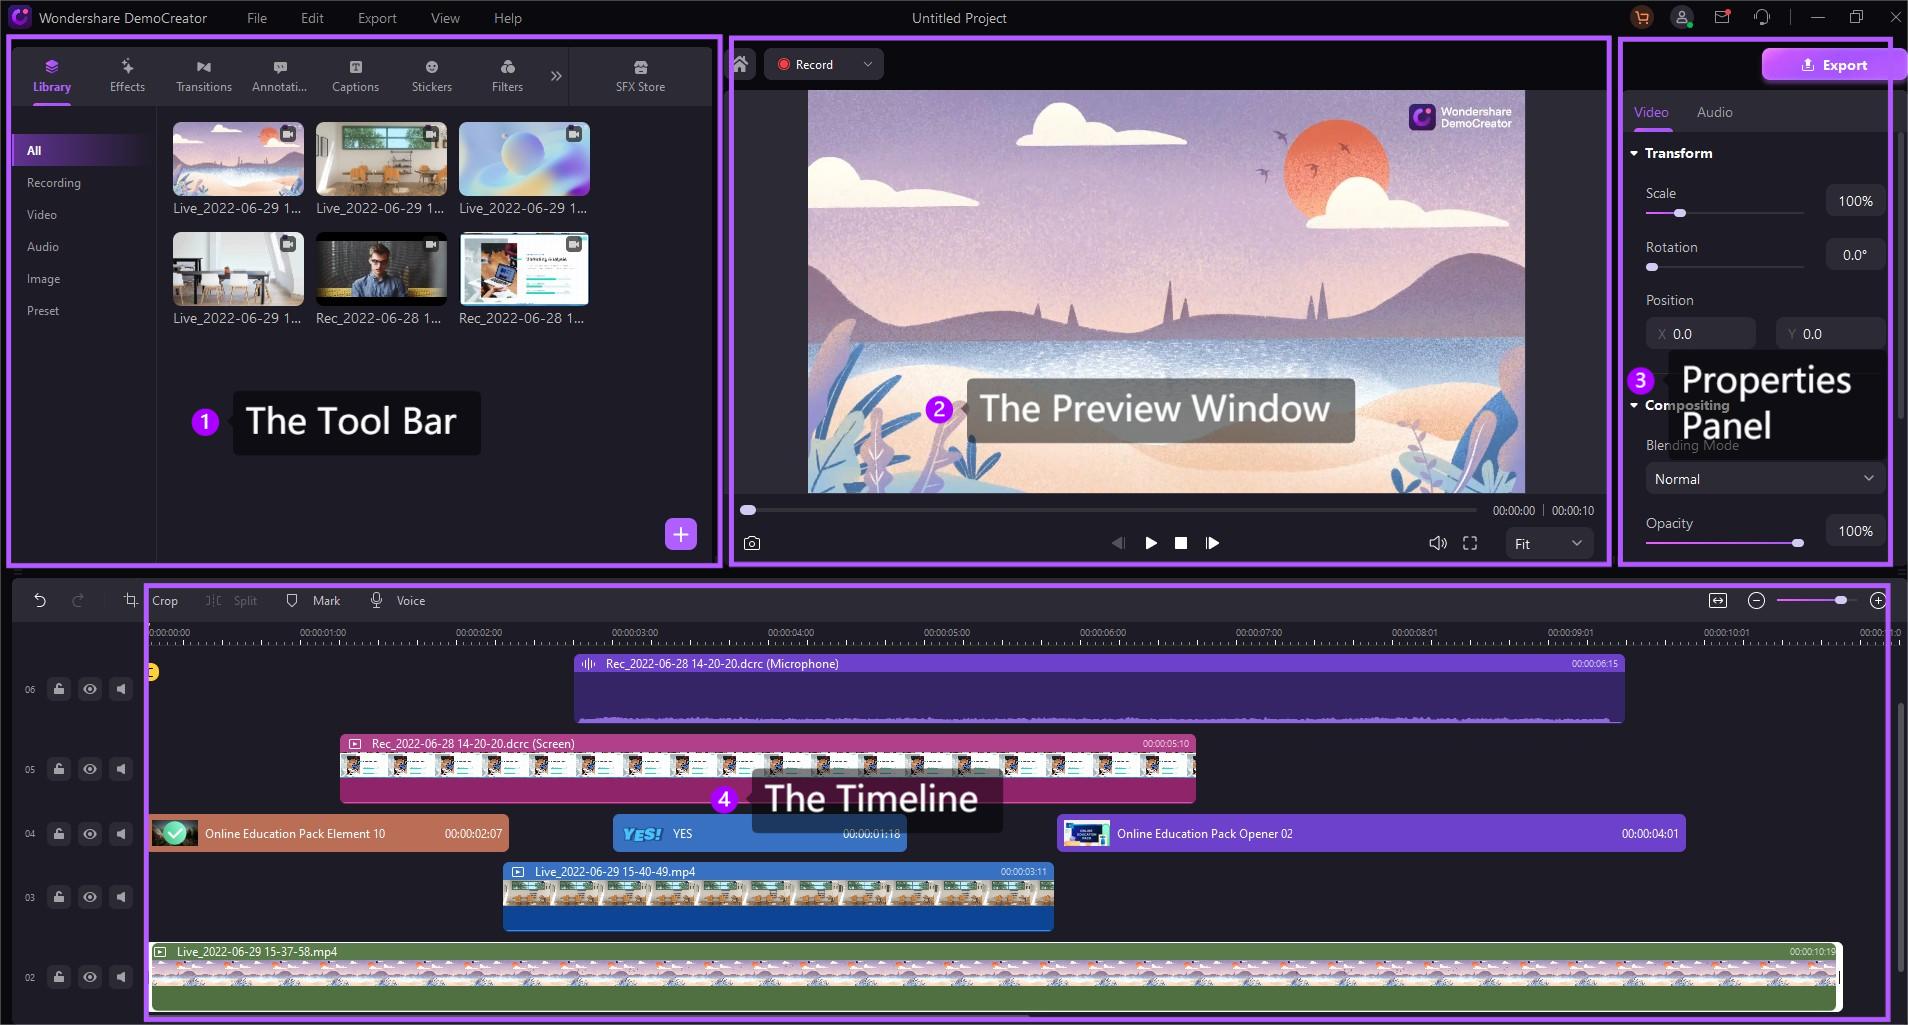
Step 3: Go to the Record button to capture your audio. Click the Stop button after finishing recording. After stopping the recording, DemoCreator will take you to the editing interface.
Step 4: Trim, cut, or enhance your audio as needed. Once satisfied, export your audio file. Choose your desired format and quality settings.
Pros and Cons
Here are the pros and cons of using DemoCreator for Chromebook users:
Pricing Plan
If you want to give DemoCreator a try, here are its pricing plans:
- Free version available
- Cross-Platform Quarterly Plan. $29.99/qtr
- Cross-Platform Yearly Plan. $59.99/yr
- Perpetual Plan. $79.99 one time
Way 2: Record Sound on Chromebook Using a Free Voice Recorder
Audacity is a popular open-source platform for Chromebook owners for audio recording. It offers a simple way to capture audio and a convenient option for quick recordings. Here’s how to use it:
Step 1: Download and install Audacity on your Chromebook. Launch the app.

Step 2: Connect a microphone to your computer. To start recording, click the red Record button. Click the yellow Stop button when you’re done. The recording is automatically saved.
Way 3: Record Sound on Chromebook Online
DemoAir is DemoCreator’s online counterpart. It’s an excellent choice for recording audio on a Chromebook. The tool offers several benefits, making it ideal for users who prefer online solutions, such as:
- Quick recording and sharing. Record and share your audio files with a few clicks
- Unlimited free recording online. Enjoy unlimited recording without any charges.
- Record audio simultaneously. Capture audio from both your microphone and system sound
- No installations are needed. Use DemoAir from your browser, removing the need for software installation
How To Record Audio Online With DemoAir
Here are the steps to start using the online tool:
Step 1: Visit the Chrome Web Store and search for the DemoAir extension. Click Add to Chrome to install it. Alternatively, visit the DemoAir website and use the online tool directly.
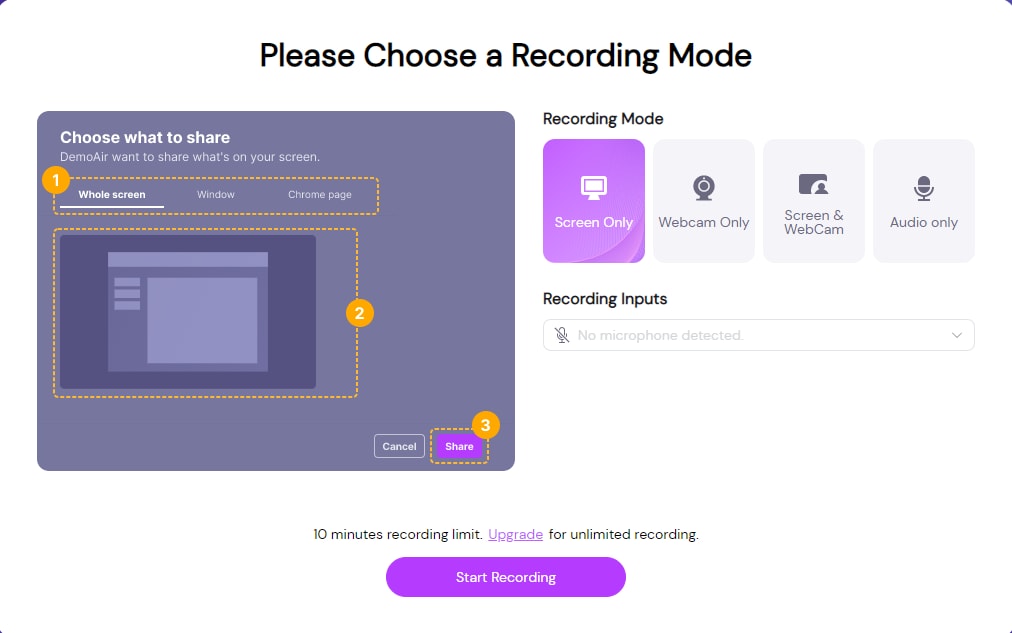
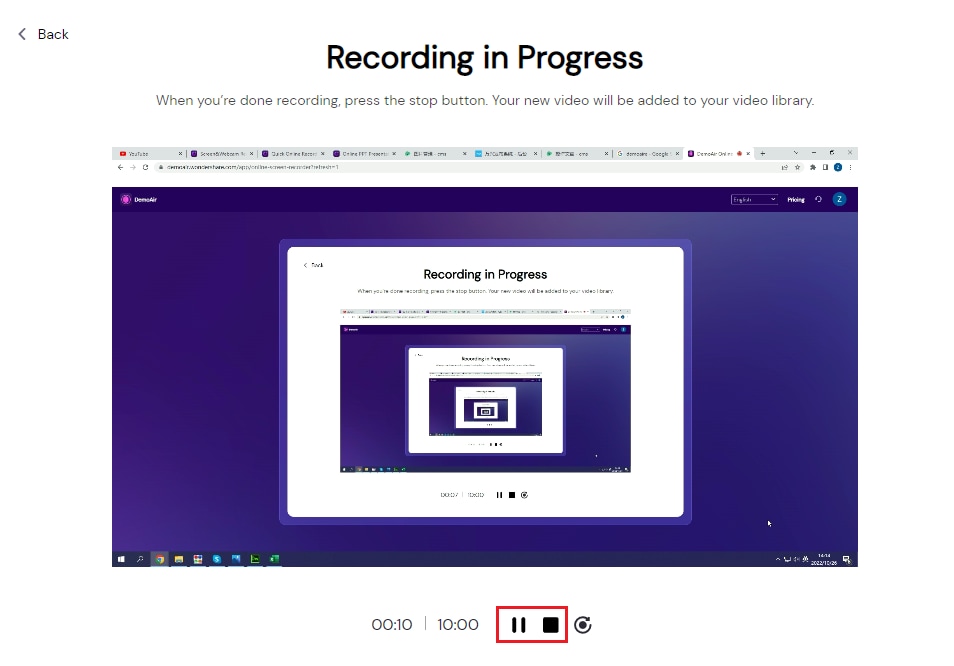
Step 2: Choose your recording mode and inputs. Next, click the Start Recording button to begin. Click Stop when you are done. After stopping the recording, save your audio file.
Step 3: Use DemoAir’s editing tools to make any changes. Share your recording via email or social media, or download it to your device.
Pros and Cons
Here are DemoAir’s pros and cons:
Way 4: Record Sound on Chromebook Using PowerPoint
If you have no other choice, Microsoft PowerPoint can also be used to record audio on a Chromebook. The method is useful for embedding audio into presentations. Here’s how:
Step 1: Open Microsoft PowerPoint on your Chromebook. Go to the Insert tab in the PowerPoint toolbar. Click Media > Audio > Audtio on My PC. A new window will appear.

Step 2: Click the Record button to start recording your audio. Speak clearly into your microphone. Click the Stop button to finish recording.

Step 3: Listen to your audio by clicking the play button. If satisfied, click OK to insert the audio into your slide. Save your presentation. You can share it via email or cloud storage services.
Part 3. Tips for High-Quality Audio Recording
To ensure your audio recordings are always high quality, follow these tips:

- Use an external mic and headphones
External microphones generally provide better sound quality than built-in mics. Configure your audio settings. Position the mic close to your mouth but not in front to avoid plosives.
- Find a quiet environment
Record in a place with low background noise to avoid unwanted sounds in your recording.
- Use pop filters and windscreens
These tools help reduce plosive sounds and wind noise, ensuring cleaner audio.
- Monitor audio levels
Keep an eye on your audio levels to prevent clipping and distortion. Adjust levels as needed.
- Test before recording
Always do a test recording to check for any issues and ensure your setup is correct.
- Use dedicated software
Use high-quality recording software like DemoCreator or DemoAir. Take advantage of advanced features and ensure the best results.
Conclusion
Audio recorders on a Chromebook are now more accessible than ever. It’s thanks to software like DemoCreator and built-in tools on your Chromebook that get the job done. If you want to record sound on a Chromebook, it’s easy to do so with the right tools.
For offline use, try DemoCreator for its robust features and high-quality output. For online use, DemoAir provides a convenient and effective solution. Embrace these tools to record sound on your Chromebook in seconds. Enjoy seamless audio recording experiences without breaking the bank.


