
The global live-streaming market grew from $1.24 billion in 2022 to $1.49 billion in 2023, watching live-streaming has gradually become a trend, perhaps you are watching your favorite sports live-streaming and want to share exciting moments with your family or friends. Or you are watching a marvelous movie on Netflix and want to keep it for offline viewing?
Being able to record streaming videos can help you achieve all these scenarios. Today, we are going to discuss the best software to record streaming videos on Windows, one of the most popular computer systems in the world.
In this article
Top 7 Software to Capture Streaming Video on Windows 10
Wondershare DemoCreator
Renowned as an all-in-one screen recording and video editing, Wondershare DemoCreator is a streaming video recorder for Windows 10, (It is also compatible with Mac), it offers six different screen recording modes to meet your different requirements. Professionals, educators, gamers, and content producers opt for it because of its well-balanced combination of reliable features and intuitive design.
Key Features
- 6 flexible recording modes are available for users to choose from.
- Supports scheduling a time to record streaming videos.
- You can customize the exporting resolution, FPS, and file formats
- Supports editing, splitting, and deleting unwanted content after capturing streaming videos.
- Add text, lines, arrows, shapes, and other annotations in real-time.
- Convert audio in videos to text using auto-subtitles.
- Generate ideas with an AI teleprompter.
VLC Media Player

The open-source, free VLC media player is well-known software for its wide format compatibility and adaptability. It can play media files and has excellent screen recording features, making it a useful tool for anyone wanting to record streaming video on Windows 10 for free. It allows you to record a stream directly from various sources, including online streaming platforms, live broadcasts, and even local network streams.
This cross-platform multimedia player and framework support many streaming protocols, such as DVDs, Audio CDs, VCDs, and most multimedia files.
Related article: Learn how to record streaming videos using VLC.
OBS Studio
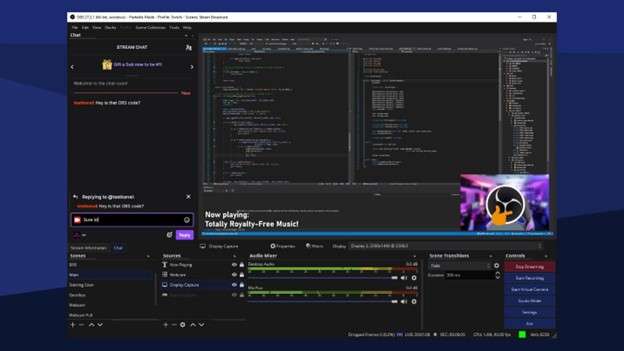
OBS Studio (Open Broadcaster Software) is free and open-source software to capture streaming videos on Windows 10. Its reliable and adaptable features, make it popular among professionals, gamers, and content creators. When looking for fully featured and adaptable video recording and streaming software, OBS Studio is a clear top pick for professionals. However, beginners may take some time to properly set up for its challenging interface.
ShareX
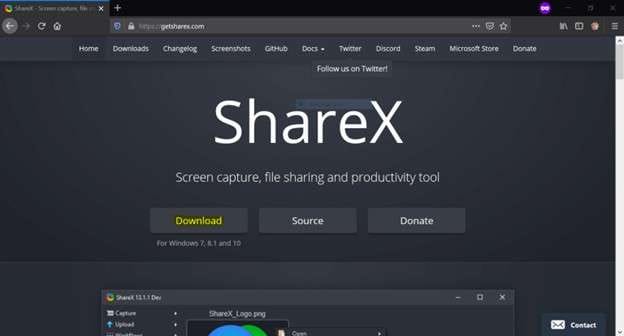
ShareX is a free streaming video recorder for Windows 10 that offers capturing full screen, active window, custom region, scrolling capture, and enhancing productivity. With its extensive feature set for taking and sharing screenshots and videos, it's a flexible tool that can be used for both personal and business purposes. Although the UI may seem daunting at first, its broad feature set and automation capabilities make it a vital resource for better productivity.
Apowersoft Video Recorder
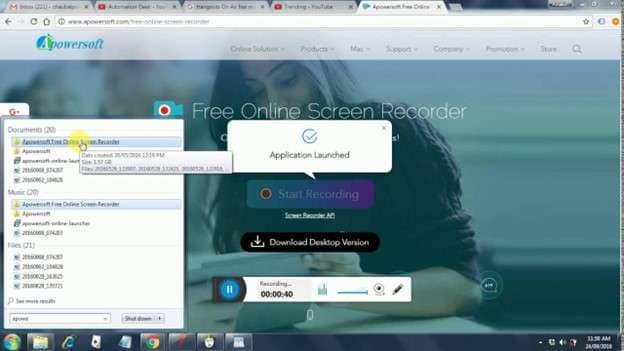
Apowersoft Video Recorder is not only providing online tools but also good streaming video recording software on Windows 10. It offers customizing the capture area, you can choose the full screen, specific area, record webcam, and system sound. Also, it provides options to set up an auto-stop for your recordings. Within its editing box, it supports basic video editing features like video splitting and video merging. This gives you the option of both basic screen recording services and more advanced scheduled recording functionality. The software is ideal for creating tutorials, recording live streams, capturing gameplay, etc.
Loom

Loom, famous as an online screen recorder, do you know that it is also a good software to capture streaming videos on Windows 10? With the ability to concurrently record one's voice, screen, and face, it is designed to facilitate effective communication. It also provides basic video editing features like trimming. What’s more, it provides a team workplace, which may improve efficiency.
ScreenPal (formally Screencast-O-Matic)
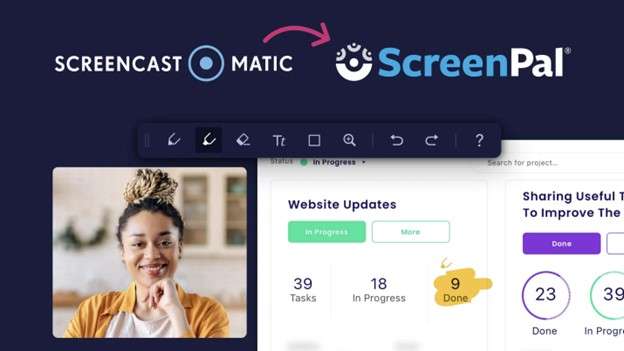
ScreenPal is a flexible tool for recording streaming videos on Windows 10. It can capture any area of your screen, include microphone audio, and add and resize video from your webcam. It is an all-in-one app that can be freely downloaded on PCs and offers features like a screen recorder, screenshot, video editor, image editor, content hosting, and interactive video by polls and quizzes. You can also easily remove the background and use speech-to-text captions.
How to Record Streaming Video on Windows 10 with Wondershare DemoCreator?
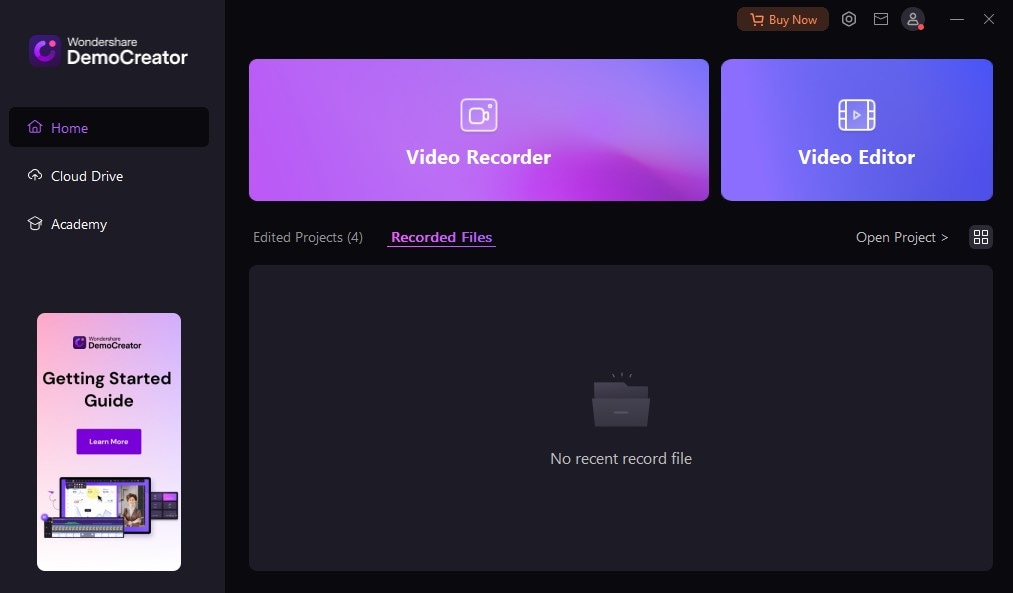
Step 1: Download the WonderShare DemoCreator software and launch it.
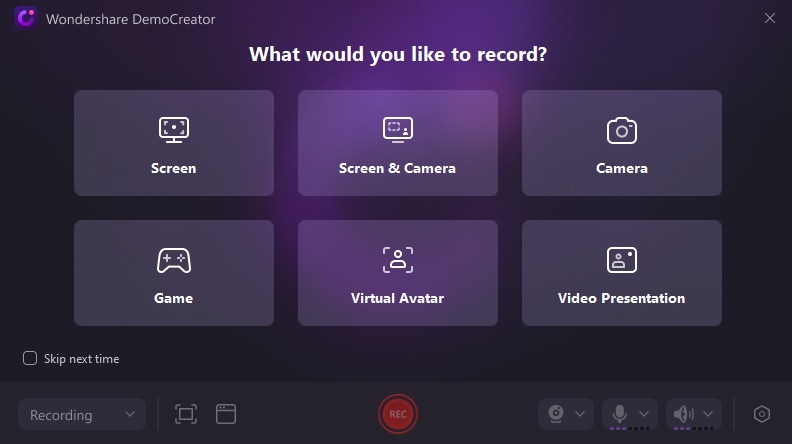
Step 2: Click Video Recorder and choose a mode according to your requirements.
Step 3: Choose screen mode to record the live streaming video.
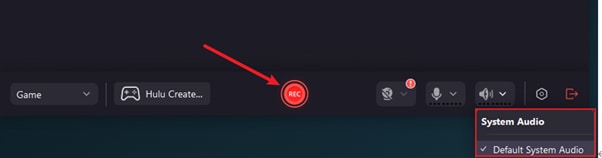
Step 4: When you are ready, click the "REC" button. This will initiate the recording process, and capture everything within the selected recording area in real-time.
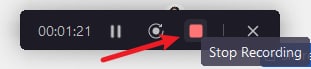
Step 5: Click the red box or press F10 to stop recording.
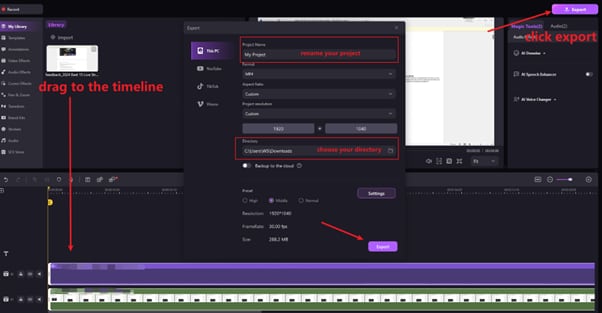
Step 6: Drag your screen recordings to the timeline make basic edits, Preview, and Export them to your computer.
Conclusion
We have discussed 7 best streaming video recorders on Windows 10 in this article. All of them provide basic screen recording features, and some of them can also edit the recorded stream videos, fewer of them are AI-powered. If you are considering choosing a stream video recorder that covers all the features, you can try Wondershare DemoCreator. With its intuitive UI and powerful editing features, It provides a complete solution for live-stream recording, making it an excellent option for both novices and experts.


