
Built-in screen recording on Windows 10 is fairly good for capturing various on-screen activities. You can record your gameplay, online meetings, presentations, and webinars. You can create tutorials, code reviews, lectures for online courses, and many other videos.
Before diving into the recording steps and configurations, let’s see what the built-in screen recorder on Windows 10 offers. We’ll also cover its benefits, drawbacks, and an excellent alternative.
In this article
The Built-in Screen Recorder in Windows 10: Xbox Game Bar
Xbox Game Bar is the built-in screen recorder for Windows 10 and 11. It lets you take screenshots and video captures while playing Xbox or PC games. Activating it from your game controller makes capturing essential moments a breeze. You can also chat with friends on an Xbox console or your PC.
However, don’t let the name fool you. This built-in screen recorder in Windows 10 goes above and beyond Xbox. You can record your screen when not playing games and take screenshots anytime.
The best part about Xbox Game Bar is the Game Mode. It optimizes your gaming experience, directing more CPU and GPU resources to your game while stopping unnecessary background processes. It may consume more power, but your gaming performance improves. You can enjoy a higher frame rate, better responsiveness, more consistency, and smoother gameplay.
The Game Mode also prevents Windows from installing drivers and other updates or reminding you to restart your PC. It prioritizes gaming, helping you enjoy your favorite games without hiccups.
Are you ready to record with the built-in Windows 10 screen recorder? Let’s dig into the steps.
How to Record With Xbox Game Bar
Here’s how to record your screen with Xbox Game Bar:
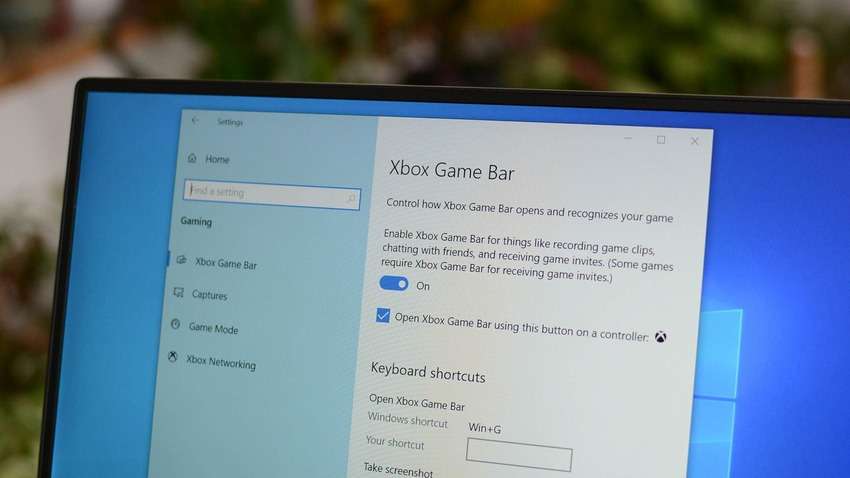
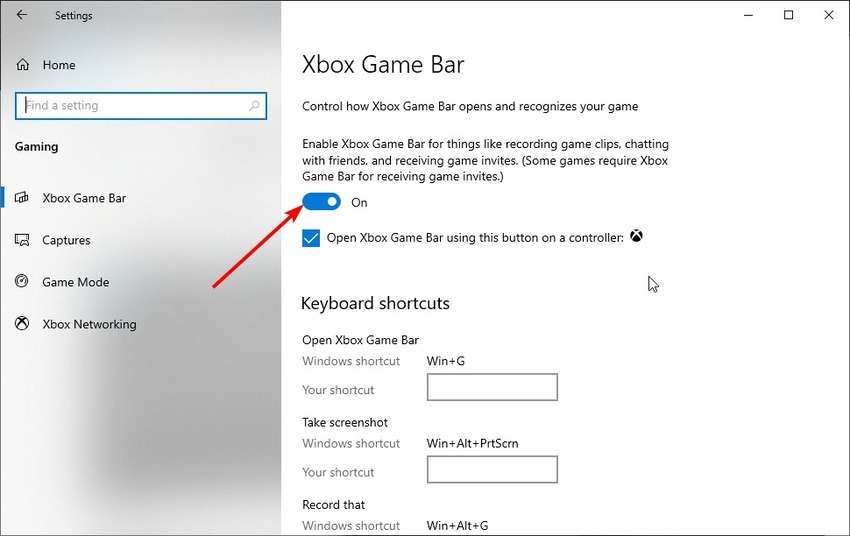
Step 1: Go to Settings > Gaming > Xbox Game Bar and toggle the On switch. You can also tick the checkbox below to enable your controller to activate the Game Bar.
Step 2: Open a game, app, or browser window you want to record.
Step 3: Search for the Xbox Game Bar app in your Windows taskbar and hit Enter.

Step 4: Click “Yes, this is a game,” even if you want to record something else.

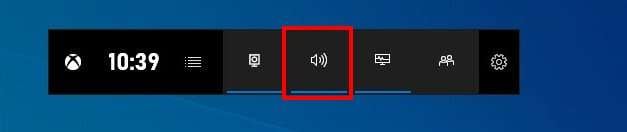
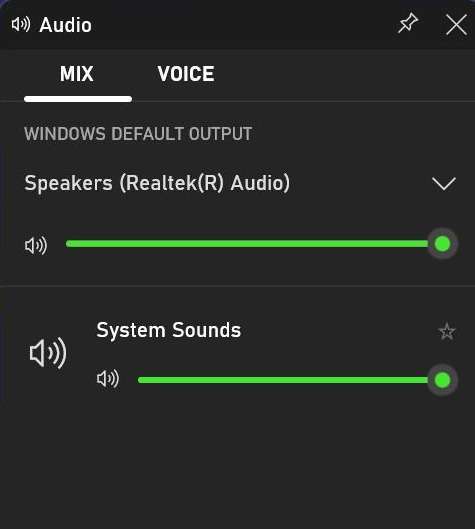
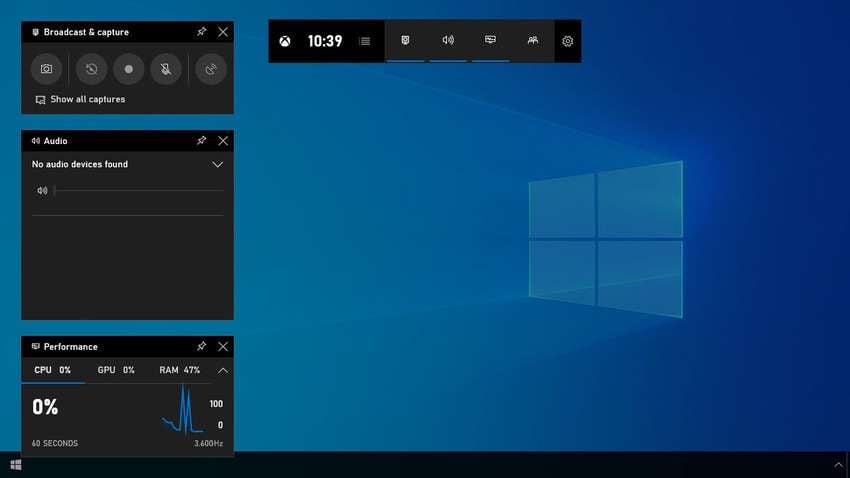
Step 5: Click the Speaker icon in the Home Bar to open the Audio widget.
Step 6: Choose the audio output sources to record in the Mix tab and adjust their volume.
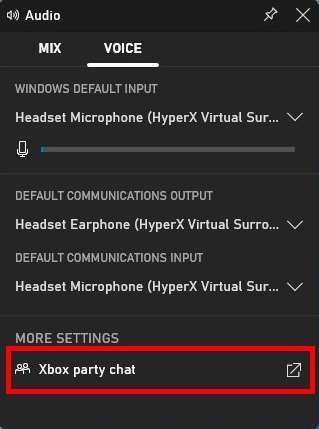
Step 7: Switch to the Voice tab to set audio input sources (if you want to record your microphone). You can also change Xbox party chat settings.
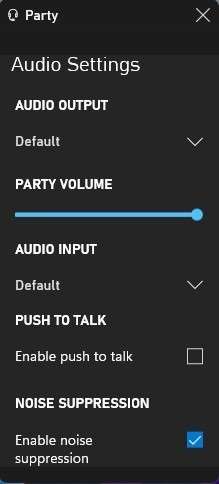
Step 8: Set your audio output and input sources in Xbox party chat settings and adjust the volume. You can also enable push-to-talk and noise suppression.
Step 9: Click the Mouse icon in the Home Bar to enable click-through (if you want to record mouse clicks).

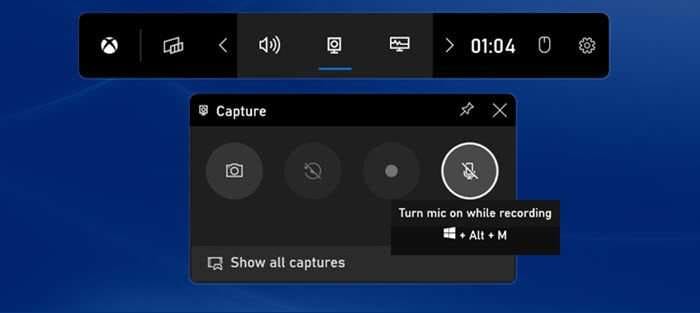
Step 10: Click the Screen icon in the Home Bar to open the Capture widget.

Step 11: Hit the Record button to capture your screen. You can also turn your microphone on or off.
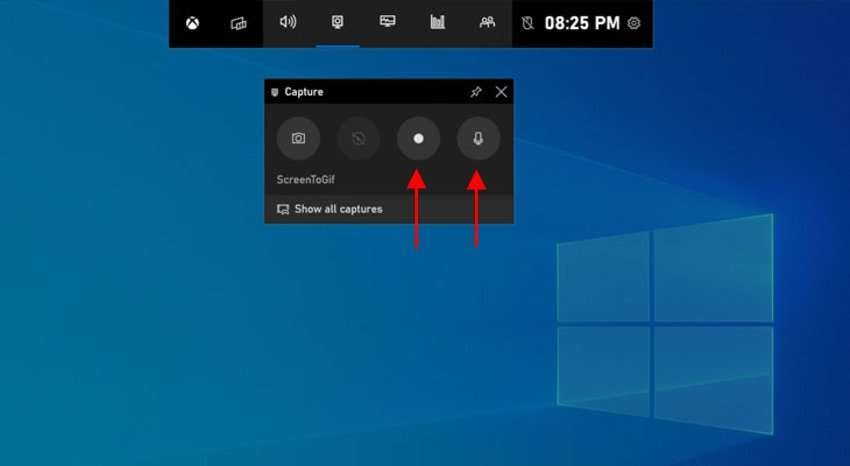
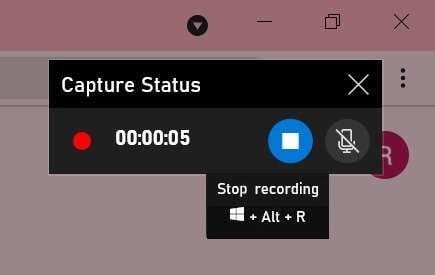
Step 12: The Game Bar will disappear while recording, leaving only the Capture Status timer. Click the Stop icon anytime to finish recording.

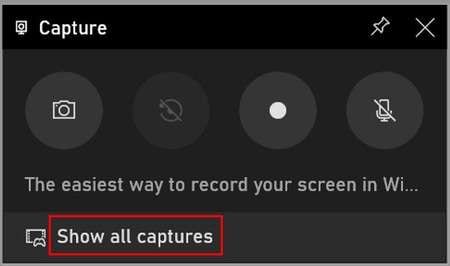
Step 13: Reopen the Game Bar (or click the notification) and click Show all captures.
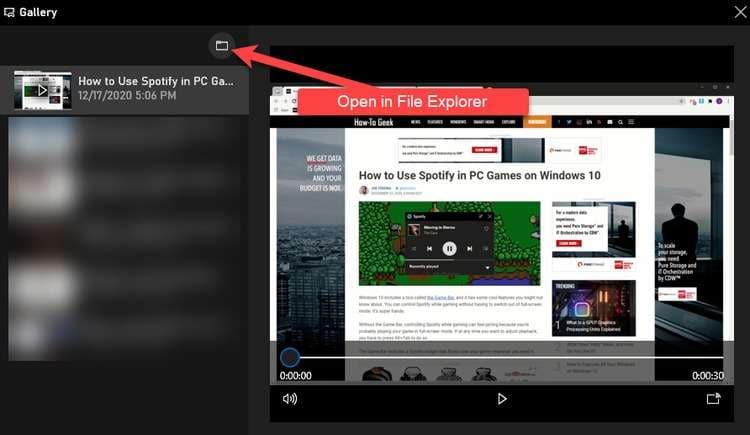
Step 14: The Game Bar’s Gallery will open, letting you play, share, or view your recordings in File Explorer.
How to Record With Xbox Game Bar With Keyboard Shortcuts
Xbox Game Bar supports several keyboard shortcuts for faster access and recording. They’re ideal when capturing your gameplay because you can’t exit your game in critical moments to launch the app and start recording.
The best part? You won’t miss unexpected gaming moments even if you don’t record on time. If you enable background recording, you can capture previous screen activity (the last 15 seconds to 30 minutes) with a single keyboard shortcut.
Here’s how to record your screen with Xbox Game Bar’s keyboard shortcuts:
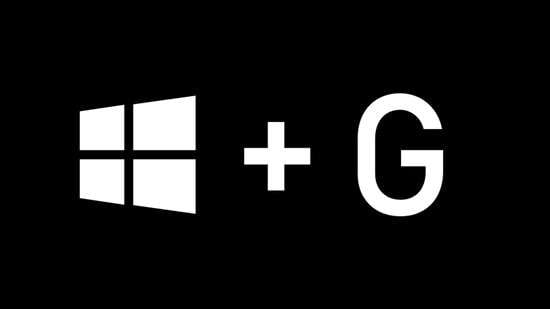
Step 1: Press the Windows + G keys to activate the Game Bar.
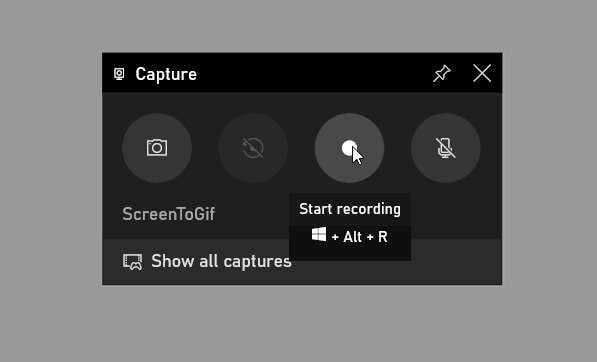
Step 2: Start recording using the Windows + Alt + R key combination. The Game Bar will capture audio by default when recording a game.
Step 3: Turn your microphone on or off with the Windows + Alt + M shortcut.
Step 4: Stop recording using the Windows + Alt + R shortcut. You can also hide the Capture Status timer while recording using the Windows + Alt + T combination, although it won’t be visible in your video.
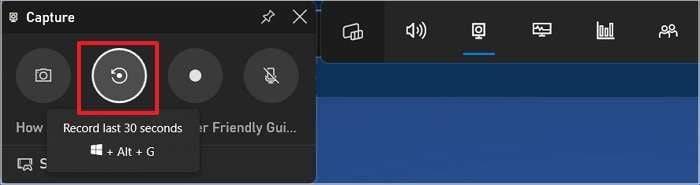
Step 5: If background recording is active, hit the Windows + Alt + G keys to record the previous 15 seconds (up to 30 minutes) of gameplay. The default is 30 seconds, but we’ll show you how to change the length shortly.
How to Configure the Built-in Screen Recorder in Windows 10
Now that you know how to use the built-in Windows 10 screen recorder, it’s time to configure it to suit your needs. Here’s how to change the default settings and make the most of the Game Bar:
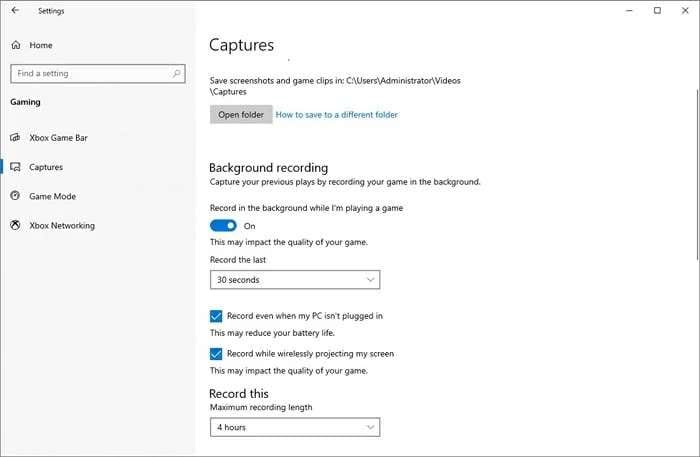
Step 1: Go to Settings > Gaming > Captures, choose where to save game clips and screenshots, and set your Background Recording preferences. You can record the last 15 or 30 seconds or 1, 3, 5, 10, or 30 minutes. Additionally, set the maximum length for regular recordings (30 minutes or 1, 2, or 4 hours).
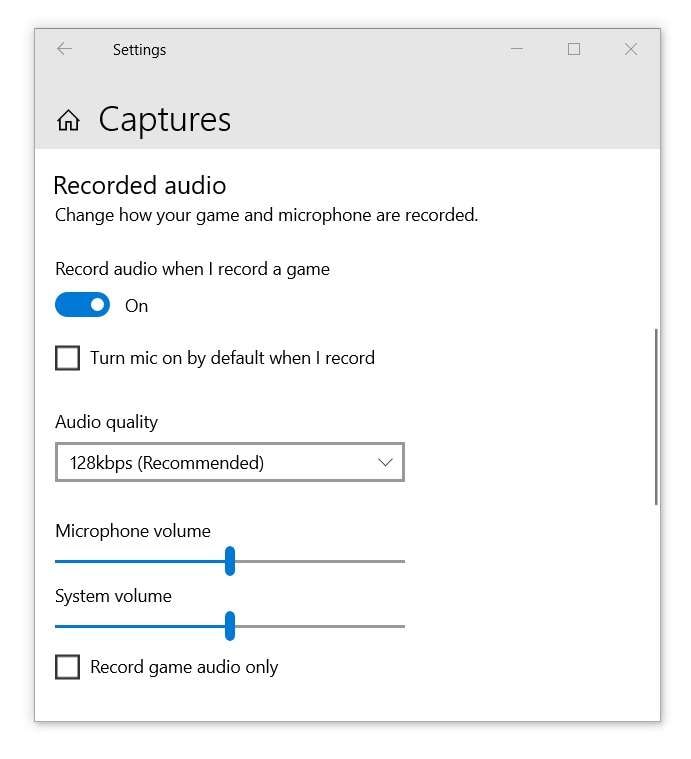
Step 2: Recording game audio is active by default, so enable the microphone (optional) to record your voice whenever you capture gameplay. Then, set the desired audio quality (96 Kbps, 128 Kbps, 160 Kbps, or 192 Kbps.
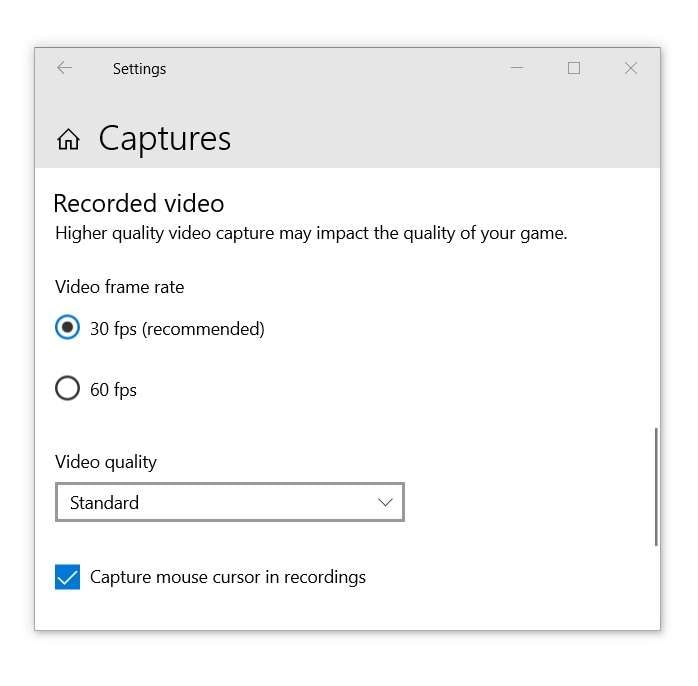
Step 3: Choose a frame rate of 30 FPS or 60 FPS for recordings and a standard or high video quality.
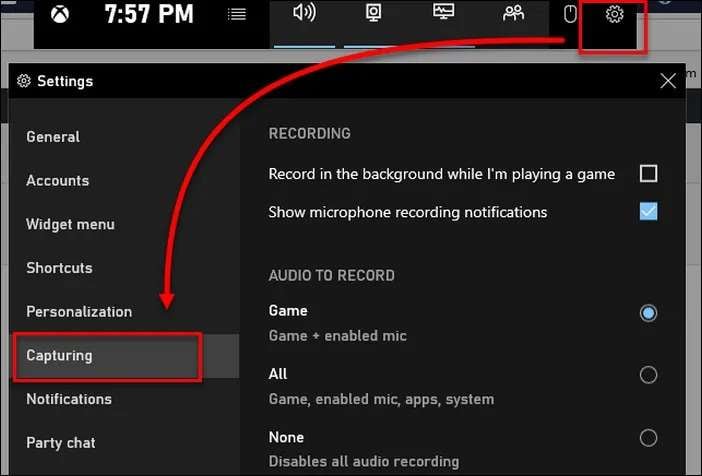
Step 4: Launch the Xbox Game Bar (Windows + G) for additional configurations. Go to Settings > Capturing and choose which audio to record.
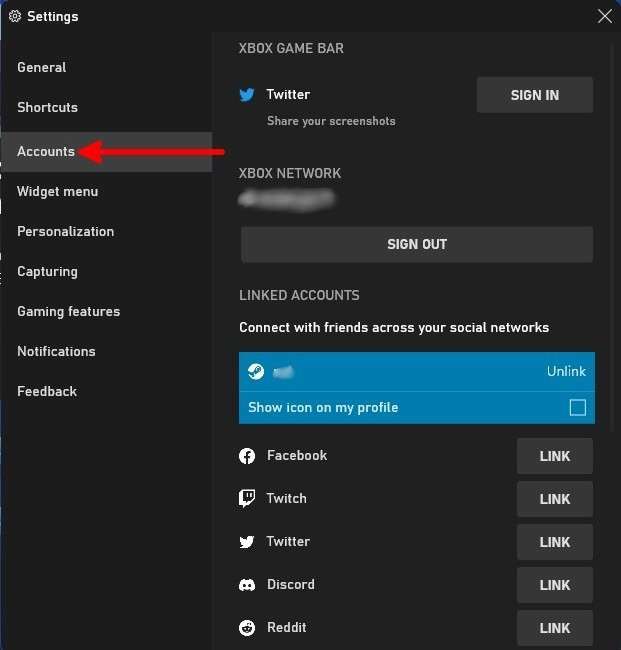
Step 5: Switch to the Accounts tab to connect your Xbox, Steam, Twitch, and other accounts.
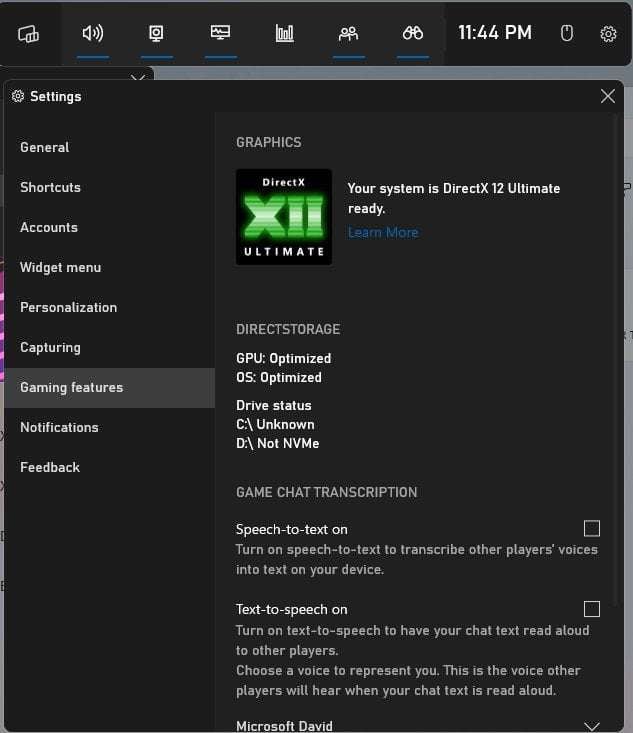
Step 6: Enable Game Chat Transcription under Gaming Features for accessibility.
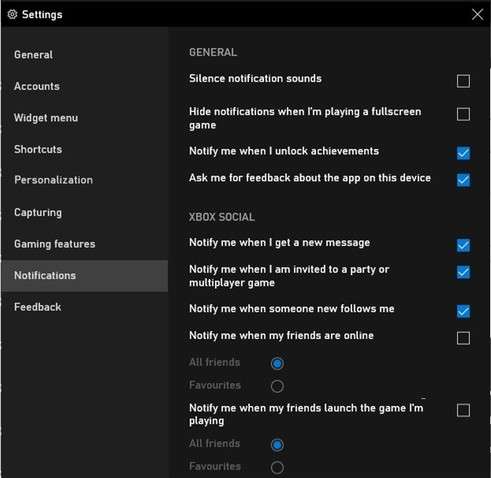
Step 7: Go to Notifications and set your preferences. For instance, you can mute and hide them during gameplay to avoid recording the pop-ups.
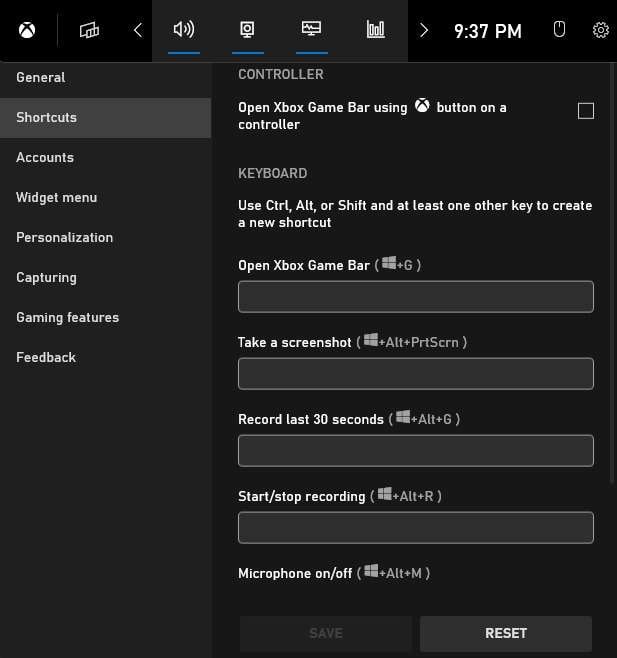
Step 8: Go to Shortcuts to change them if you don’t find the existing combinations convenient. Remember that the Game Bar lets you replace the Windows logo key with Ctrl or Shift only.
Step 9: Finally, click the Widget icon in the Home Bar to mark specific widgets as favorites. That will keep them on top whenever you open the Game Bar.

Xbox Game Bar includes other settings like Personalization (e.g., to change the theme) and General (e.g., to show tips when launching games). However, those above are everything you need to record your screen on Windows 10.
The question is, are the built-in Windows 10 screen recorder’s features enough? Is the Game Bar your best option, or are there shortcomings that might push you toward alternatives? Let’s find out.
Pros and Cons of Using the Built-in Screen Recorder on Windows 10
Built-in screen recording on Windows 10 has benefits and drawbacks. Here’s a quick overview to help you make an informed decision.
Pros:
- A built-in Windows 10 app – You don’t need to download and install anything to record your screen.
- Xbox compatibility – You can activate the Game Bar with your Xbox game controller when mirroring your Xbox screen to your PC.
- User-friendly interface – The intuitive Home Bar gives one-click access to all the widgets and settings.
- Performance monitoring – You can track your CPU, GPU, and RAM usage within the app, which is ideal when playing games.
- Background recording – You can capture previous gameplay moments even if you don’t record on time.
Cons:
- No custom recording-area selection – You can choose which parts of the screen to record. Besides full-screen games, the Game Bar will capture the entire app or browser window.
- No desktop or File Explorer recording – As the Game Bar will inform you, “Gaming features aren’t available for the Windows desktop or File Explorer.”
- Limited maximum recording length – Although four hours may seem ample, other screen recorders support more, making them better for extended videos.
- Occasional glitches – The Xbox Game Bar sometimes refuses to open during gameplay, making you miss precious moments.
Xbox Game Bar may be a native Windows 10 app with many advantages, but its drawbacks can be a deal-breaker. Here’s a fantastic alternative to consider.
An Alternative to Consider: Wondershare DemoCreator
Wondershare DemoCreator is an all-encompassing recorder and editor for Windows 7 through 11 and macOS Catalina and newer. It lets you create a video presentation and virtual avatar recording (exclusive features) and capture your screen, camera, or both.
Additionally, it supports never-before-seen integrated game recording, delivering 4K and 8K videos at an impressive 120 FPS. It doesn’t matter if your monitor has a lower resolution; you’ll enjoy high-definition videos with zero latency. Moreover, you can record them for up to 24 hours for uninterrupted gameplay without lag.
Regardless of the recording mode, DemoCreator captures crisp sound and separates audio, video, and camera tracks for seamless editing. Unlike the Xbox Game Bar, it lets you select a recording area and add on-screen annotations and effects. You can even schedule your recordings.
As for editing, DemoCreator features AI-powered tools, making auto-captions, subtitles, transitions, effects, and noise removal (among other perks) a breeze.
Here’s how to record your screen with Wondershare DemoCreator:
Step 1: Download and install DemoCreator for Windows.
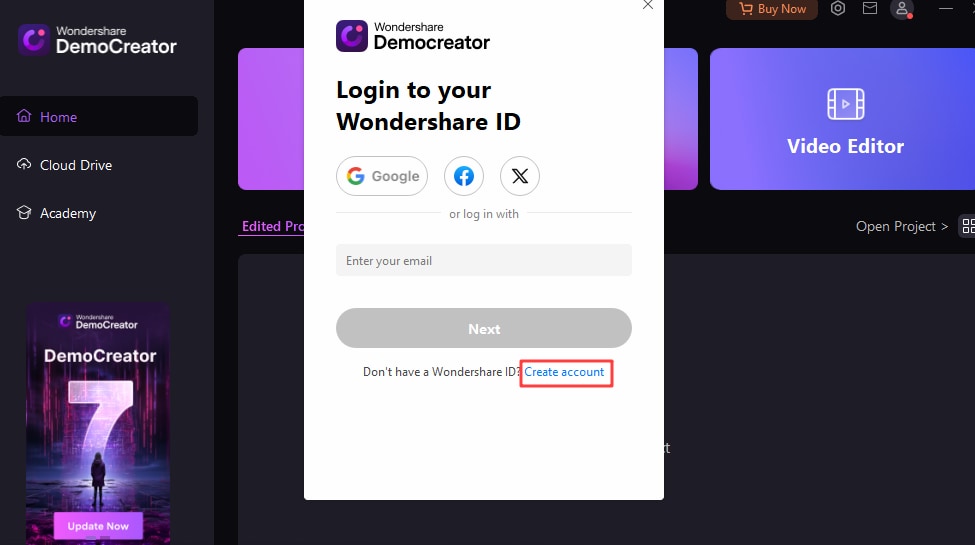
Step 2: Launch the software, click the Profile icon, and create or log into your account.
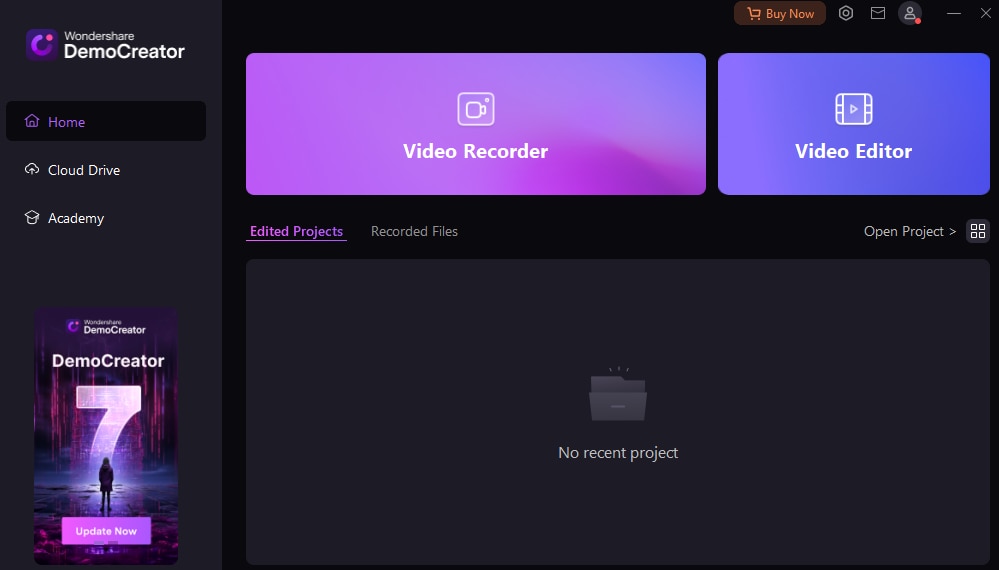
Step 3: Open the Video Recorder.
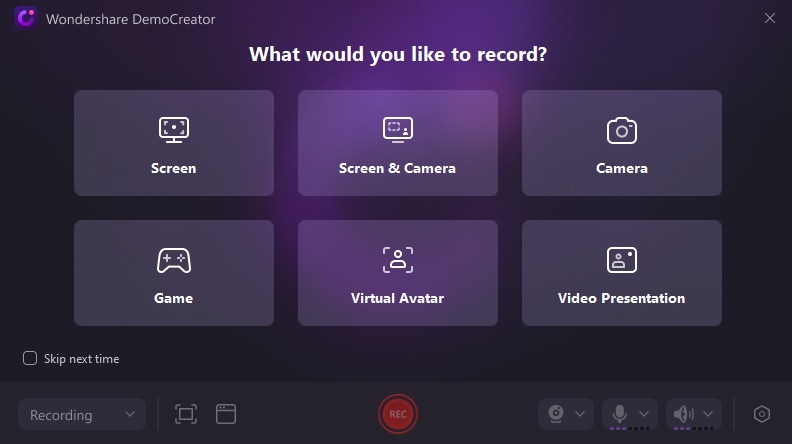
Step 4: Choose a recording mode.
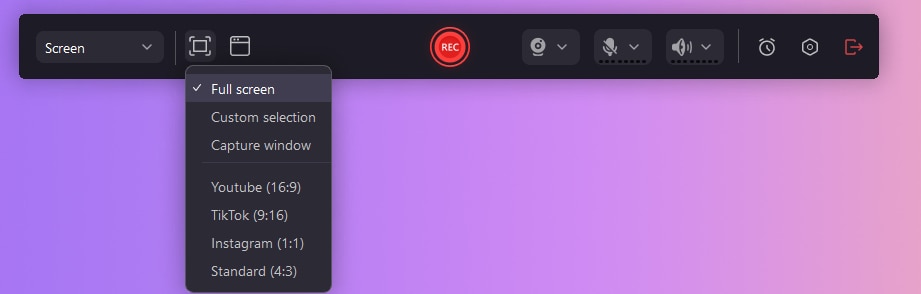
Step 5: Select a game or an area to record (depending on the mode) and enable your camera, microphone, and system audio (depending on your preferences).
Step 6: Specify the windows to record (optional) and hit the red REC button or F9. You can pause and resume anytime with the F9 key and switch to full-screen recording with Shift + F.

Step 7: Open the Screen Drawing Tool using the Ctrl + Shift + D shortcut to add text, spotlight effects, shapes, stickers, and other on-screen annotations.
Step 8: Click the Stop button or hit F10 to finish recording.

Conclusion
The built-in screen recorder on Windows 10 may be a native app with intuitive features, but its limitations leave much to be desired. You can make higher-quality captures with advanced tools like Wondershare DemoCreator. Try it for free to see how it can transform your recordings with cutting-edge AI.


