
Do you want to make a tutorial or code review on your Mac, record video calls, or save a video without downloading it? Recording your screen is your go-to solution. The question is, can you record the screen and sound on your Mac?
Yes, you can create a screen and audio capture on a Mac regardless of your macOS version. However, only macOS Mojave and newer have a built-in Mac screen and sound recorder. Nevertheless, all versions have QuickTime Player, another integrated tool. Although it focuses on playing, streaming, encoding, and transcoding multimedia, it lets you record the Mac screen with sound.
Of course, you can use a third-party tool to record your screen with audio in macOS. You only need to ensure it supports your macOS version.
Let's explore how to record the screen with audio on a Mac using the four best tools. Regardless of whether you use a MacBook Air, MacBook Pro, or iMac, these four Mac screen recorder with audio can assist you.
| Method | Efficiency | Best for Recording of |
| Wondershare DemoCreator | High
|
Online course, explainer videos, video calls, product demos, gameplay, video presentation, and promo videos. |
| Built-in screen recorder | Medium
|
Basic tutorial, video calls, info sharing. |
| QuickTime Player | Medium
|
Basic tutorial, movies, video calls, and demostrations. |
| Wondershare DemoAir | High
|
Tutorial, explainer videos, movies, and video presentation. |
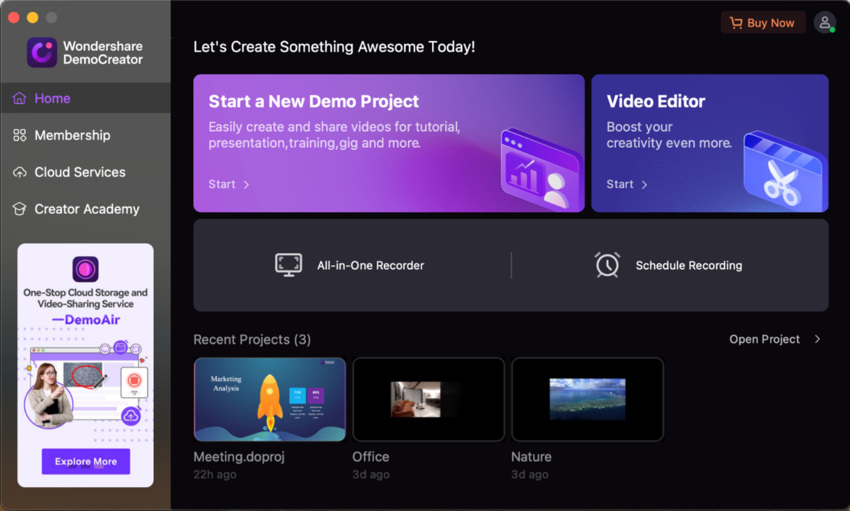
Way 1. Record Screen With Audio on a Mac With DemoCreator
Wondershare DemoCreator is a desktop video recorder and editor for Windows and macOS with AI-powered features. It has six recording modes that can record your Mac computer screen, webcam, with system audio or microphone according to your needs: Screen Only, Screen & Camera, Camera Only, Game Recording, Virtual Avatar, and Video Presentation. It delivers high-definition videos (up to 8K) and lets you add annotations like cursor effects and shapes while recording to highlight essential elements.
- Record desktop screen, system audio, microphone, and webcam simultaneously
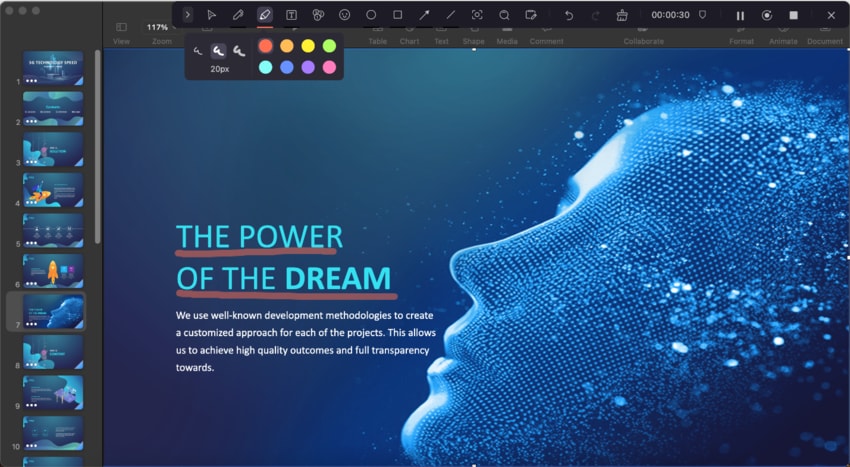
- Various annotation tools to emphasize important points
- Edit videos quickly with a wide range of professional tools
- Export to MP4, MOV, MKV, GIF and multiple formats

Its AI editing features let you reduce background noise, add auto-captions and subtitles, change your voice, and fine-tune your videos with many other helpful tools. You can also transform your recordings with its Effects Store, featuring 50,000+ effects and templates for audio, video, subtitle, and text modifications.
That's only the tip of the iceberg, so download the software to your Mac to see everything it offers. In the meantime, check out how to record the screen and sound on a Mac with DemoCreator:
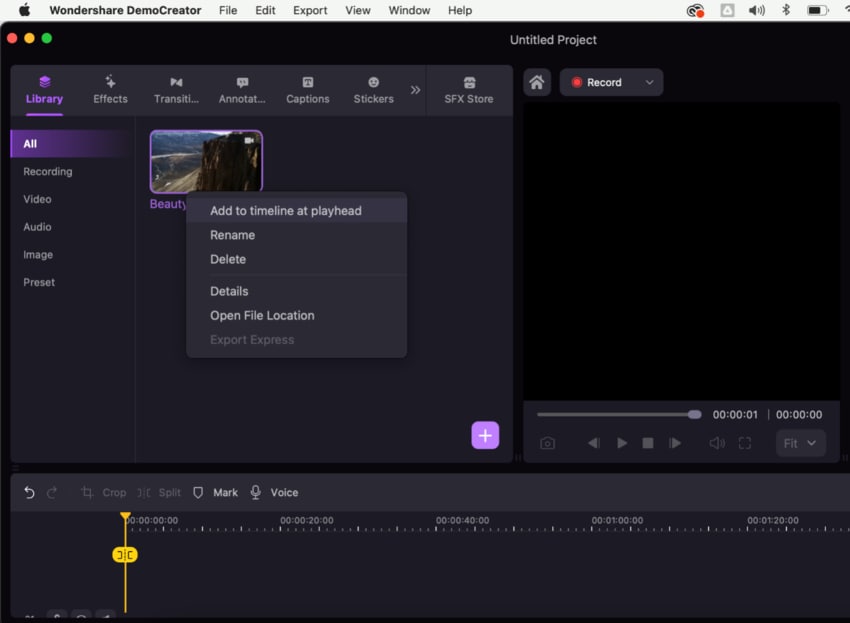
- Launch DemoCreator and click Video Recorder
- Specify the recording area: the entire screen, a custom selection, or a window. Then, click the Speaker icon to select the sound output and record the screen with macOS system audio. If you also wish to capture your voice, hit the Microphone icon and pick the desired audio input source. Finally, click the red REC button or use the Option + Command + 2 keyboard shortcut to start recording.

- Use the Command + D shortcut to enable the Screen Drawing Tool for free drawing, cursor and spotlight effects, shapes, and annotations. Pause and resume anytime with Option + Command + 2, and stop recording with Command + Shift + 2.
- Once the recording is completed, the recorded video will appear in the Library. You can edit it for improved output, or export and save it directly.
Way 2. Record Screen With Audio on Mac Using the Built-in Tool
The built-in Screenshot toolbar is a default screen recorder with audio on Mac devices running on macOS Mojave and newer. It lets you create a screen recording with sound on your Mac without downloading and installing anything.
Here's how to screen-record on a Mac with audio using the Screenshot toolbar:
- Use the Shift + Command + 5 shortcut to activate the toolbar.

- Click the fourth icon to record the entire screen or the fifth icon to record a selected portion. The first three are for still images.

- Click Options to choose a microphone and screen-record your MacBook with audio. You can also choose where to save the recording, add a timer, show mouse clicks and a floating thumbnail, and remember the last selection.

- Click Record to capture your screen with audio.

- Hit the Stop icon in the menu bar to finish recording.

- Your Mac will automatically save the recording to your desktop. To trim, delete, or share the video, swipe right on the thumbnail that appears for three seconds in the bottom-right corner.

- Trim, delete, or share the recording.

Way 3. Record Screen With Audio on a Mac Using QuickTime Player
QuickTime Player is another built-in tool that lets you record the sound and screen on a Mac. It's ideal if you want an integrated solution but have macOS High Sierra or older.
However, recording internal sound with QuickTime Player requires a kernel extension. Otherwise, it can't channel audio from another app. Of course, you only need a microphone to record external audio.
Here's how to record screen and audio using QuickTime Player on macOS:
- Download and install Soundflower for macOS to record your system audio. Skip to Step 4 if you only wish to record your voice.
- Go to the Apple menu > System Preferences > Security & Privacy > General and click Allow to enable the plugin.

- Return to the System Preferences, click Sound in the left sidebar, switch to the Output tab, and select Soundflower (2ch).

- Launch QuickTimePlayer and go to File > New Screen Recording.

- If you use macOS Catalina or newer, choose the recording area (the entire screen or a custom selection), click Options > Soundflower (2ch) to capture internal audio or Options > Built-in Microphone (or an external one) to record the voice and screen on your Mac, and hit Record.

- If you use macOS Mojave or older, click the downward-facing arrow next to the Record button and select the desired microphone or Soundflower (2ch) to screen-record with sound on your Mac.

- Click the Record button and click anywhere to begin recording the entire screen. Otherwise, make a custom selection and click Start Recording.

- Hit the Stop icon in the menu bar to finish recording.

- Go to File > Save, name your recording, add a tag (optional), choose a location, and click Save.

Way 4. Record Screen With Audio on a Mac Online Using DemoAir
Wondershare DemoAir is a free online screen recorder for Google Chrome. It's an extension that captures your desktop, browser tab, or webcam with or without audio. It's perfect for anyone looking to screen-record on a Mac with audio without downloading or installing a recording software for Mac.
Why should you choose it over built-in solutions? Because it's a dedicated screen recorder that supports drawing tools (like DemoCreator) and webcam recordings. It does have limited editing features, making DemoCreator better for professional videos, but it's ideal for high-quality online screen recordings with audio.
Here's how to record your Mac computer screen and sound using this screen recorder with audio for Mac:
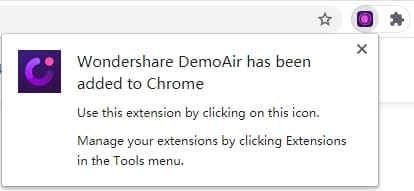
- Visit the official website and click Add to Chrome or Screen Recorder for Chrome to get the extension from the Chrome Web Store.

- Click the DemoAir Chrome extension in the top toolbar.
- Allow access to your camera and microphone to screen-record your MacBook with sound. You only need to do it once.
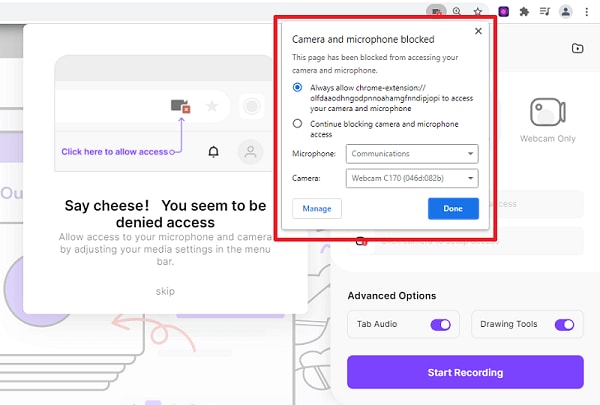
- Click Desktop or Current Tab to capture the desired screen area, and select your microphone to record your voice. DemoAir will record your system audio and enable drawing tools by default. Once you set up everything, click Start Recording.

- Choose whether to record the entire screen or a specific window. Then, click Share to record the screen with audio on your MacBook.

- Draw on the screen while recording to emphasize details, highlight mouse clicks, and use a spotlight effect.
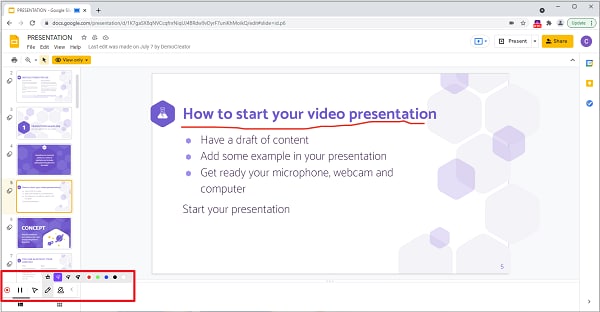
- Click the Pause button to suspend and resume recording and the Stop button to finish the process.

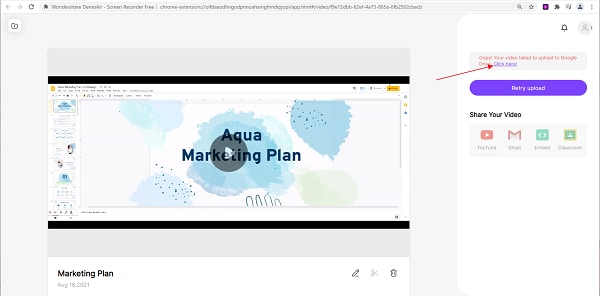
- Once you finish recording, you'll see a dashboard where you can rename, edit, share, and download your video. However, you must first connect DemoAir to your Google Account to allow the tool to save your videos to Google Drive.
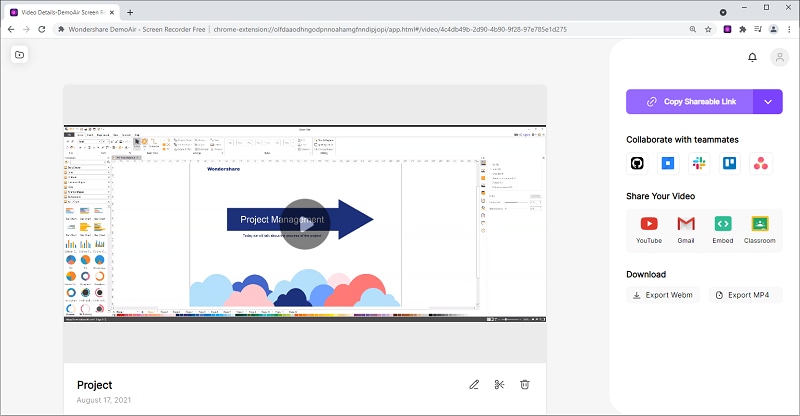
- Trim the recording, copy the shareable Image name, share the video, or download it as MP4 or WebM.
Tips for Recording Videos With Audio on a Mac
Now that you know how to record a screen video on a Mac with sound, it's time to explore tips for high-quality recordings. Here are the essential guidelines:
- Record in a quiet environment - Create a controlled acoustic space to minimize unwanted sounds like traffic noise and your AC.
- Use a directional microphone - It will help you reduce background noise when recording your voice and get crisp audio.
- Choose a screen recorder according to your needs - Some solutions, like your Mac's built-in screen recorders with audio, are excellent for personal use. Others, like Wondershare DemoCreator and DemoAir, are better for professional, high-definition recordings.
- Look for advanced editing features - Most screen recorders for Mac have standard trimming and cropping tools. However, AI-powered solutions like DemoCreator take video editing to the next level. DemoCreator can transform your recordings with auto-captions, subtitles, background removal, noise reduction, effects, drawing tools, etc.
Continuous learning is the secret ingredient of high-quality videos. Your chosen hardware and software play a part, but practice will help you hone your skills and improve Mac screen recordings.
Conclusion
Knowing how to record the screen on a Mac with sound will streamline your content creation, from making presentations and tutorials to saving online videos for personal use. Therefore, try your Mac's built-in screen recorder or QuickTime Player, or expand your horizons with Wondershare DemoCreator or DemoAir.


