

Did you ever want to capture the sounds coming from your computer? Maybe you need to save an online lecture, record a video game walkthrough, or just keep an audio reminder for yourself. Whatever the reason, being able to record the internal audio from your Windows computer can be really handy.
Internal audio, also known as computer audio, refers to any sounds generated by programs and apps running on your machine. This includes audio from websites like YouTube, streaming services like Spotify, video games, Skype calls, and any other software making noise through your speakers or headphones.
In this guide, we'll walk through multiple user-friendly methods for how to record internal audio on Windows devices. We've included options using free software as well as built-in Windows tools. That way, you can choose the solution that works best for your needs and technical skill level.
Some methods allow you to record just the audio, while others give you video screen capture capabilities too. Having these screencasting skills can be great for creating tutorials, demonstrations, or recording videos of virtually any on-screen activity.
In this article
Part 1: How to Record Internal Audio on Windows
Method 1: Use Wondershare DemoCreator
Wondershare DemoCreator is a great screen recording tool that lets you capture video and audio from your computer. It's perfect for making tutorials, recording webinars, or capturing gameplay with sound.
Here's how to use the DemoCreator internal audio recorder for PC:
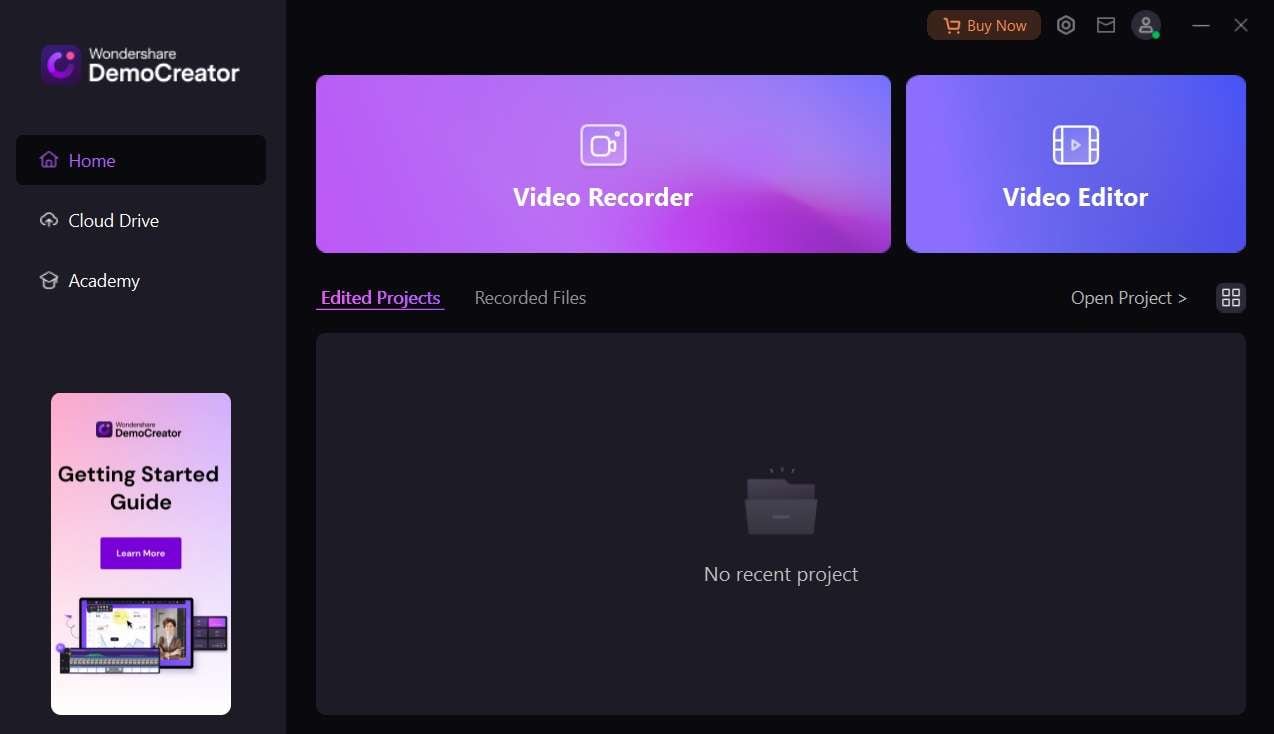
Step 1: Go to the official website of Wondershare DemoCreator. Download and install Wondershare DemoCreator on your Windows computer. Launch the program, and select the "Video Recorder" option from the main interface.
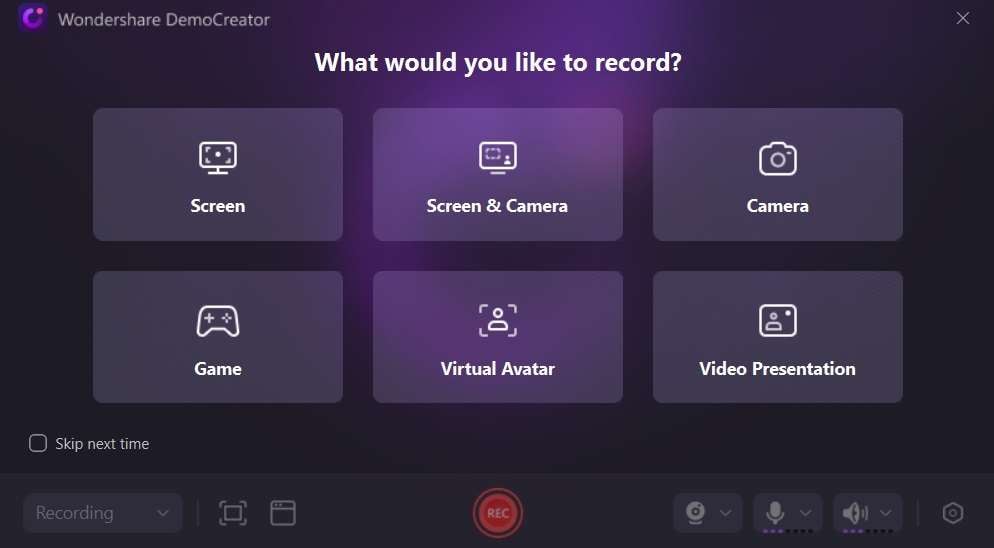
Step 2: You will see a bunch of recording options. Select the “Screen & Camera” recording option. With the help of this option, you will be able to record internal audio on Windows.
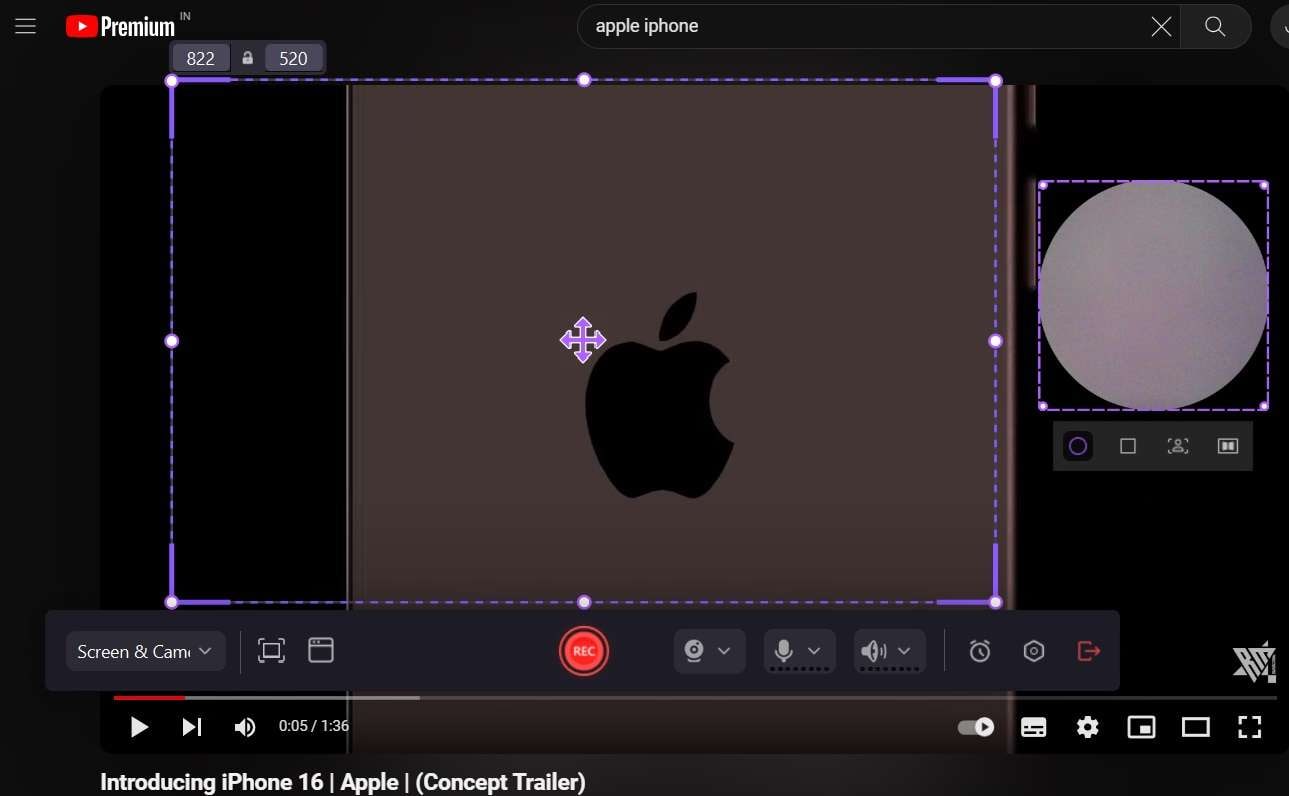
Step 3: Adjust any extra settings as needed, such as the recording area, webcam overlay, or audio options. Navigate to the app to record the internal audio. Play the audio and then click the "Rec" button to start capturing your screen and internal audio altogether.
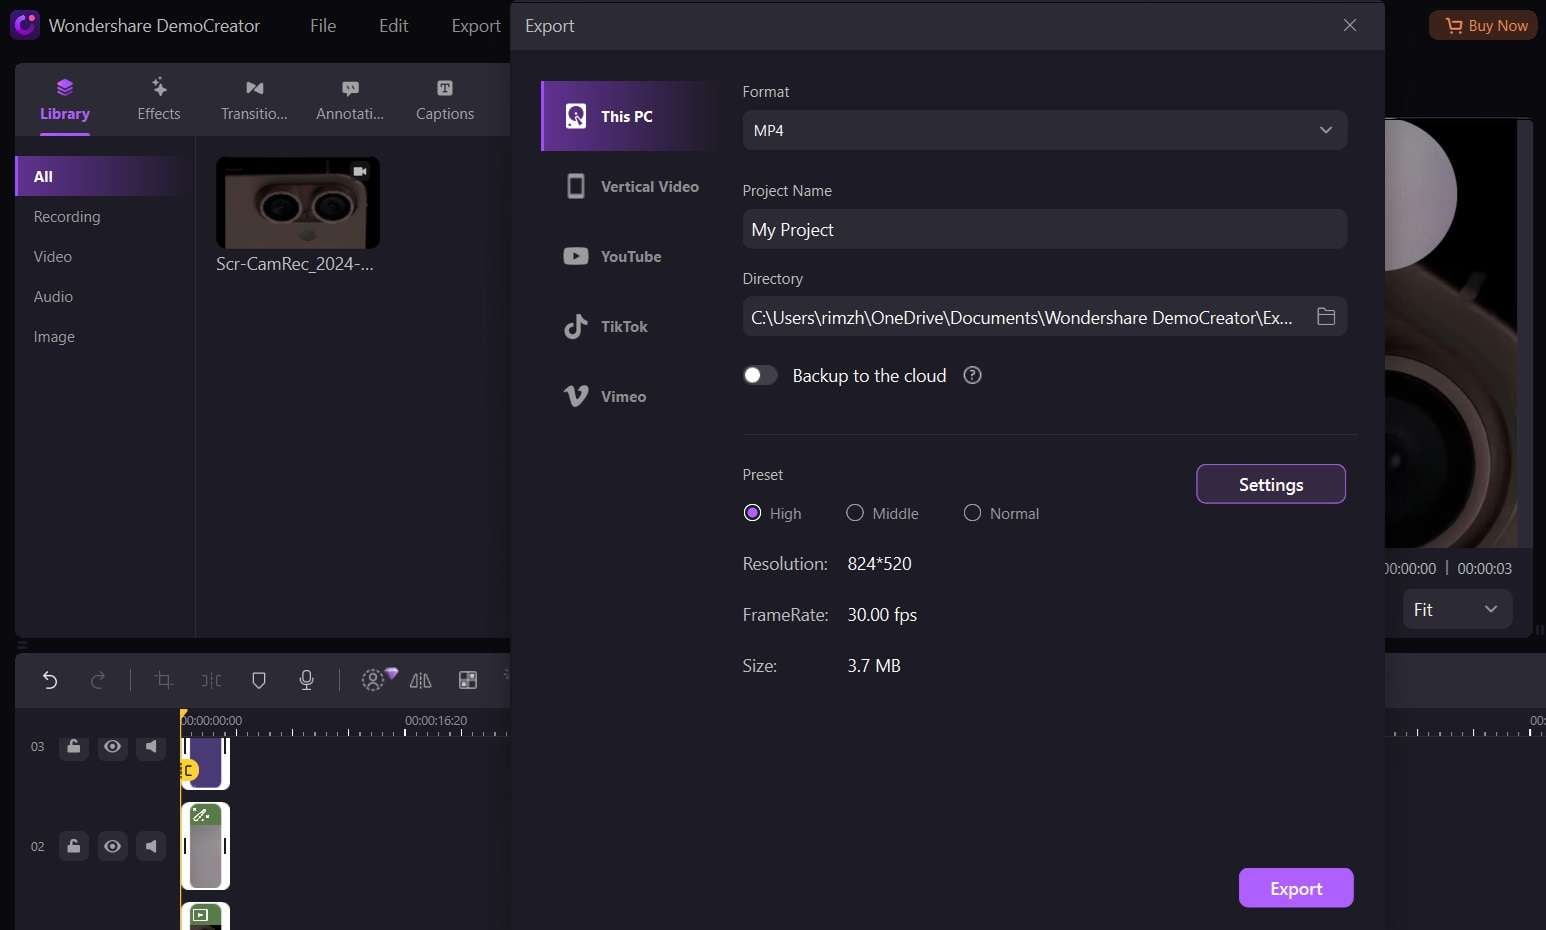
Step 4: Once you've finished recording, click the "Stop" button, and the recorded video with internal audio will be exported to the Editing section. Here you can make a few adjustments if needed.

Step 5: Once done, export the recording and save it on your device.
Method 2: Use Audacity Recorder
Audacity is a free, open-source digital internal audio recorder for PC that is primarily designed for audio editing, Audacity also offers a convenient way to record internal audio from your computer.
Here's how to record internal audio on Windows using Audacity:
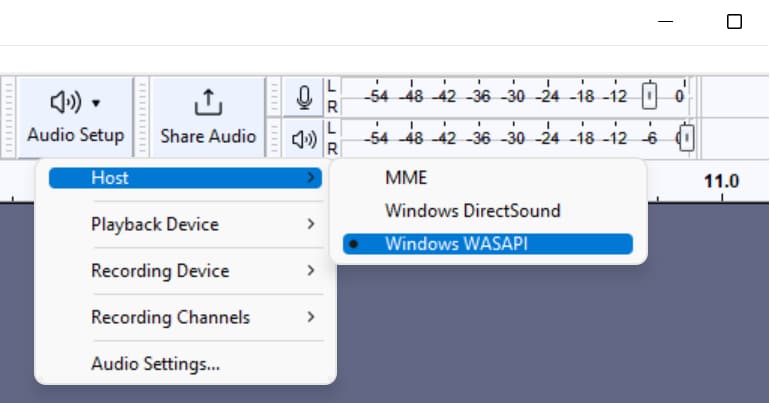
Step 1: Launch any preferred webs browser on your Windows PC and install Audacity from the official website. Launch Audacity, go to the "Edit" menu, then select "Preferences." In the Preferences window, navigate to the "Recording" tab, and select the appropriate audio host for your system (e.g., Windows WASAPI for Windows 10).
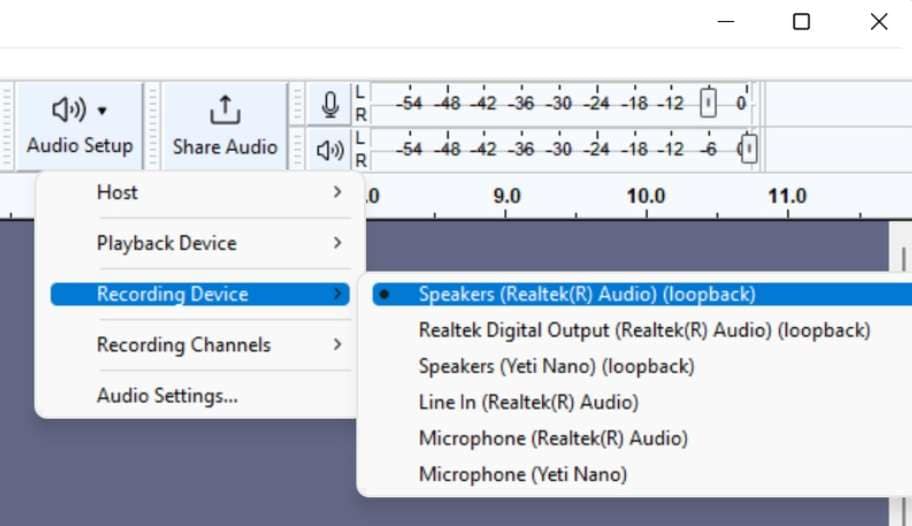
Step 2: Under the "Recording" tab, choose the device labeled "Microsoft Sound Mapper" or "Stereo Mix" as your recording source. Click "OK" to save the preferences and close the window.
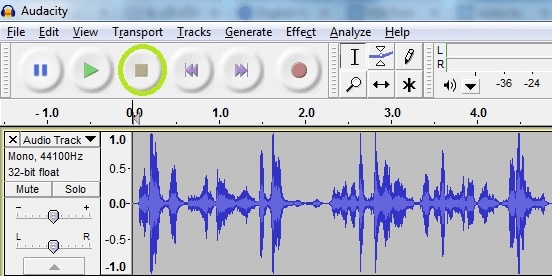
Step 3: In the Audacity interface, click the red "Record" button to start capturing internal audio. Once you've finished recording, click the square "Stop" button to stop the recording.
Step 4: You can then export the recorded audio file in various formats by going to the "File" menu and selecting "Export."
Method 3: Use StereoMix (Default Tool)
Windows includes a built-in tool called "StereoMix" that allows you to record internal audio directly from your computer's sound card. However, this method may not work on all systems, as some sound card drivers do not support StereoMix.
Here's how to record internal audio on Windows using Windows' default recording player:
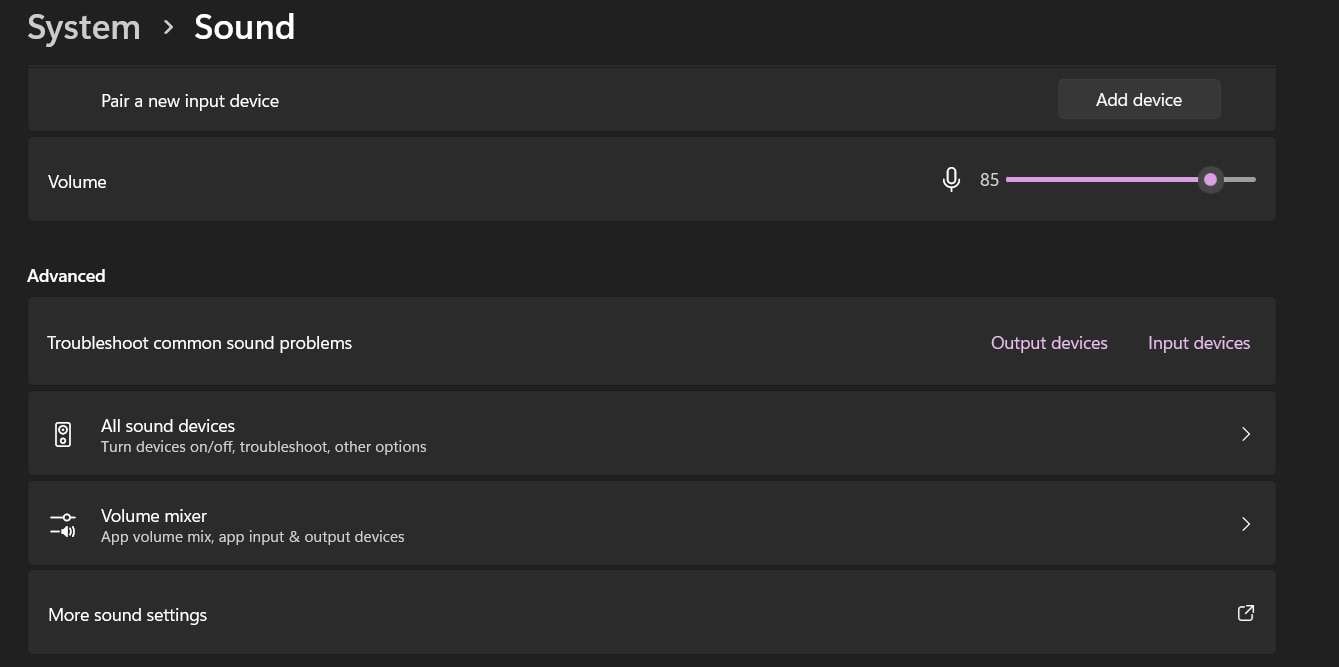
Step 1: Right-click on the speaker icon in your system tray (bottom-right corner of your screen), and select “Sound Settings". In the Sound Settings window, scroll down and click on “More Sound Settings”.
Step 2: In the "Recording" tab of the Sound window, right-click on an empty area and select "Show Disabled Devices."
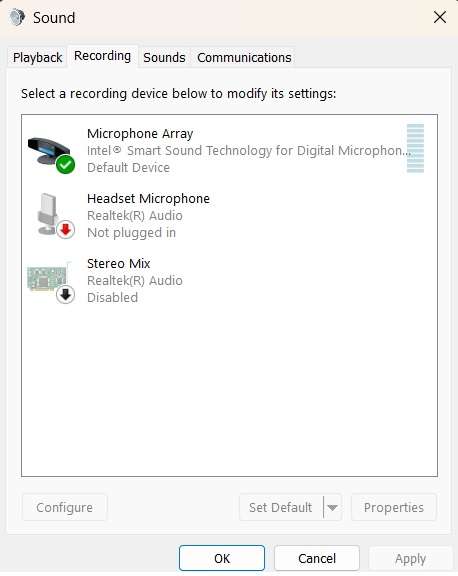
Step 3: Look for an option labeled "Stereo Mix". Enable it by right-clicking and selecting "Enable." Once enabled, set it as the default recording device by right-clicking on it and selecting "Set as Default Device."
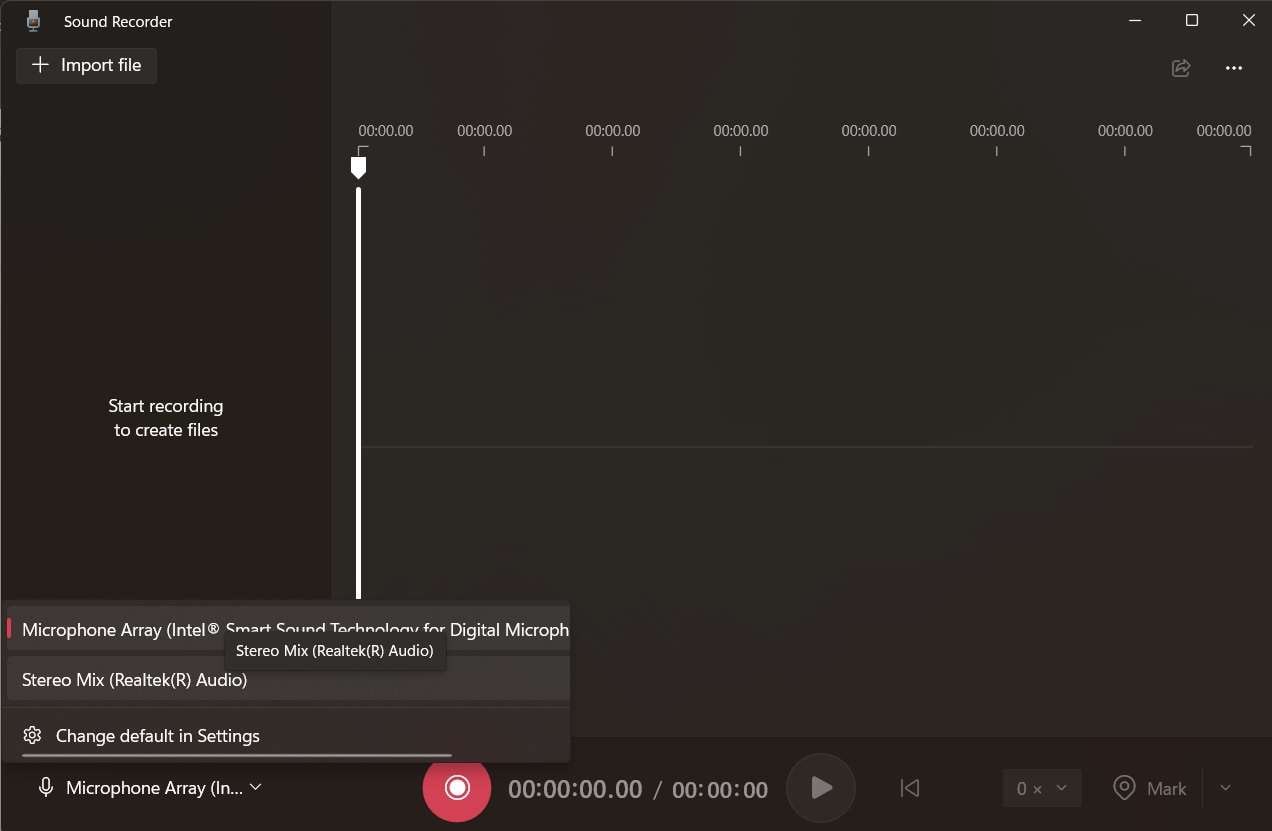
Step 4: Open the Windows Voice Recorder app on your PC and select "Stereo Mix" as the input source. Start recording, and the internal audio from your computer will be captured.
Method 4: Use OBS Studio
Here comes another internal audio recorder for PC that you can put to best use. OBS Studio is a powerful open-source software primarily used for live streaming and screen recording. However, it can also be used to record internal audio on Windows. Here's how to set it up:
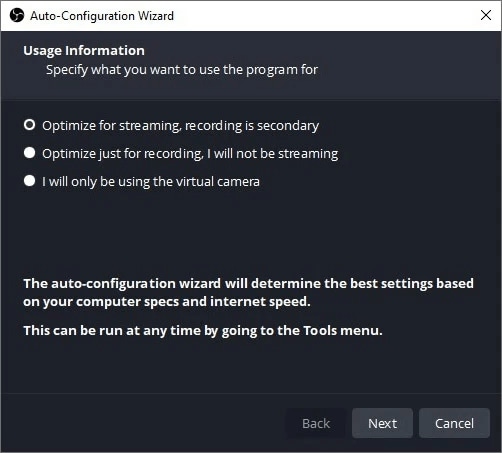
Step 1: Install OBS Studio from the official website. Launch OBS Studio on your Windows PC. Run the auto-configuration wizard. Selec the "Optimize just for recording..." option to proceed.
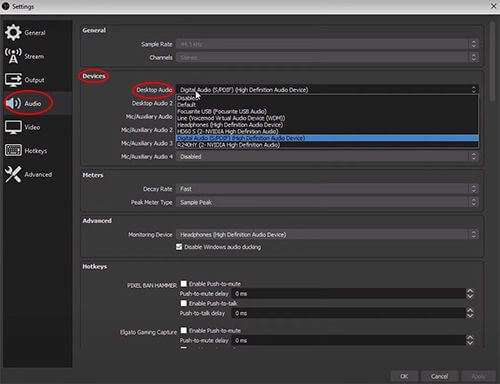
Step 2: Set up OBS for audio recording. OBS automatically adds Desktop Audio to the Audio Mixer. Check its volume meter to monitor sound levels. For manual setup, go to File > Settings > Audio, and select your audio input device in the Desktop Audio field.
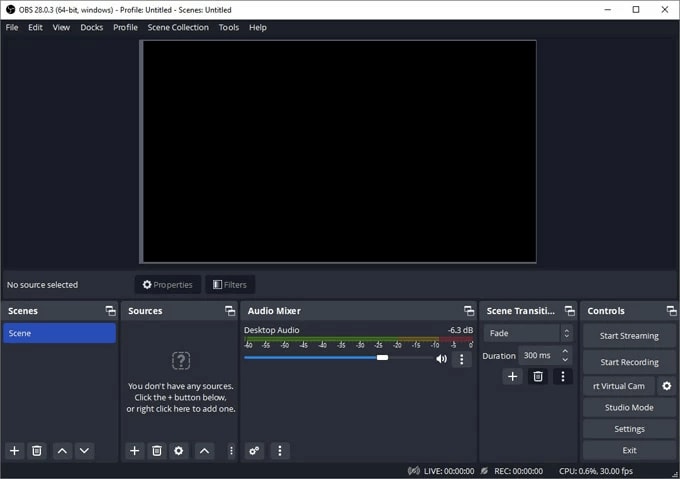
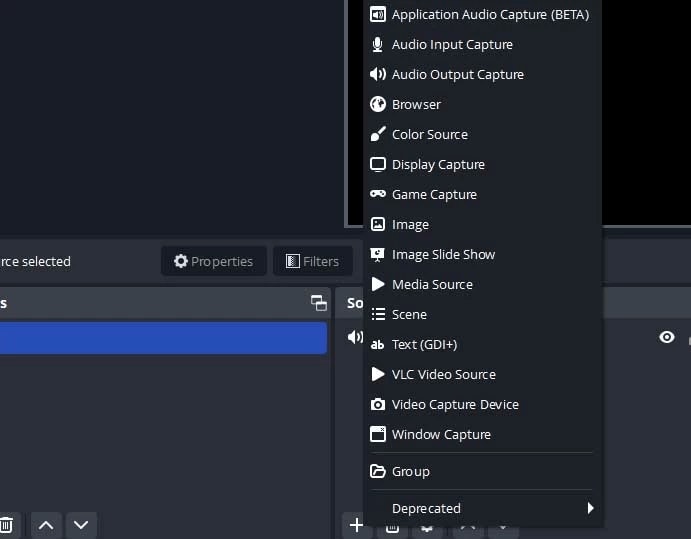
Step 3: Add a source for recording desktop audio. Click the + icon in the Sources menu (bottom of the screen) and choose Display Capture or Window Capture based on your needs. OBS will record both screen and audio by default. To record only audio, disable the visual capture by clicking the eye symbol next to the added source.
Step 4: Start recording by clicking the "Start Recording" button under the Controls pane (bottom right). Play the audio you want to record.
Step 5: When finished, click the "Stop Recording" button in the Controls pane. The recording will be saved automatically in the Videos folder as an MKV file.
Part 2: Additional Tips to Record Internal Audio on Windows 10
While the methods mentioned above should cover most scenarios for recording internal audio on Windows, here are some additional tips and considerations to keep in mind:
- Check your audio settings: Before attempting to record internal audio, ensure that your computer's audio settings are configured correctly. Right-click on the speaker icon in the system tray, select "Open Sound settings," and adjust the volume levels for different audio sources as needed.
- Disable exclusive mode: Some applications may use an "exclusive mode" for audio, which can prevent other programs from accessing the audio stream. To disable exclusive mode, right-click on the speaker icon, select "Open Sound settings," then click on the "App volume and device preferences" option. Scroll down to find the application in question, and turn off the "Exclusive Mode" option.
- Use third-party virtual audio cables: If none of the built-in methods work for your system, you can try using third-party virtual audio cable software like VB-Audio Cable or Virtual Audio Cable. These programs create virtual audio devices that can capture internal audio from your computer.
- Adjust microphone settings: When recording internal audio, make sure to mute or disable any external microphones or input devices to avoid capturing unwanted sounds.
- Optimize system performance: Recording internal audio can be resource-intensive, especially when capturing high-quality audio or video. To ensure smooth recording, close any unnecessary programs and background processes, and consider temporarily disabling antivirus software or other system tools that may interfere with the recording process.
- Test and adjust settings: Before starting your actual recording, it's always a good idea to perform a test recording to ensure that the internal audio is being captured correctly.
Adjust settings such as audio levels, bitrate, and sample rate as needed to achieve the desired audio quality.
Conclusion
The process of how to record internal audio on Windows is essential for various purposes, such as content creation and personal projects. This guide outlines several methods to help you capture internal audio effectively. Whether you prefer dedicated software or built-in tools, there's an option to meet your needs.
For those looking for comprehensive recording features, dedicated screen recording software like Wondershare DemoCreator is an excellent choice. Free PC internal audio recorders like Audacity offer robust audio recording and editing capabilities
Alternatively, the built-in Windows Voice Recorder provides a simple and convenient solution to record internal audio on Windows 10. By following the steps in this guide, you'll be able to record internal audio efficiently and effectively.
Additionally, the tips provided in the second part of this article can help you optimize the recording process and overcome any potential challenges. With the right tools and techniques, recording internal audio on Windows becomes a straightforward and efficient process.
FAQ
Q1: Can I record both internal and external audio simultaneously?
Yes, most screen recording and audio recording software allow you to capture both internal (computer audio) and external (microphone) audio simultaneously. You'll need to enable both audio sources in the recording settings.Q2: Why is my internal audio not recording properly?
There could be several reasons why internal audio is not recording correctly, including:- Incorrect audio source selected in the recording software
- Audio driver issues or outdated drivers
- Exclusive mode enabled for certain applications
- Conflicting software or background processes interfering with the recording
- Low system resources or performance issues
Q3: Can I schedule internal audio recordings on Windows?
Yes, some advanced screen recording and audio capturing software offer scheduling options. This allows you to set up automatic recordings at specific times or intervals, which can be useful for capturing audio from applications or processes that run at predetermined times.Q4: How do I edit or enhance the recorded internal audio?
After recording internal audio, you can use audio editing software like Audacity, Adobe Audition, or GarageBand to enhance the audio quality, remove noise, apply filters, or add effects. These tools offer a wide range of editing features and allow you to fine-tune the recorded audio to your preferences.


