In today's digital world, knowing how to make your voice sound better when recording is essential. Good-quality voice recordings are crucial for content creators, podcasters, and anyone needing professional-sounding audio. Clear and crisp recordings can make your content stand out and engage your audience more effectively.
This guide will show you simple tips and tools to improve your voice recordings. Plus, it will introduce you to DemoCreator, a powerful All-in-One Video Recorder and Editor that can help you achieve studio-quality results right from home. Let's get started on making your voice sound its best!
In this article
Part I. Enhance Your Voice Recordings With the Best Recording Software
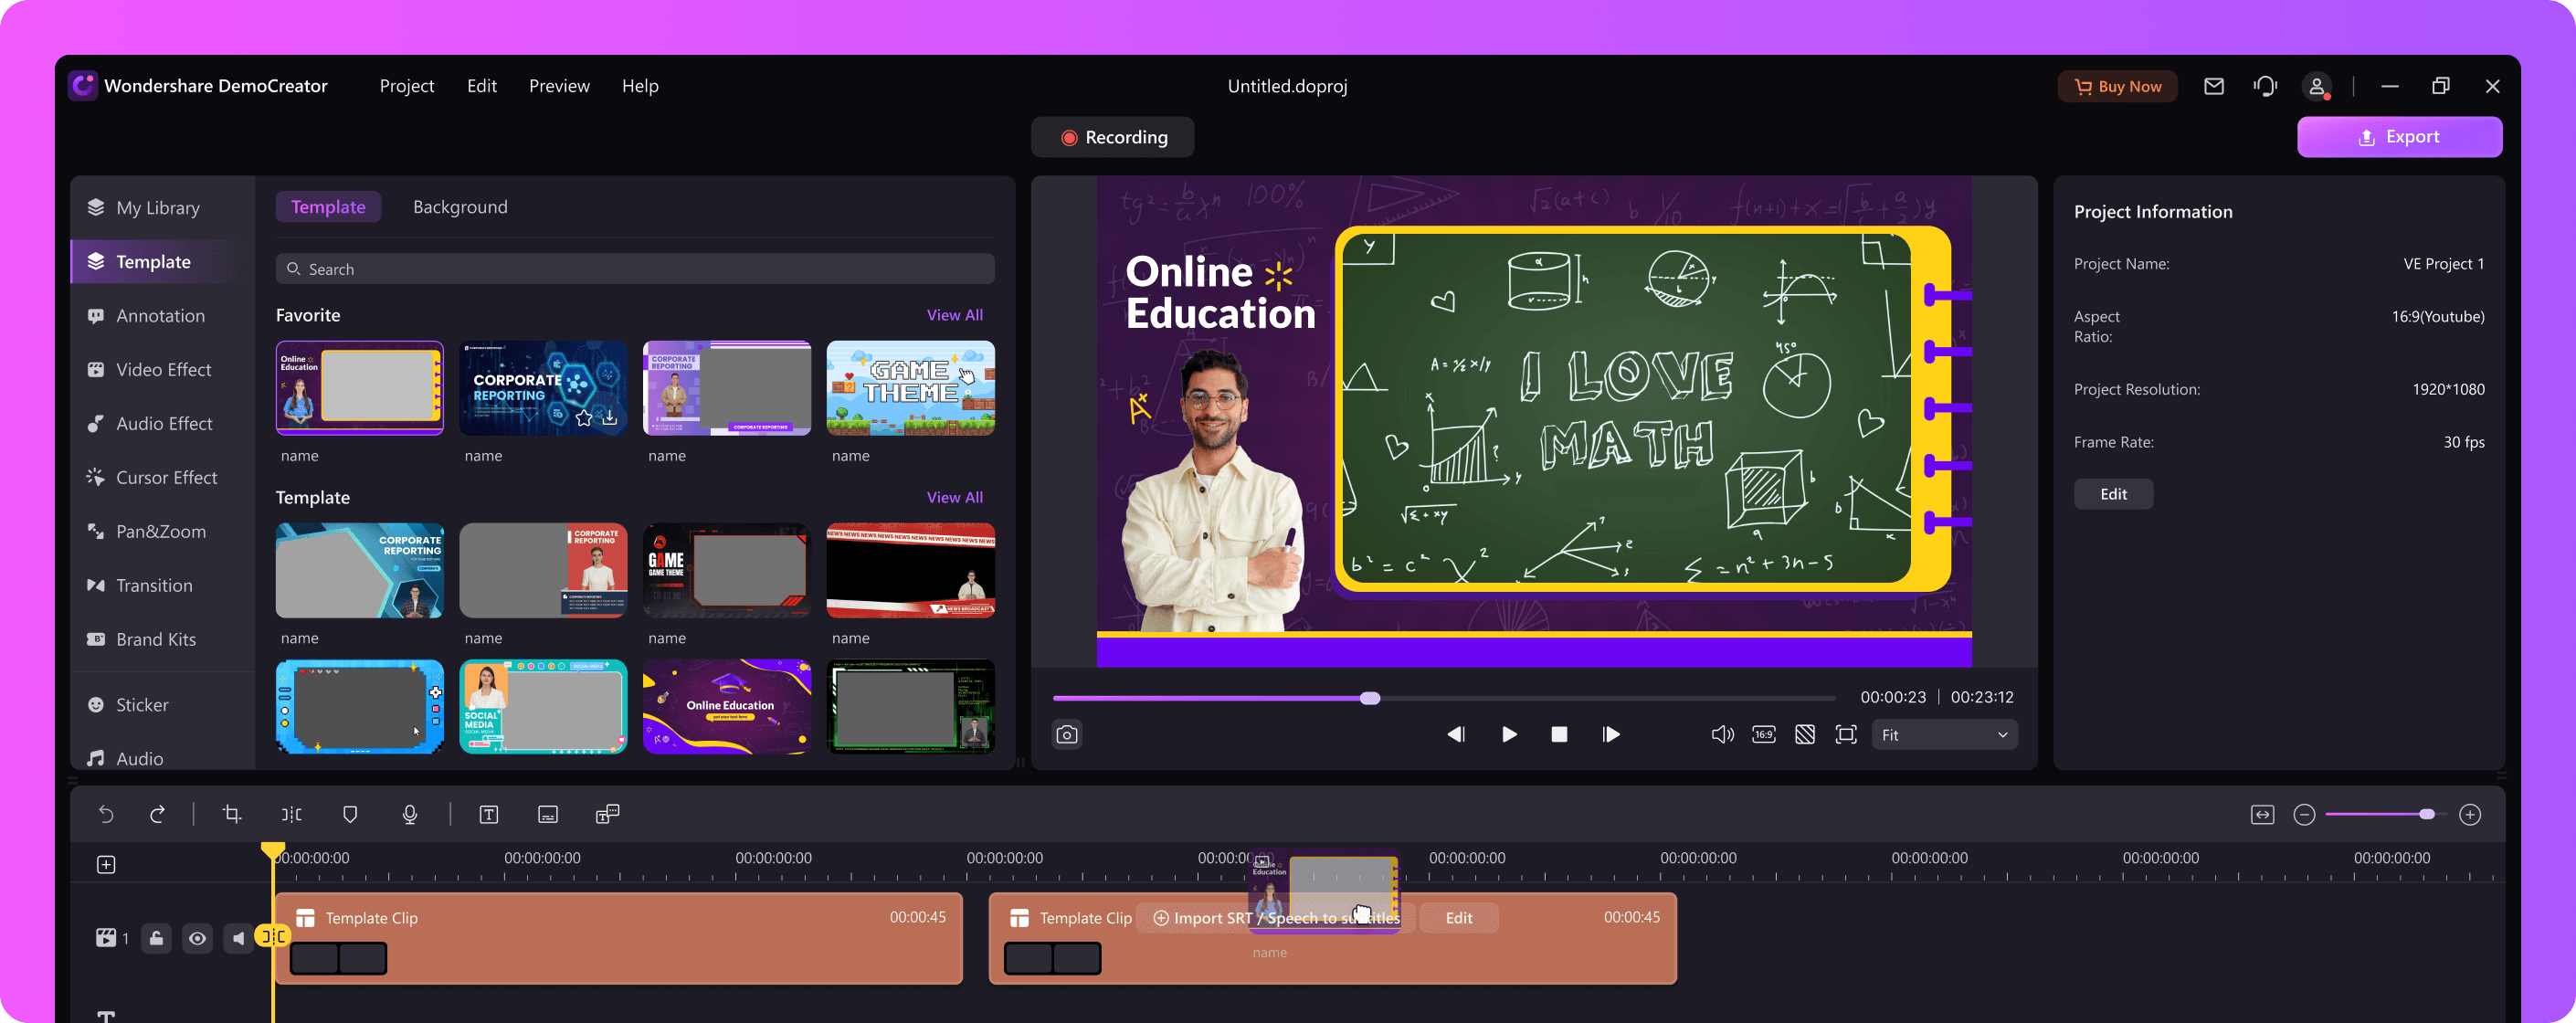
When it comes to knowing how to make your recorded voice sound better, choosing the right software is crucial. Wondershare DemoCreator is an all-in-one video recorder and editor designed to help you create high-quality recordings effortlessly. Whether you're a content creator, podcaster, or just someone who needs professional-sounding voice recordings, DemoCreator offers a wide range of features to enhance your work.
DemoCreator stands out because of its user-friendly interface. You don't need to be a tech expert to navigate and use this software. The software is also equipped with powerful voice editing capabilities, allowing you to tweak your recordings to perfection. From cutting and trimming audio clips to adjusting volume levels, DemoCreator gives you full control over your recordings.
Advanced Features
DemoCreator offers several advanced features that can significantly improve the quality of your voice recordings:
- AI tools. DemoCreator offers AI audio editing capabilities such as AI Text-to-Speech, AI Voice Changer, AI Vocal Remover, and AI Denoise.
- Voice modulation. Want to add some creativity to your recordings? DemoCreator's voice modulation feature allows you to change the pitch and tone of your voice.
- Advanced editing tools. DemoCreator has tools for cutting, trimming, annotating, and applying effects without requiring additional software. DemoCreator's enhancement features enable you to add transitions, captions, and other effects to your recordings, making them more interesting and educational.
- Audio syncing. Keeping your audio in sync with your video is crucial for a professional result. DemoCreator makes this easy with its audio syncing feature. This tool automatically aligns your voice recording with your video, ensuring that your content looks and sounds polished.
- Excellent recording quality. DemoCreator makes sure that your audio and video recordings are of the highest caliber, giving your work a polished appearance.
How To Record Using DemoCreator
Here are the steps on how to use DemoCreator on a Mac to record your screen and audio:
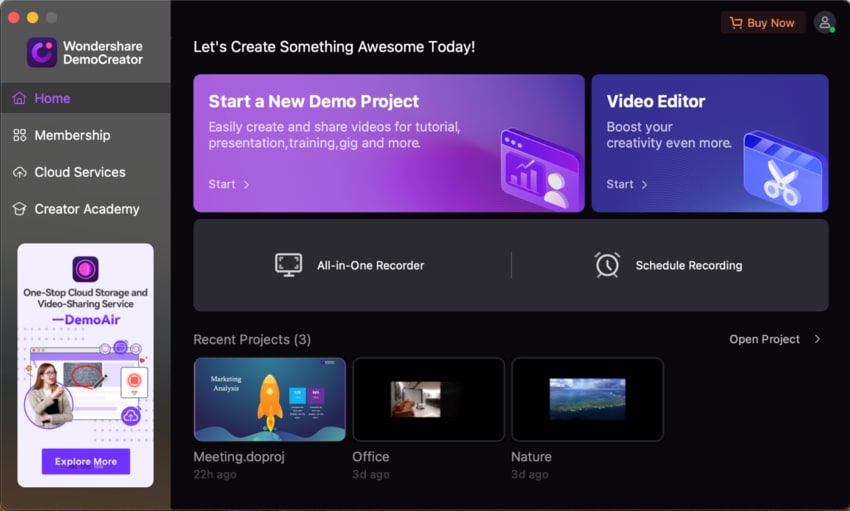
Step 1: After installing DemoCreator on your Mac, run the program normally and select the All-in-One-Recorder option.
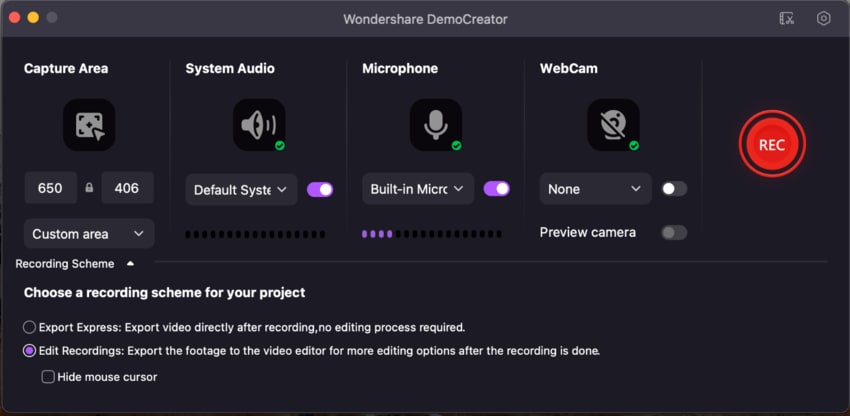
Step 2: Modify the recording parameters at this point. With this setup, you may record the Webcam, Microphone, System Audio, and Capture Area all at once.
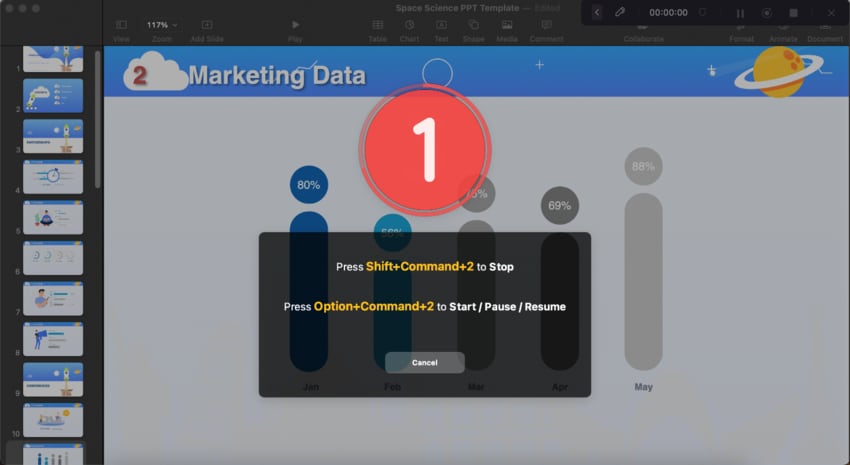
Step 3: After the recording parameter setup is completed, click the Rec button or hit the "F9" key on your keyboard to begin recording. Tip: You may also pause and resume recordings by pressing the "F9" button.
Step 4: The Screen Drawing Tool is one of the numerous capabilities that DemoCreator provides. While the video is recording, you can draw with the Screen Drawing Tool. To access it, press the keyboard shortcut "Shift+Ctrl+D." While it's recording, you can instantly annotate and highlight any area of your screen.
Tip: The on-screen drawing tool includes a few sketching tools, such as a pen, highlighter, spotlight, whiteboard, and stickers.
Step 5: Press the "F10" key to stop the recording when it's finished. As soon as the recording is complete, you can save it to your Mac if you previously selected Export Express as your recording scheme.
How To Take Advantage of DemoCreator's Audio Editing Tools
With clear menus and easy-to-follow instructions, you can start recording and editing your voice in no time:
Audio Detach
Step: Right-click a video clip and choose the Audio Detach option from the context menu to extract the audio from it.

Audio Fade In and Fade Out
Step: To adjust the fade in and out of the audio, right-click the audio and select Edit Audio from the drop-down menu that appears. You can adjust the sound effects by moving the tiny purple dots along the audio line.

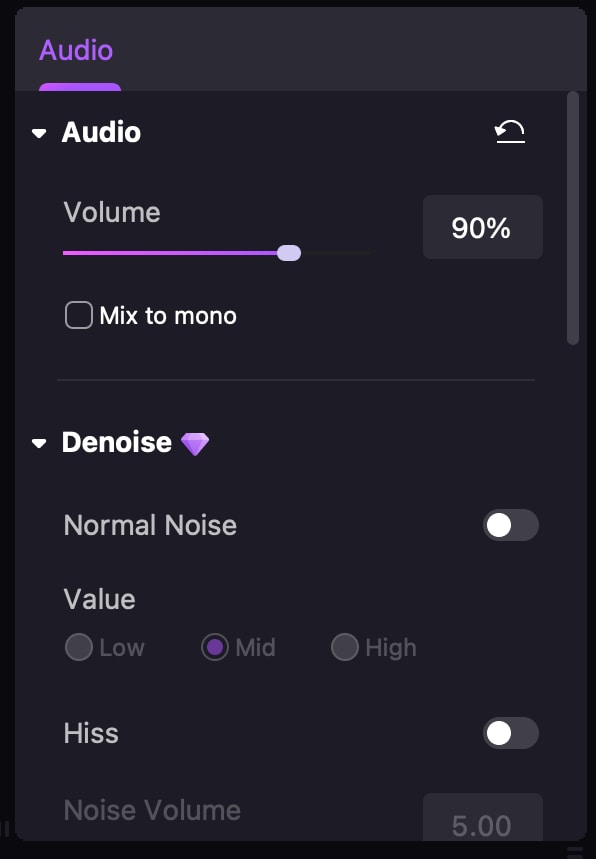
AI Denoise: AI-Powered Noise Cancelling
Step 1: Click the "Audio" icon in the upper right corner of the settings section to start filtering out background noise.
Step 2: Make sure the "Enable" box is ticked under the "Denoise" tab.
AI Voice Changer
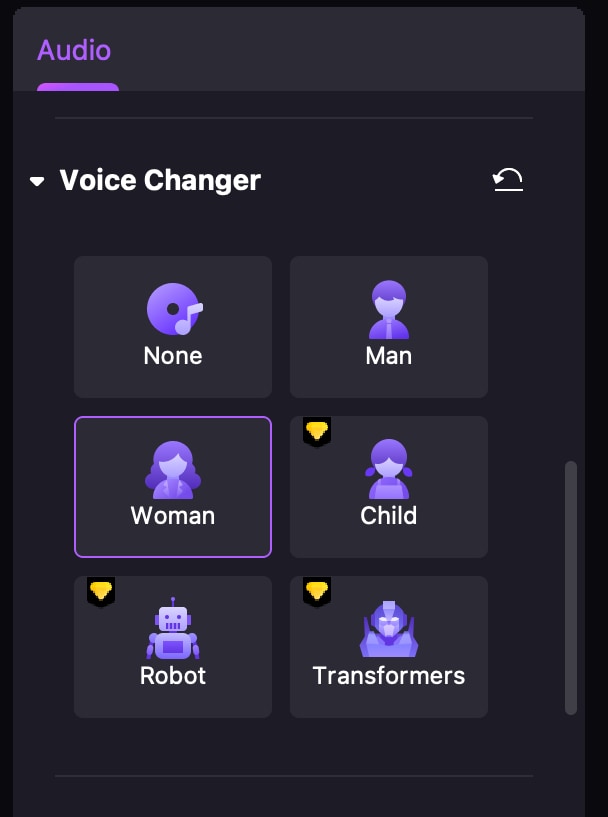
Step: You can try various voice-altering methods with the new Voice Changer tool and hear the outcomes afterward. This may be a great time!
The voice-changing effect comes in five versions: Robot, Woman, Child, Man, and Transformers. A wide range of captivating voices and sound effects are available for selection.
By using DemoCreator, you can easily learn how to make your voice sound better on recordings. Its advanced features and easy-to-use interface make it an excellent choice for anyone looking to improve their voice recordings. Whether a beginner or a seasoned pro, DemoCreator has the tools to create high-quality audio and video content. Give it a try and see how it can transform your recordings into professional masterpieces!
Part II. How To Make Your Voice Sound Better When Recording
Knowing how to make your voice sound better when recording can make a big difference in the quality of your audio content. Following these simple steps will help you achieve a more professional sound.
Prepare for a Better Voice Recording
Set the stage for high-quality voice recordings by choosing the right environment and preparing your voice. By taking these steps, you can significantly enhance your recording quality from the start.
A. Choosing the Right Environment
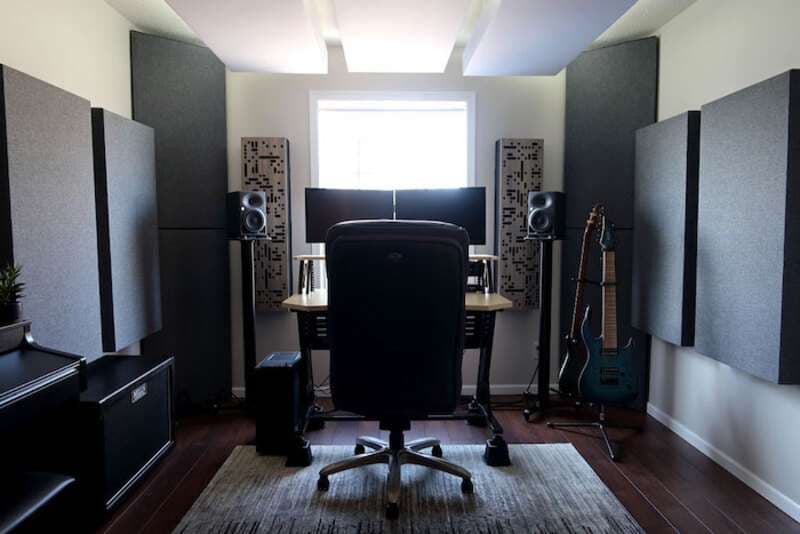
The first step to achieving high-quality voice recordings is choosing the right environment. A quiet space is essential to minimize background noise, which can distract listeners and reduce the clarity of your recording. Here's how to set up a recording-friendly environment at home or in your office:
- Find a Quiet Space. Choose a room away from noisy appliances, traffic, or other loud sounds. Closing windows and doors can help reduce external noise.
- Soundproofing. Use soft furnishings like curtains, rugs, and cushions to absorb sound. You can also use foam panels or thick blankets on walls to reduce echo and reverb.
- Minimal Distractions. Ensure the space is free from interruptions. Turn off fans, air conditioners, and other noise sources during recording.
B. Hydration and Vocal Warm-Ups
Staying hydrated is crucial for maintaining a clean and healthy voice. Drink plenty of water throughout the day, especially before recording. Hydration keeps your vocal cords lubricated, preventing strain and hoarseness. Additionally, warming up your voice can improve its quality. Here are some simple vocal exercises:
- Lip Trills. Gently blow air through your lips while humming to relax your vocal cords.
- Humming. Start with a low pitch and gradually move higher, then lower again.
- Tongue Twisters. Practice tongue twisters to improve articulation and clarity.
Use the Right Equipment
Elevate your voice recordings by selecting the best equipment. With the right tools, you can achieve professional-sounding recordings every time.
A. Microphone Selection
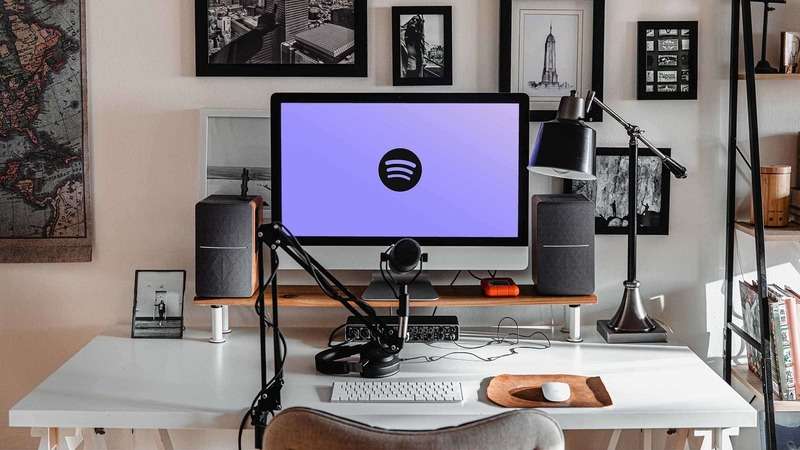
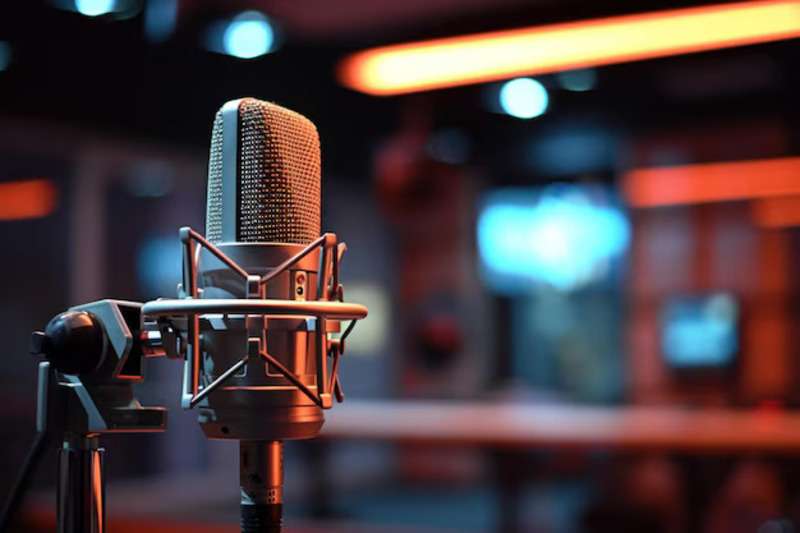
Choosing the right microphone is key to improving voice quality. Different microphones have different characteristics:
- Dynamic Microphones. Durable and good at handling loud sounds, ideal for live performances.
- Condenser Microphones. More sensitive and capable of capturing detailed sounds, perfect for studio recordings.
B. Headphones
Using headphones while recording helps you monitor your voice in real time. This allows you to catch and correct any issues immediately. When choosing headphones, look for:
- Closed-Back Headphones. These prevent sound from leaking into the microphone, ensuring a cleaner recording.
- Comfort. Choose comfortable headphones for long recording sessions. The Audio-Technica ATH-M50x and Sony MDR-7506 are excellent choices.
C. Pop Filters and Windshields
Pop filters and windshields help reduce unwanted sounds such as plosive consonants (like "p" and "b" sounds) and wind noise. These tools improve clarity and create a smoother recording:
- Pop Filters. Attach these to your microphone stand to block plosive sounds.
- Windshields. Place these foam covers over the microphone to reduce wind noise and breath sounds.
Recording Techniques
Master the art of recording with effective techniques. By refining these techniques, you can ensure your voice recordings are clear, professional, and engaging.
A. Microphone Placement
Proper microphone placement is crucial for optimal sound quality. Follow these best practices:
- Distance. Keep the microphone about 6-12 inches away from your mouth. This distance helps capture clear audio without distortion.
- Angle. Position the microphone slightly off-axis (to the side of your mouth) to reduce plosive sounds and breath noise.
B. Consistent Volume and Tone
Maintaining a steady volume and tone ensures a professional-sounding recording. Here are some techniques:
- Speak Clearly. Enunciate your words and avoid mumbling.
- Volume Control. Keep your voice at a consistent volume. Avoid sudden changes in loudness.
- Practice. Regular practice helps you maintain a steady tone and improve your overall delivery.
C. Breath Control
Controlling your breathing is essential for reducing breath sounds and creating smooth recordings. Try these methods:
- Breathe Deeply. Take deep breaths from your diaphragm to support your voice.
- Silent Breathing. Practice silent breathing techniques to minimize noise.
- Pauses. Use natural pauses in your speech to take breaths rather than gasping mid-sentence.
By following these tips and using the right tools, you can significantly improve the quality of your voice recordings. Remember, knowing how to make your voice sound better when recording is a skill that takes practice. Still, with the right environment, equipment, and techniques, you can always achieve professional results.
Conclusion
Improving your voice recordings involves choosing the right environment, staying hydrated, using quality equipment, and mastering effective recording techniques. These practices are essential for anyone looking to produce professional-sounding audio. Knowing how to make your voice sound better when recording can greatly enhance the impact of your content.
To take your recordings to the next level, try using Wondershare DemoCreator. Its user-friendly interface and powerful features make it easy to create high-quality voice recordings. Visit the DemoCreator website today and see how it can help you achieve the best results!


