

Are you tired of the few features and poor performance of the default AMD recording software? As a gamer, content creator, or professional, you deserve a reliable tool. It should have many features and can capture your desktop well.
AMD's built-in screen recorder might be enough for basic needs. But, many better alternatives are available. These alternatives offer a more professional yet user-friendly experience.
This guide is comprehensive. It will dive into the world of the best AMD screen recorder alternatives. It will explore their features, pros, and cons to help you make an informed decision.
In this article
Part 1: Overview of AMD Recording Software

Before we explore the alternatives, let's quickly discuss the AMD recording software. It is also known as AMD Radeon ReLive or AMD Radeon Software. This built-in tool allows AMD graphics card owners to capture gameplay footage. They can also record desktop activities and make GIFs or videos for sharing. The AMD recording software is convenient. But, it lacks advanced features, customization options, and good performance.
One of the main limitations of the AMD recording software is its lack of advanced editing capabilities. Users can only trim and cut. This makes it hard to make polished videos. Also, the software's user interface can be clunky and hard to understand. This may frustrate users who value a streamlined experience.
Furthermore, the AMD recording software's performance can be inconsistent, especially when dealing with resource-intensive applications or games. Users may encounter frame rate drops, choppy recordings, or even crashes, which can be detrimental to their workflow or gaming experience.
Part 2: What Features to Look Out in a Screen Recording Software?
When searching for an AMD screen recorder alternative, it's essential to consider the features that align with your specific needs. Here are a few:
- Recording Quality: A robust screen recording software should offer high-quality video capture capabilities, supporting various resolutions and frame rates to ensure your recordings look crisp and clear.
- Audio Capture: The ability to record system audio, microphone input, or both simultaneously is crucial for creating comprehensive tutorials, presentations, or gameplay videos.
- Editing Tools: Look for software that provides basic editing tools, such as trimming, cutting, and merging clips, as well as advanced features like annotation, highlighting and video effects.
- Customization Options: Flexibility in customizing hotkeys, output formats, and recording settings can greatly enhance your workflow and user experience.
- Performance Optimization: A good screen recorder should minimize system resource usage, ensuring smooth recording without impacting your computer's overall performance.
- User-Friendly Interface: An intuitive and user-friendly interface can make the recording process more efficient and enjoyable, especially for beginners or those with limited technical expertise.
With these factors in mind, let's explore the best AMD screen recorder alternatives that offer a comprehensive set of features and a superior user experience.
Part 3: Best AMD Radeon Screen Recorder Alternatives
#1 Wondershare DemoCreator
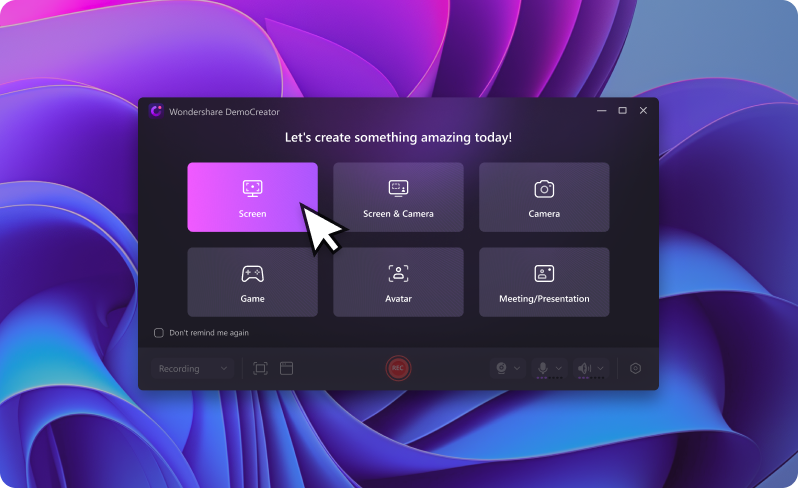
Wondershare DemoCreator is an all-in-one screen recording tool that offers a wide range of features for creating professional-quality videos. This AMD screen recorder alternative stands out for its ease of use, advanced editing capabilities, and robust performance.
Wondershare DemoCreator is more than just a video editing software – it's a complete solution for capturing, editing, and sharing your videos with the world. With its powerful features and intuitive interface, DemoCreator puts the power of professional-quality video production in your hands.
Key Features:
- Captures the video in high-quality with support for various resolutions.
- Simultaneous recording of system audio, microphone input, or both.
- Elevate your recorded videos with creative tools such as annotations, transitions, effects, audio enhancements, and stickers.
- Performance optimization to minimize system resource usage.
- Share content directly to social media platforms like YouTube, TikTok, and Vimeo.
- Remove background distractions using AI.
- Swap backgrounds, enhance portraits, and blur backgrounds with just a few clicks.
#2 OBS Studio

OBS Studio is a free and open-source screen recording and live streaming software that has gained immense popularity among gamers, content creators, and professionals alike. Its versatility and extensive feature set make it a compelling AMD screen recorder alternative.
Key Features:
- Simultaneous recording of multiple audio sources, including system audio and microphone input.
- Create scenes by combining different sources. These scenes can be seamlessly switched using custom transitions during your stream or recording.
- Advanced recording and streaming features, such as hotkey customization and performance optimization.
- The dock-based UI allows you to rearrange the layout as you like. You can even pop out individual docks into separate windows.
- Vast array of plugins and extensions for additional functionality.
#3 Screencastify

Screencastify is a popular and user-friendly screen recording extension for Google Chrome. While primarily designed for creating educational content, it can be an excellent AMD screen recorder alternative for those seeking a lightweight and straightforward solution.
Key Features:
- Capture desktop, browser tab, or webcam footage.
- Real-time annotation tools let you highlight key points during recording.
- Record system audio and microphone input simultaneously.
- Basic editing tools for trimming and annotating videos.
- Share your videos directly to platforms like YouTube, Google Drive, or via simple Image names.
#4 Snagit

Snagit is a versatile screen capture and recording tool from TechSmith, offering a comprehensive set of features for capturing and editing various types of content. While not exclusively focused on screen recording, Snagit can be an excellent AMD screen recorder alternative for those seeking an all-in-one solution.
Key Features:
- Capture content that extends beyond the visible screen, such as full web pages or data sets with multiple columns.
- Record system audio, microphone input, or both simultaneously.
- Advanced video editing tools, including trimming, cutting, and annotation.
- Automatically select windows, apps, and drop-down menus for precise captures.
- Share videos directly or export to various formats.
#5 IceCream Screen Recorder

IceCream Screen Recorder is a lightweight and easy-to-use screen recording tool that offers a good balance between functionality and simplicity. This AMD screen recorder alternative is particularly suitable for those seeking a straightforward solution without sacrificing essential features.
Key Features:
- Capture full-screen, region, or webcam footage.
- The “Task” function lets you start and stop recordings at scheduled times, which is helpful for meetings or lectures when you’re busy.
- Annotating tools include freehand drawing, arrows, text, shapes, highlights, and step marks.
- The “Last screen” function makes it easy to capture the same region repeatedly.
- Scheduled recording and time-lapse capture capabilities.
Part 4: Tips for Recording Seamlessly on Laptop
While choosing the right AMD screen recorder alternative is crucial, there are several tips and best practices that can help ensure a seamless recording experience, particularly when using a laptop:
- Close Unnecessary Applications: Before starting your recording, close any unnecessary applications or background processes to free up system resources and optimize performance.
- Adjust Power Settings: Configure your laptop's power settings to "High Performance" mode or disable any power-saving features that may throttle system performance during recording.
- Use an External Microphone: For better audio quality, consider using an external microphone instead of relying on your laptop's built-in microphone, which may pick up fan noise or keyboard clatter.
- Select the Appropriate Recording Area: Carefully choose the recording area to capture only the necessary content, minimizing the workload on your system and reducing file sizes.
- Test and Optimize Settings: Before starting your final recording, perform test runs to ensure optimal settings for resolution, frame rate, and bitrate, striking a balance between quality and system performance.
- Utilize Screen Recording Hotkeys: Most screen recording software offers customizable hotkeys for starting, stopping, and controlling recordings, allowing you to work more efficiently without disrupting your workflow.
- External Storage: If your laptop has limited storage space, consider saving your recordings to an external hard drive or cloud storage to prevent running out of disk space during extended recording sessions.
By following these tips and best practices, you can maximize the performance of your chosen AMD screen recorder alternative and create high-quality recordings seamlessly, even on a laptop with limited resources.
Conclusion
Finding the right AMD Radeon recording software alternative can greatly enhance your productivity, creativity, and overall user experience. Whether you're a gamer, content creator, or professional, the tools mentioned in this guide offer a wide range of features and capabilities to meet your specific needs.
Wondershare DemoCreator stands out with its user-friendly interface, advanced editing capabilities, and high-quality video output, making it an excellent choice for those seeking a comprehensive solution.
For those seeking a lightweight and straightforward solution, Screencastify and IceCream Screen Recorder offer simplicity without compromising essential features. Snagit, with its robust capture and editing capabilities, can be an ideal all-in-one solution for those willing to invest in a more premium tool.
Ultimately, the best AMD screen recorder alternative for you will depend on your specific requirements, budget, and personal preferences. Take the time to evaluate each option, consider the features that matter most to you, and don't hesitate to try out multiple tools to find the perfect fit.
FAQ
-
Q: Do I need a powerful computer to use these AMD screen recorder alternatives?
While screen recording can be resource-intensive, most modern computers should be able to handle these tools without significant performance issues. However, for the best experience, it's recommended to have a relatively recent processor, sufficient RAM, and a dedicated graphics card. -
Q: Can I record gameplay footage from my AMD graphics card with these alternatives?
Absolutely! All the screen recording software mentioned in this guide are capable of capturing gameplay footage from your AMD graphics card, as well as other applications and desktop activities. -
Q: Are there any free options among these AMD screen recorder alternatives?
Yes, OBS Studio is a completely free and open-source option, while Screencastify offers a free version with reasonable limitations. However, keep in mind that paid options like Wondershare DemoCreator, Snagit, and IceCream Screen Recorder often provide more advanced features and better support. -
Q: Can I edit my recordings within these screen recording software?
Most of the alternatives discussed in this guide offer basic editing capabilities like trimming, cutting, and annotating videos. However, for more advanced editing requirements, you may need to use dedicated video editing software.


