
Background screen recorders are more than just tools for recording your computer screen. These tools can help film tutorials, review videos, and build your online presence, especially for content creators and social media influencers. However, despite its benefits, finding a suitable background screen recorder can take time and effort. But you don't have to worry. We've got you covered.
This article compares three of the best background screen recorder apps for PCs: OBS Studio, Camtasia, and DemoCreator. Want to learn more? Keep reading, and we'll show you!
In this article
DemoCreator
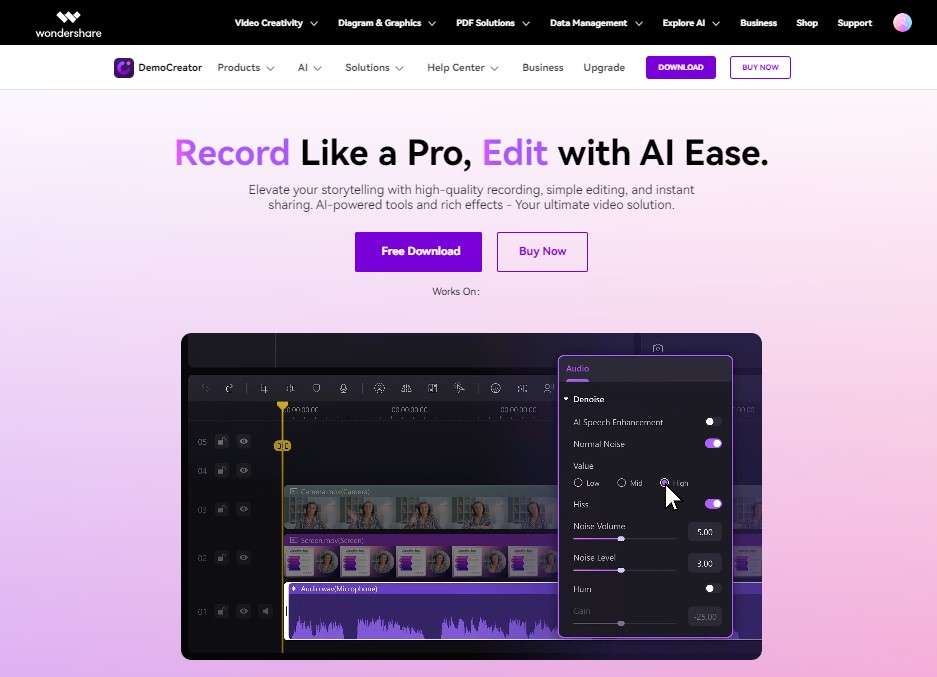
Famous for its flexibility, DemoCreator is a tool that has earned its spot among the best background screen recorders for PCs. This robust screen recording application allows you to produce high-quality recordings perfect for presentations, tutorials, demonstrations, and so much more.
DemoCreator is an AI-powered tool that allows you to record your videos like a pro. Its intuitive AI makes recording and editing so much easier and quicker since it can guide you through the platform and help you edit the video to meet your requirements. The best part is that DemoCreator has options for video effects, so you don't have to worry about boring videos. All you need is to select an effect and apply it. It's that easy!
Key Features
DemoCreator is undoubtedly a game-changer in background video recording, and it's trusted by numerous users for its features and capabilities. Let's explore some of DemoCreator's features below:
Pros and cons of DemoCreator
The following are some pros and cons of using DemoCreator:
How to Use DemoCreator
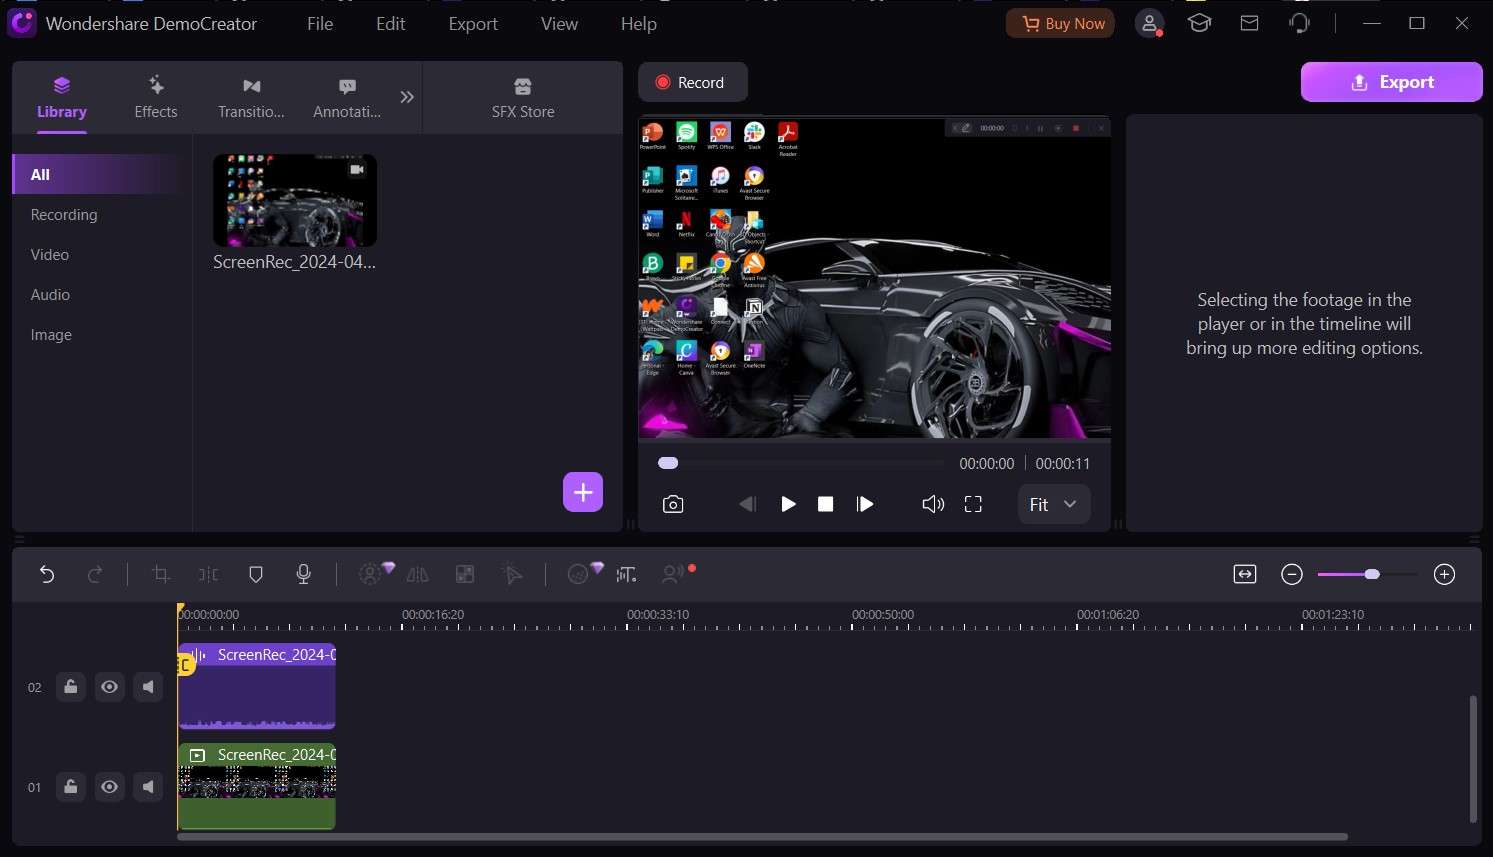
Although it has numerous high-end features, DemoCreator is super easy to use. In this section, we will walk you through using DemoCreator to perform high-quality background video recording:
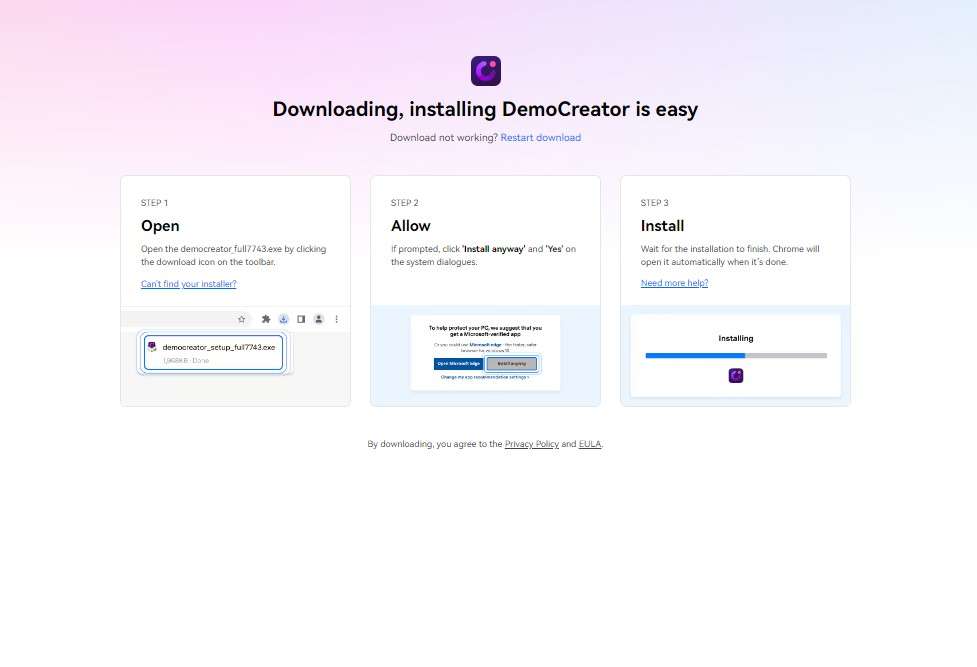
Step 1: Download the DemoCreator application from the official buttons below. Click Download and choose whether you want the app for Windows or iOS. Once it's done downloading, install DemoCreator from the Recent Downloads tab and open the app on your PC.
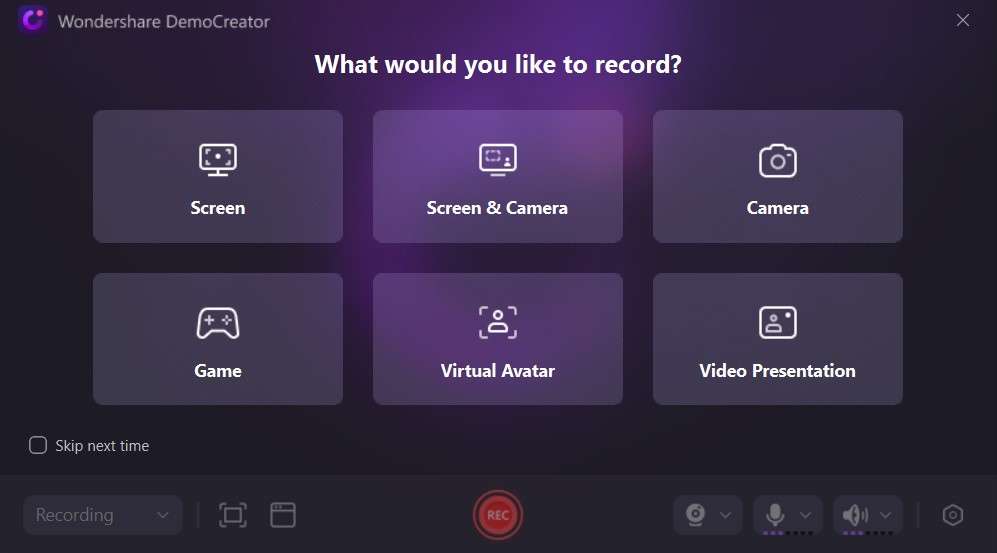
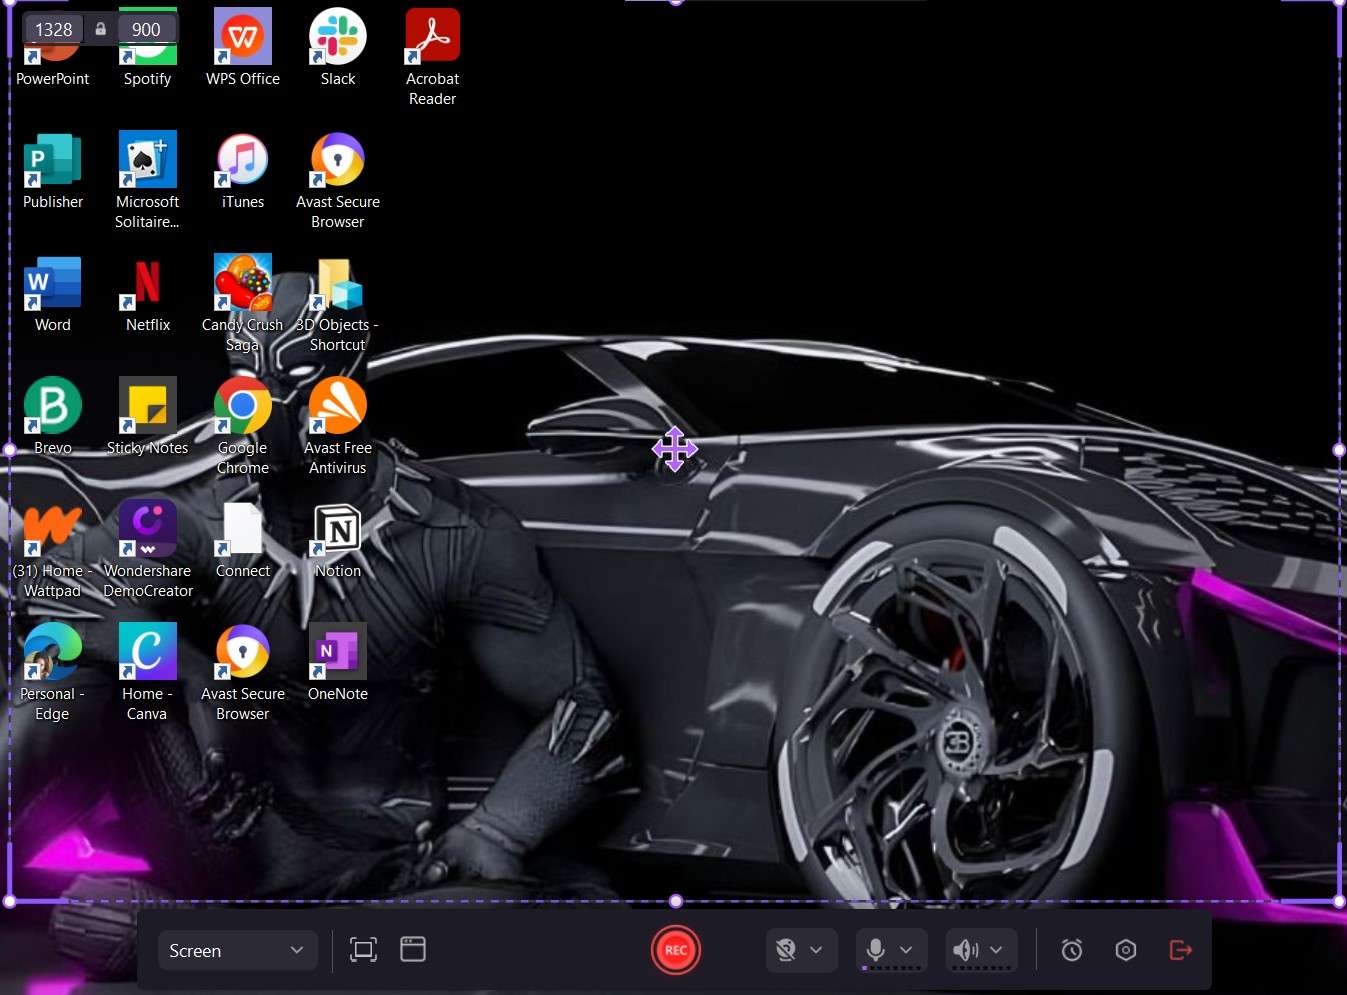
Step 2: Select Video Recorder and set your recording mode to Screen Recording. After this point, you can record just a part or the entirety of your screen. Then, you can decide whether you want to use system sounds, microphone input, or both. When you're done, review your settings to ensure everything is set up correctly before proceeding.
Step 3: Click the REC button or Press F10 to start the recording. The application will automatically start your background video recording, and depending on the settings you made in step 2 above, it can also record your voice through the microphone. Following this, you can stop the recording by clicking F10 again.
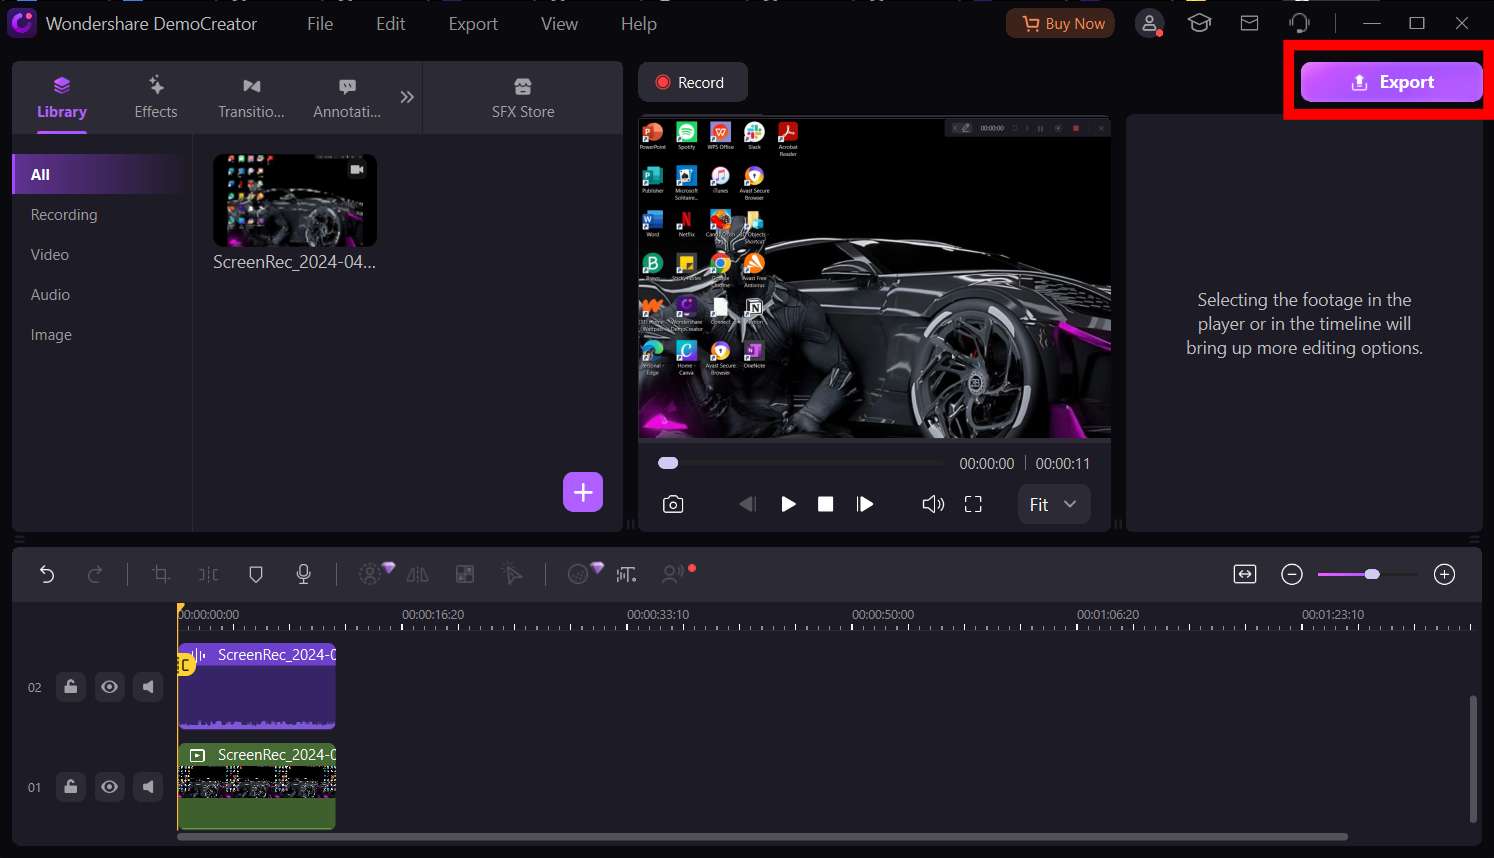
Step 4: Edit your recording with the application's built-in tools. You can trim the video, adjust audio levels, or add text overlays to enhance appearance.
Step 5: Finally, once everything meets your taste, you can save the background screen recording and share your recording.
OBS Studio
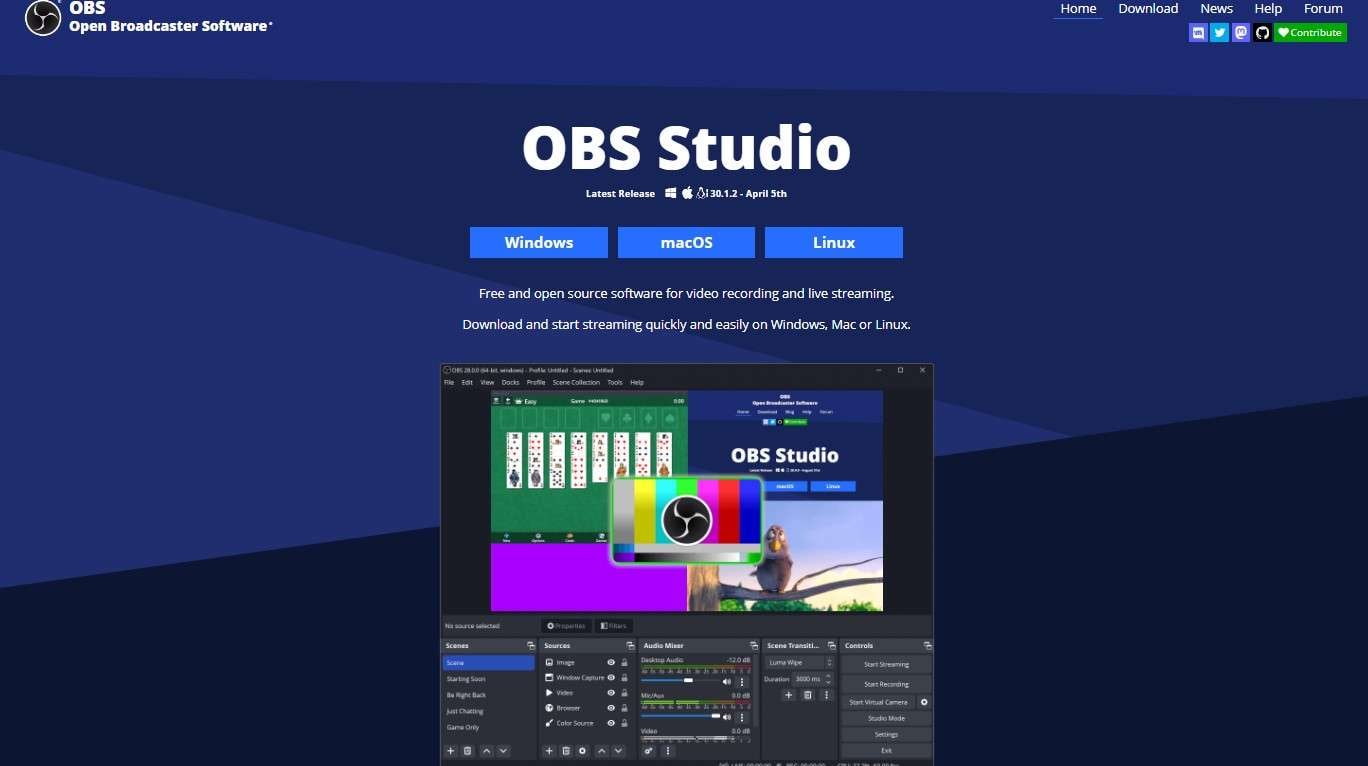
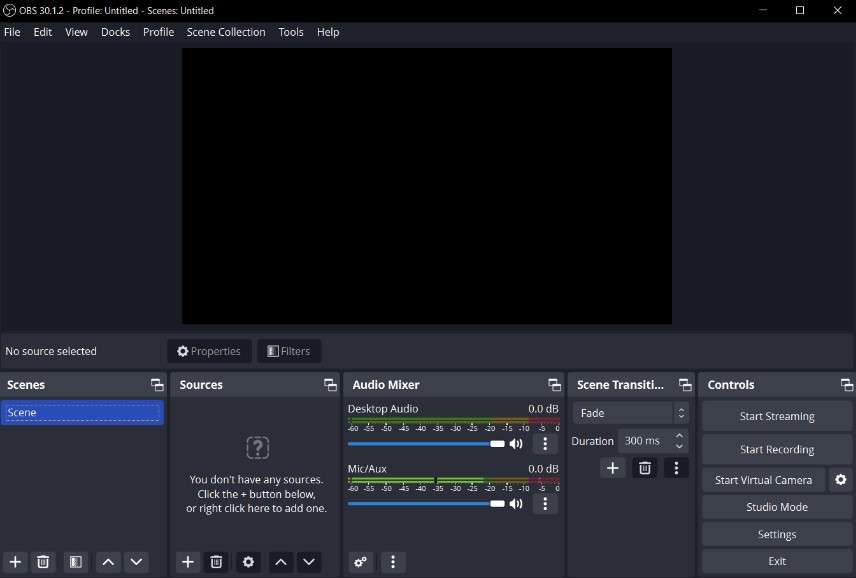
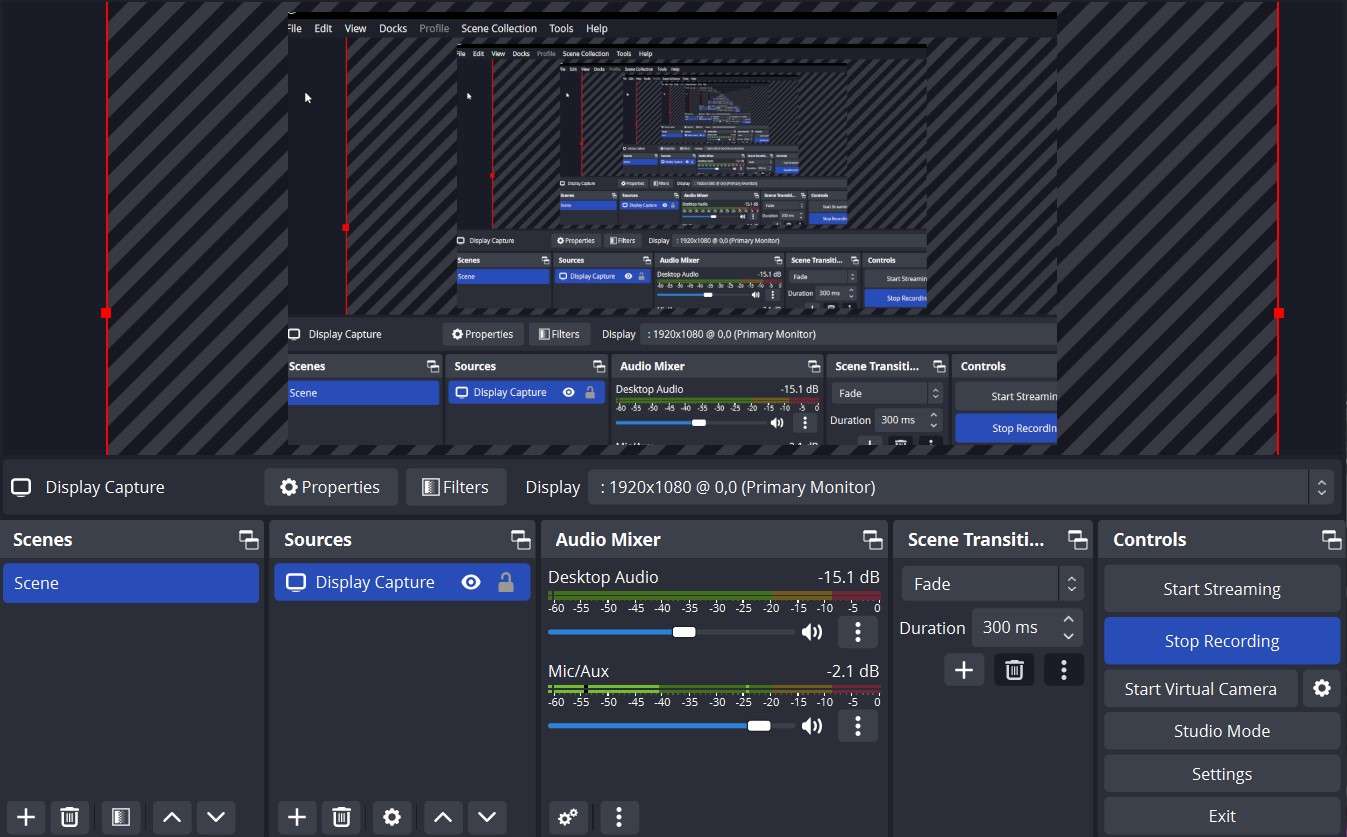
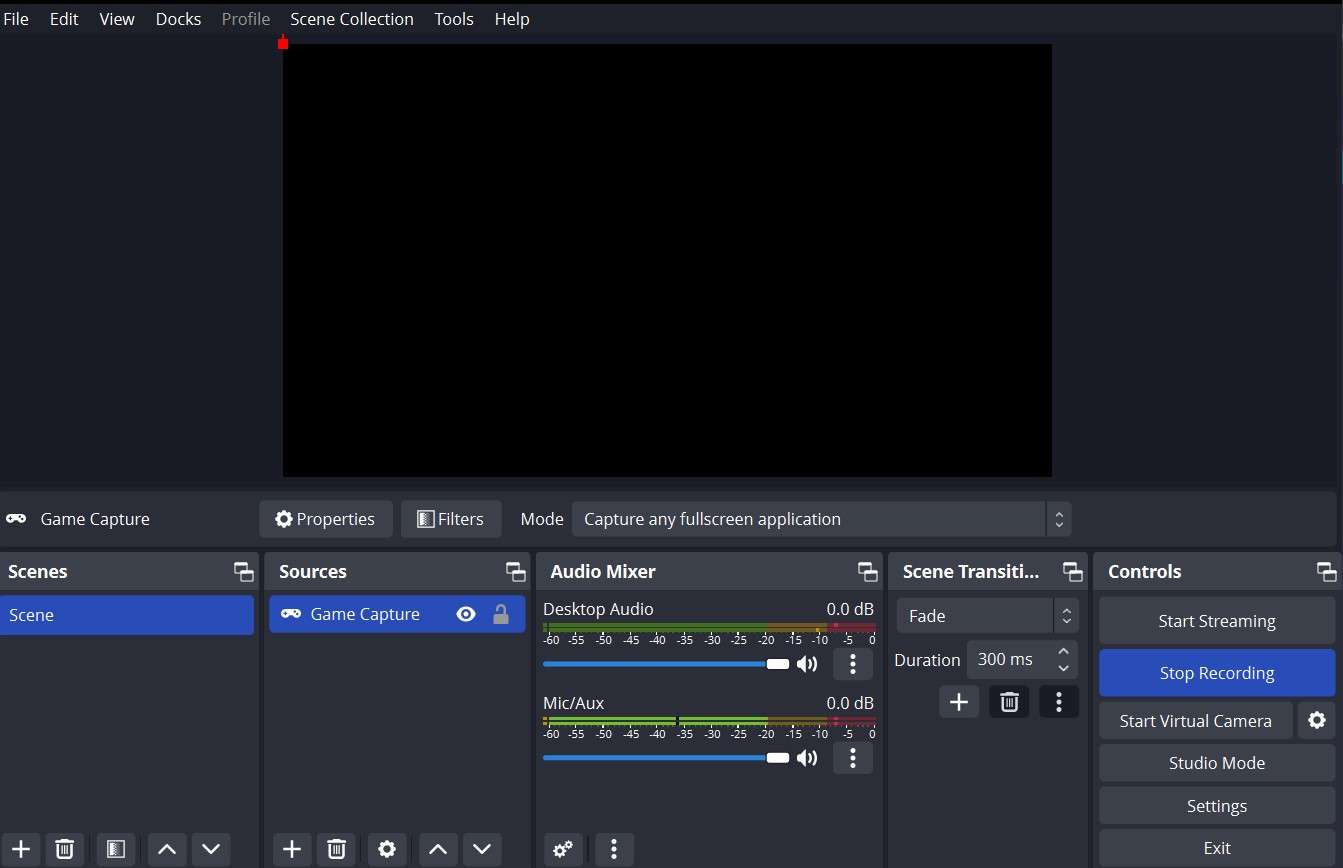
Open Broadcaster Software (OBS) Studio is free and open-source software for recording videos and live streaming, popular among content creators worldwide. As a free background screen recording video, it doesn't compromise on video quality, providing high resolutions for its users. This platform allows for real-time video or audio recording and mixing.
Among its many capabilities, OBS Studio allows users to switch between unlimited scenes via custom transitions. Its intuitive audio mixer has nose-reduction features that make your audio clearer and, in turn, maintain viewer engagement.
Key Features
The functionality of OBS Studio caters to a wide range of users, from vloggers to professional broadcasters. Here, we will outline the features that contribute to its functionality:
Pros and Cons of OBS Studio
The following are some notable pros and cons of using OBS Studio for background video recording:
How To Use OBS Studio
Although navigating OBS Studio and setting it up can be challenging, this guide makes it much easier. Here are the steps to using OBSstudio:
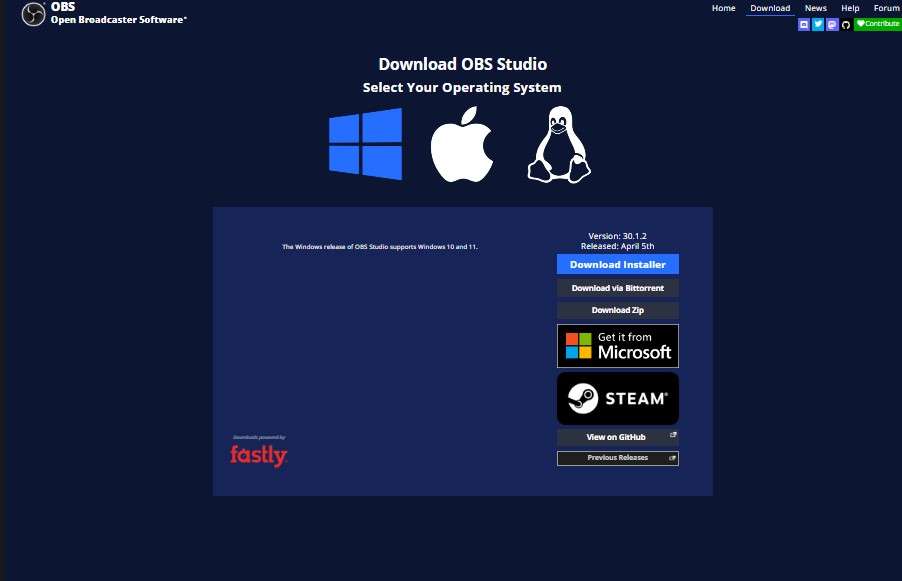
Step 1: Download OBS Studio by clicking download at the top task bar of the OBS Studio website. Once it's downloaded, click on the file and install it.
Step 2: Launch the app on your PC and grant it all the necessary permissions to ensure it runs smoothly.
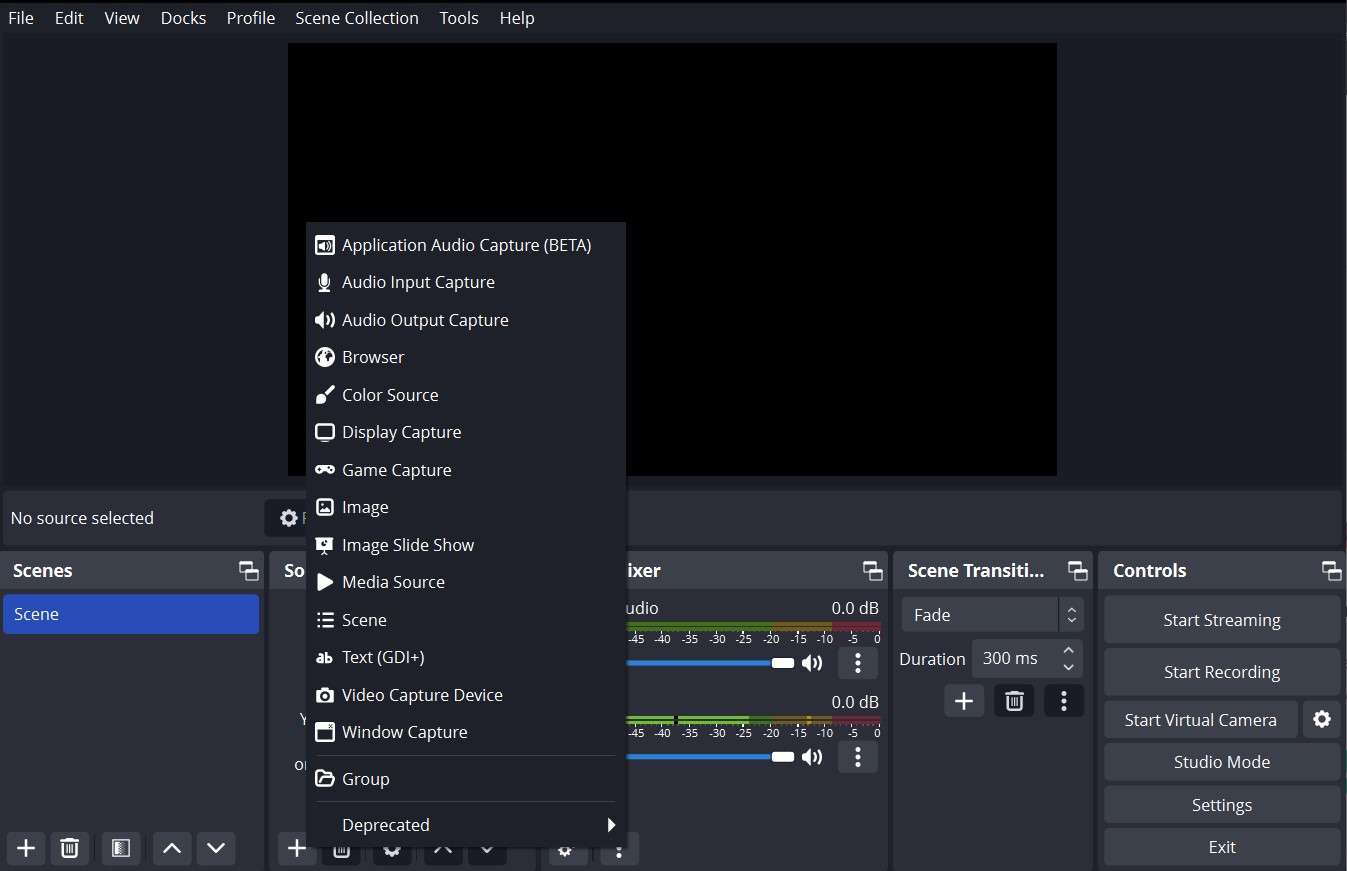
Step 3: Set up scenes and choose your sources. Sources are all the parts of your computer you want to get input from. For example, you could choose audio input from an application, screen display input, and much more.
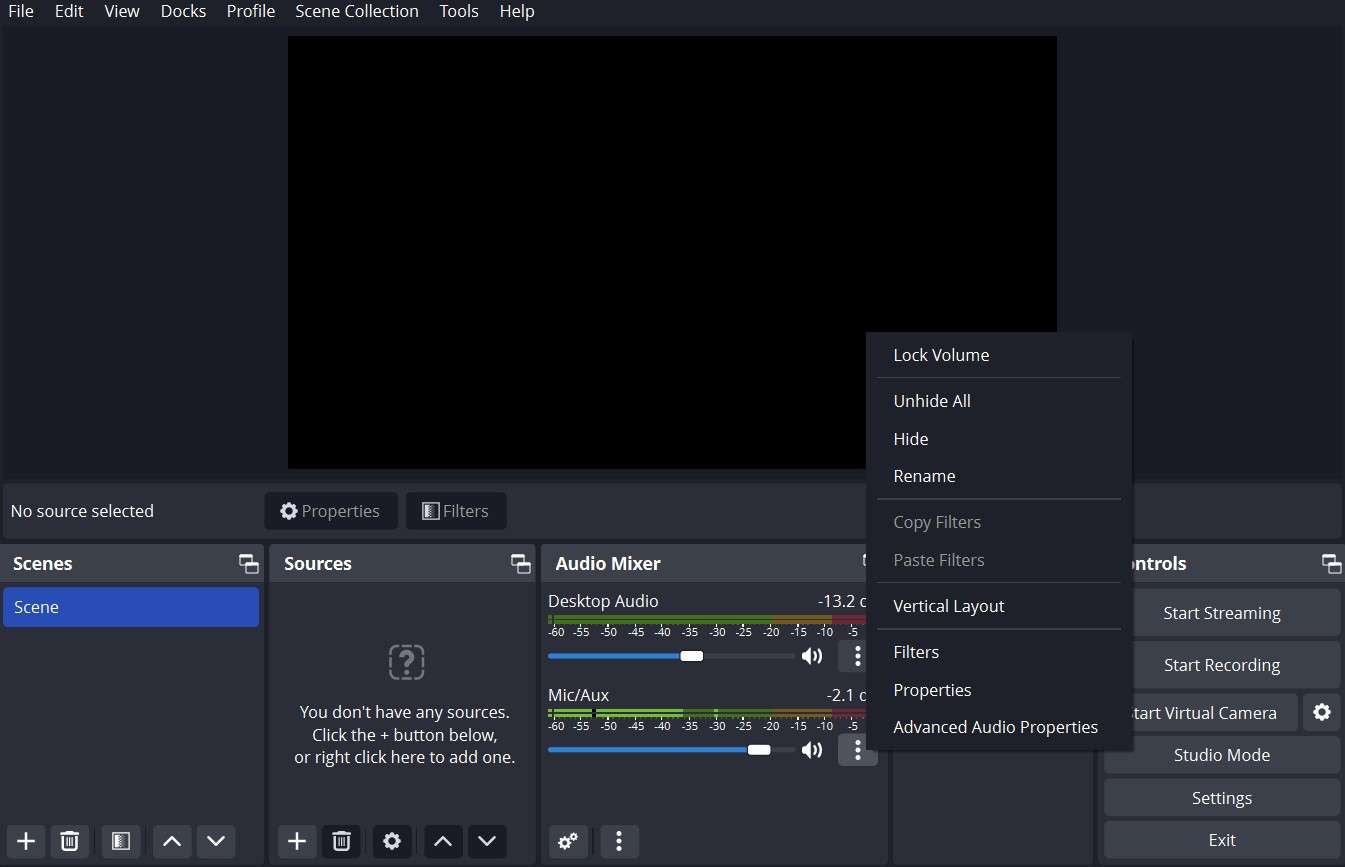
Step 4: After setting your scenes and sources, you can configure the audio for your background video recording. You could increase or decrease the audio or even put it on mute.
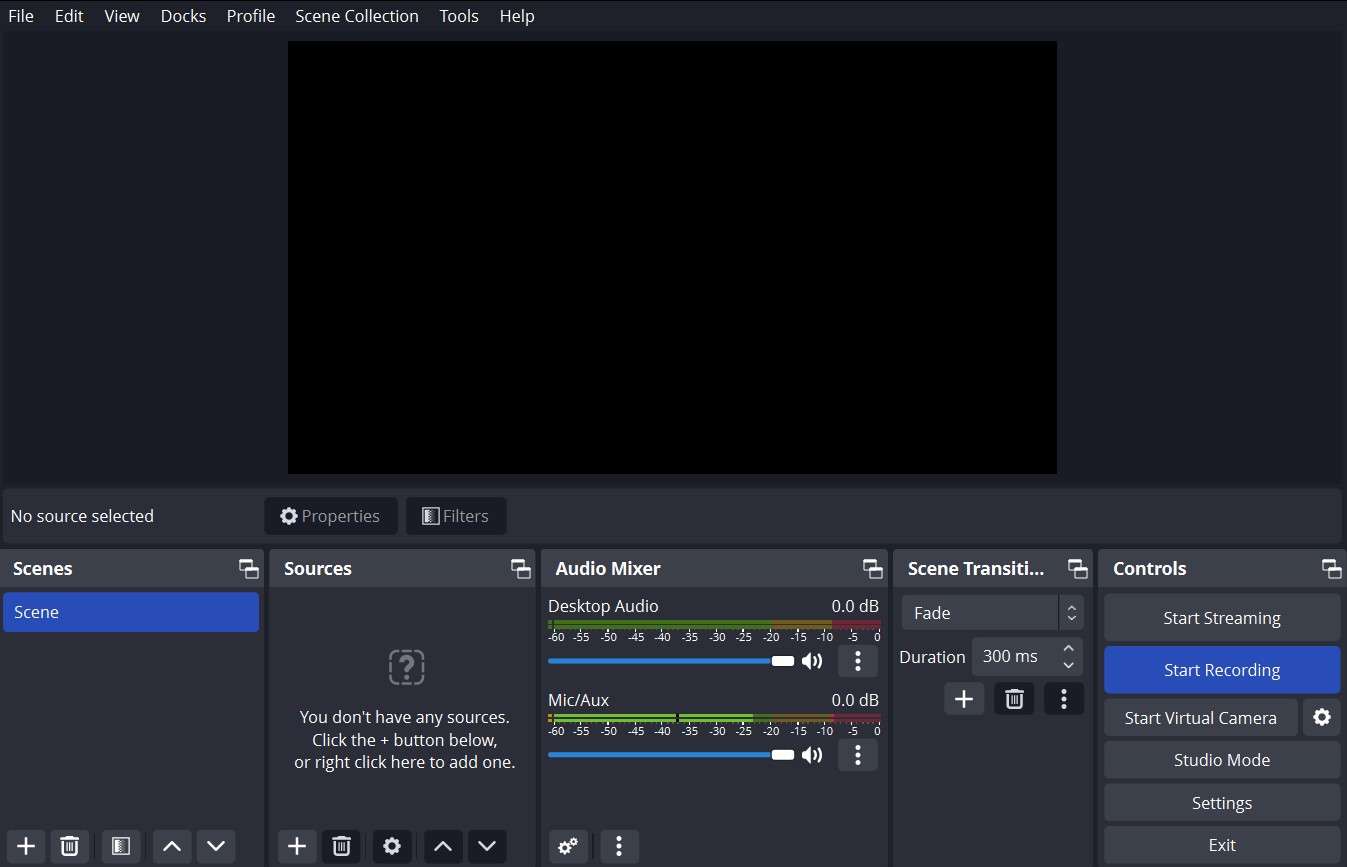
Step 5: Next, check that everything is set up correctly, then click Start Recording to begin recording your screen.
Step 6: while recording, you can monitor and adjust the video's features according to your requirements.
Step 7: Once done, tap Stop Recording to end the background video recording. This automatically saves your video to your computer.
Camtasia
Camtasia is a professional screen recording and video editing software that allows you to perform background recording while you work on other tasks. Thus, you can use it to create review videos, how-to videos, and much more.
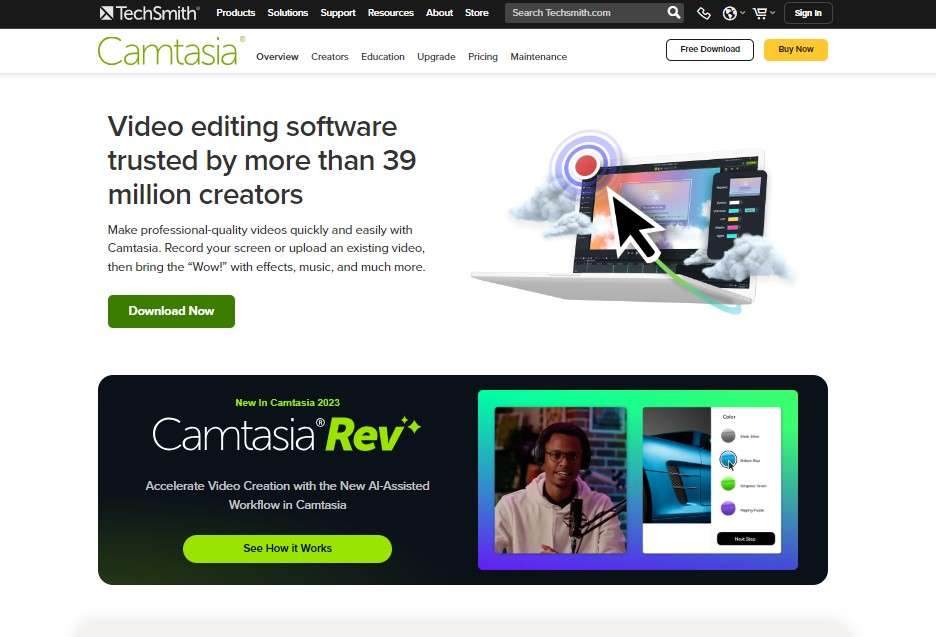
The Camtasia application is a widely recognized screen recording and video editing software developed by TechSmith. It's particularly favored for its comprehensive feature set that caters to beginners and professionals who must create detailed instructional videos, tutorials, and presentations. Camtasia combines powerful screen recording capabilities with an extensive array of editing tools, making it a one-stop solution for producing high-quality video content.
Key features
Whether you are a professional video editor, an educator, or someone looking to create high-quality tutorials and presentations, Camtasia provides the tools and flexibility to produce visually engaging and informative content. In this section, we will go over some of its core features:
- Background screen recording: Camtasia has background video recording capacities, allowing users to capture video from their computer screen while using other applications. This feature allows users to record the entire screen, a particular area, or a specific application window, providing flexibility depending on the content requirements.
- Audio recording and editing: Audio quality is crucial for producing professional videos, and Camtasia is one tool that understands this importance. With its audio recording and editing tools, Camtasia allows users to capture clear audio through a microphone or record system audio. After recording, users can enhance the audio quality by reducing background noise, adjusting levels, and adding effects directly within the software. This ensures the audio in the videos is both clear and professionally polished.
- Green screen recording: Camtasia's green screen feature allows users to replace their video's background with digital or virtual backgrounds. This is particularly useful for instructional videos where the presenter wants to overlay their demonstration over different contextual visuals or maintain a consistent and controlled background.
- Transition effects: Camtasia has various transitions that can be applied between during background video recording to enhance visual storytelling. These include fades, wipes, and slides, which help to create a smoother flow and add a professional touch to videos. The software also allows users to customize these transitions by adjusting the duration and other properties to suit the specific style of the recording.
- Export options: Camtasia offers flexible export options to accommodate various distribution needs. Users can export their videos in MP4, MOV, and GIF at different resolutions and quality levels suitable for web, mobile, and HD platforms. Camtasia also supports directly uploading videos to platforms like YouTube, Vimeo, and Screencast.com, so users can go through a simple process for sharing content online.
Pros and Cons of Camtasia
The following are some pros and cons of using Camtasia:
How to Use Camtasia
Here's a comprehensive guide to using Camtasia for background video recording:
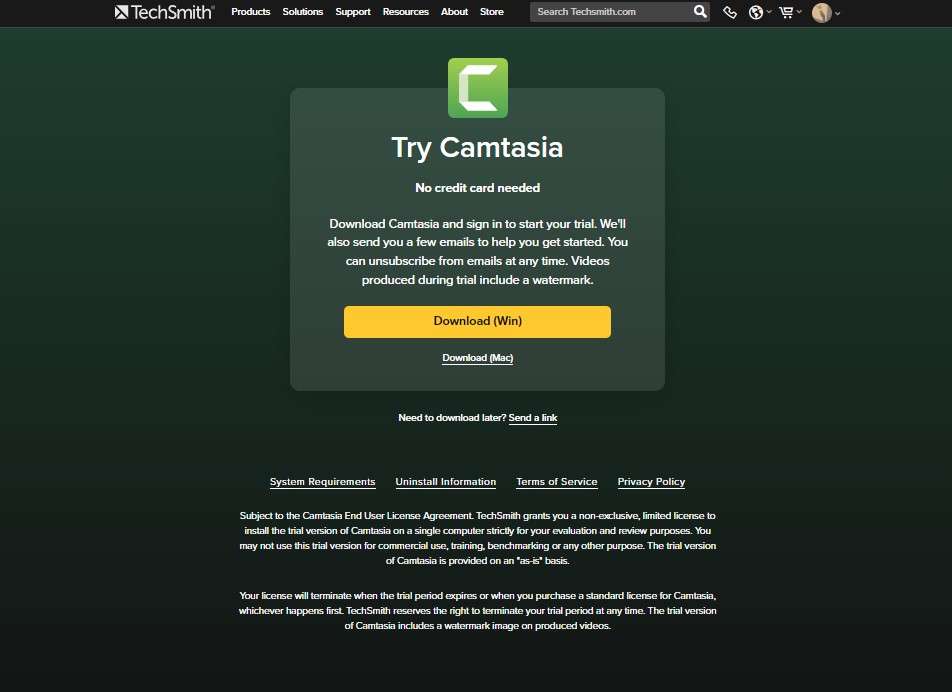
Step 1: Download and install Camtasia from the official website. If you're using a Windows PC, select Download (Win). For Mac users, choose Download (Mac) and wait for the application package to download.
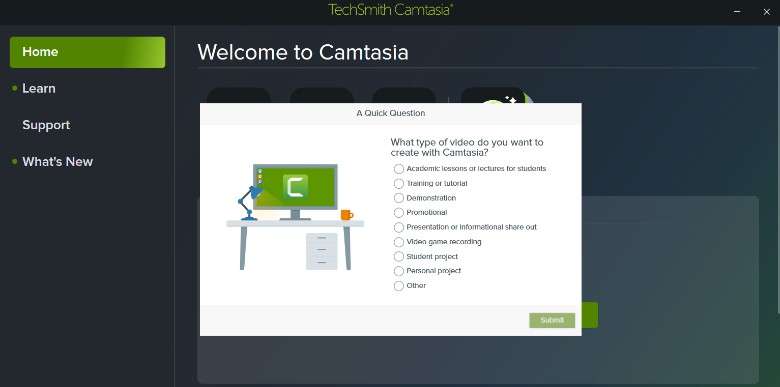
Step 2: Launch the application and choose your language. You'd also receive a request to accept Camtasia's licence terms. You can access that before accepting and following the steps to open the application. Once it opens, you can choose the type of video you want to create using Camtasia.
Step 3: After choosing the video you want to create, the application will direct you to create an account to continue. Once you create your account or sign in to an existing one, you can access the 3-day free trial, purchase the paid plan, and start your recording.
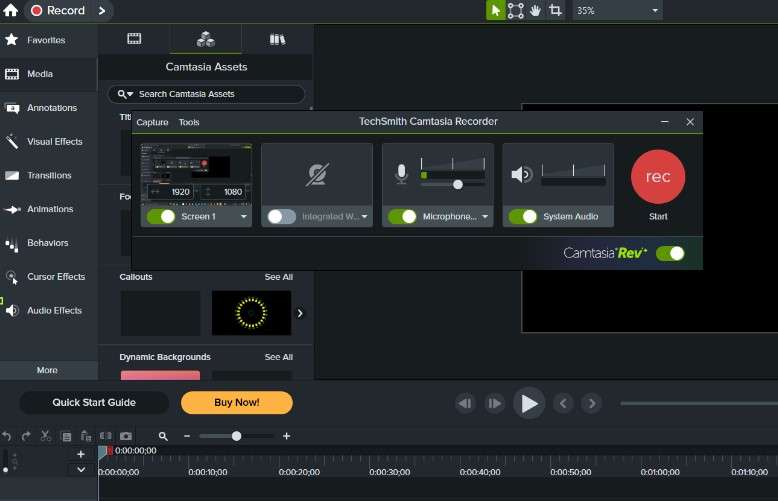
Step 4: To set up a new recording, select New Project, followed by the Record button at the top of your screen.

Step 5: In the floating panel, you can turn on your webcam, microphone, or screen recording features. You can also adjust the volume and the screen dimensions. Once you're done, click REC to start your recording.
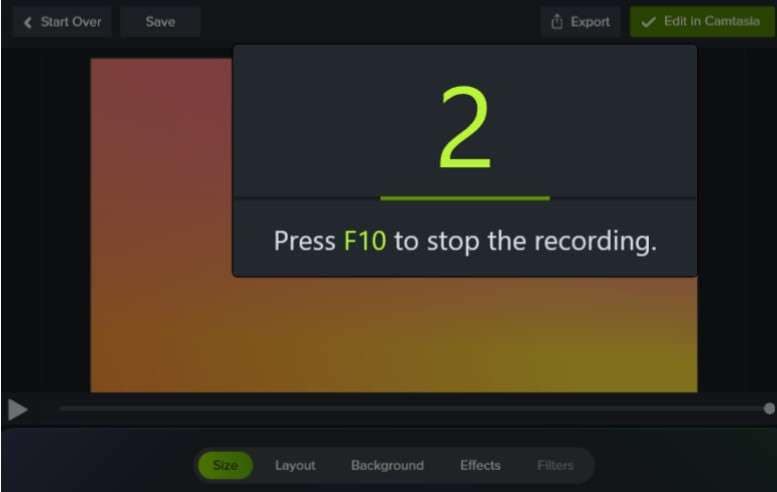
Step 6: To stop the recording, tap the Stop button or tap F10.
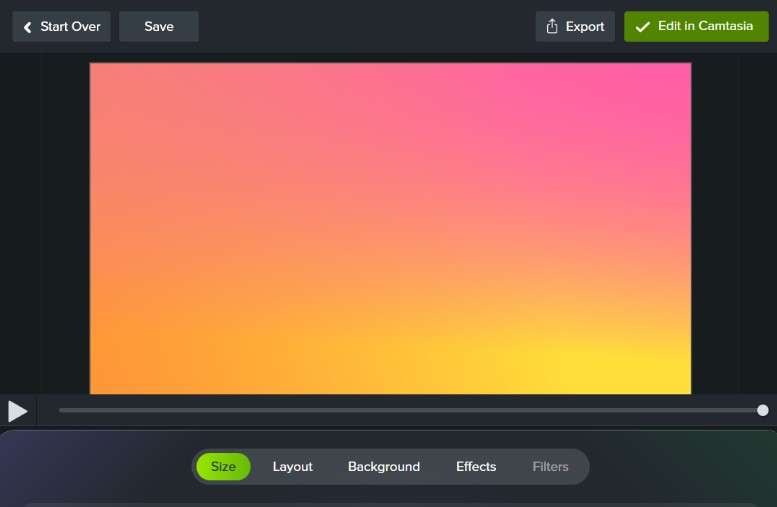
Step 7: Next, you can preview and export the recording. At this stage, you can also add some final touches to the recording. You can change the layout, add effects, adjust the size, or use filters. Once you're done, select Export to save the recording.
Conclusion
Choosing a background video recording app can be daunting, but it doesn't have to be. In this piece, we have discussed the top three background screen recorders to help you select the best one for your needs. For example, if you're searching for an easy-to-use and lightweight background screen recorder for your PC with reliable features, Democreator is ideal for you.
While DemoCreator offers paid solutions, you can access its free-to-use options without compromising the quality of your video. Ready to give it a go? Visit our website to try DemoCreator now.
FAQ
-
What key features should I look for when choosing a background screen recorder?
When choosing a background video recording app or a background screen recorder, look for ease of use, a simple, user-friendly interface, and various video and audio recording and editing features. -
Why do I need a background screen recorder?
Background screen recorders help create professional, organized screen recordings that you can use for presentations or demonstrations. They can also help you boost your viewer engagement. -
Are there any free background screen recorders available?
Yes, there are. DemoCreator, for example, offers a free-to-use version that you can access by installing the application. You can also use open-source background screen recorders like OBS Studio.


