

Screenshots can help you preserve valuable memories, explain tasks, review code, report problems, and create tutorials. However, you may need to crop them sometimes to make them more presentable. If so, we're here to help.
This guide provides all possible methods to crop screenshots on Mac devices. Each has different steps, so we'll present step-by-step processes to help you master the solution and create the best images. Check out the comparison table below to decide which solution best fits your needs.
| Method | Ease of Use | Effectiveness |
| The Preview app | Easy | Low - the app will change the quality of your screenshots. |
| Screenshot toolbar | Easy | Low - the method will affect image quality. |
| Touchpad | Easy | Medium - you may experience blurring or quality changes. |
| The Photos app | Medium | Medium - the cropping may affect the image's quality, depending on the cropped amount. |
| Keyboard shortcuts | Complex | Low - the method will significantly decrease image quality. |
| Wondershare DemoCreator (Third-party tool) | 👍 Easy | 👍 High - the image will stay high-quality regardless of the cropped amount. |
How To Crop Screenshots on a Mac Using the Preview App
By default, the Preview application will open all your screenshots on Mac. Thus, it's among the most convenient methods for cropping your fresh screenshots and giving them a new life. Follow this step-by-step guide to crop screenshots on Mac in the Preview app:
- Double-click the screenshot you want to crop.
- By default, it'll open the Preview app. Click the Pen icon in the top bar to use Markup tools.

- Select the area you want to crop and click the Crop icon in the top bar.

The program will automatically save your cropped image as a new one in the Preview app.
How To Crop a Screenshot on a Mac Using the Screenshot Toolbar
One of the fastest ways to crop your screenshots on a Mac is to do so while capturing them. You won't have to use other solutions to get your images into the desired shape. Thus, let's check out how to activate the cropping feature while taking a screenshot on Mac:
- Prepare the content you want to capture on your Mac device.
- Press the Shift + Command + 5 keys on your keyboard to open the Screenshot toolbar.

- Choose the third option to capture a selected area.

- Choose the part of the screen to capture.
Once you complete these steps, the computer will automatically take an image of the selected area, so you won't have to crop your screenshots.
How To Crop a Screenshot on a Mac With the Touch Bar
If you have a MacBook with a Touch Bar, you can use this feature to take a screenshot. However, the process doesn't significantly differ from taking a cropped screenshot using Mac's built-in screenshot tools. Still, it's perfect if you're used to using the Touch Bar for various tasks. Without further ado, let's jump into the guide:
- Press the Shift + Command + 5 keys.

- Choose the type of screenshot you want to take with your Touch Bar.

- Once you do, select the area of the screen you want to capture.
- Tap the Crop icon on the Touch Bar to complete the process.

Although it may not be the easiest solution, it'll be an entertaining experience.
How to Crop Screenshots on a Mac With the Photos App
The Photos app is another integrated image-storing solution on Mac that lets you organize screenshots. Like the Preview app, it has a cropping feature. Here's how to use it to get the best results:
- Right-click the desired screenshot and click Open in Photos in the context menu.

- Once you open the screenshot in the Photos app, click Edit in the top bar.

- Click Crop.

- Click to select the area to crop and hit Done after you finish.

How To Crop Screenshots on a Mac With Keyboard Shortcuts
Do you want to take the easy way out and take cropped screenshots using your keyboard? No problem. Mac has default shortcuts to activate the cropping feature and take cropped screenshots. Check out how to use these shortcuts below:
- Prepare the content you want to capture.
- Press the Shift + Command + 4 keys on your keyboard.

- While holding these keys, drag the crosshair icon to select the area you wish to capture.

- Hit the Spacebar to move the selected area until you reach the desired results.

- After choosing the area, release the keys to take a screenshot.
The downside of this method is that you must get used to pressing, holding, and releasing all the keys.
How To Crop Screenshots on a Mac With Wondershare DemoCreator
Lastly, the most efficient way to crop screenshots is to use third-party software like Wondershare DemoCreator. One of the best parts about this solution is that you can record your screen first and take precise screenshots within the platform. For instance, you can record your screen while playing a game and extract screenshots from the clips accordingly.
In addition, you can use numerous advanced features and tools to enhance your screenshots, such as annotations, filters, and effects. You can also adjust the brightness, contrast, saturation, and many more elements to take your experience to the next level. The best part is that you can record and take screenshots in 8K, making this solution better than every built-in Mac tool.
Wondershare DemoCreator also provides built-in image editing tools. Since you want to crop your screenshots, you can import them into the program and start cropping.
Thus, if you're looking for an all-in-one tool and don't want to switch between platforms to achieve the desired results, head to the official Wondershare DemoCreator website, download the software, and follow the steps below crop screenshots:
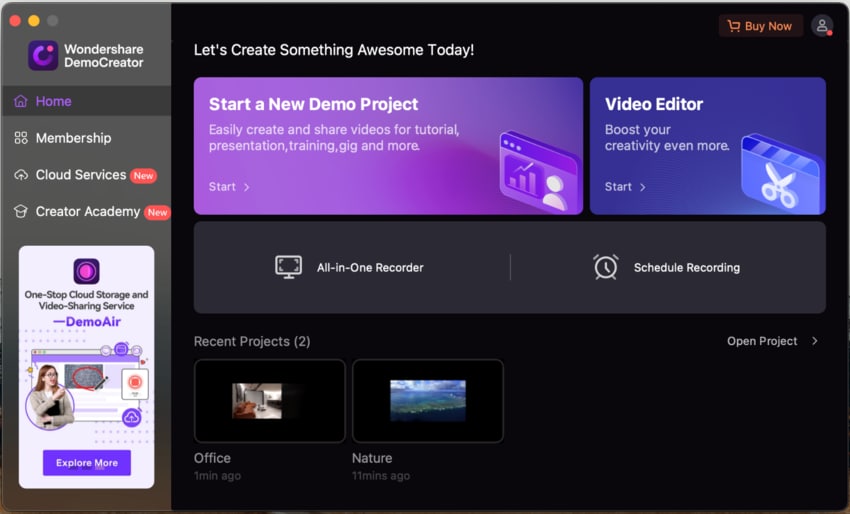
- Open Wondershare DemoCreator and click the Video Editor.
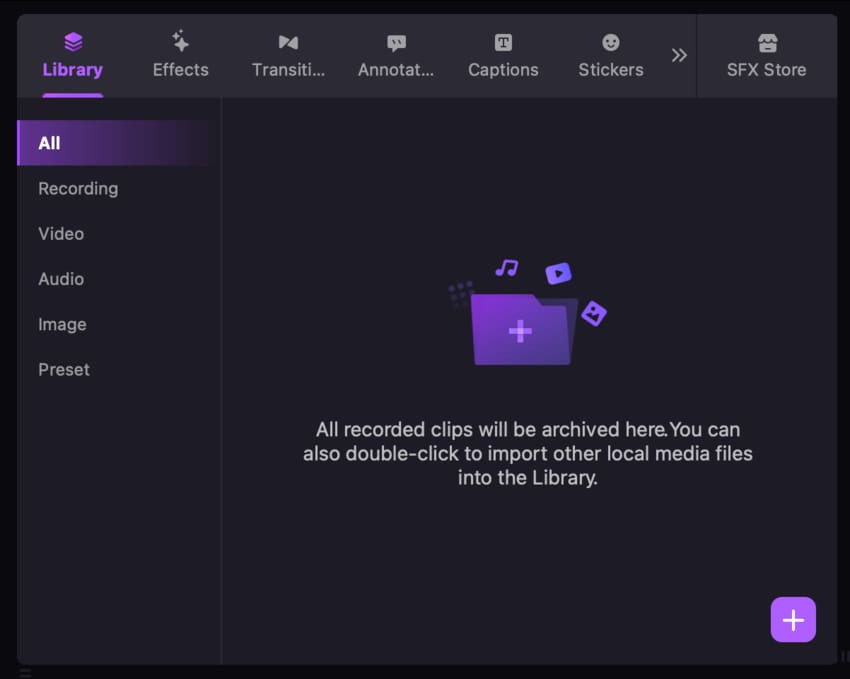
- Click Image in the left sidebar and add your screenshot to the platform by clicking the + button or dragging and dropping the file into the program.
- Drag and drop the file into the timeline and click Crop in the bar above the timeline.

- Choose the area to crop and click Export after completing the process.
Conclusion
Mac screenshots can be gold mines in the digital world. Whether you want to report a problem or capture some of your favorite memories, you can use screenshots to reach your goals. However, you may only want to display a part of your images, which is where cropping Mac screenshots comes into play.
To get the most out of your experience, check out Wondershare DemoCreator and access a world of advanced and mind-boggling image editing features.


