

For students and lifelong learners alike, lectures are an invaluable source of knowledge and insight. However, trying to absorb every detail while taking notes can be challenging, especially in fast-paced or complex lectures. Fortunately, modern technology offers a solution: recording lectures on your laptop.
By capturing audio and video, you can revisit the material at your convenience, ensuring you don't miss a single point.
In this comprehensive guide, we'll explore the benefits of recording lectures. Also introduce the best methods for doing so on your laptop. In this comprehensive guide, we'll explore the benefits of recording lectures. Also introduce the best methods for doing so on your laptop. It doesn't matter if you're a student, a professional, or just love to learn. This article will give you the tools and techniques to make the most of every lecture.
In this article
Part 1: Why Record Lectures in Class? How is it Useful?
Recording lectures on your laptop can be an invaluable tool for enhancing your learning experience. Here are some compelling reasons why you should consider how to record lectures in class:
- Improved Comprehension: It's easy to miss important details or get distracted during a lecture. Especially if the subject matter is complex. By recording the lecture, you can revisit the material as many times as needed. This ensures a deeper understanding of the concepts covered.
- Flexible Learning: With recorded lectures, you can learn at your own pace. Pause, rewind, and replay sections as needed. This allows you to tailor the learning experience to your individual needs and preferences.
- Effective Note-taking: Instead of trying to jot down every detail, you can focus on actively listening and participating during the lecture. Later, you can review the recording. Take more comprehensive notes at your own pace.
- Accessibility: For students with learning disabilities, English as a second language, or other challenges. Recorded lectures provide a valuable resource for reviewing material and ensuring equal access to educational content.
- Revision and Exam Preparation: Recorded lectures can be a lifesaver during exam season. You can revisit key concepts, clarify doubts, and solidify your understanding of the material, This increases your chances of success.
Recognize the many benefits of recording lectures in class. Then, you can pick a powerful learning tool. It will enhance your academic or professional journey.
Part 2: How to Record Lectures on Laptop: Best Methods
Now that you understand the importance of recording lectures, let's explore the best methods for how to record lectures on laptop:
#1 Use DemoCreator Screen Recording Tool (Recommended)
Wondershare DemoCreator is a versatile and user-friendly screen recording tool that allows you to capture high-quality audio and video from your laptop's screen. With its intuitive interface and advanced features, DemoCreator is an excellent choice for record lectures on laptop.
Its powerful editing tools enable you to trim, cut, merge, and annotate your recordings. They provide a smooth post-production experience. Additionally, DemoCreator supports many video formats and resolutions. This ensures it works with many devices and platforms. Features like scheduled recording add to its versatility. They make it a complete solution for recording lectures well.
DemoCreator is a great tool to record lectures on your laptop. Here's how it can help and its key features:
- It can record everything shown on your laptop screen, like presentation slides, whiteboards, or software demos.
- It also records audio from your laptop's microphone or an external mic, so it captures your voice narration along with the screen.
- You can record video from your laptop's webcam too, showing you alongside the screen recording.
During Recording:
- You can use annotation tools to highlight, draw, or type text on the screen as you record, helping you explain things better.
- It records your cursor movements and clicks too.
- You can adjust the video quality settings like resolution and frame rate.
After Recording:
- It has an editor to trim, cut, combine multiple recordings, add transitions, and adjust audio levels.
- You can export the recorded lectures to various video formats like MP4, AVI, WMV.
- It's easy to upload the videos directly to YouTube, Vimeo or share them with students.
Here's how to use it to record lectures:
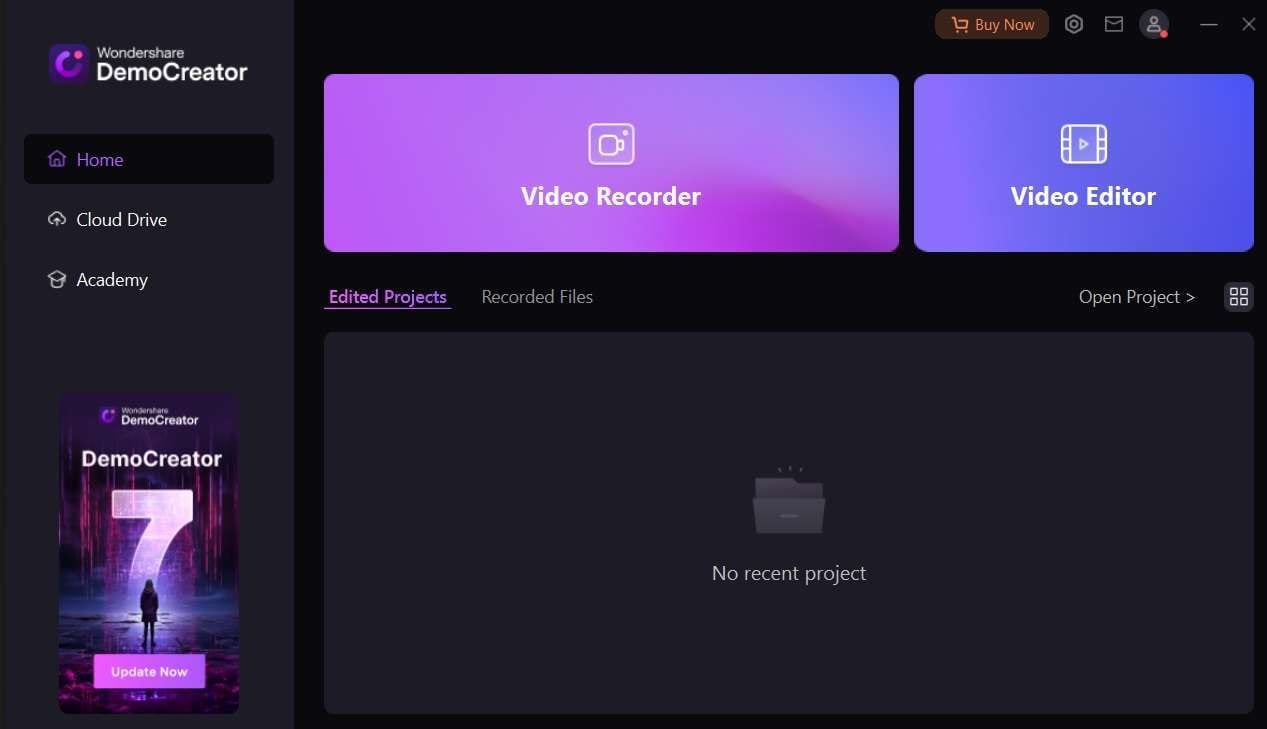
Step 1: Visit the DemoCreator’s official website. Download and install DemoCreator on your laptop, or just download in the buttons below. Launch the program and select the “Video Recorder” option from the main screen.
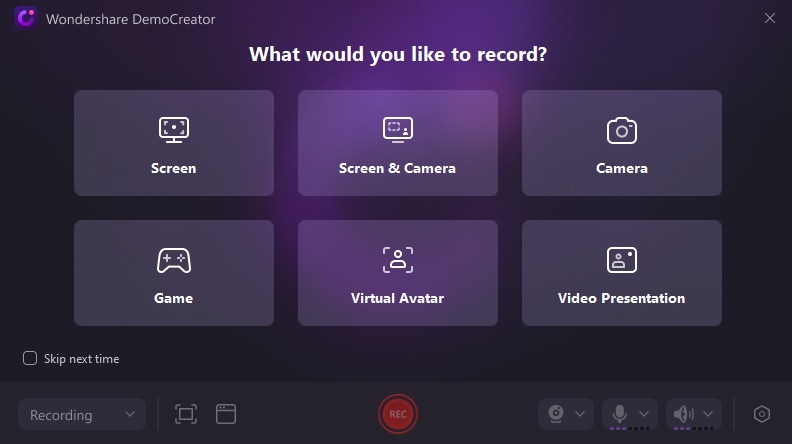
Step 2: Now choose the recording mode that suits your needs (Screen, Screen+ Camera, Camera, Game, and so on).
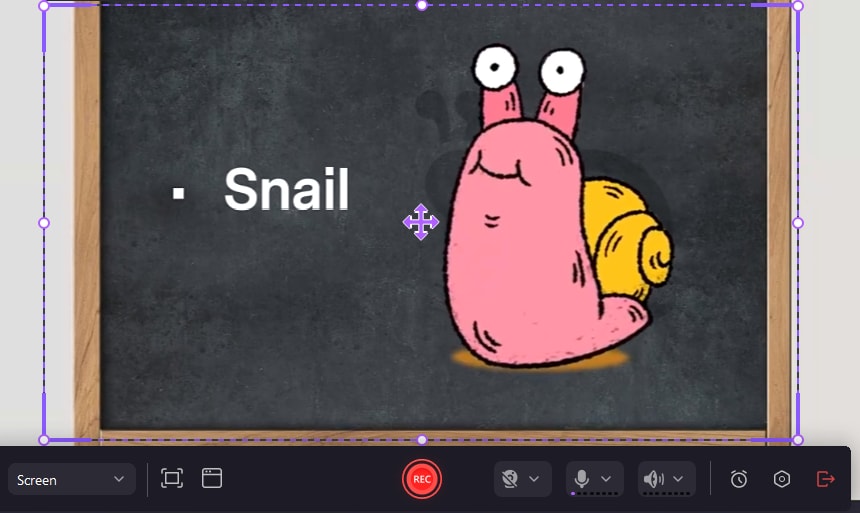
Step 3: You will now see a layout on the screen. Simply drag-and-drop or resize the recording layout that fits best on the screen. Once you are done, hit the red-colored “Rec” button to start the recording before the lecture begins.
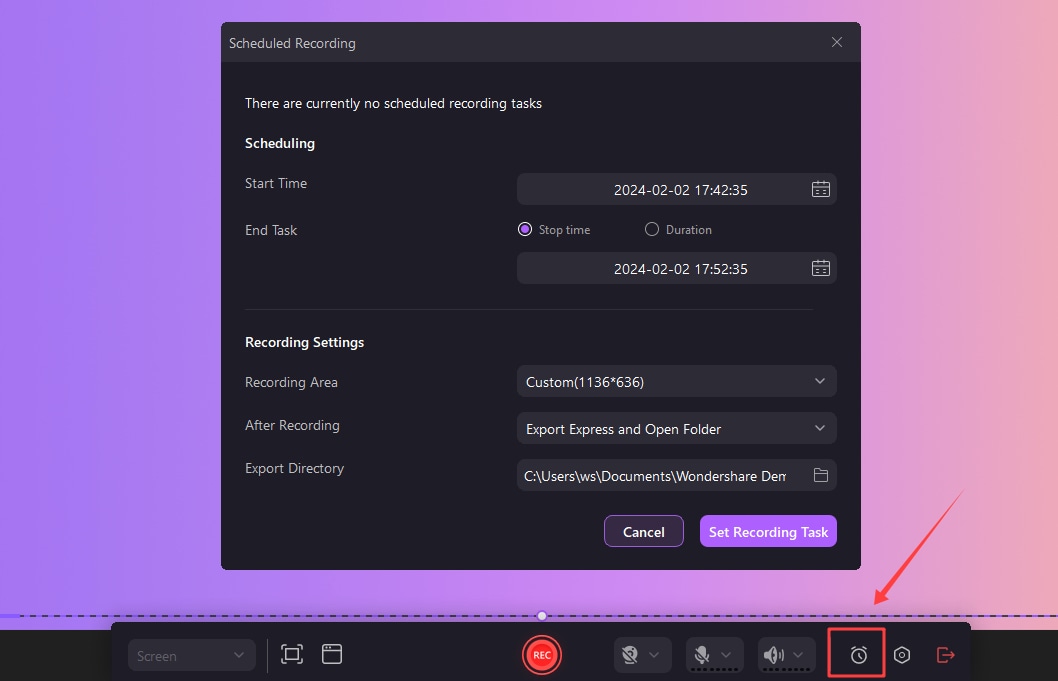
Step 4: Wondershare DemoCreator also offers you an option to schedule recordings. Tap the timer icon to configure and schedule the settings.
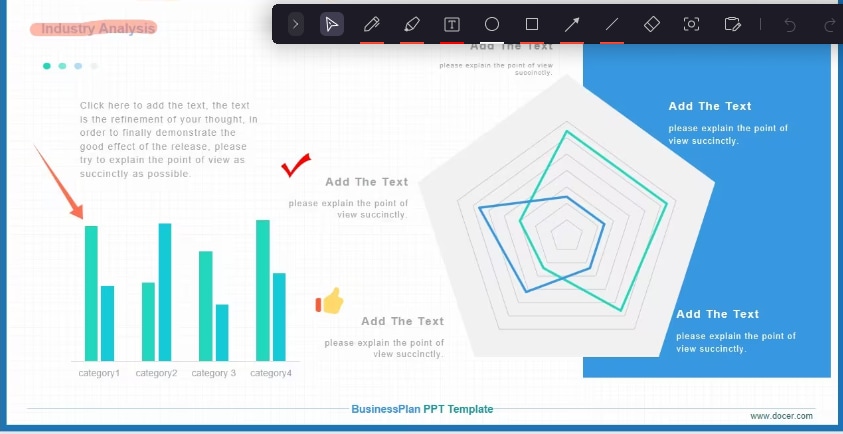
Step 5: Well, there’s more. You can also make most of DemoCreator’s screen drawing tool to add annotations. To access it, simply press the Shift+Ctrl+D key combination.
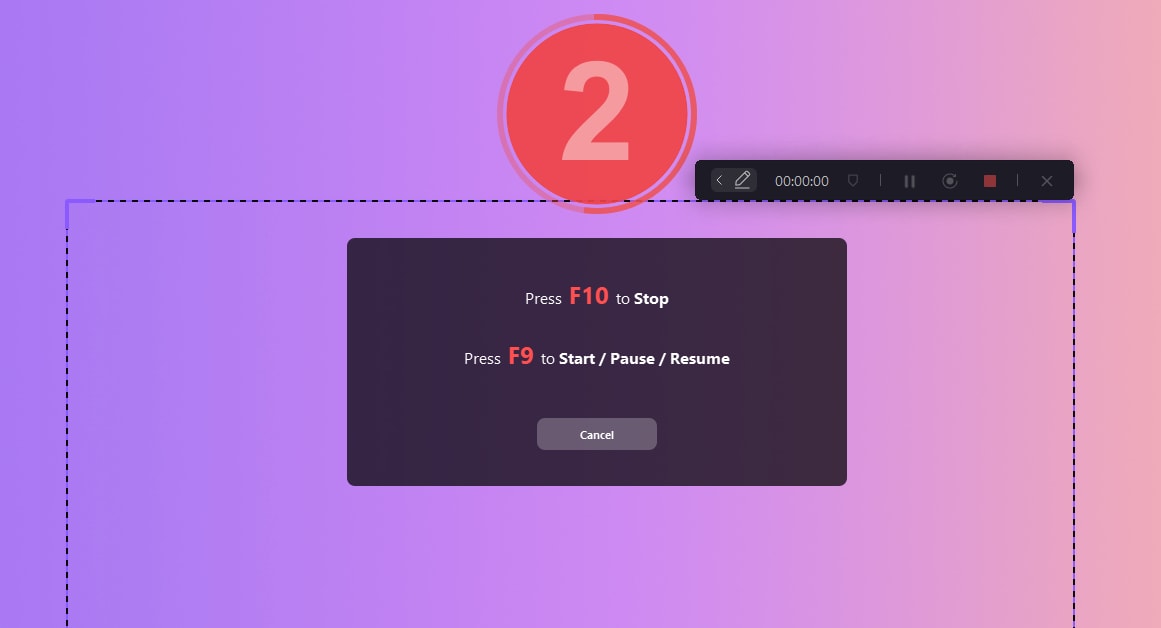
Step 6: Once the lecture is over, stop the recording by pressing the F10 key. Save the file to your desired location.
DemoCreator offers a user-friendly interface, high-quality recordings, and various editing tools to enhance your lecture recordings further.
#2 Use Movavi Screen Recorder
Movavi Screen Recorder is another popular choice for how to record lectures on laptop. Its intuitive interface and powerful features makes the task of recording screen and lectures a breeze.
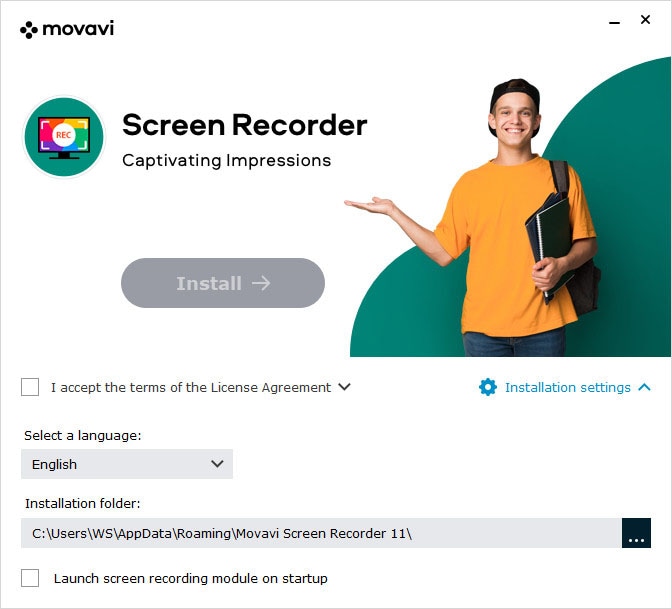
Step 1: Head to Movavi’s official webpage. Download and install Movavi Screen Recorder on your laptop. Launch the program on your PC.
Step 2: Select the recording area (full screen or custom).
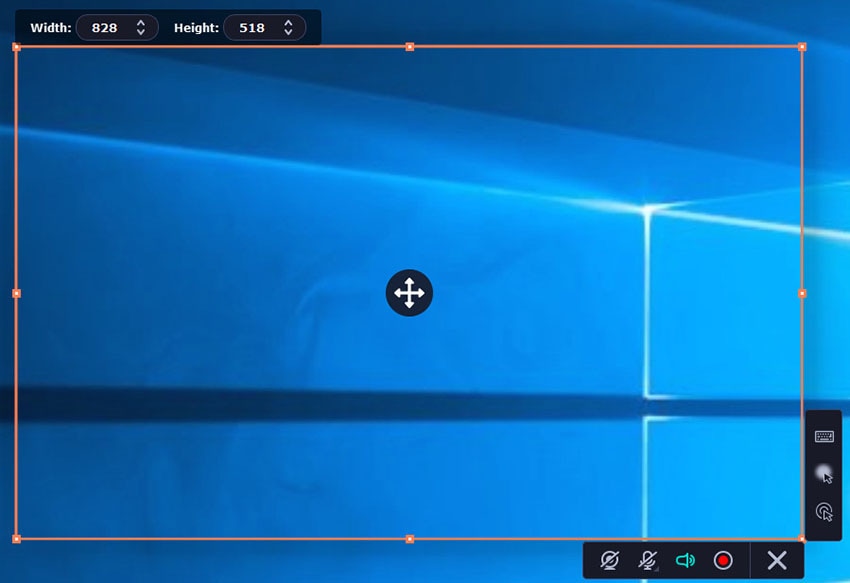
Step 3: Adjust the audio settings to capture both the lecturer's voice and any audio from your laptop. Click the "REC" button to start recording before the lecture begins.
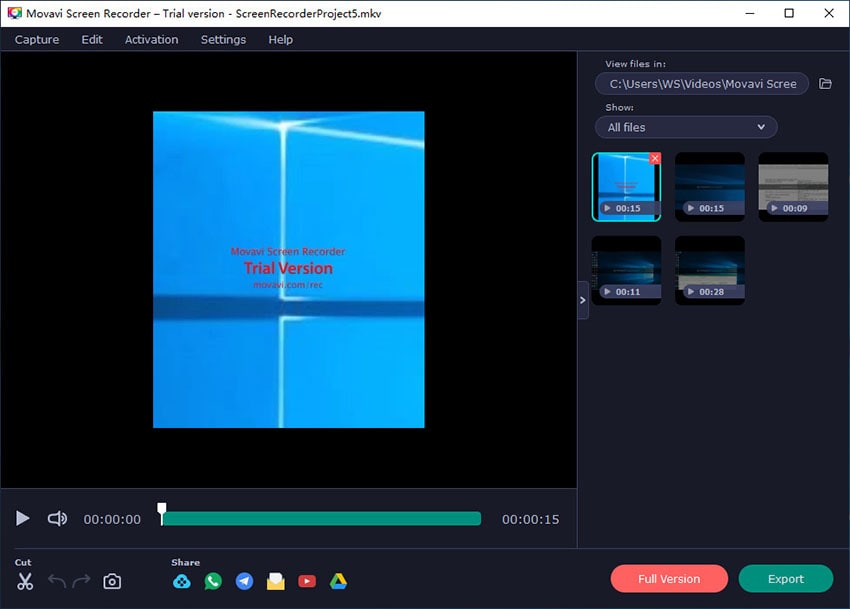
Step 4: When the lecture ends, stop the recording and save the file to your desired location.
Movavi Screen Recorder offers various editing tools, allowing you to trim, cut, or merge recorded segments, as well as add annotations or overlays to your lecture recordings.
#3 How to Record Lectures with Panopto
Panopto is a comprehensive lecture capture solution that integrates seamlessly with many learning management systems (LMS). It offers a powerful set of tools for how to record lectures in class and manage lecture content.
Here's how to record lectures on laptop using Panopto:
Step 1: Visit the Panopto’s official website. Ensure that Panopto is installed and configured on your laptop. Launch the Panopto application and log in with your institutional credentials.
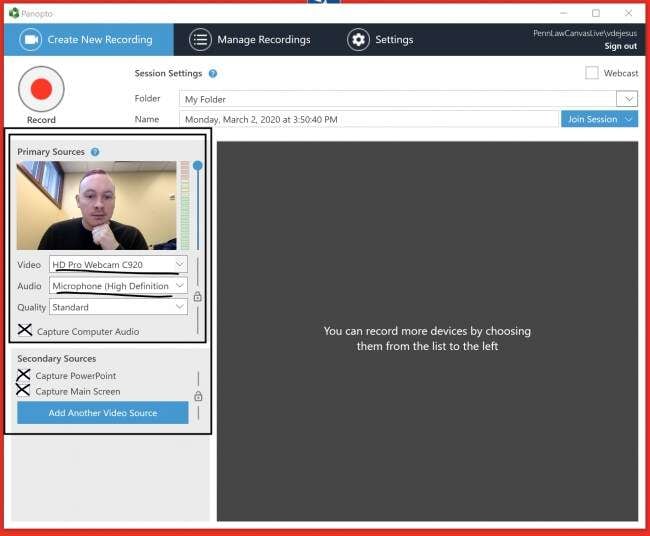
Step 2: Select the desired recording settings, including audio and video sources. Specify the default folder where all your recordings will be stored on your laptop.
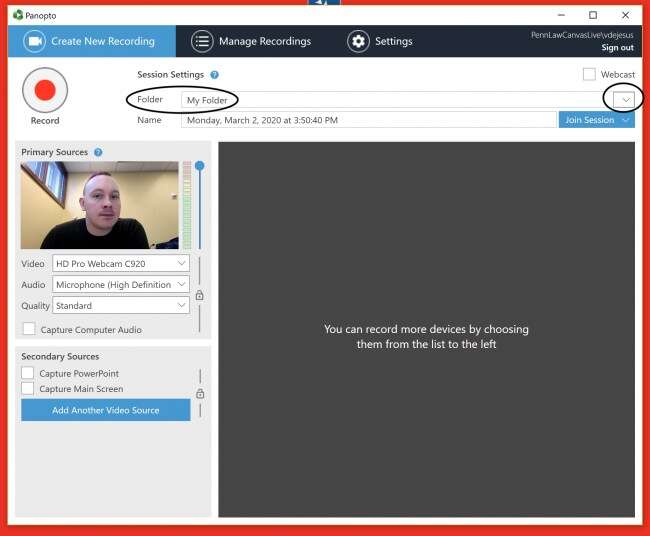
Step 3: Adjust the Primary input settings for screen recording. Set parameters for video, Audio, and Quality.
Step 3: Hit the Record button placed on the top-left corner to start the recording.
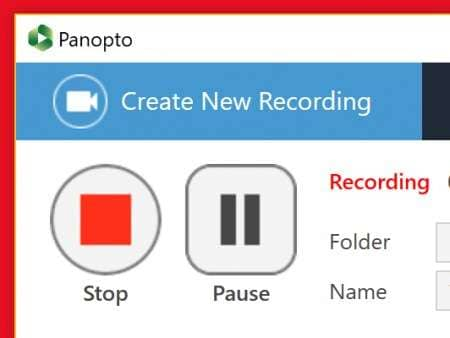
Step 3: When the lecture ends, stop the recording, and Panopto will automatically upload and process the recorded content.
Panopto offers advanced features like multi-source recording, live streaming, and automatic indexing, making it a powerful tool for how to record lectures in class and manage lecture content.
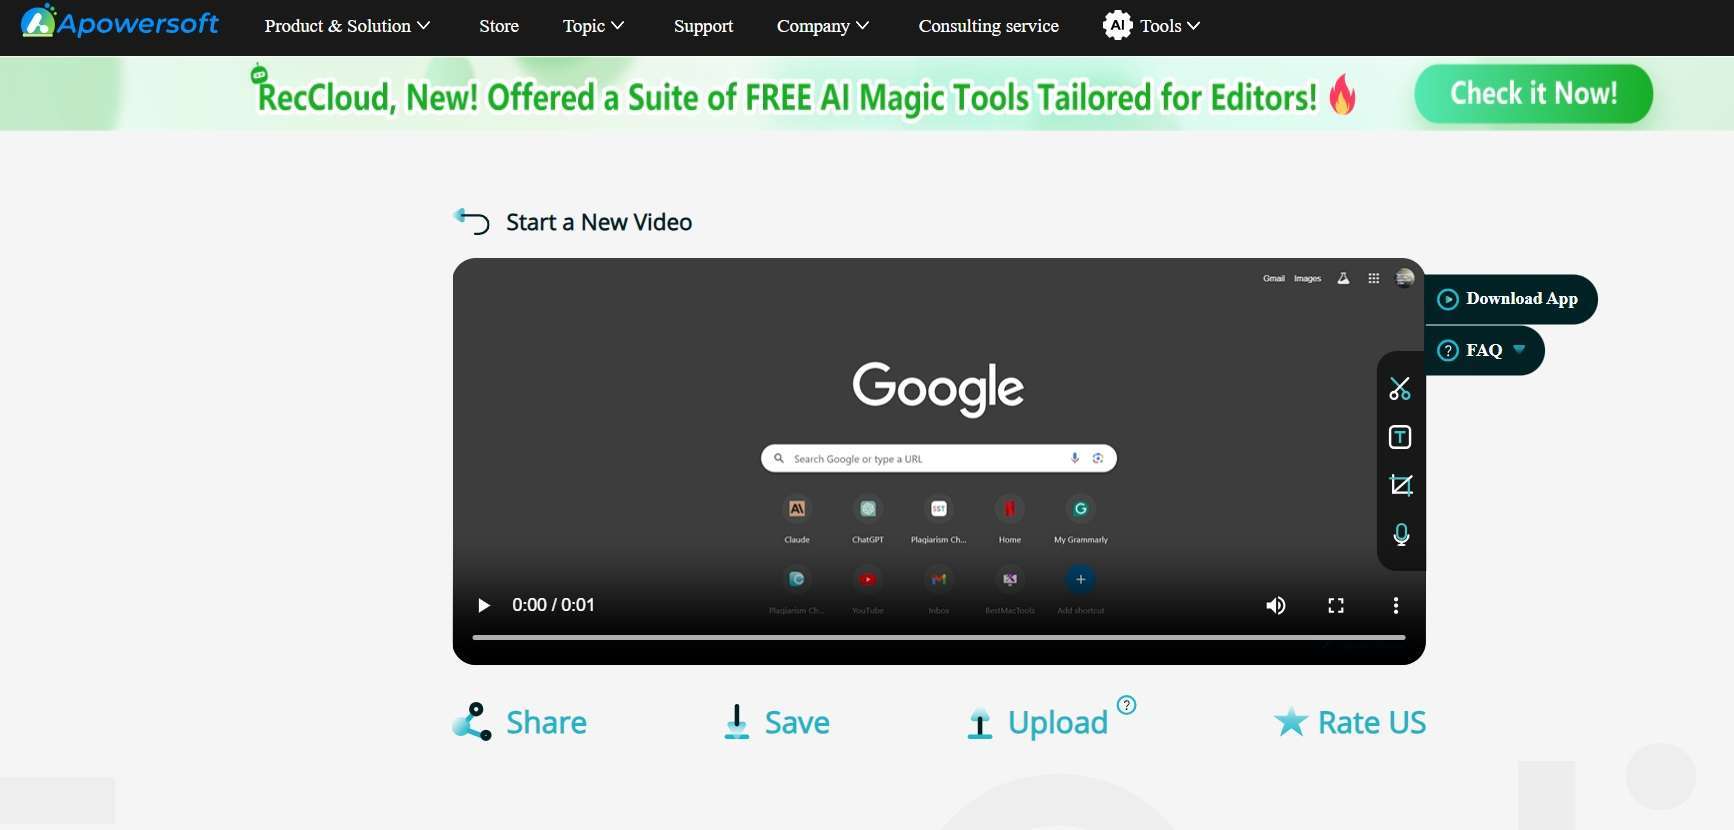
#4 How to Record Lectures on Laptop Online: Apowersoft
Apowersoft Online Screen Recorder is a cloud-based solution that allows you to record lectures on your laptop without installing any software. It offers a convenient and hassle-free way to capture screen activity and audio directly from your web browser.
Its simple interface and cloud-based nature make it an ideal choice for recording lectures on the go or when using shared devices.
Here’s how to record lectures on laptop online using Apowersoft:
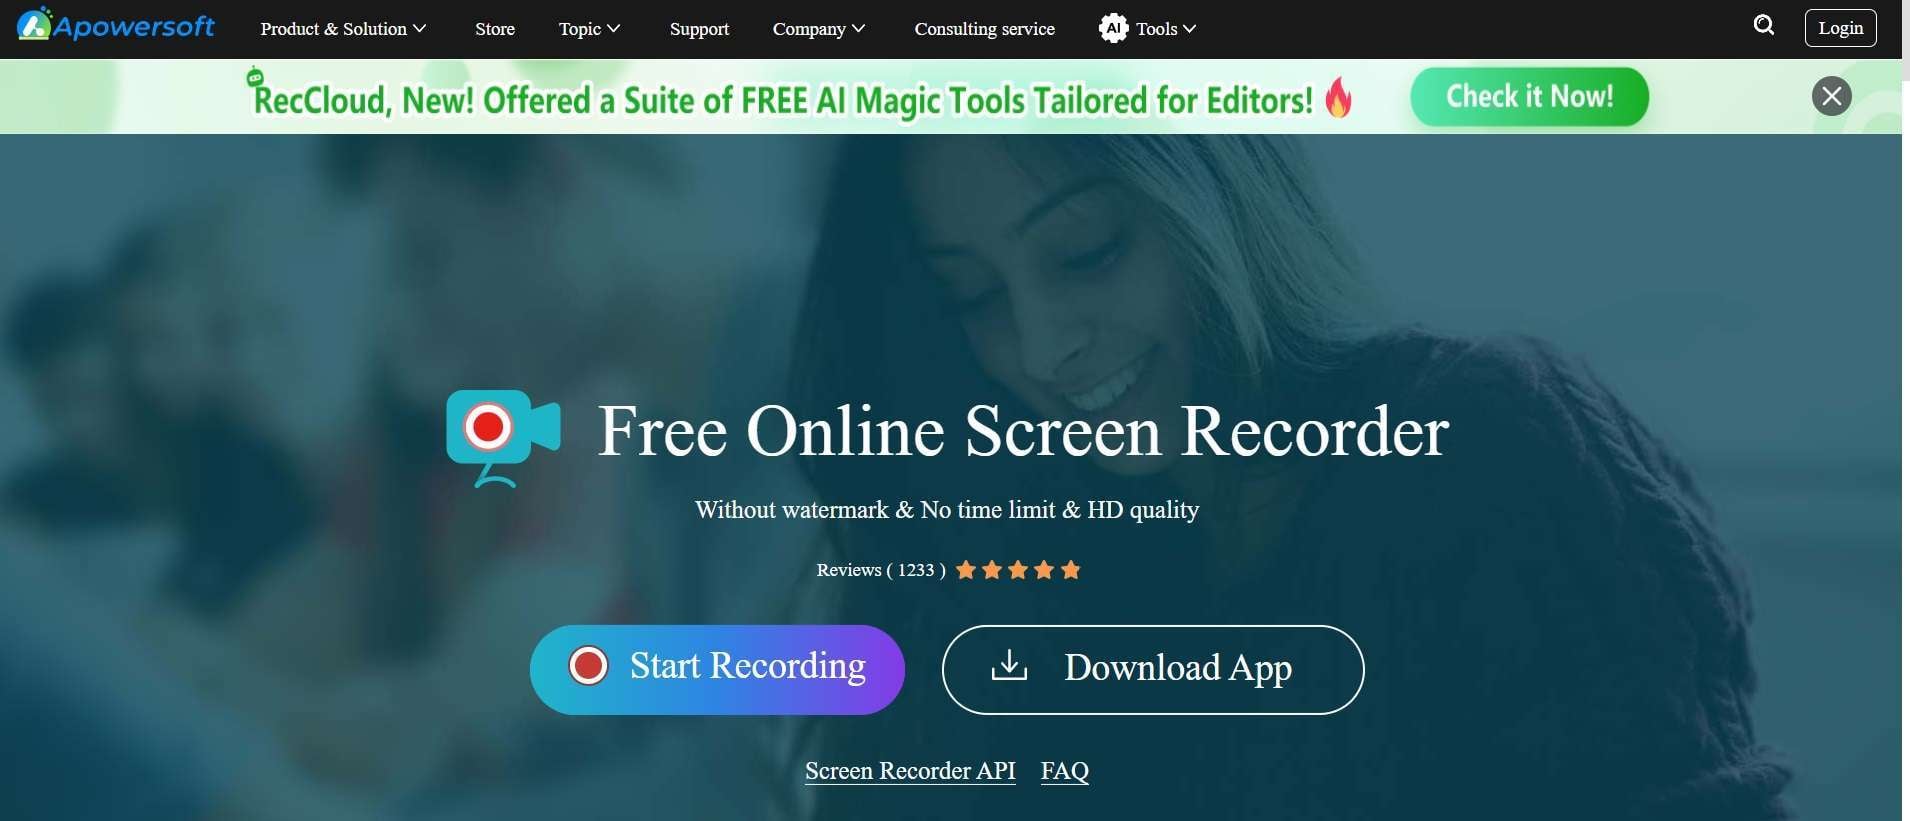
Step 1: Visit the Apowersoft Online Screen Recorder website. Launch the online recorder by clicking the "Start Recording" button.
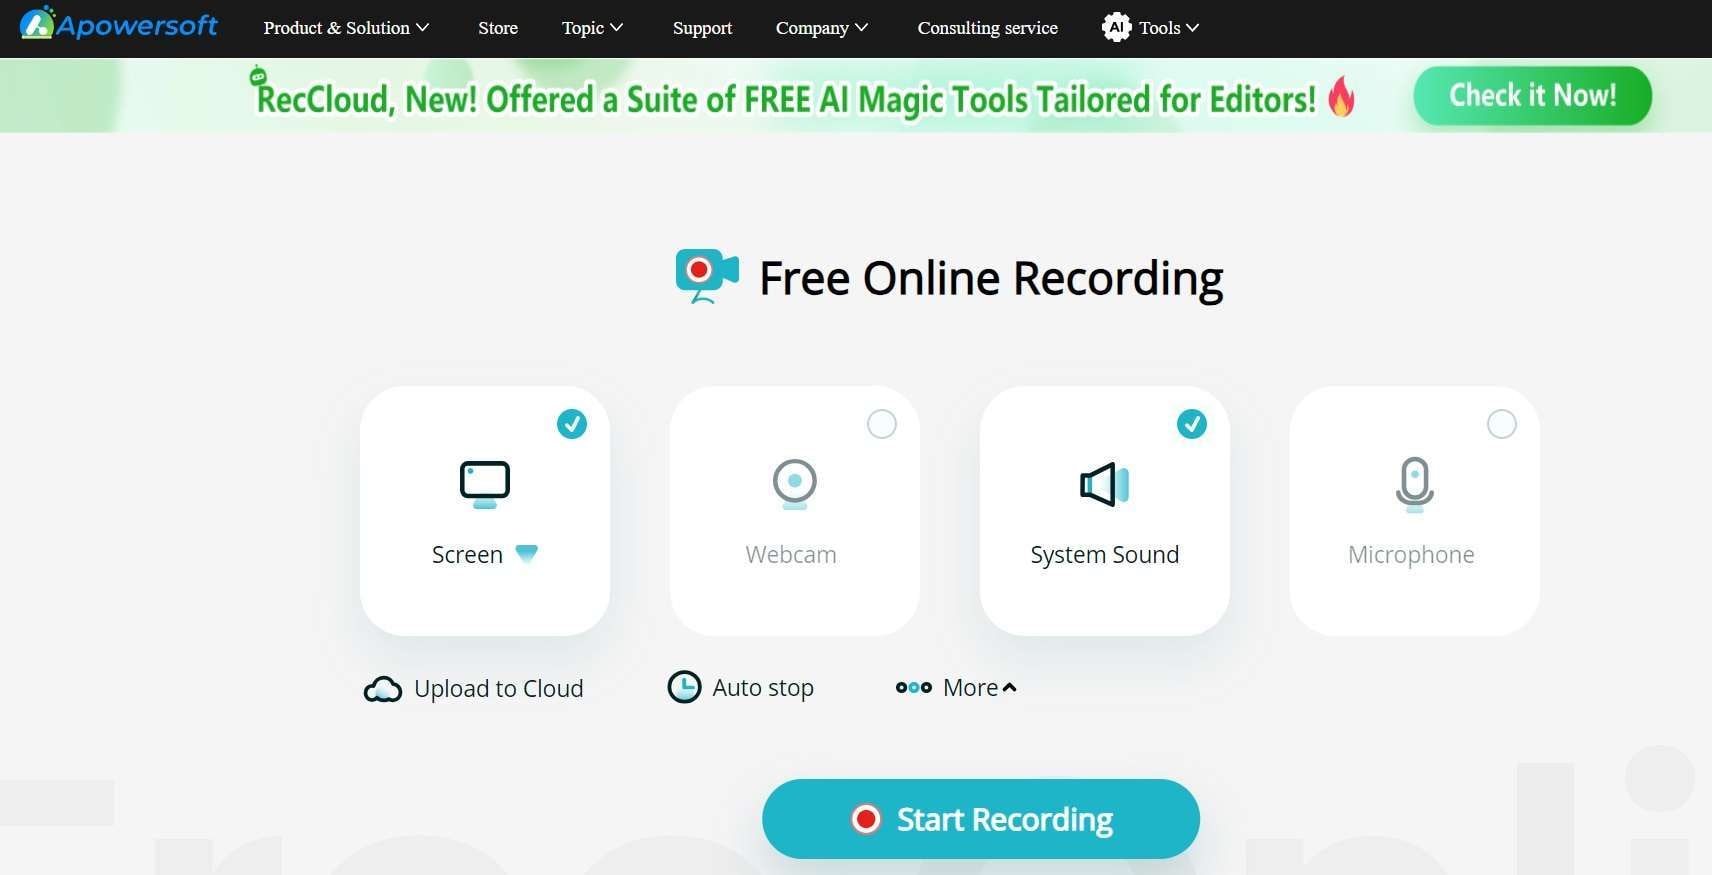
Step 2: Pick a recording method on the next window. Whether you wish to record the screen, webcam etc. After making your selection, hit the “Start Recording” button again.
Step 3: Pick a tab to record the screen on the laptop.
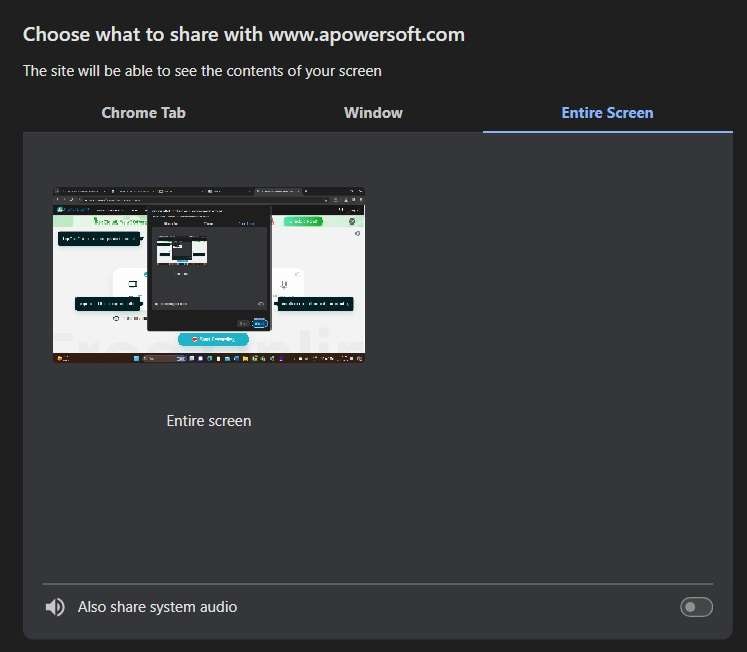
Step 4: Hit the “Share”button. The recording will automatically begin. When the lecture ends, hit the “Stop Sharing “ option to stop the recording, and the file will be automatically saved to your Apowersoft account.
Apowersoft Online Screen Recorder offers a simple and convenient way to record lectures without installing any software on your laptop.
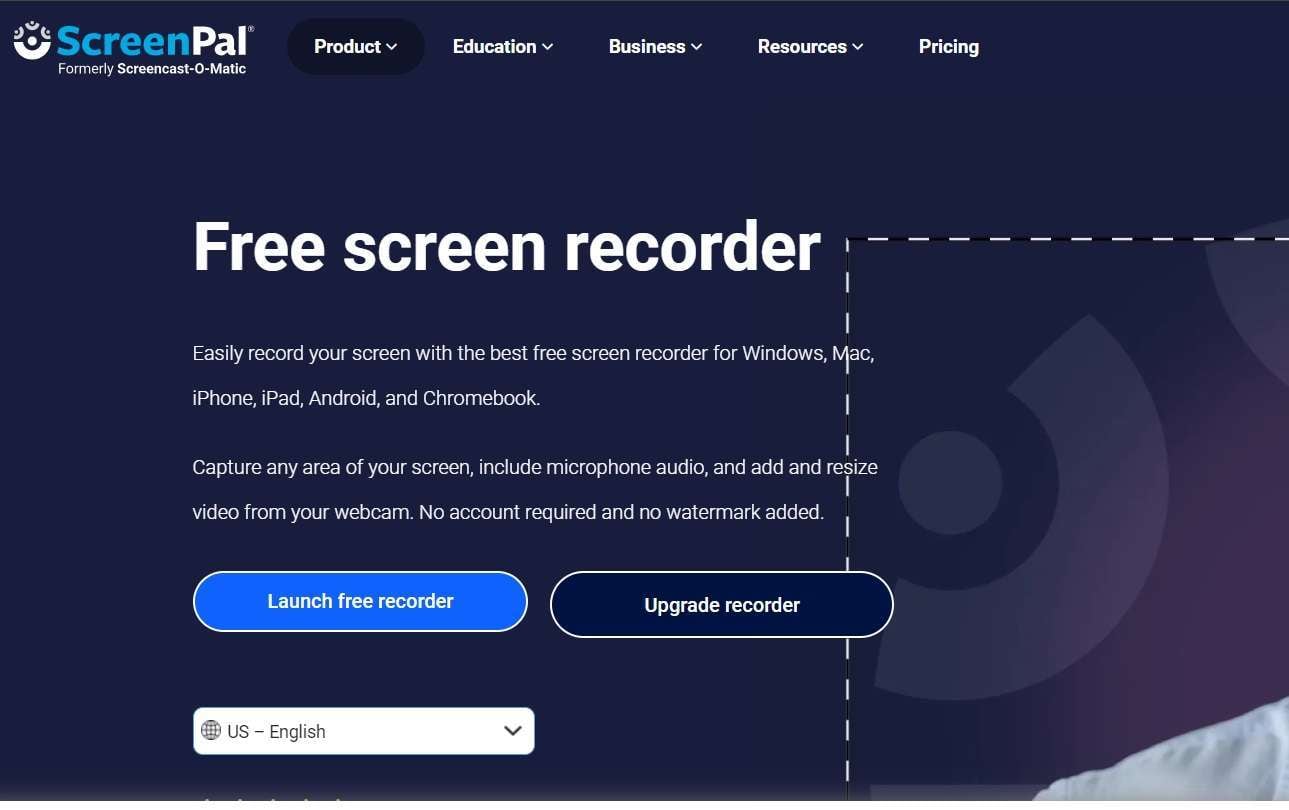
#5 ScreenPal: How to Record Lectures
Formerly known as Screencast-o-matic, ScreenPal is a user-friendly screen recording tool that makes it easy to record lectures on your laptop. Here's how to use it:
Step 1: Download and install ScreenPal on your laptop. Hit the “Launch Free Recorder” button and the tool will begin downloading on your device.
Step 2: Launch the app and adjust the recording layout. Once you’re all set, hit the “Rec” button at the bottom to start screen recording.
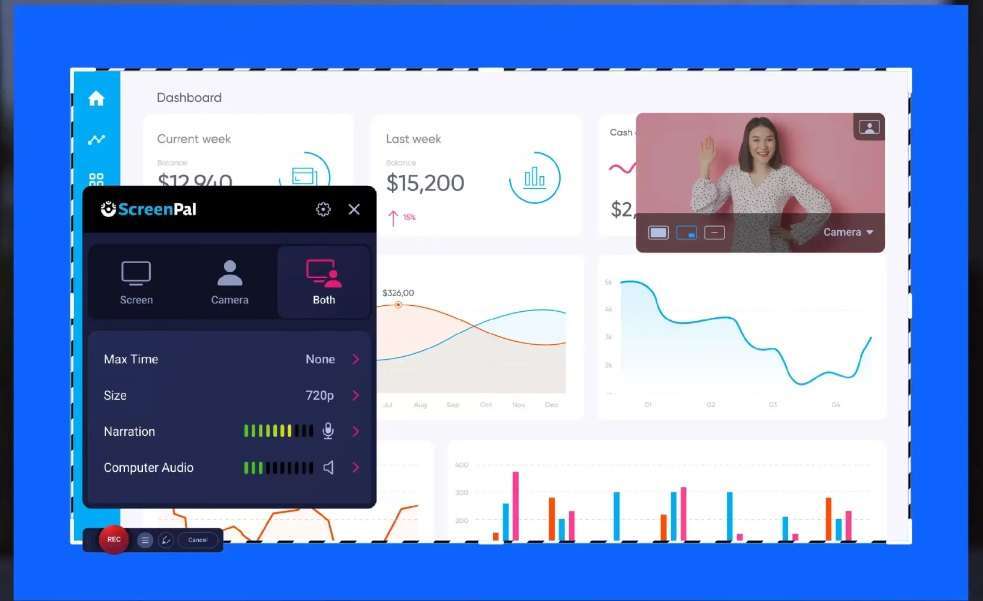
Step 4: Once the lecture ends, stop the recording. The recorded video will be saved at the desired location.
ScreenPal offers a clean interface, customizable recording options, and the ability to edit and annotate your lecture recordings.
Part 3: Tips on How to Record Lectures Effortlessly
While recording lectures on your laptop can be a game-changer for your learning experience, there are a few tips to keep in mind to ensure a smooth and efficient process:
- Test Your Setup: Before the lecture begins, take a few minutes to test your recording setup. Check the audio levels, video quality, and ensure everything is working correctly.
- Charge Your Laptop: Ensure your laptop is fully charged or plugged in to avoid running out of battery during the lecture.
- Manage Storage Space: Lecture recordings can take up a significant amount of storage space, especially if you're recording video. Make sure you have enough free space on your laptop or an external hard drive to store your recordings.
- Respect Privacy and Copyright: Always obtain permission from the lecturer or institution before recording lectures. Additionally, be mindful of any copyrighted material presented during the lecture.
- Take Notes While Recording: While recording lectures can be a valuable supplement, it's still essential to actively engage and take notes during the lecture. This will help you stay focused and highlight the most important points.
- Organize and Back Up Your Recordings: Develop a system to organize your lecture recordings by course, date, or topic. Additionally, regularly back up your recordings to avoid losing valuable content.
By following these tips, you'll be well-equipped to record lectures effortlessly and make the most of this powerful learning tool.
Conclusion
Recording lectures on your laptop is a game-changer. It helps students, professionals, and lifelong learners. By recording audio and video, you can revisit the material at your own pace. This ensures deeper understanding and better retention. In this article, we've explored the best methods for recording lectures on a laptop. The tools include DemoCreator and Movavi Screen Recorder. They also include Panopto, Apowersoft Online Screen Recorder, and ScreenPal.
Also, we've given valuable tips to help you record lectures easily. They will help you make the most of this powerful learning resource.
FAQ
-
Q: Is it legal to record lectures on my laptop?
While recording lectures for personal use is generally acceptable. It is essential to obtain permission from the lecturer or institution beforehand. Additionally, be mindful of any copyrighted material presented during the lecture and respect privacy concerns. -
Q: Can I record lectures on my laptop without installing any software?
Yes, there are online solutions like Apowersoft Online Screen Recorder that allow you to record lectures on your laptop. You can do so directly through a web browser, without installing any software. -
Q: Can I edit or annotate my lecture recordings?
Yes, many screen recording tools like DemoCreator, Movavi Screen Recorder, and ScreenPal offer built-in editing capabilities. You can trim, cut, merge segments, add annotations, or make other enhancements to your lecture recordings.


