

Are you a teacher wanting to make remote learning fun for your students? Or a business person needing to give powerful virtual presentations? Recording PowerPoint presentations with audio and video on a Mac can help.
In this tutorial, we will show you how to record PowerPoint presentations with audio and video on a Mac. This will help you create interesting lessons, meetings, or ads that grab your audience's attention. Whether you're running an online workshop or showing off a product, learning this skill will boost your content.
| Method | Ease of Use | Effectiveness |
| DemoCreator | Easy | 🙂 High
|
| PowerPoint Built-in Feature | Medium | 😐 Low
|
How To Record a PowerPoint Presentation on Mac With Audio and Video Using DemoCreator
The best way to record a video presentation on Mac is by using powerful third-party software solutions. We advise you to try Wondershare DemoCreator to take your recording experience to the next level.
It's a powerful, all-in-one solution that allows you to record and edit your videos and supports up to 4K/8K recordings and 120 FPS, making it suitable for your presentations. Moreover, you can discover the most amazing AI-powered features, such as AI teleprompter, virtual avatar, AI background remover, to elevate your experience and bring your content to life.
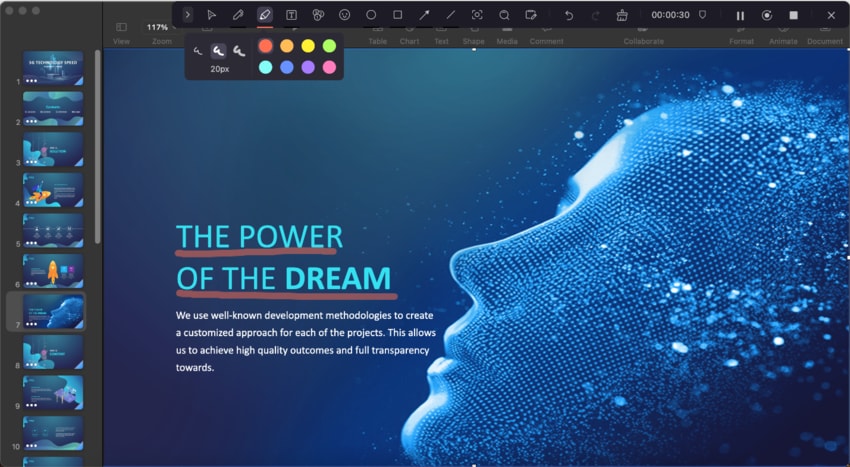
Another useful feature that can elevate your video presentation is annotations, where you can draw and interact with the creation during the recording process.
To use the tool, head to the official Wondershare DemoCreator website, download the tool, and follow the steps below:
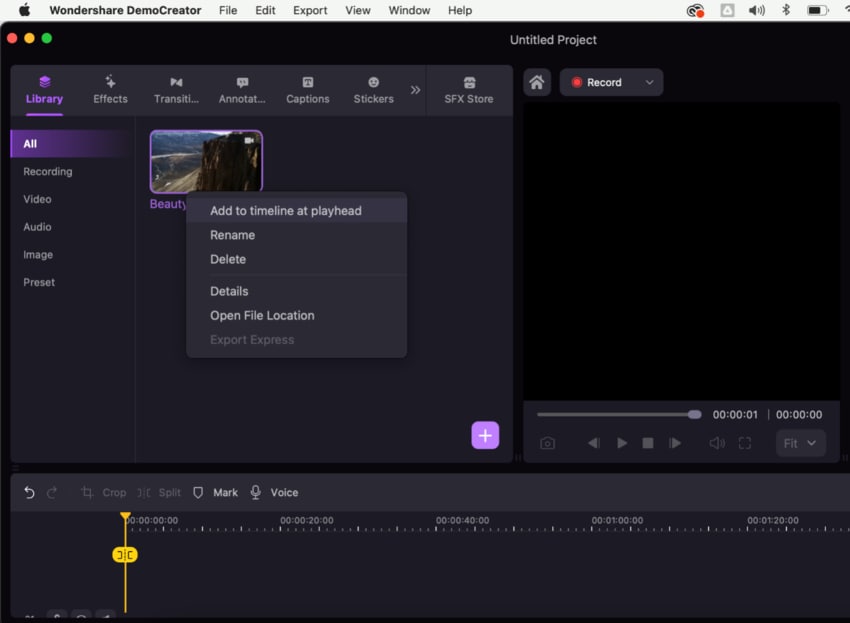
- Open your PowerPoint presentation and the app and click on the New Recording option.

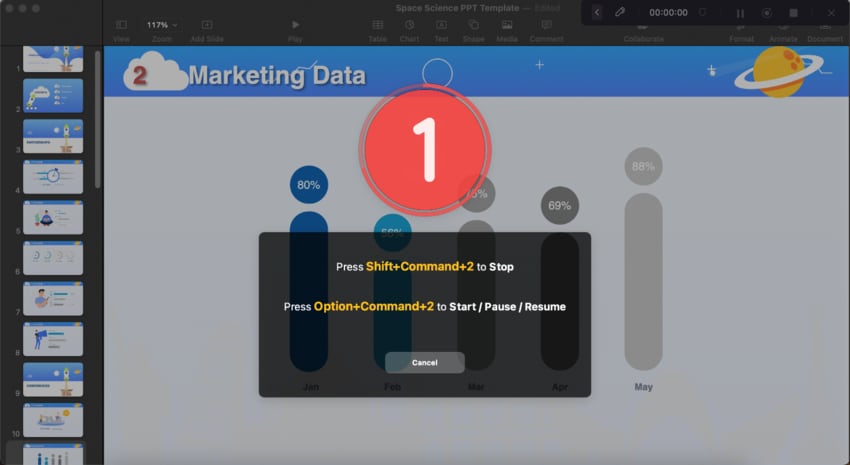
- Next, customize your recording preferences in the next window, as presented in the image below. Set the capture area and decide whether you want to record system audio, microphone, or webcam simultaneously.

- After completing the customizations, click the REC button to start recording.
- During the recording, you can highlight the points with various screen drawing tools.
- To stop the recording, press the corresponding shortcuts or the Stop button. Then, you can go to the Video Editor section to improve your video presentation.
How To Record a Presentation on Mac Directly in PowerPoint
PowerPoint is also a universal tool that allows you to record your presentations with audio and video on a Mac device. However, you must have a licensed Office account to access this feature. If you do, follow the steps below to learn how to record your creations:
- Open the presentation you want to record.
- Head to the Insert tab and click on the Screen Recording option.

- Next, select the recording area.
- Once you complete this step, click the Record button.

The built-in recording feature of PowerPoint has its limitations, making it difficult to perform extensive edits. While it allows for basic recording, users may find themselves restricted when trying to enhance their presentations with additional elements.
In contrast, the Wondershare DemoCreator offers a more robust solution. It enables you to crop videos, adjust playback speeds, and add comments, symbols, and effects to make your content more engaging and easier to understand. You can also utilize various annotation tools like captions, speech bubbles, overlays, and arrows to effectively convey your key messages.
Once you've finished editing your video, you can export it in multiple formats such as MP4, MOV, and GIF. The program facilitates quick sharing on your preferred social media platforms and even allows for direct exports to YouTube, providing a seamless experience that PowerPoint alone cannot offer.
- Record screen, audio, and webcam simultaneously
- Various annotation tools to emphasize important points
- AI teleprompter to ensure a smooth presentation
- Compatible with video conference applications like Zoom and Google Meet for live-streamed presentations

Tips for Recording PowerPoint Presentations With Audio and Video on Mac
Recording a professional presentation on a Mac device can be stressful, especially if you have yet to gain experience in the recording field. Thus, we've prepared some tips and guidelines you can follow for the best, most efficient journey.
- Record in a quiet environment - By choosing a quiet place to record your presentations, you'll avoid unnecessary background noises and distractions, leading to more professional results.
- Test your recordings - Before creating the final draft, you should test the recording process and create the most efficient setup. Reviewing your creations lets you see which issues you can work on.
- Ask for opinions - once you record the presentation, you can ask your friends and family members to review the creation and provide honest opinions. It will also help you review your work from an objective perspective.
- Implement annotations - annotations can help you emphasize the most critical parts of your presentations and convey the appropriate message through your recordings.
- Use captions and subtitles - these textual elements will make your content more accessible and reach a larger audience accordingly.
By using these tips, you'll undoubtedly take your experience to the next level and master the art of presentation recording.
Conclusion
PowerPoint provides some of the best tools and features for creating professional presentations. Once you create your masterpiece, you may want to record it with audio and video elements to enhance its importance. We've covered the best methods you can try to meet your goals and master the art of presentation recording on Mac.
However, to get the most professional results and amaze your audience, you should use powerful third-party software solutions such as Wondershare DemoCreator. This feature-packed tool will allow you to edit and customize your videos, leading to the best presentation experience.
FAQs
-
How can I record a PowerPoint presentation on a Mac with audio and video?
Yes, you can try two methods to record a presentation on a Mac device with audio and video elements. The first solution is using built-in recording features, and the other is installing third-party solutions, such as Wondershare DemoCreator. Although both solutions will do the job, the latter is more powerful and delivers mind-boggling results. -
What is the best way to record presentations on a Mac?
The best way to record your PowerPoint masterpieces on a Mac device is by using Wondershare DemoCreator. Here’s how to use the tool:- Open the app and click on the All-in-One Recorder feature.
- Select recording preferences.
- Click the REC button or press the F9 key to start recording.
-
Can I use DemoCreator to create PowerPoint video presentations on Mac?
Absolutely! This app provides some of the best presentation creation features and tools. For instance, you can add custom backgrounds, integrate a teleprompter for the best presentation experience, use annotations, and many more, leading to professional and unique results.


