
How much do you know about Google Earth and its interactive app? Google Earth immensely influences modern approaches to learning, education, and content creation.
Thanks to their immersive user interface with top-grade user-friendly features, teachers, educators, and content creators can tap into practical tools to record Google Earth tours as video content that you can incorporate into your teaching content and video materials for future reference.
With that in mind, we’ll share a practical guide to the top three methods to record Google Earth videos you can turn into travel guides, student tutorials, etc.
In this article
How to Capture Google Earth Videos

Below are the top three methods to capture impressive Google Earth video clips.
Record With the Built-in Google Earth Recorder
The Google Earth Pro gives you access to a user-friendly built-in video recorder tool you can use to record Google Earth videos for free. The tool comes with advanced screen drawing tools and enhanced measuring to help you capture high-end imagery and video content.
The recorder supports capturing videos in sharp quality with enhanced audio input, while the zoom-in and out feature ensures you record crystal-clear video clips.
Here’s how to use the built-in Google Earth Recorder to capture Google Earth tour videos:
Step 1: Open your browser and navigate to google.com/earth;
Step 2: Select Earth Pro;
Step 3: Setup the app by following onscreen instructions;
Step 4: Launch the recorder and specify the area you wish to capture for your tour video;
Step 5: Hit Enter and navigate to the red Record/Camera icon;
Step 6: Click the icon and check the mic settings if you plan to make a voiceover;

Step 7: Once you’re done, click the Record button again to stop recording and check the playback;
Step 8: Click Save > OK to save the footage on your device;
Step 9: Click the Place tab to find the recorded video, right-click the clip, and select Save Place As:
Step 10: Name your file, select where to save it, and click Save to complete the process.

Record Google Earth With Third-Party Software: DemoCreator
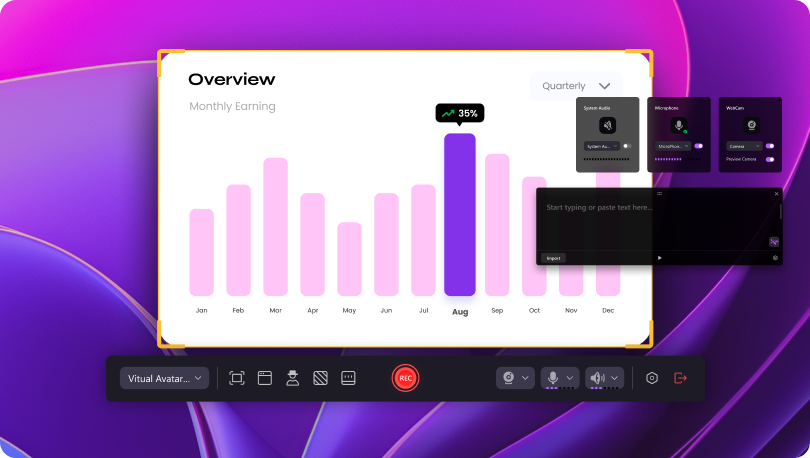
Wondershare DemoCreator is an advanced AI-powered Google Earth recorder with powerful camera and screen recording features and impressive audio/video editing tools. The DemoCreator recorder gives you access to versatile Google Earth video capture options, supporting video recording in 4K/8K resolutions at up to 120 fps.
The tool lets you capture audio and screen recording tracks separately, schedule your recording sessions, experiment with multiple video backgrounds, turn recorded video clips into presentations for popular streaming and conferencing platforms, etc.
Here’s how to use the DemoCreator Google Earth recorder to screen-record Google Earth videos:
Step 1: Download and install DemoCreator on your computer;
Step 2: Launch the program, click Home, and navigate to the main dashboard;
Step 3: Select New Recording;

Step 4: Check your webcam and mic settings and configure other features before recording;
Step 5: Launch the Google Earth app;
Step 6: Select the Google Earth location you wish to capture;
Step 7: Click the red REC button to start recording your screen, or press F9;

Step 8: Hit F10 to stop recording;
Step 9: In the integrated video editor screen, enhance your video according to your needs, and click Export to save the recording on your computer.
Record Google Earth With Online Tools
You can tap into cutting-edge online tools to capture Google Earth videos online. Screencapture is the perfect free online screen recorder to seamlessly capture and record top-grade Google Earth video clips, your computer desktop, and browser activities.
The tool requires no download or installation and offers multiple options to help you capture webcam, sound, microphone, and more.
Here’s how to record Google Earth videos with the Screencapture online tool:
Step 1: Visit the Screencapture website;
Step 2: Click the Sound tab to enable internal system audio (if you need to capture system sound);
Step 3: Click the Microphone icon if you want to include your voice;
Step 4: Click Start Recording to open a new window;

Step 5: Select what you want to capture: Chrome Tab, Window, Entire Screen;
Step 6: Open Google Earth in a new tab;
Step 7: Select Chrome Tab with Google Earth and click Share to start recording Google Earth.

Step 8: Click Stop sharing > Stop recording;

Step 9: Click Download, select the preferred format, and save the recording on your computer.

Conclusion
We’ve shared top methods to help you record captivating, high-quality Google Earth videos. This article offers three streamlined ways to capture Google Earth as a video and download the recording clips to save them to your device.
You can opt for the built-in Google Earth Recorder app to capture Google Map street view of one or several specific Google Earth locations and export them in top quality. You can also use a free online tool like Screencapture to record your desktop screen and download the recording in a preferred format.
Finally, you can use a professional screen recorder like DemoCreator to capture Google Earth footage and enhance it with AI-powered audio and video editing tools to add a personal touch to your video content and make it look as professional as possible.
FAQ
-
How do I record Google Earth videos?
You can record Google Earth videos in several different ways:- Use the built-in Google Earth Pro recorder app;
- Download and install professional video capturing and editing software like Wondershare DemoCreator;
- Tap into a free online tool like Screencapture to capture Google Earth screen recordings.
-
Can I capture videos using Google Earth?
Yes, you can. Google Earth has a built-in Google Earth Recorder that lets you record top-quality Google Earth clips. -
How can I record Google Maps street view?
- You can record Google Maps street view using Google Earth’s built-in recorder:
- Visit Google Earth Website;
- Click Earth Pro;
- Launch the recorder and specify the area you want to record;
- Click the Record icon;
- Click it again to stop recording and save the footage on your computer.
-
What is the best third-party tool for recording Google Earth?
Wondershare DemoCreator is the best, most reliable Google Earth recorder with advanced AI-powered audio and video editing features.


