
There are dozens of reasons to record your PC’s screen with audio in Windows 10. You could be a content creator who loves making tech tutorials, a gamer who wants to share gaming highlights, or an HR person creating educational videos for your company’s new hires.
Whatever the reason, you’ll need a proper Windows 10 desktop and audio recorder.
Today’s guide is all about that, so stick around if you want to learn to record a PC’s screen and audio in Windows 10. We’ll show you different types of recordings, fantastic capturing tools, and tips to take your recordings to the next level.
In this article
Different Ways You Can Record Audio in Windows 10
When recording desktop audio in Windows 10, users have two options. Depending on your creation, you can choose between the following elements or combine them for a better experience.
- System Sounds – Recording audio is often related to capturing system sounds, whether you’re trying to make audio-only content or create screen recordings. Most apps have this option, including the built-in Sound Recorder and the Xbox Game Bar. You can also use Audacity to record a PC’s sound in Windows 10.
- Microphone Audio – A high-quality mic is a must if you like voiceovers. Enabling and adjusting its settings to record voices on a Windows 10 PC is a necessary step, and it’s a feature not all recorders have. However, it can significantly enhance the allure of your audio recordings.
As mentioned, most video recording apps support screen and system sound recordings. However, you’ll likely need to install a professional Windows 10 desktop and audio recorder to capture screens, system sounds, and microphone audio simultaneously.
How to Record PC Screen and Audio in Windows 10
Now that you know more about your recording options, we can discuss the top three methods for recording your Windows 10 PC’s screen and audio. They include a built-in tool, third-party software, and a web-based app, so let’s dig into these.
Using a Built-in Recorder – Xbox Game Bar
As a built-in Microsoft app, the Xbox Game Bar is a decent Windows 10 desktop and audio recorder for users who want to avoid downloading and installing additional programs. This powerful tool has been made into a handy widget with the May 2019 update for Windows 10, and using it to record the desktop and audio in Windows 10 today is a breeze.
Here’s how you can do that:
Step 1: Press the Windows + . keys to open the Xbox Game Bar on your Windows 10 PC.
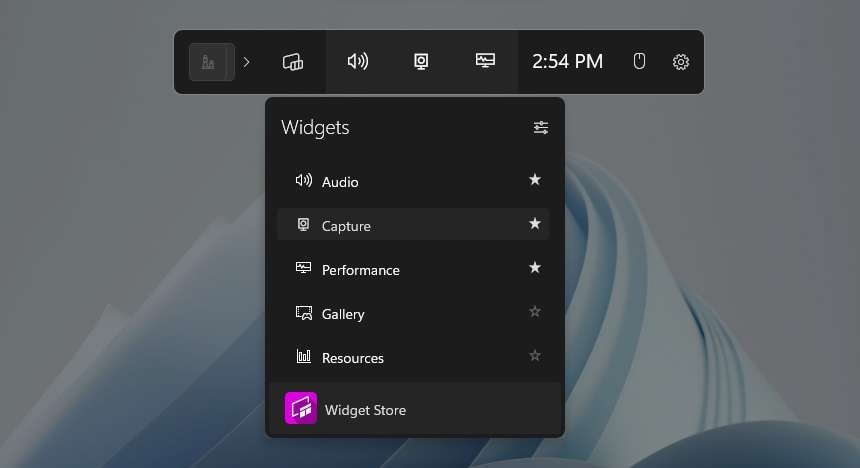
Step 2: Click the Widget Menu button and select the Capture option to enable the overlay.
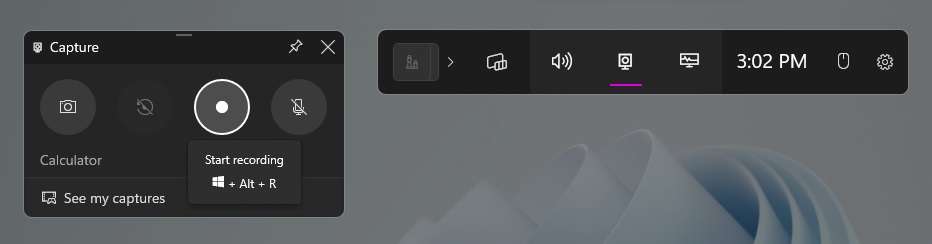
Step 3: In the newly opened Capture menu, tap the Start recording button to record your Windows 10 PC’s screen and audio. Alternatively, use the Windows + Alt + . key combination.
Step 4: Press Windows + Alt + . again to end the recording or click the Stop button in the Xbox Game Bar overlay.
Using a Desktop Audio/Video Recorder – Wondershare DemoCreator
As you can see, the built-in Windows 10 Xbox Game Bar isn’t perfect. These limitations are prompting many users to look for alternatives, and that’s precisely where third-party apps like DemoCreator come in handy.
Wondershare DemoCreator is a professional desktop audio and video recorder for Windows and macOS. Its support for six distinct recording modes, cross-screen capture, the ability to record for up to 24 hours, and high-quality clips of up to 8K resolution and 120 FPS make it a perfect Windows 10 PC screen and audio recorder.
The app’s highly intuitive user interface, the ability to seamlessly capture screens, webcam footage, mic audio, and system sounds separately or simultaneously, and a built-in video editor powered by AI tools make DemoCreator a tool you’ll enjoy using for all your recording needs.
Here’s a quick step-by-step guide on how to record a PC screen with audio on Windows 10 with Wondershare DemoCreator:
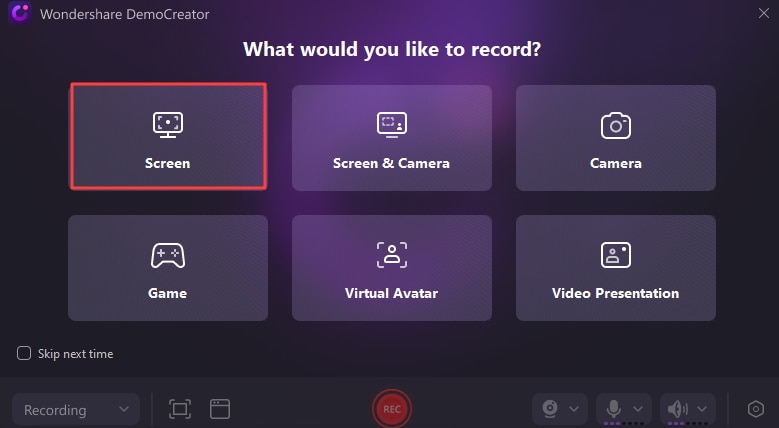
Step 1: Open the app on your Windows 10 PC, tap Video Recorder, and use the Screen recording mode.
Step 2: Select between full-screen, custom selection, specific window capture, and particular social media resolution options to customize your recording area.
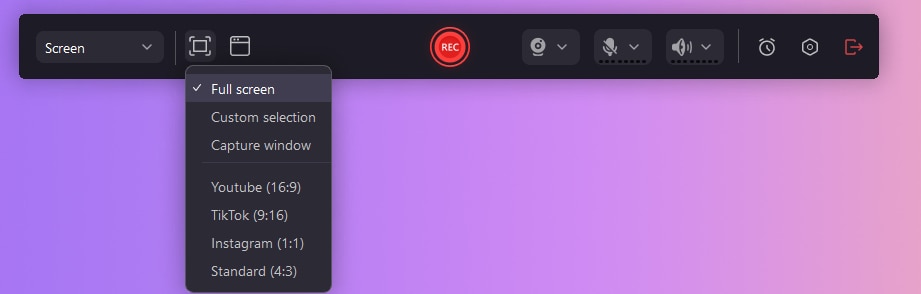
Step 3: Alternatively, tap the Window button to select one of the already opened windows to record.

Step 4: Enable and adjust the Microphone to record your voice on a Windows 10 PC. You can do the same with the Sound button to record desktop sounds on Windows 10.
Step 5: When ready, click the REC button in the middle of DemoCreator’s menu bar or press the F9 key to record the desktop and sound in Windows 10. Use the same key to pause and resume a recording.
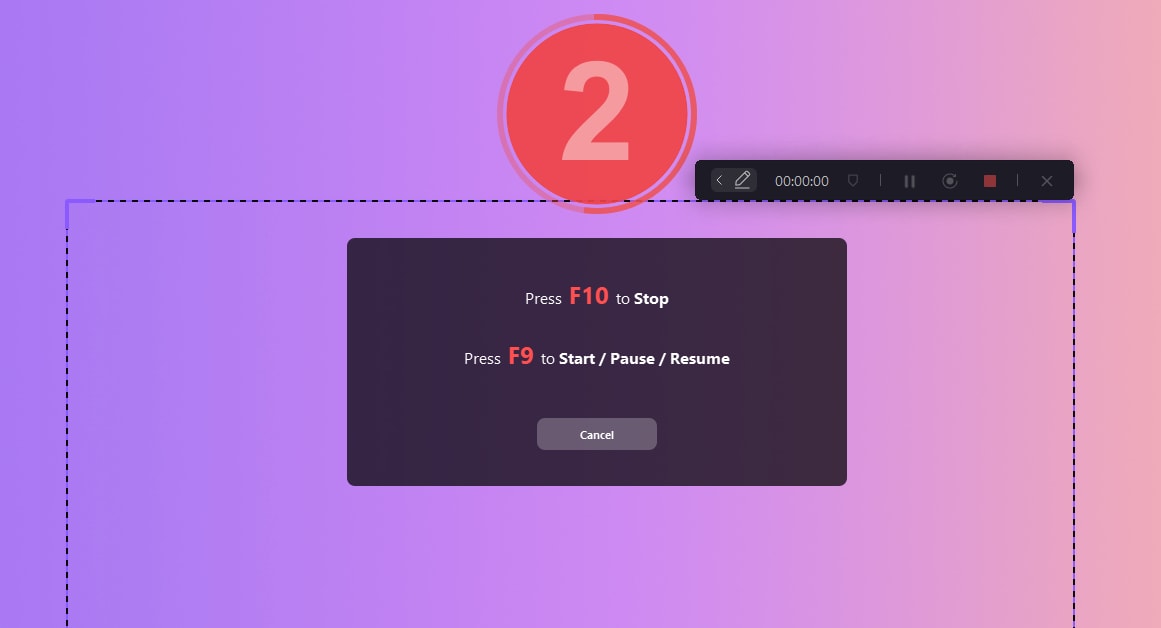
Step 6: When finished, tap Stop or press the F10 key to stop recording.
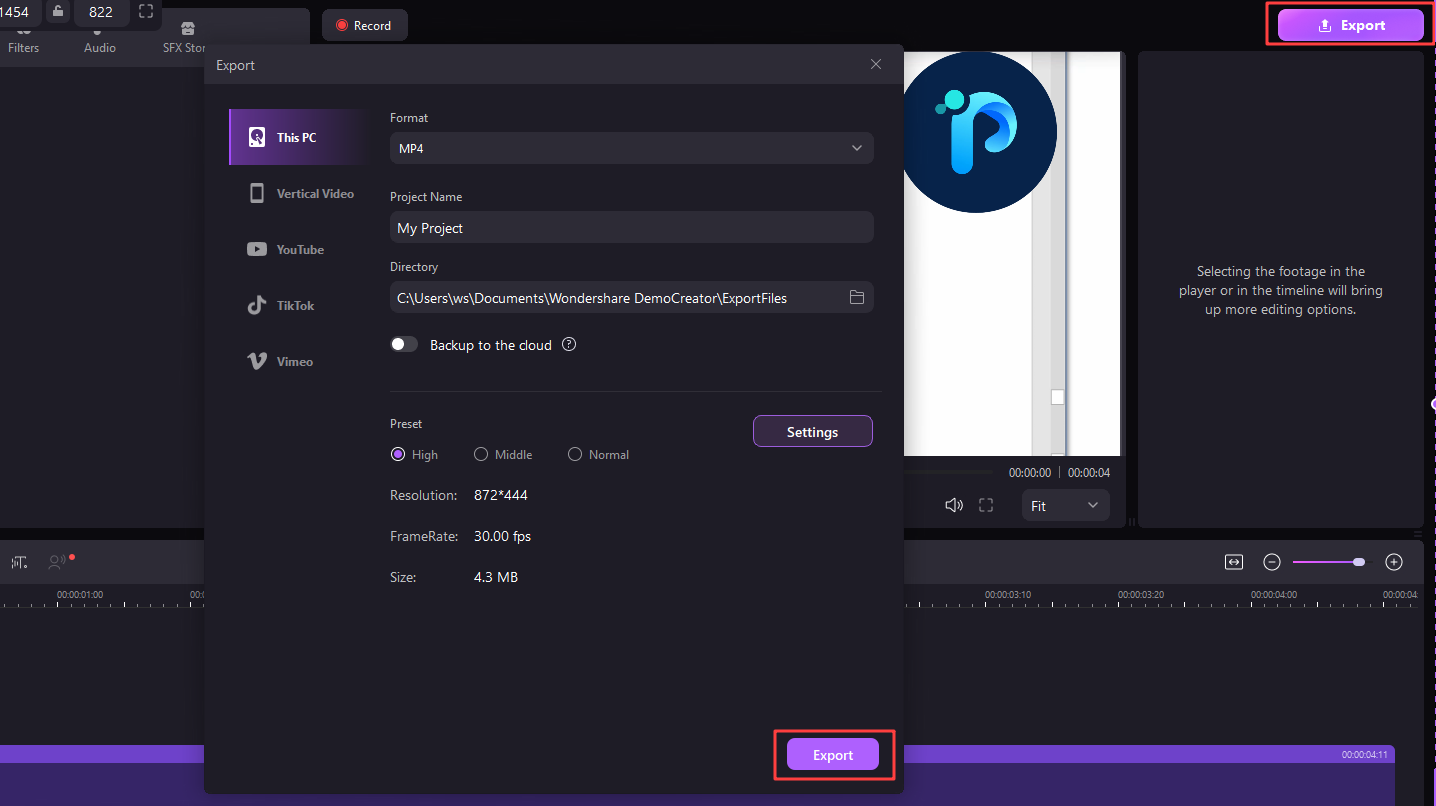
Step 7: Once you’ve created a recording, DemoCreator will export it or open the video editor, depending on your Recording Scheme settings. After editing the recording, tap on Export to save it.
DemoCreator also lets users capture their facial reactions alongside a screen recording. To enable that, either use the app’s Screen & Camera recording mode during step one or enable the webcam during step four of the guide above.
Using an Online Audio/Video Recorder – Apowersoft
Online tools are another fantastic option if you’d like to avoid installing additional software, and Apowersoft’s online screen recorder is an excellent example of such a web app. Using it to record Windows 10 PC’s screen and audio is remarkably straightforward, and here’s how you can do it yourself:
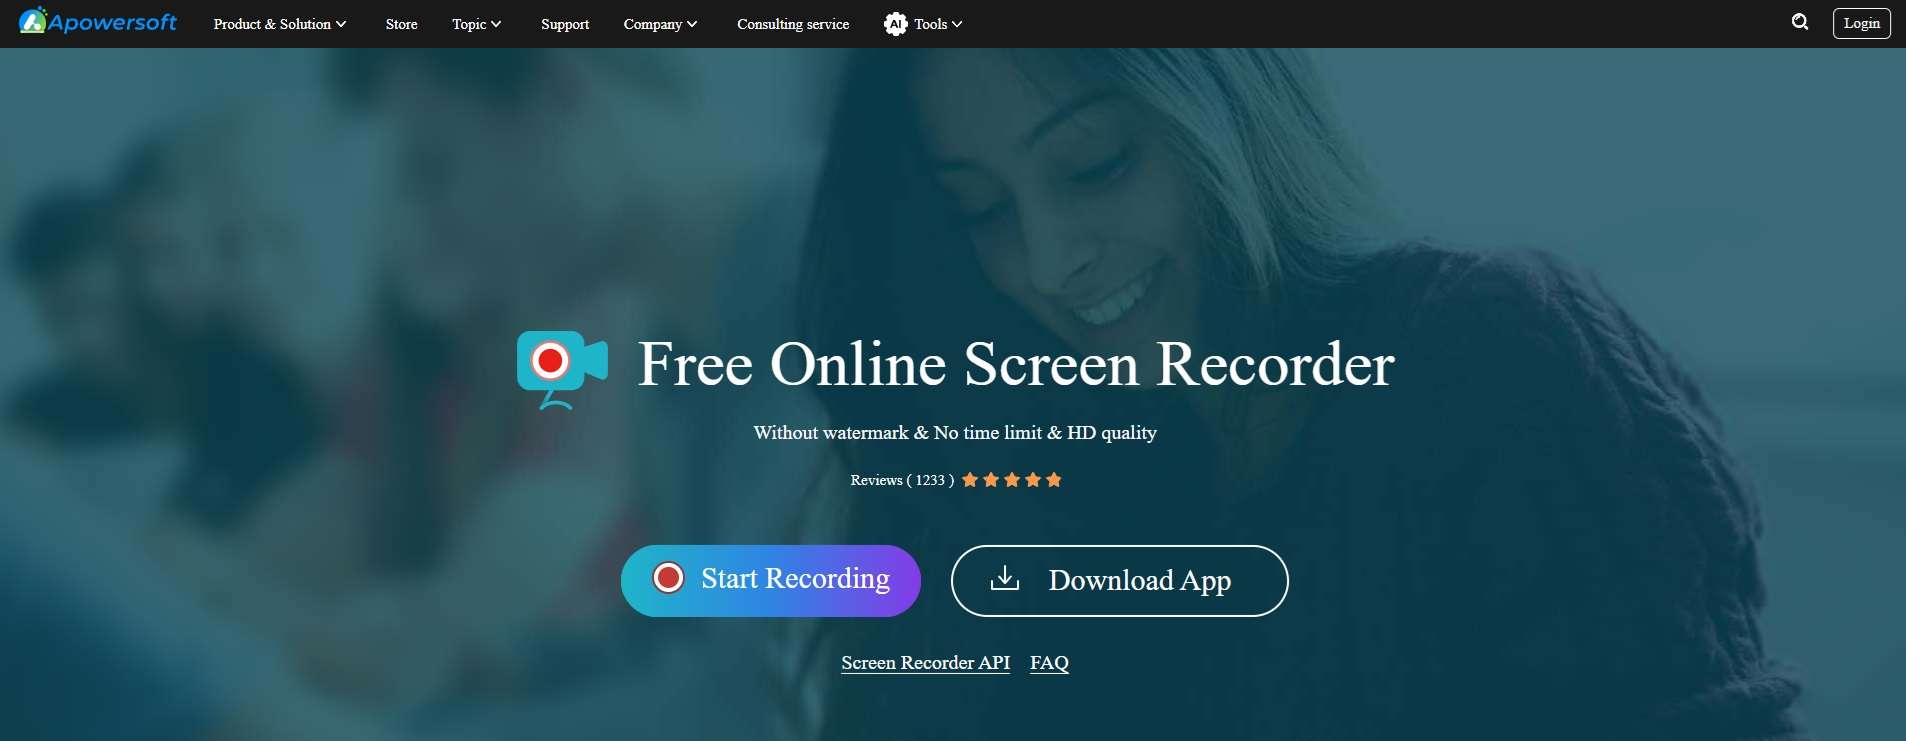
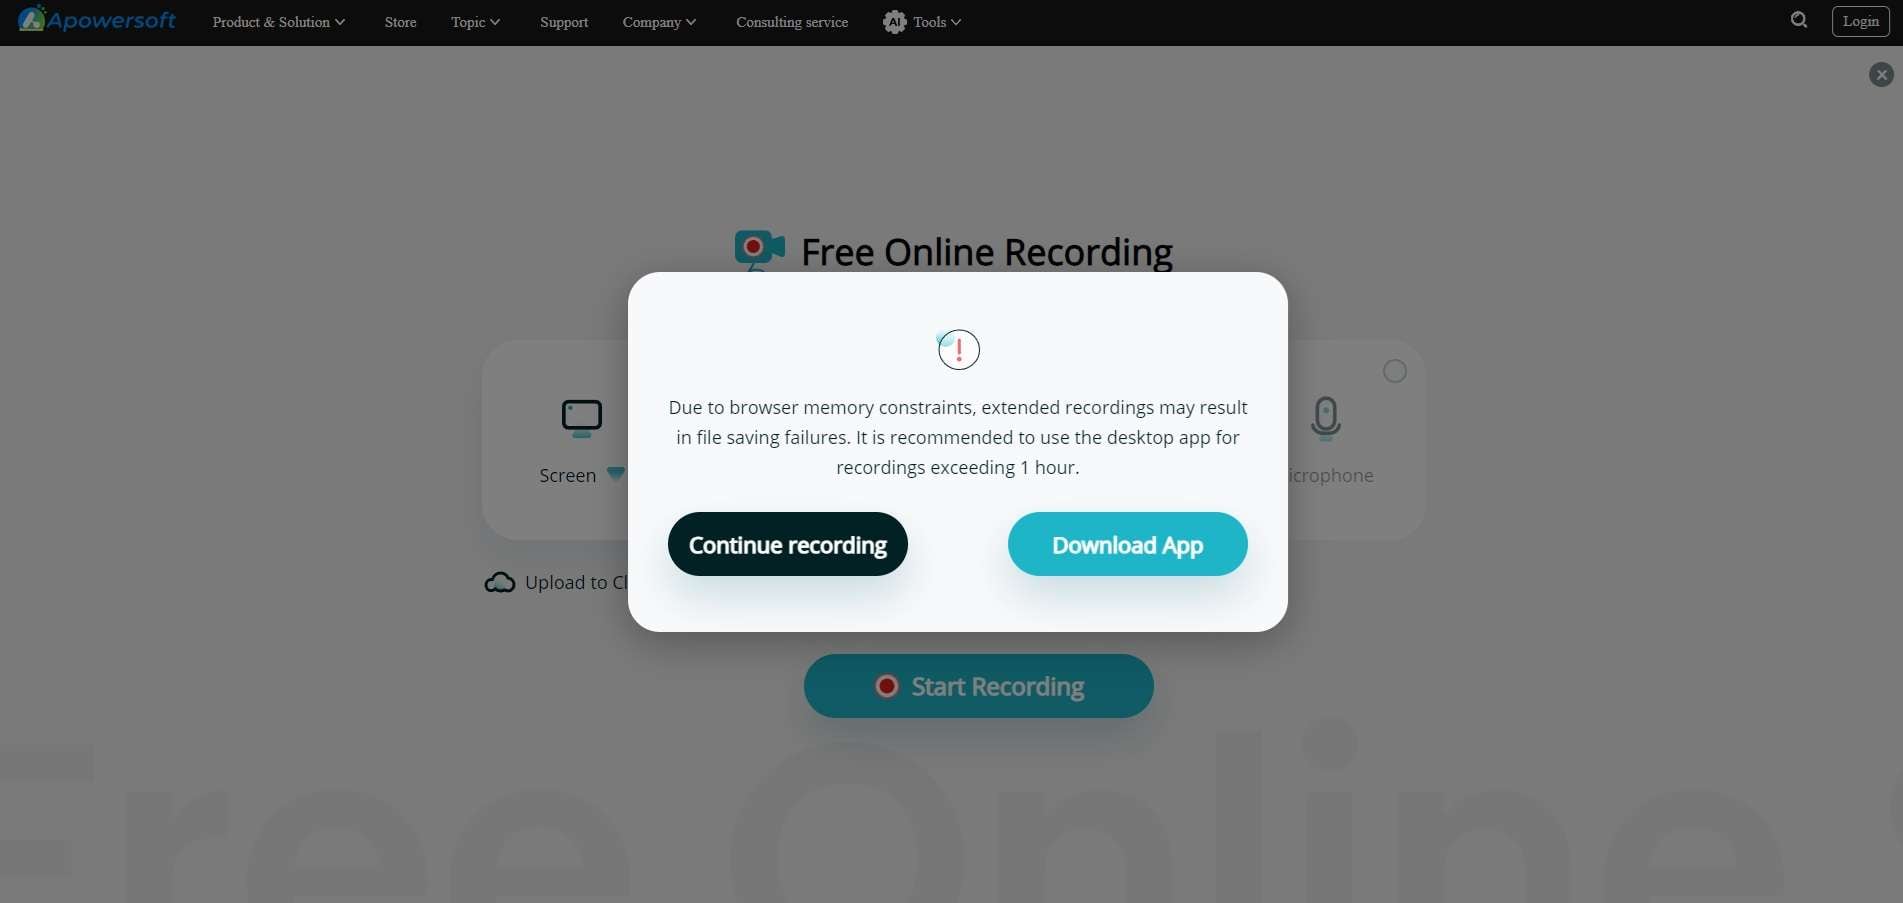
Step 1: Visit Apowersoft’s website, look for the Free Online Screen Recorder, and tap the Start Recording button.
Step 2: Choose the Screen and System Sound options to record the Windows 10 PC’s screen and audio. You can also include Webcam and Microphone recordings.
Step 3: Tap the Start Recording button again and click Continue Recording.
Step 4: Choose between your browser’s tabs, a particular application via the Window option, or the Entire screen. Then, enable the Also share system audio option and tap Share.
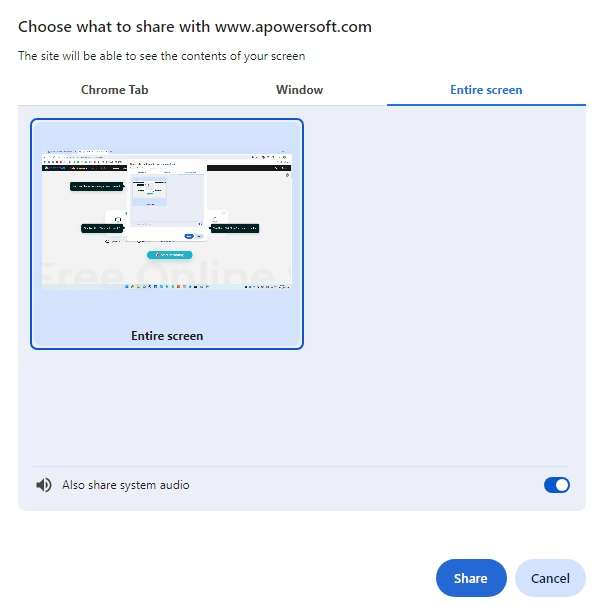
Step 5: When you’re done, tap Stop Sharing. Then, you can Share, Save, and Upload the recording to the web app’s cloud.
Another limitation of the Apowersoft online screen recorder is its inability to record for more than one hour. As you can see in step three of the guide above, the website also suggests downloading a desktop program for longer recordings.
Pro Tips for Recording Your PC Screen With Audio in Windows 10
Now that you know more about the best apps for recording your Windows 10 PC’s screen with audio, we can also dive into a few tips to improve your video clips and decrease your editing tasks later:
- Carefully adjust your system sound and microphone settings to ensure you’ve selected your primary audio input and output devices;
- Test your recording settings with a short clip before you create a longer video;
- Practice using keyboard shortcuts to avoid having to trim your recordings later;
- Close unnecessary windows to lessen the load on your PC’s hardware;
- Select an appropriate capture area to avoid sharing more than you need to show;
- Add a webcam overlay for a more personalized video.
By incorporating these tips into your recording routine, you’ll make fantastic video clips requiring only a few editing touches here and there, making your task much more straightforward.
Conclusion
Whether you’re creating step-by-step tutorials for new colleagues, sharing your favorite gaming moments with friends, or creating content for social media, a proper Windows 10 desktop and audio recorder can make all the difference.
Such a tool lets you seamlessly record your PC’s screen and audio in Windows 10, and we’ve elaborated on the differences between including system sounds and microphone audio in your screen recordings.
Furthermore, we’ve shown you how to record a Windows 10 PC’s screen with audio in three ways: with the built-in Xbox Game Bar, through a third-party DemoCreator tool, and with a web-based Apowersoft online screen recorder.
For those looking for a tool without limitations, Wondershare DemoCreator is undoubtedly the best option. Unlike the Xbox Game Bar, it can record any screen or app in Windows 10. At the same time, compared to Apowersoft’s online tool, it can create a much longer recording in 8K and up to 120 FPS and provides far more customization options.
FAQ
-
Can I record voice on my PC in Windows 10?
Yes, you can record voices on a Windows 10 PC, and you can do so with the built-in Xbox Game Bar, a third-party audio/video recorder – DemoCreator, and an online tool – Apowersoft. You can even use Audacity to record Windows 10 PC sounds if you prefer that app. -
What is the best desktop audio recorder for Windows 10?
The title for the best desktop audio recorder for Windows 10 undoubtedly goes to Wondershare DemoCreator. It doesn’t have the limitations of the Xbox Game Bar and offers many more customization options than the Apowersoft online screen recorder.
Its six distinct recording modes, 8K/120 FPS recording capabilities, and an AI-powered video editor also secure its crown. -
Can I record my PC screen with audio on Windows 10?
Absolutely! The easiest way to record Windows 10 PC screen and audio is with DemoCreator, and here’s how:
Step 1: Launch the app, tap Video Recorder, and select Screen.
Step 2: Adjust your capture area and enable the Microphone and Sound options.
Step 3: Tap the F9 key to start recording your Windows 10 PC’s screen with audio.


