
Step into the world of media versatility with VLC Media Player! Beyond its reputation as a player, VLC surprises with its hidden gems, like screen recording. This article is your guide to recording screens in VLC. Discover how to capture tutorials, gameplay, or more effortlessly.
Stay tuned as this article explores the straightforward process of how to screen record using VLC. But wait, there’s more! This article will also introduce a powerful alternative tool later. So, whether you’re a seasoned VLC user or new to the scene, dive in and delve into the world of screen recording with ease. Let’s get started!
In this article
Part I. Steps To Screen Record With VLC Media Player
In the vast landscape of media players, VLC stands out for its playback prowess and robust recording features. Let’s delve into the world of screen recording in VLC Media Player, where possibilities abound!
How To Record Screen With VLC
Ever wanted to capture a tutorial, gameplay, or online streaming content? You can transform VLC into a powerful screen recorder with just a few simple steps. Follow this guide to learn how to record in VLC Media Player:
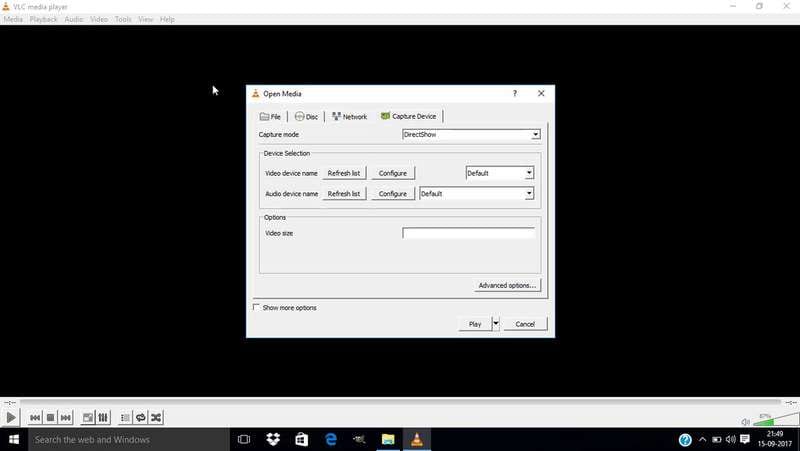
Step 1: Launch VLC on your computer and navigate to the Media tab on the top left corner of your screen. In the pop-up that appears, click Capture Device.
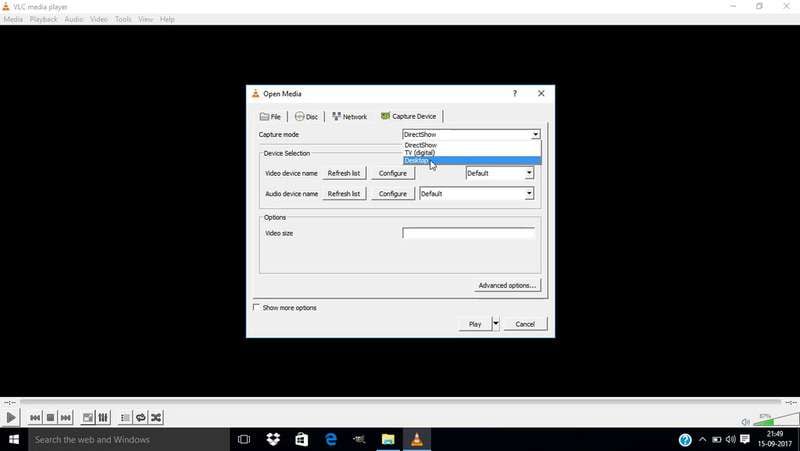
Step 2: Go to Capture mode and choose Desktop from the dropdown menu.
Tip: Under Options > Video size, you may set the frame rate you prefer for your video, but the recommended frame rate is 30.00 f/s.
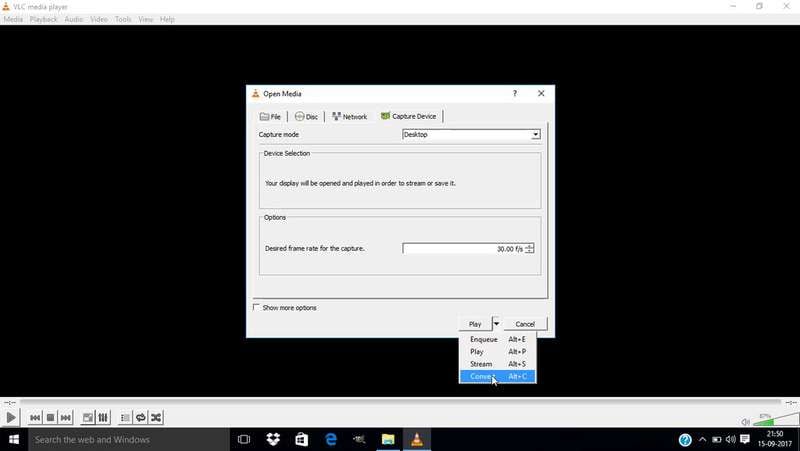
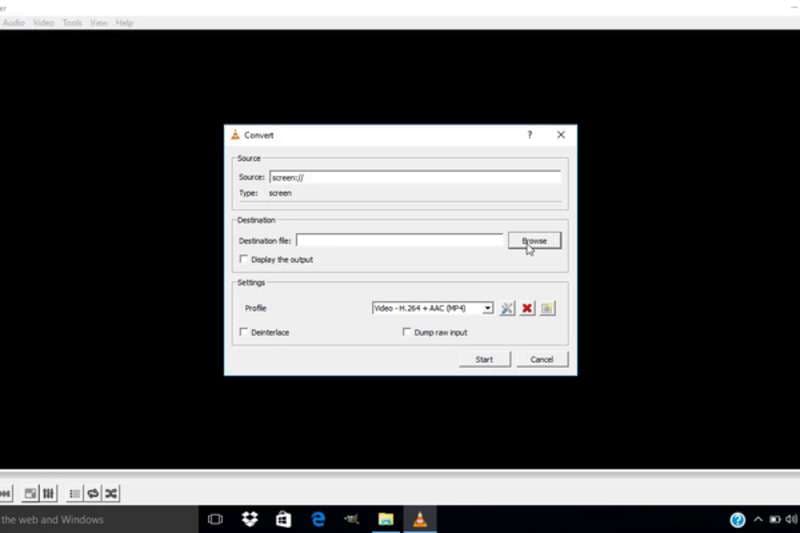
Step 3: Now navigate to the bottom right corner of that pop-up. Beside the Play button, click the “downside arrow” and choose Convert in the dropdown menu that appears.
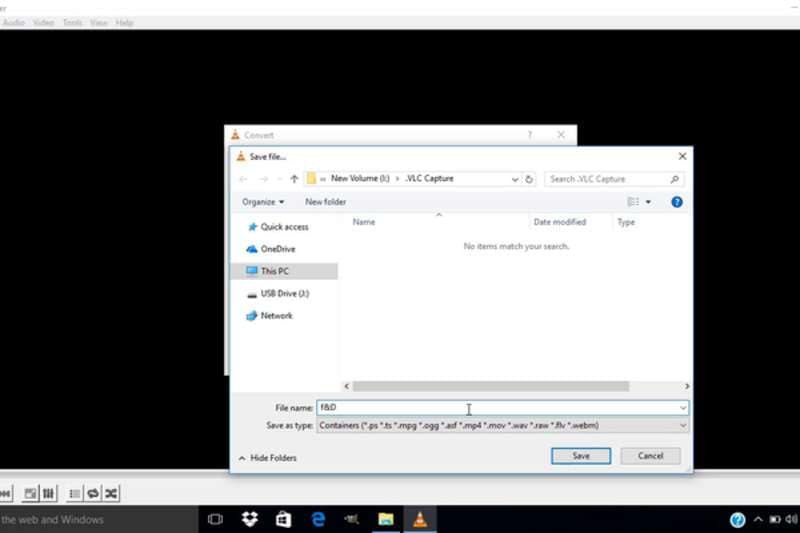
Step 4: A new pop-up will appear where you must select your video’s destination folder. Click Browse under the Destination section to choose the folder where your screen recording will be saved.
Step 5: Once done, name your file, then click Save.
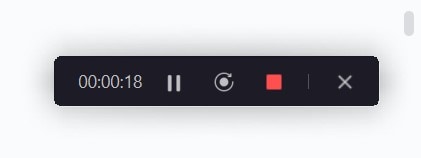
Step 6: Now click the Start button to capture the VLC screen. To end the recording, click the “Stop” icon in your screen’s lower left corner.

How To Record Part of Video Being Played in VLC
As you know, a long movie takes up a lot of space on your computer and makes it hard to find the best parts. In this case, you might want to use the VLC to record video and to cut out parts of the local movie.
The screen recording tool also makes playing videos saved on the computer and recording short video clips easy. First, let’s look at how to capture video with VLC.
Step 1: Launch VLC Media Player on your computer. Navigate to the View tab and click Advanced Controls.
Step 2: Click the Media tab. Choose Open File from the dropdown menu and locate the video you want to cut and record.

Step 3: Before you start cutting the video, move the process bar to where you want to start, then click the Record button.
Step 4: Choose where you want to stop the movie or let it play until it gets there. You can also use the “frame-by-frame” button to get exact results.
Step 5: Click the “Stop” icon to end the process when the video clip is done.
With VLC Media Player, the power to record is at your fingertips. Whether you’re a seasoned pro or a novice user, these simple guides on how to record using VLC will have you recording like a pro in no time. Stay tuned as this article explores more recording features and alternative tools in the next sections!
Part II. Choosing the Right Recording Settings in VLC
If you want to record video with VLC Media Player, selecting the right settings is key to achieving the best results. Let’s explore some simple tips to ensure your recordings are top-notch!
Choosing the Right Recording Method
Before diving into recording, decide whether you want to capture the entire screen or a specific window. VLC offers the flexibility to choose the area you want to record, giving you full control over your recordings.
Recording Without Audio
By default, VLC supports audio recording, allowing you to capture video and sound seamlessly. However, there may be instances where you prefer to record video without audio. Follow these simple steps to turn off audio recording in VLC:
Step 1: Open VLC Media Player and click Media in the menu bar. Select Capture Device.
Step 2: In the Capture Mode dropdown menu, choose Desktop. Click on the “dropdown” arrow next to Play and select Convert.
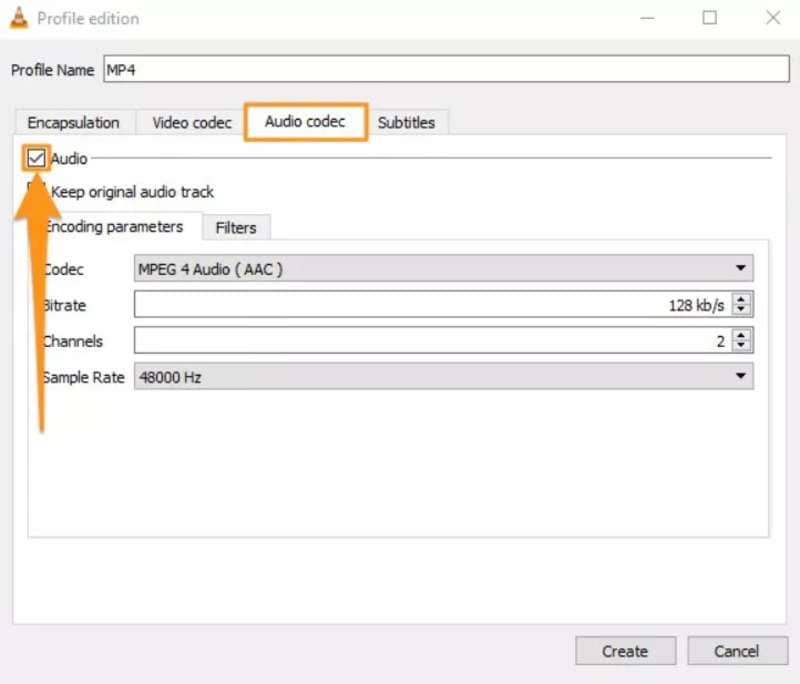
Step 3: Now, click the “Settings” (wrench-shaped) icon.

Step 4: Navigate to the Audio codec tab. Unclick the Audio checkbox, then click Create.
Step 5: You will then be taken back to the Convert window. Choose your desired output format and destination. Once done, click Start to begin recording without audio.
Advanced Settings
Fine-tune your recording experience with advanced settings like frame rate and output format. Adjusting the frame rate can enhance the smoothness of your recordings while selecting the right output format ensures compatibility with your editing software or playback devices.
- Frame Rate. Higher frame rates result in smoother motion but may require more processing power. Experiment with different frame rates to find the optimal balance between quality and performance.
- Output Format. VLC supports a wide range of output formats, including MP4, AVI, and MKV. Choose the format that best suits your needs and workflow.
Following these simple tips, you can elevate your VLC experience and easily record videos with VLC Media Player.
Part III. A Powerful Screen Recorder Alternative: Wondershare DemoCreator
You might have tried to record in VLC Media Player and experienced its limitations. Because while VLC Media Player offers versatile recording capabilities, there are times when you might need additional features for your recording needs. Enter Wondershare DemoCreator, a powerful screen recorder alternative that goes beyond the basics. Let’s explore why DemoCreator is a game-changer for your recording endeavors.
Key Features of Wondershare DemoCreator
Here are some of the key features Wondershare DemoCreator offers that set it apart from VLC:
- Intuitive Interface. DemoCreator boasts a user-friendly interface, making it easy for beginners to start recording immediately.
- Multi-Track Editing. With DemoCreator, you can edit your recordings on multiple tracks, allowing for seamless integration of audio, video, and effects.
- Advanced Effects. Elevate your recordings with a variety of effects, including annotations, transitions, and animations.
- Audio Editing. Fine-tune your audio with built-in editing tools, such as noise reduction and audio enhancement.
- Flexible Export Options. DemoCreator supports various output formats, ensuring compatibility with various devices and platforms.
How DemoCreator Can Help in Different User-Cases
While VLC excels in supporting various file types, DemoCreator takes screen recording to the next level with its comprehensive feature set. Here’s how users use DemoCreator in different cases:
- Education. Whether you’re a teacher creating instructional videos or a student preparing presentations, DemoCreator’s intuitive interface and advanced editing features make it the perfect tool for educational content creation.
- Gaming. Capture your gaming adventures with ease using DemoCreator’s screen recording capabilities. Add annotations and effects to highlight key moments and share your gameplay with friends and followers.
- Business. From product demonstrations to training videos, DemoCreator empowers businesses to create engaging content that captivates audiences and drives results.
How To Record Your Screen Using DemoCreator
Let’s now explore how to record your with DemoCreator:
Step 1: Get DemoCreator and set it up. Run DemoCreator on your computer when you’re done.
Step 2: You will then be asked, “What would you like to record?”. Choose from the available options, then click the REC button to start recording.

Step 3: DemoCreator also allows you to draw on your screen while recording, which is one of its many benefits. Once you’re done recording, click the “Stop” button to end it.
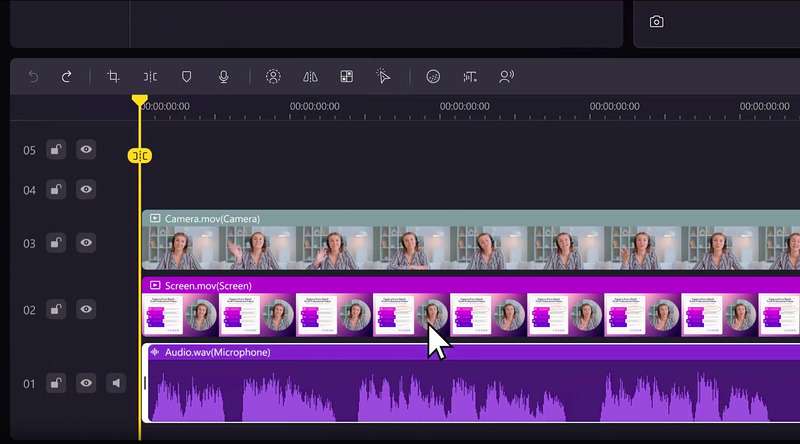
Step 4: If you want to, you can also use DemoCreator’s advanced editing tools to change your recorded video. With DemoCreator, you can easily:
- Edit on more than one track. Recording your screen, microphone, and camera separately will help you edit videos faster and better. Next, you can change each track individually or all at once.
- Pan and zoom. Users should be able to change the size, length, and placement of elements on the fly to highlight certain parts, create interesting zoom-in and zoom-out effects, and improve the overall visual experience.
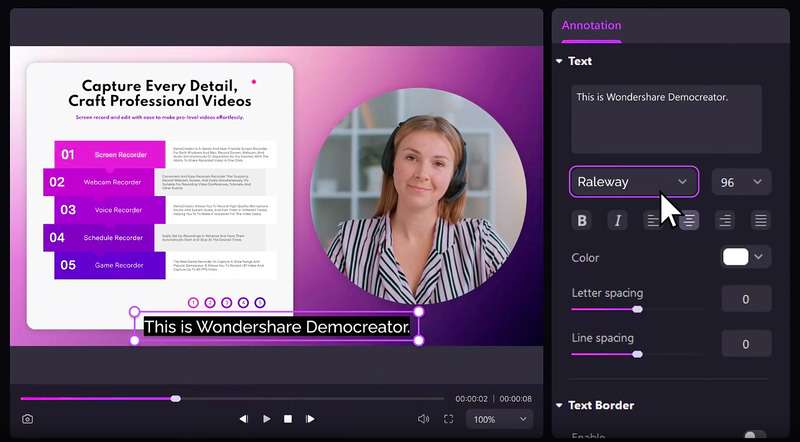
- Use tools for annotations. Use text, speech boxes, shapes, lines, and arrows to dynamically mark recorded games to help people understand and communicate better.
- Add effects to the mouse. Many well-made cursor effects can be used to draw attention to certain cursor movements and actions. It has click rings, click sound, highlight, spotlight, and enlarge.
Step 5: Once you’re done with your modifications, save your screen recording and share it with everyone!
When DemoCreator is on your side, it’s never been easier to screen record on a PC. Whether you’re a content creator, educator, gamer, or business professional, DemoCreator offers the tools you need to bring your ideas to life. So why settle for basic recordings when you can unleash your creativity with Wondershare DemoCreator? Start recording in style and take your content to new heights today!
Conclusion
This article explored the world of recording video with VLC Media Player and uncovered its versatile features. From capturing part of a video being played in VLC to preserving memorable moments, VLC offers a simple yet effective solution. However, for those seeking advanced editing capabilities and enhanced features, it’s highly recommended that Wondershare DemoCreator be given a try.
With its intuitive interface and powerful tools, DemoCreator elevates your recording experience. So whether you want to record the screen in VLC or explore new possibilities with DemoCreator, the world of content creation is at your fingertips. Start recording and unleash your creativity today!


