

I need to record a webinar video to promote a software product online. How do I record a webinar on my Mac?
That's a good question. You can try several webinar recording methods on your Mac.
Today, we'll talk about how to record a webinar on your Mac with sound and list the basic requirements you'll need to capture a top-grade webinar video.
Table of Content
Things You Need to Record a Webinar on Mac
before recording a webinar on your Mac, you'll need a few things to ensure you capture high-quality video content according to modern internet standards.
Here's what you'll need:
- Top-grade webinar recording software tool for Mac - your webinar recording efforts depend on your selected recording tool. Since options are abundant, you should narrow your selection to built-in recording tools like QuickTime Player or third-party software like Wondershare DemoCreator (we'll cover both in a moment).
- Reliable internet connection - a strong internet connection helps ensure your audio and video won't freeze or lag during webinar recording. Check your Wi-Fi on your Mac before recording to ensure you have a top connection.
- High-end microphone and camera - if you plan on participating or hosting a webinar, you'll need a cutting-edge camera and microphone to record your voice. Connect both to your Mac and test them before recording.
Check your screencast and sound gadgets before recording to ensure everything is in order. That should help you avoid audio/video problems with your webinar footage, such as video lagging, unwanted audio sounds, etc.
Now that you know how to prepare for webinar recording on a Mac, let's delve deeper into the recording process.
How To Record a Webinar on Mac With Wondershare Democreator
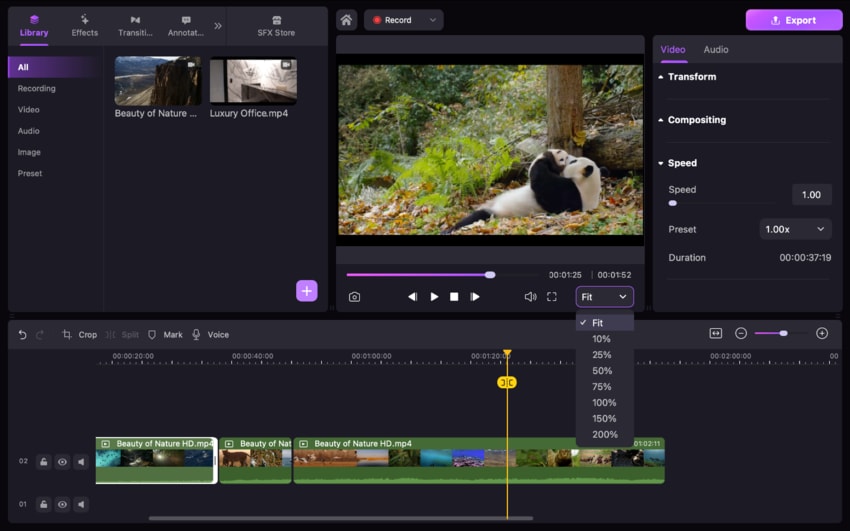
Wondershare DemoCreator is an excellent screen/webcam recorder and video editor for capturing web tutorials, online lectures, and webinars. The tool provides an array of webcam and screen recording features for capturing top-quality webinar videos.
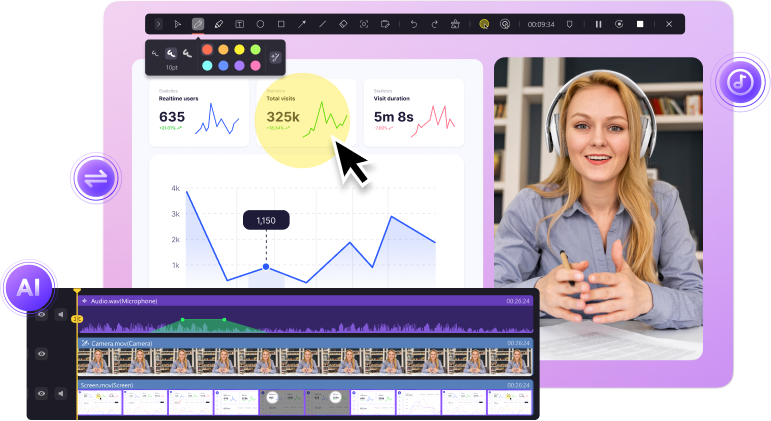
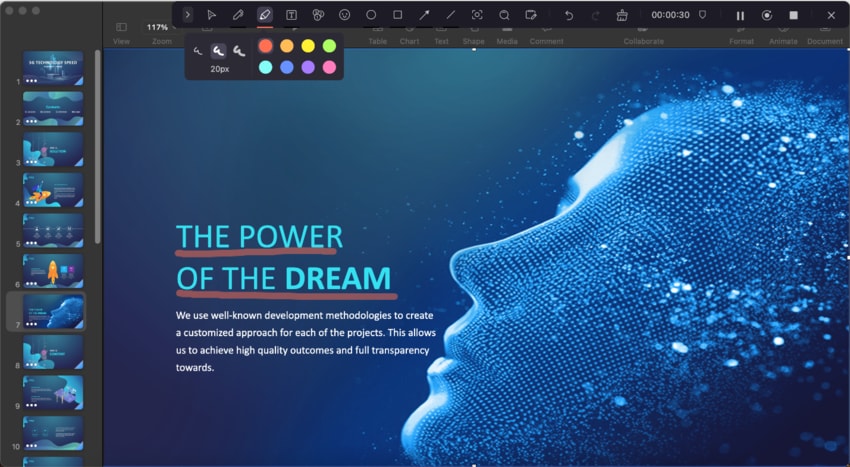
DemoCreator allows you to customize the screen recording area, use screen drawing tools to annotate your recordings, tap into exclusive audio and video editing options to refine your recordings, export webinar videos in common formats, and record microphone, system audio, webcam, and screen in separate tracks for post-production.
Aside from recording webinars on your Mac, you can use DemoCreator's Video Editor to enhance the recorded video before sharing it with your colleagues or on your social media.
Recording webinars with DemoCreator is a simple process. Download and install DemoCreator on your Mac, then follow the steps below to record a webinar.
- Launch DemoCreator and navigate to Home > All-in-One Recorder; If the webinar has not yet started or you are unable to participate in it, you can set up a scheduled recording.
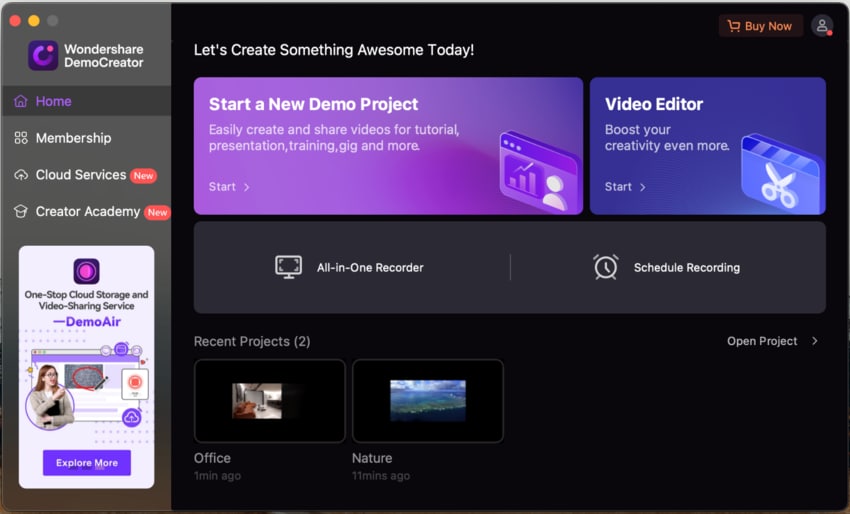
- Customize your webinar recording settings such as webcam, microphone, screen capture area, and system audio;
- If you wish to edit your webinar recording, check the Edit Recordings box;

- Click the red REC button to start recording a webinar on your screen;
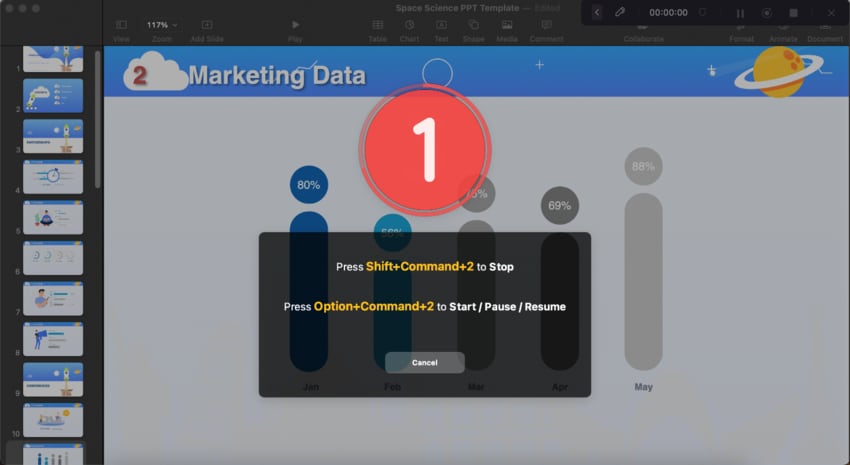
- Click the Stop button to end the recording. The recorded video will be stored in DemoCreator's Library.
- Eit the webinar recording (optional), or click Export to save your webinar recording to your Mac.
- Record desktop screen, audio, and webcam simultaneously
- Various annotation tools to emphasize important points
- Edit videos quickly with a wide range of professional tools
- Export to MP4, MOV, MKV, GIF and multiple formats

How To Record a Webinar on Mac With QuickTime Player?
You can use a built-in screen capture program like QuickTime Player to record Webinars on Mac without installing any software. QuickTime is a reliable audio/video player that can also capture screen recordings on your Mac.
However, the program has one limitation you should know about. It can't capture system audio, only your microphone. If you wish to record system audio, you'll need a plugin like Soundflower.
Here's how to capture a webinar on your Mac using QuickTime Player.
- Go Finder > Applications > QuickTime Player;
- Navigate to File > New Screen Recording;

- Click the white arrow-like icon next to the red REC button to add microphone audio;
- Click the red REC button to start recording;

- Click the Stop button to save and edit your webinar recording.
Tips for Recording a Good Webinar on Mac
Here are a few quick tips to help you capture top-grade webinars on your Mac:
- Enable Do Not Disturb mode - it will eliminate any notifications that might temper your webinar recording.
- Check your Mac storage - ensure you have enough storage space to store your webinar recordings on your Mac.
- Close all other windows - close all windows, tabs, and apps you won't use during the recording to minimize system eros, mistakes, and distractions, reduce lag, and maximize your system resources.
- Pre-plan your webinar recordings - make necessary preparations before recording a webinar to ensure you get the best results.
- Edit your recordings - polish and refine your webinar videos before sharing them online.
Conclusion
This article showed you everything you need to know about recording a webinar on a Mac computer. We've provided guidelines on the necessary webinar recording equipment and gave you tips to help you select the best webinar recorder for your needs.
In addition, we shared step-by-step guides on how to use third-party software and built-in tools (Wondershare DemoCreator and QuickTime Player) to record a webinar on your Mac.
Check your system settings and storage space before recording, plan your webinar videos in advance, and get familiar with the recording tool to ensure you create top-class webinar recordings that you can proudly share on the internet.
FAQs
-
Can you record a webinar on Mac?
Yes, you can record a webinar on a Mac using either built-in screen recording tools or third-party webinar recording tools like Wondershare DemoCreator. -
How can I record a webinar I am watching?
You can use Wondershare DemoCreator to capture the webinar you're watching on your computer:- Download, install, and launch DemoCreator on your Mac;
- Choose the Video Recorder option and customize the webcam and audio settings;
- Click the REC button to start recording.
-
Can I record a webinar I am watching on Zoom?
Yes, you can. Here are the steps:- Create a free Zoom account and log into it;
- Select Join Audio Conference by Computer > Share Screen;
- Select the screen you want to record and click ;
- Click the REC button to start recording;
- To save your webinar recording, click Stop Recording > End Meeting.
-
Can you record a webinar if you are not the host?
Yes, you can, but only if the host has permitted it. You'll need to join the webinar and ask for permission to record.


