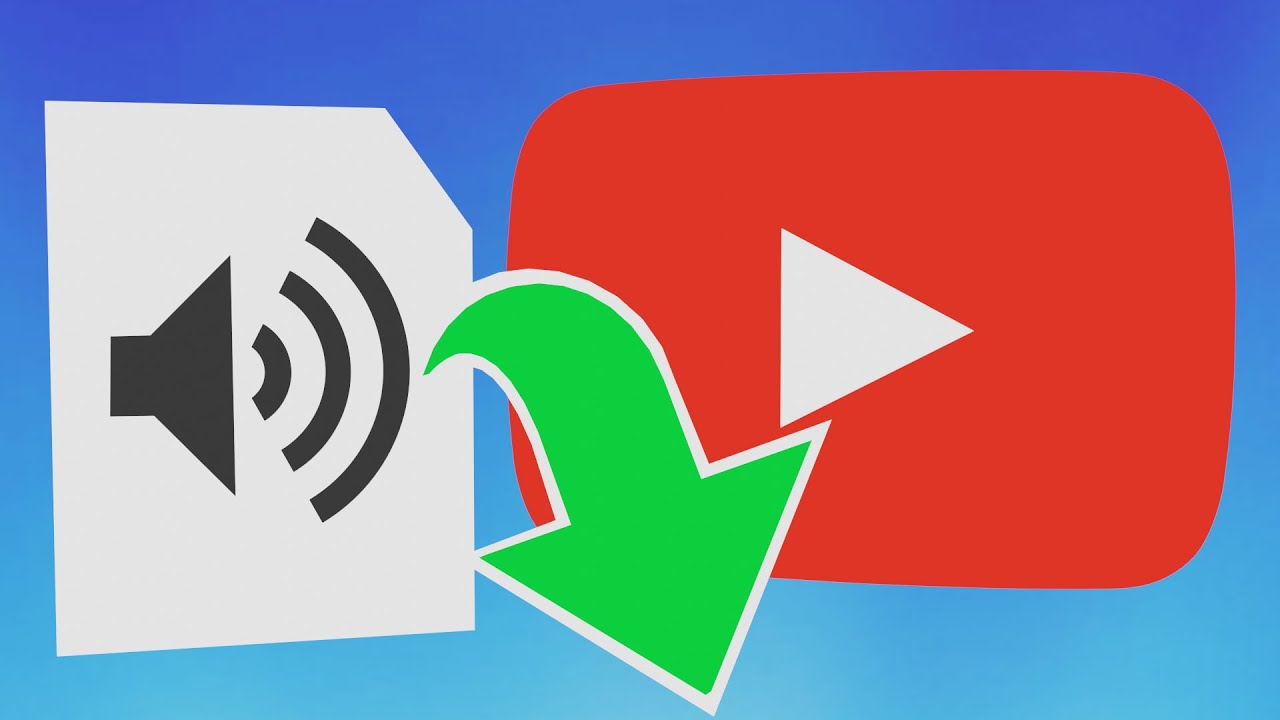
Have you ever wanted to record audio from your favorite YouTube videos, like that cool music or a must-have clip for a school project? Or maybe you're wondering how to download audio from YouTube quickly and easily? Well, you're in luck! Using tools like a YouTube audio recorder or methods to capture sound from YouTube, it's simpler than you might think.
Fortunately, there are various ways to record audio from YouTube, designed to cater to different preferences and operating systems.
In this comprehensive guide, we'll cover the legal considerations and show you how to record audio from YouTube efficiently using techniques like a YouTube voice recorder or even converting a YouTube link to audio recording online.
In this article

Part 1: Can I Record Audio From YouTube?
Before diving into the technical aspects of how to record audio from YouTube, it’s important to understand the legal considerations. YouTube’s terms of service allow users to download videos or make personal copies for offline viewing, as long as the content is not copyrighted or subject to licensing restrictions. However, when it comes to recording sound from YouTube or using a YouTube audio recorder, the situation becomes more nuanced.
Generally, capturing sound from YouTube for personal, non-commercial use may fall under fair use as outlined by copyright law.
To ensure compliance, always check the video's description, comments, or the creator's website for any specific instructions or restrictions related to how to download audio from YouTube. If you're uncertain about the legality of using a YouTube voice recorder or extracting audio, it’s best to err on the side of caution by seeking permission from the copyright holder or consulting a legal professional.
Part 2: How to Record Audio From YouTube Videos - 3 Methods
Now that we've covered the legal considerations, let's explore the various methods available to record audio from YouTube videos. Each method has its own unique features, advantages, and compatibility requirements, so choose the one that best suits your needs and operating system.
Method 1: Use Wondershare DemoCreator to record sound from YouTube (Windows and Mac)
Wondershare DemoCreator is a great tool that makes it super easy to record audio from YouTube videos. This handy software lets you capture screens and edit videos too. The best part? It is compatible on both Windows and macOS platforms. So no matter which type of computer you use, DemoCreator has you covered when you need to grab audio from YouTube.
With its straightforward design, getting those YouTube sounds you want is a piece of cake using DemoCreator. It's an all-in-one solution that takes the hassle out of recording audio from online videos.
Here's how to use DemoCreator to record audio from YouTube:
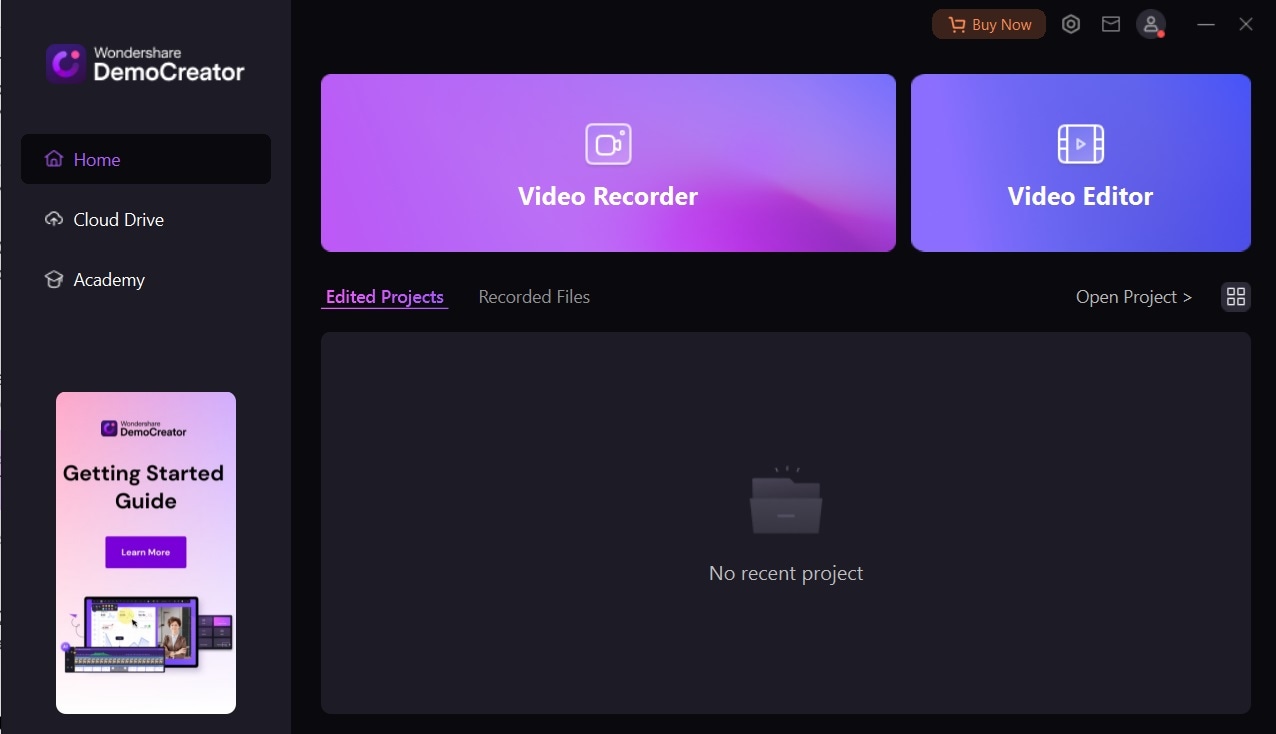
Step 1: Download and Install DemoCreator on your computer. Open DemoCreator on your device. Now select the “Video Recorder” option.
.
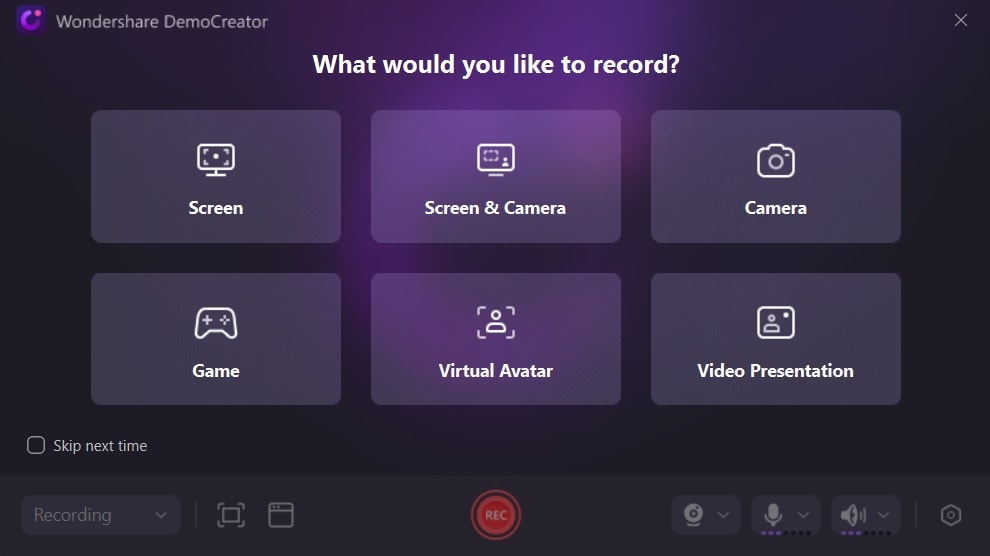
Step 2: Now, select your preferred recording choice. Click on “Screen” recording mode.
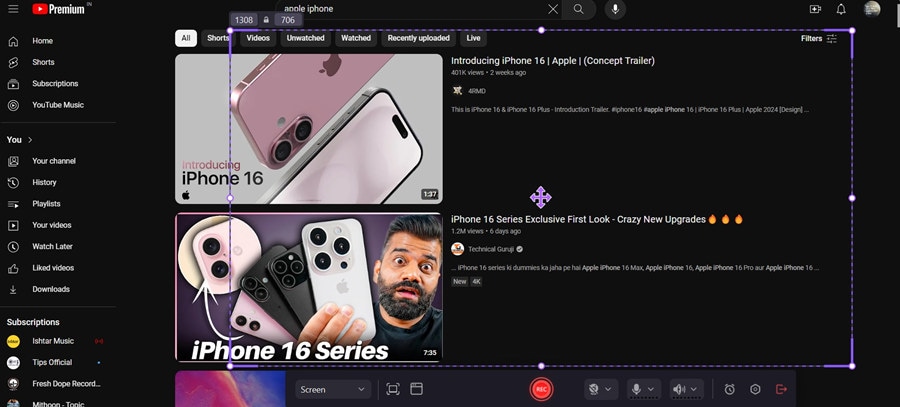
Step 3: Open the YouTube video from which you want to capture the audio. Adjust the frame resolutions, and configure other Settings. Once all set, click the "Rec" button to start capturing the screen.
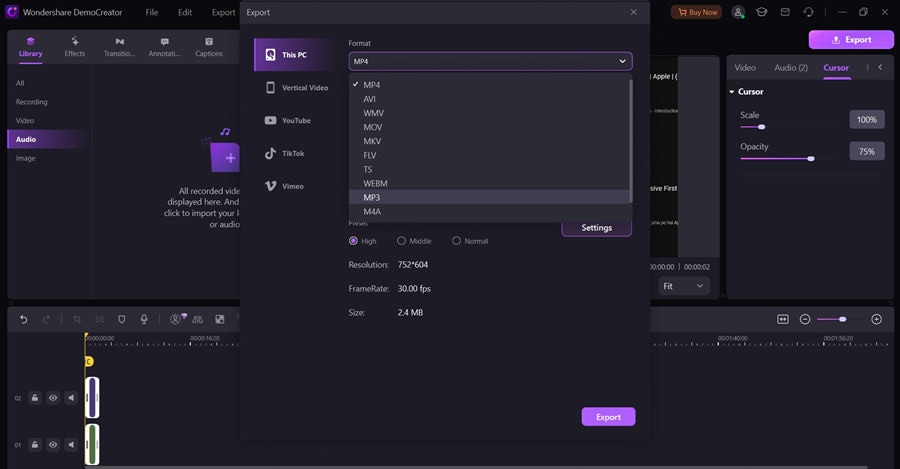
Step 4: Once the video has finished playing, click the "Stop" button in DemoCreator to end the recording. Now, export the recorded audio as an MP3 file, which you can then edit, save, or share as needed.
And that’s it! DemoCreator offers several advantages when it comes to recording audio from YouTube videos. First and foremost, it provides high-quality audio capture, ensuring that the recorded sound is clear and free from distortions.
Additionally, DemoCreator allows you to trim and edit the recorded audio, making it easy to remove any unwanted sections or silence. Finally, the software supports batch processing, enabling you to record audio from multiple YouTube videos in a single session, saving you time and effort.
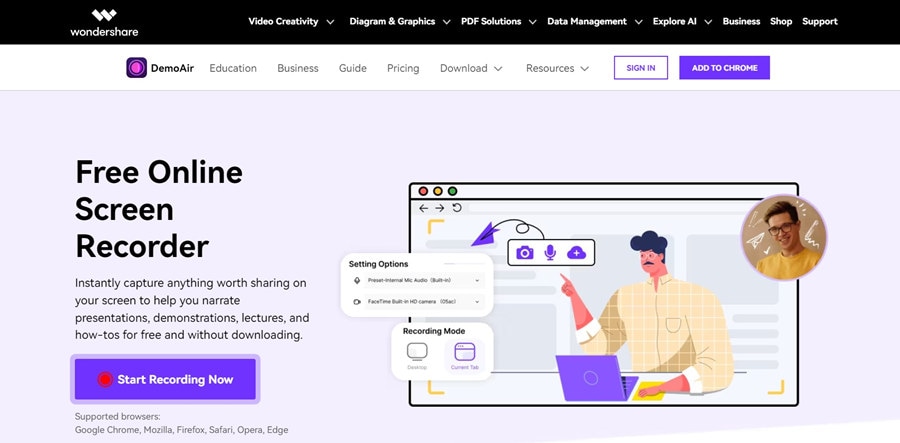
Method 2: Use DemoAir to Record Audio From YouTube Online
If you prefer a cloud-based solution or don't want to install additional software on your computer, DemoAir is an excellent online tool for recording audio from YouTube videos. DemoAir is a web-based screen and audio recording service that allows you to capture audio from any website, including YouTube.
Here's how to use DemoAir to record audio from YouTube:
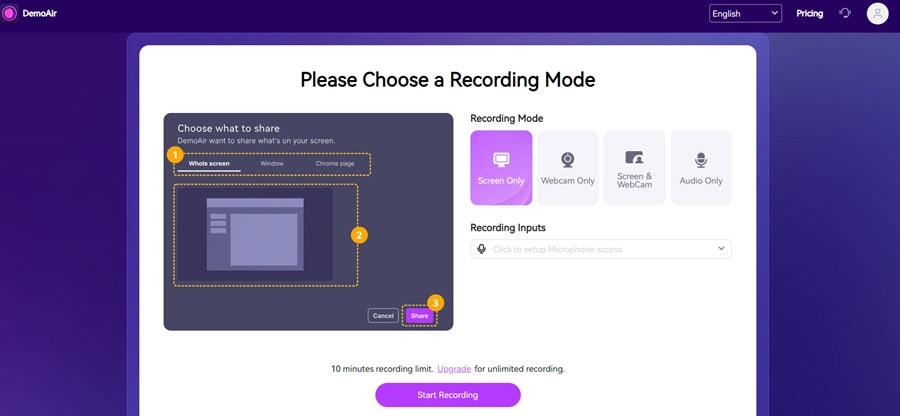
Step 1: Visit the DemoAir website in your web browser. Click the ""Start Recording Now"" button on the DemoAir homepage.
Step 2: In the recording window, navigate to the YouTube video from which you want to capture the audio. Select “Audio Only” and then click the "Start Recording" button in the DemoAir recording window.
Step 3: Once the video has finished playing, click the "Stop Recording" button in the DemoAir recording window. DemoAir will process the recorded audio and provide you with a link to download the MP3 file.
One of the main advantages of using DemoAir is its ease of use and accessibility. Since it's a web-based service, you don't need to install any additional software on your computer.
Additionally, DemoAir supports audio recording from any website, making it a versatile tool for capturing audio from various online sources, not just YouTube. However, the only downside with DemoAir is that it comes with a 10-minute recording limit.
Method 3: Use an Online YouTube Video Converter
If you prefer a more straightforward approach, you can use an online YouTube video converter to extract the audio from a YouTube video. These converters typically work by providing you with a link to the video's audio file, which you can then download and save to your computer. Here's how to use an online YouTube video converter to audio capture from YouTube:
Step 1: Open the online YouTube converter website in your web browser. Copy the URL of the YouTube video from which you want to extract the audio. Paste the YouTube video URL into the converter's input field.
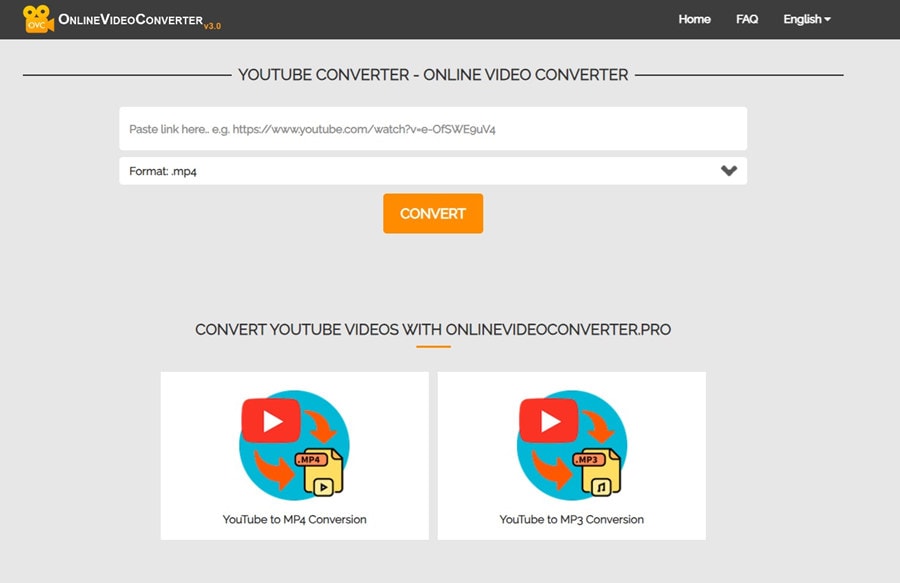
Step 2: Select the desired audio format (typically MP3) from the converter's output options. Click the "Convert" button to initiate the conversion process.
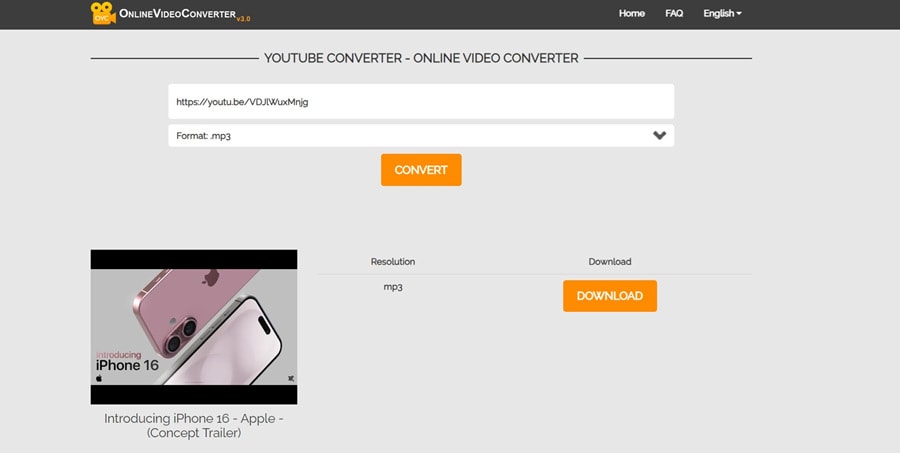
Step 3: Once the conversion is complete, the converter will provide you with a link to download the extracted audio file.
Online YouTube video converters offer a quick and easy way to record audio from YouTube videos without the need for additional software installations. However, it's important to note that some of these converters may contain advertisements or potentially unwanted programs, so exercise caution and use trustworthy sources.
Part 3: Tips to Seamlessly Record Audio from YouTube
Regardless of the method you choose to record audio from YouTube videos, there are several tips and best practices to ensure a smooth and efficient process:
- Check the video quality: Before recording audio from a YouTube video, ensure that the video quality is sufficient to provide high-quality audio output. Videos with low resolution or compression may result in poor audio quality.
- Use headphones or external speakers: To avoid audio feedback or echo, it's recommended to use headphones or external speakers when recording audio from YouTube videos. This will prevent the audio from being captured by your computer's microphone, resulting in cleaner recordings.
- Adjust audio levels: Some YouTube videos may have varying audio levels, leading to distortion or clipping. Before recording, adjust the audio levels in your recording software or video player to ensure optimal audio capture.
- Consider video length: If you're recording audio from a long YouTube video, consider breaking it into smaller segments to avoid potential issues with memory limitations or file size constraints.
- Use a stable internet connection: When recording audio from YouTube videos, especially with online tools or cloud-based services, a stable and high-speed internet connection is essential. Slow or unreliable internet can lead to interrupted recordings or poor audio quality.
- Experiment with different methods: While this guide covers some of the most popular and effective methods for recording audio from YouTube videos, don't hesitate to explore other tools or techniques that may better suit your specific needs or preferences.
- Record customized screens with audio and edit them in different tracks.
- Capture gaming videos, tutorials, and presentations and then edit them in one tool.
- Built-in unlimited editing templates, special effects, and other sources.
- Supported export to MP4, MOV, MKV, GIF, and other formats.

Conclusion
Recording audio from YouTube videos can be a valuable skill for various purposes, whether it's for personal use, educational resources, or creative projects. By understanding the legal considerations and mastering the different methods outlined in this guide, you can effectively capture high-quality audio from YouTube videos while respecting copyright laws and content creators' rights.
Remember, the choice of method will depend on your operating system, preferences, and the specific requirements of your project. DemoCreator, DemoAir, online video converters, and Audacity each offer unique advantages and cater to different user needs.
Ultimately, the ability to extract audio from YouTube videos opens up a world of possibilities for repurposing and utilizing content in creative and educational ways. So, whether you're a student, or a content creator, master these techniques of how to record sound from YouTube to the full potential of YouTube's vast audio-visual repository.
FAQ
-
Is it legal to record audio from YouTube videos?
Recording audio from YouTube videos for personal, non-commercial use is generally considered fair use under copyright law. However, distributing or monetizing the extracted audio without permission from the copyright holder may constitute copyright infringement. -
Can I record audio from copyrighted YouTube videos?
Recording audio from copyrighted YouTube videos for personal, non-commercial use is typically allowed under fair use, but you should always check the video's description, comments, or the content creator's website for any specific restrictions. -
What audio formats can I export the recorded audio to?
The available audio formats will depend on the software or tool you're using, but common formats include MP3, WAV, FLAC, and OGG.