
Voice messages capture irreplaceable moments—conversations with loved ones, crucial work details, or personal notes. However, iPhones automatically delete iMessage voice messages after two minutes, unless you manually save them. Losing these recordings can be frustrating, especially if they contain sentimental or important information. Additionally, securing saved voice messages ensures privacy, preventing unauthorized access or accidental deletions. Below, we’ll explore how to save voice messages on iPhone, along with voice memos, and transfer them to other devices.
In this article
Part 1: How to Save Voice Messages in iMessage
Voice messages in iMessage can hold precious moments or vital information. Ensuring their preservation is key. This section delves into the intricacies of how to save a voice message on iPhone, addressing common issues and providing clear, step-by-step guidance.
Understanding iOS Version Differences: The handling of voice messages in iMessage has changed significantly between iOS versions.
- iOS versions prior to iOS 12
- Voice messages were often treated as audio files that could be directly saved to the Voice Memos app. This allowed for easier long-term storage and organization.
- The process: Tap and hold the voice message, then select "Save to Voice Memos."
- iOS 12 and later
- Apple introduced the "Keep" feature, which allows users to prevent individual voice messages from auto-deleting directly within the iMessage conversation.
"Keep" Button Issues - Troubleshooting:
- The Importance of Full Playback
- A common reason for the "Keep" button not appearing is that the voice message hasn't been played to completion. Many users, as noted in online discussions, have found that the "Keep" option only becomes available after the entire message has been listened to. Therefore, make sure to listen to the entire message.
- General Troubleshooting
- iMessage Glitches: Close and reopen the Messages app.
- iPhone Restart: Restart your iPhone.
- Software Updates: Ensure your iPhone is running the latest iOS version.
- Troubleshooting Steps
- Open the message.
- Play the voice message all the way through.
- Tap and hold the voice message.
- Verify the keep button appears.
Sender Settings
- Online threads have indicated that the sender's settings might influence whether a voice message can be saved.
- While a definitive solution or specific setting is not always clear, it's worth acknowledging this possibility. If you consistently encounter issues with messages from a particular contact, it might be related to their device configuration.
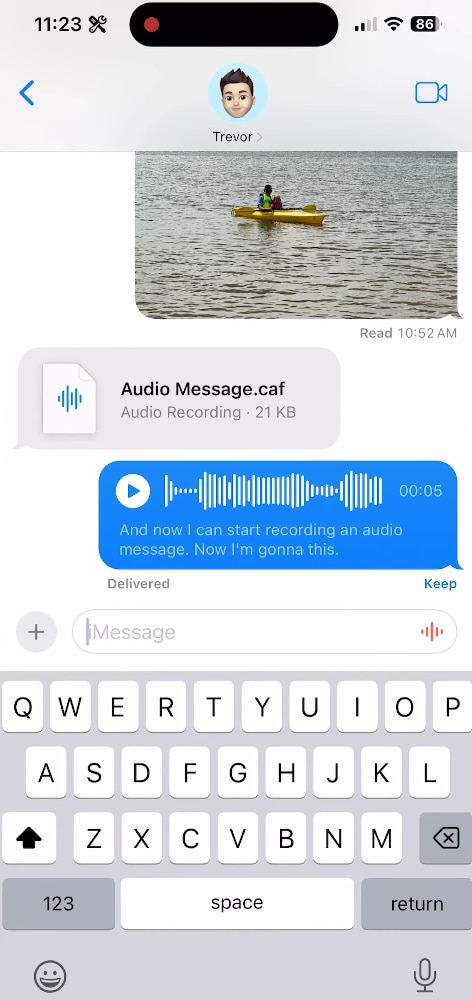
Step-by-Step Guide to Saving an Audio Message in iOS version 12 and beyond
Step 1Open the Messages app
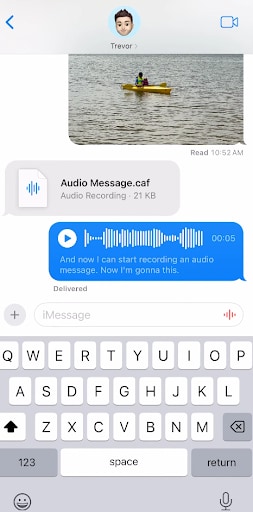
Launch the Messages app on your iPhone and navigate to the conversation containing the voice message. Make sure you locate the specific message you want to save before proceeding.

Step 2Tap and hold the voice message
Press and hold the voice message until a menu appears. If the “Keep” option is visible, tap it to prevent the message from being deleted automatically after two minutes.
Step 3Confirm the message is saved
Once saved, the voice message will stay in the chat indefinitely unless you manually delete it. You can revisit the conversation anytime to access your saved message.
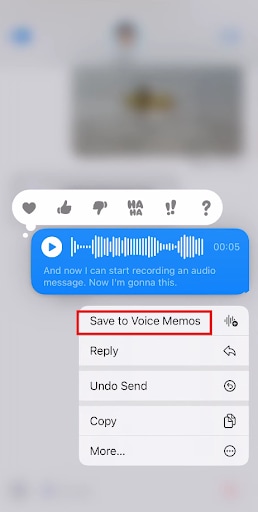
Older iOS versions: Save to Voice Memos
Step 1Tap and hold the voice message
Press and hold the voice message until a menu appears. From the options provided, select “Save to Voice Memos” to store the message outside of iMessage.
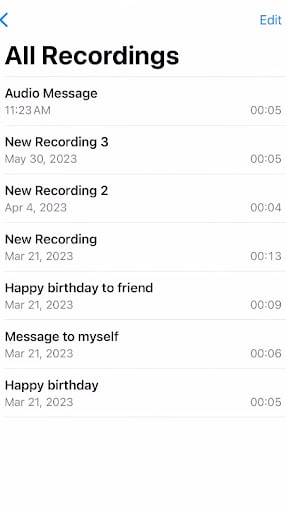
Step 2Open the Voice Memos app
Launch the Voice Memos app on your iPhone to find the saved message. You can rename, organize, or edit the recording for better accessibility.
Part 2: Saving Voice Memos - Enhanced Guidance
If you frequently save voice memos on iPhone, knowing how to access, organize, and edit them efficiently is essential. The Voice Memos app offers built-in tools to help you store, manage, and even transcribe recordings for better accessibility. Below, we’ll cover everything you need to know to maximize its features.
Finding the Voice Memos App
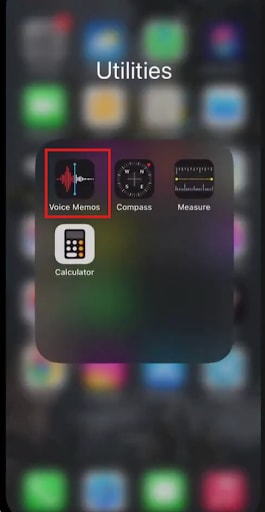
- Home Screen/Utilities Folder: The Voice Memos app is often located directly on your home screen or within the Utilities folder. Look for an icon that resembles sound waves on a white background.
- Spotlight Search: If you can't find it, swipe down from the middle of your home screen to open Spotlight Search. Type "Voice Memos," and the app will appear in the search results.
Organizing Saved Voice Memos
Keeping voice memos organized is useful when managing multiple recordings. iOS allows you to create folders within the app:
- Open the Voice Memos app and tap "Edit" at the top.
- Select "New Folder", name it (e.g., “Work Notes” or “Saved Messages”), and tap Save.
- Drag and drop voice memos into folders for easy access.
For quick searches, you can also rename recordings by tapping the name and entering a custom title.
Editing Voice Memos
The Voice Memos app includes basic audio editing tools for improving recordings:
- Trimming: Remove unwanted sections by tapping "Edit" > Trim and adjusting the sliders.
- Overwriting: Use the Replace feature to record over a section of an existing memo.
- Enhancing Audio: Tap "Enhance Recording" (magic wand icon) to reduce background noise and improve clarity.
Part 3: How to Transfer Voice Messages & Memos to a Computer
If you need to save a voice message on iPhone and access it on a computer, several transfer methods are available. Whether you prefer wireless options like iCloud and AirDrop or direct transfers using email or USB, the following methods will help you securely back up and store your voice messages.
Way 1: Transfer via email
Email is a quick and simple way to transfer voice messages, especially for smaller files. This method allows you to send voice memos as email attachments and access them on a computer.
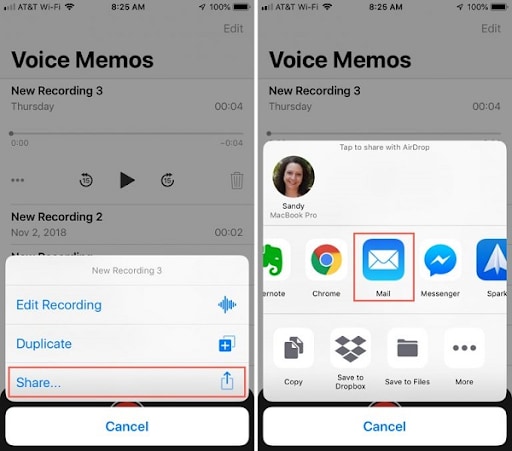
Step 1Open the Voice Memos app or Messages Launch the Voice Memos app on your iPhone to find the recorded memo. If the voice message is in iMessage, open the conversation where it is stored.
Step 2Share the voice memo via Mail Tap the Share button, select Mail from the available options, and enter your own email address as the recipient.
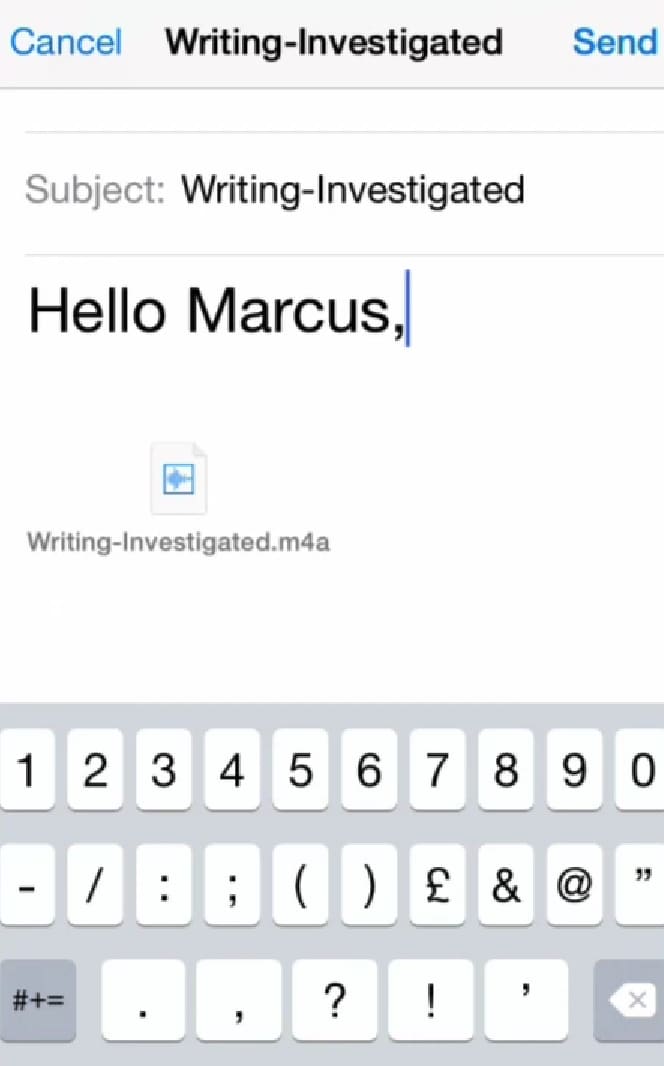
Step 3Send and download the voice memo Tap Send to transfer the file. Open your email on a computer, locate the message, and download the attached voice memo for storage or further use.
Way 2: Using iCloud to sync voice messages across devices
iCloud offers a seamless way to access voice memos across Apple devices. By enabling iCloud sync, you can download your recordings on a Mac or even access them via iCloud on a Windows PC.
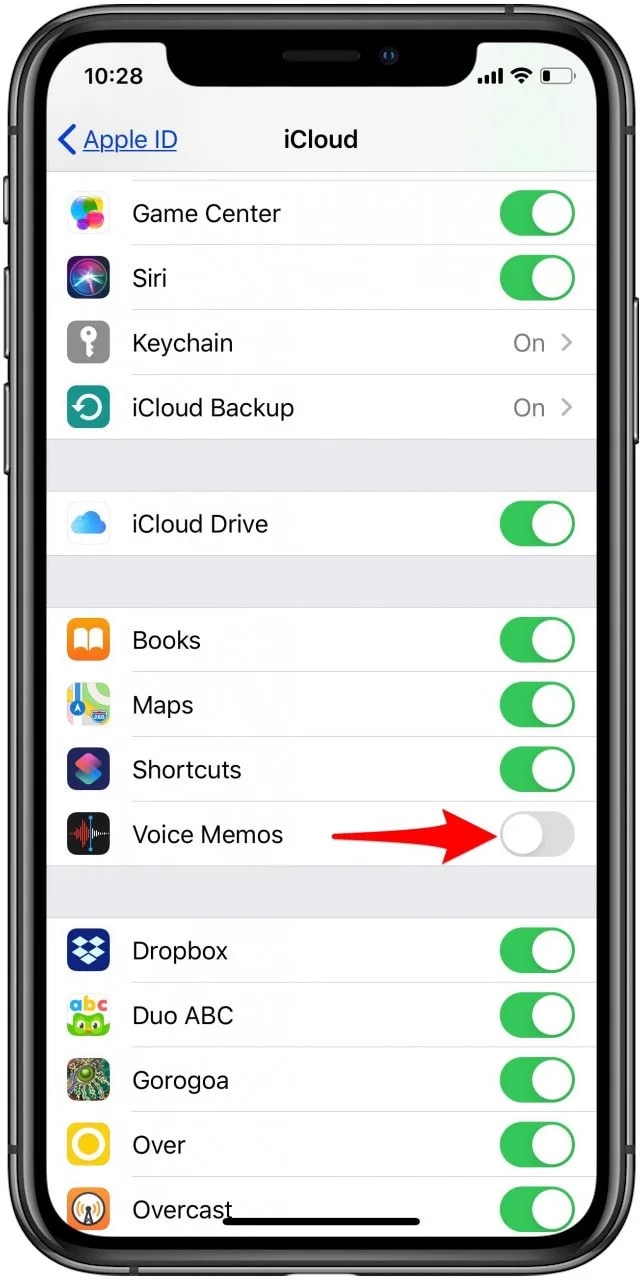
Step 1Enable Voice Memos in iCloud On your iPhone, go to Settings, tap your Apple ID, then select iCloud and scroll down to enable Voice Memos sync.
Step 2Access voice memos on another device Open the Voice Memos app on your Mac or another Apple device signed into the same iCloud account, then find your synced recordings.

Step 3Download the voice memo Select the voice message you want, download it to your Mac, or access it through the iCloud website on a Windows PC.
Way 3: Using AirDrop to transfer voice messages to Mac
AirDrop allows for fast and wireless file transfers between Apple devices. If you’re using a Mac, you can send voice messages directly from your iPhone without needing cables or external storage.
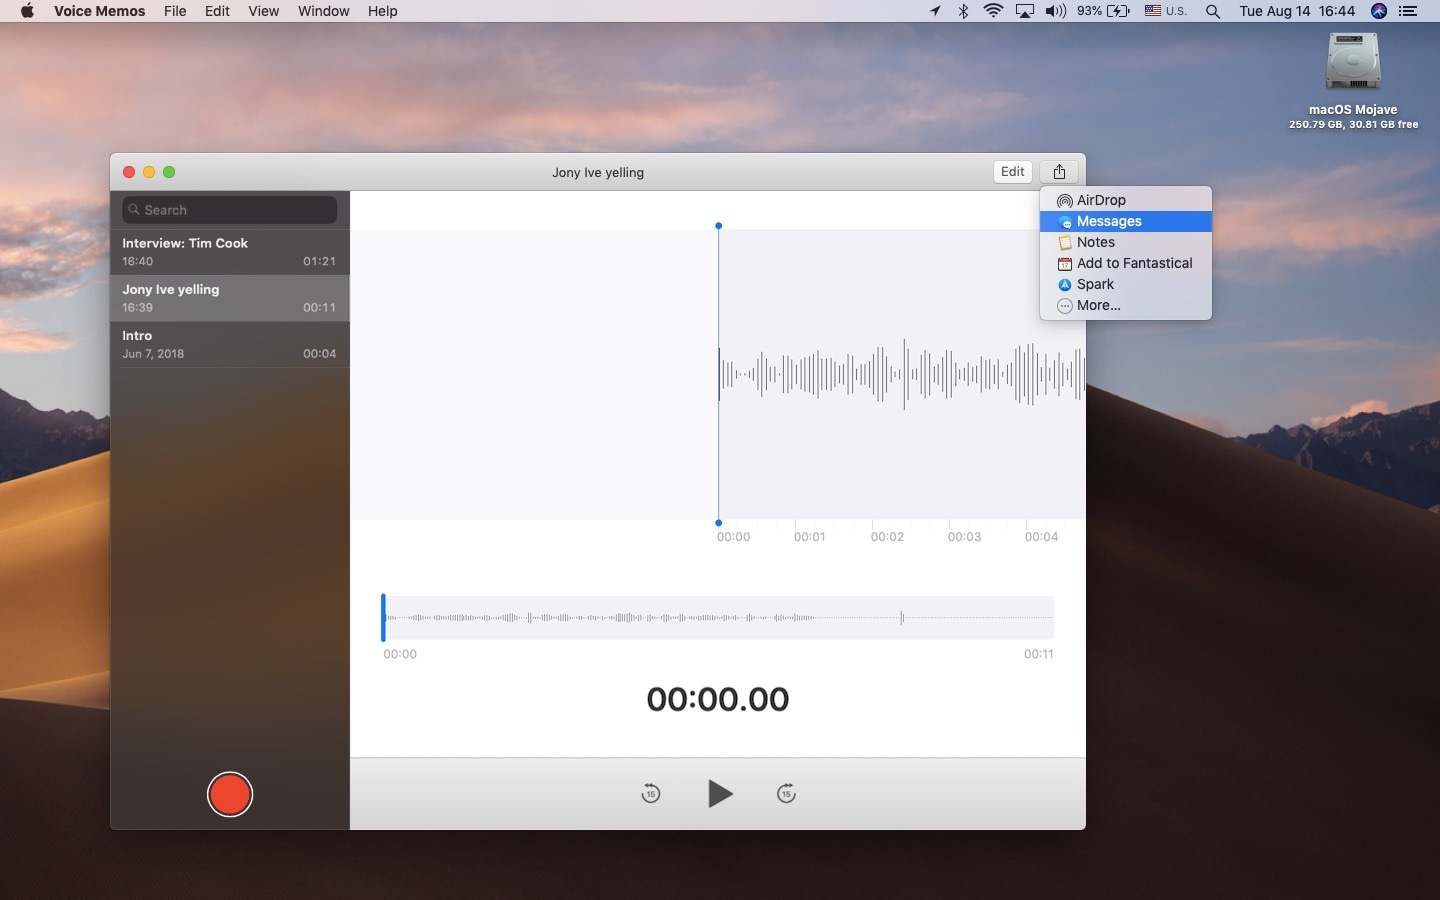
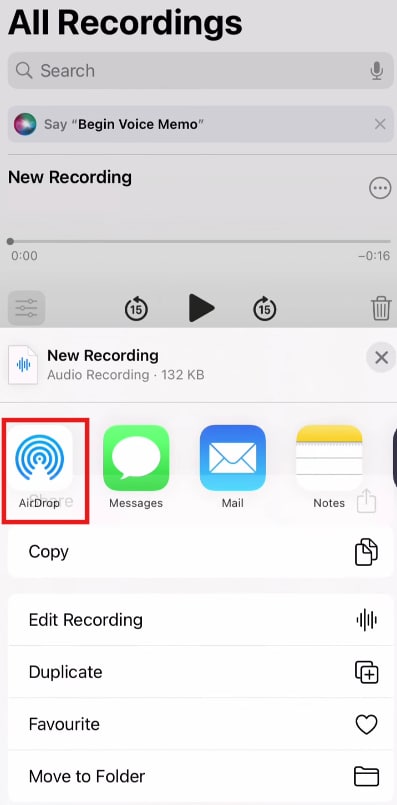
Step 1Select the voice memo for sharing Open the Voice Memos app or locate the voice message in iMessage, then tap Share and choose AirDrop.
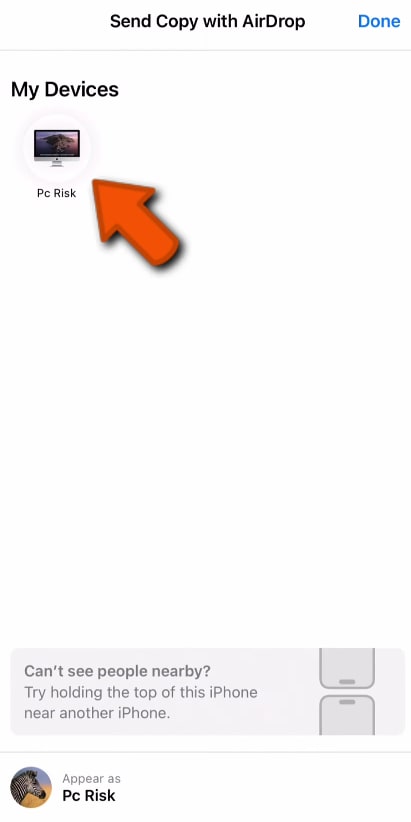
Step 2Choose the target Mac device Select your Mac from the list of available devices, ensuring Bluetooth and Wi-Fi are enabled on both devices.
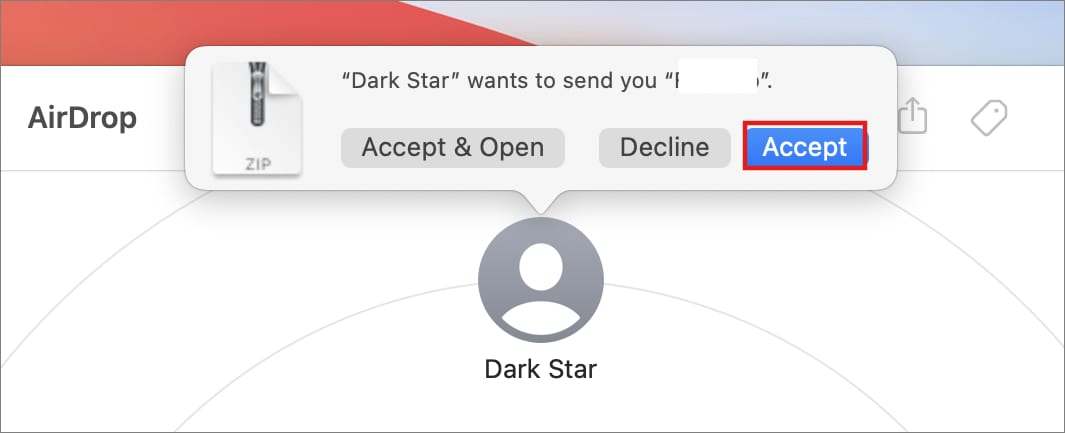
Step 3Accept and locate the file On your Mac, accept the incoming file transfer, then find the saved voice memo in the Downloads folder.
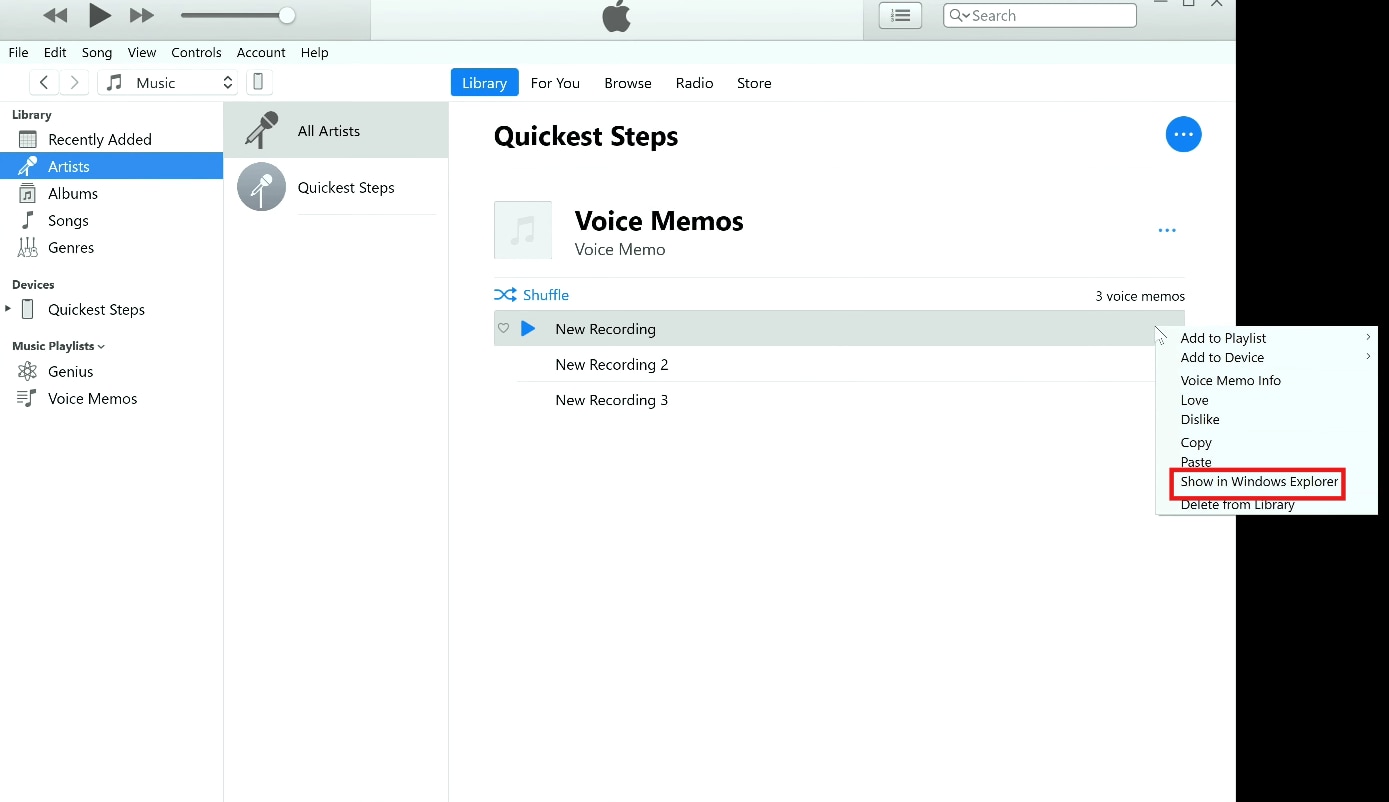
Way 4: Using iTunes (Windows) or Finder (Mac) for file transfer
For those who prefer a wired connection, iTunes (Windows) and Finder (Mac) allow you to transfer voice memos using a USB cable. This method is useful for transferring large recordings without relying on wireless connectivity.
Step 1Connect your iPhone to the computer Use a USB cable to connect your iPhone to your computer, then open Finder on Mac or iTunes on Windows.

Step 2Navigate to the Voice Memos section On Mac, select your iPhone under Locations in Finder; on Windows, click the iPhone icon in iTunes and navigate to File Sharing.
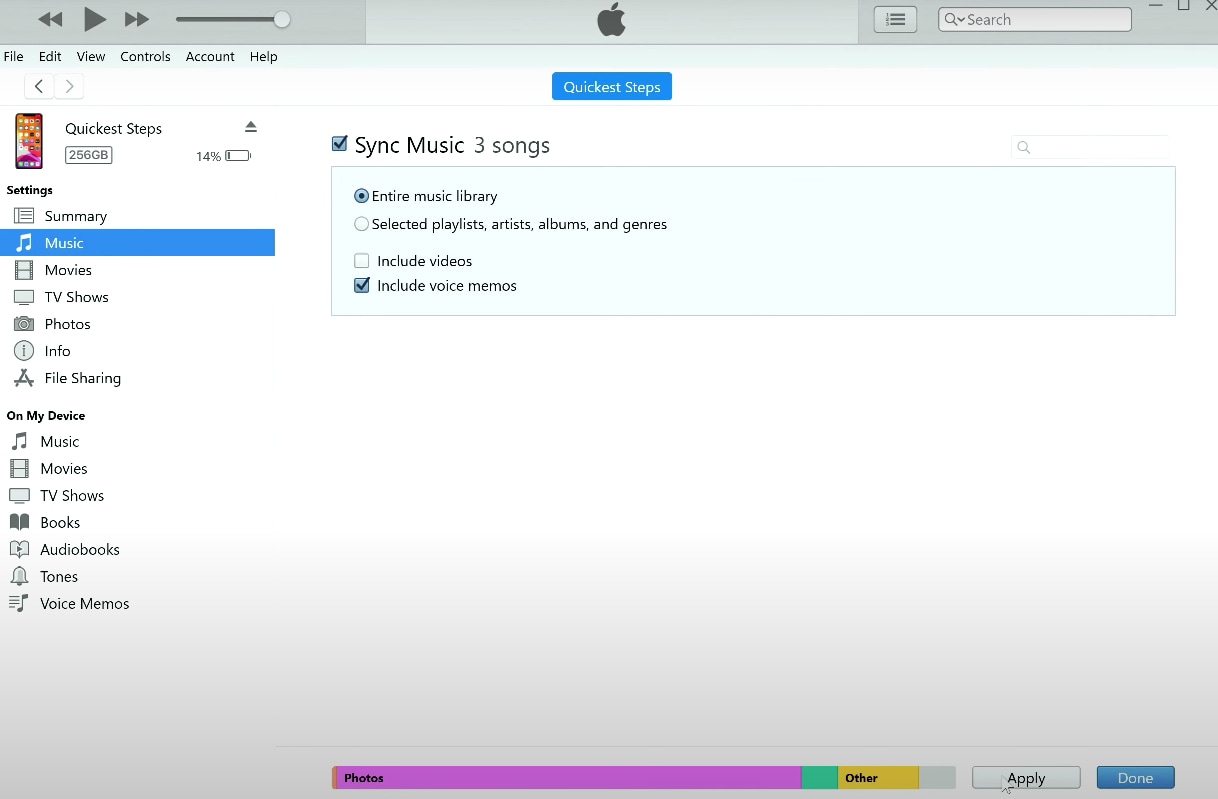
Step 3Transfer the voice memo file Locate the Voice Memos section, then drag and drop the desired files onto your desktop or another preferred folder for storage.
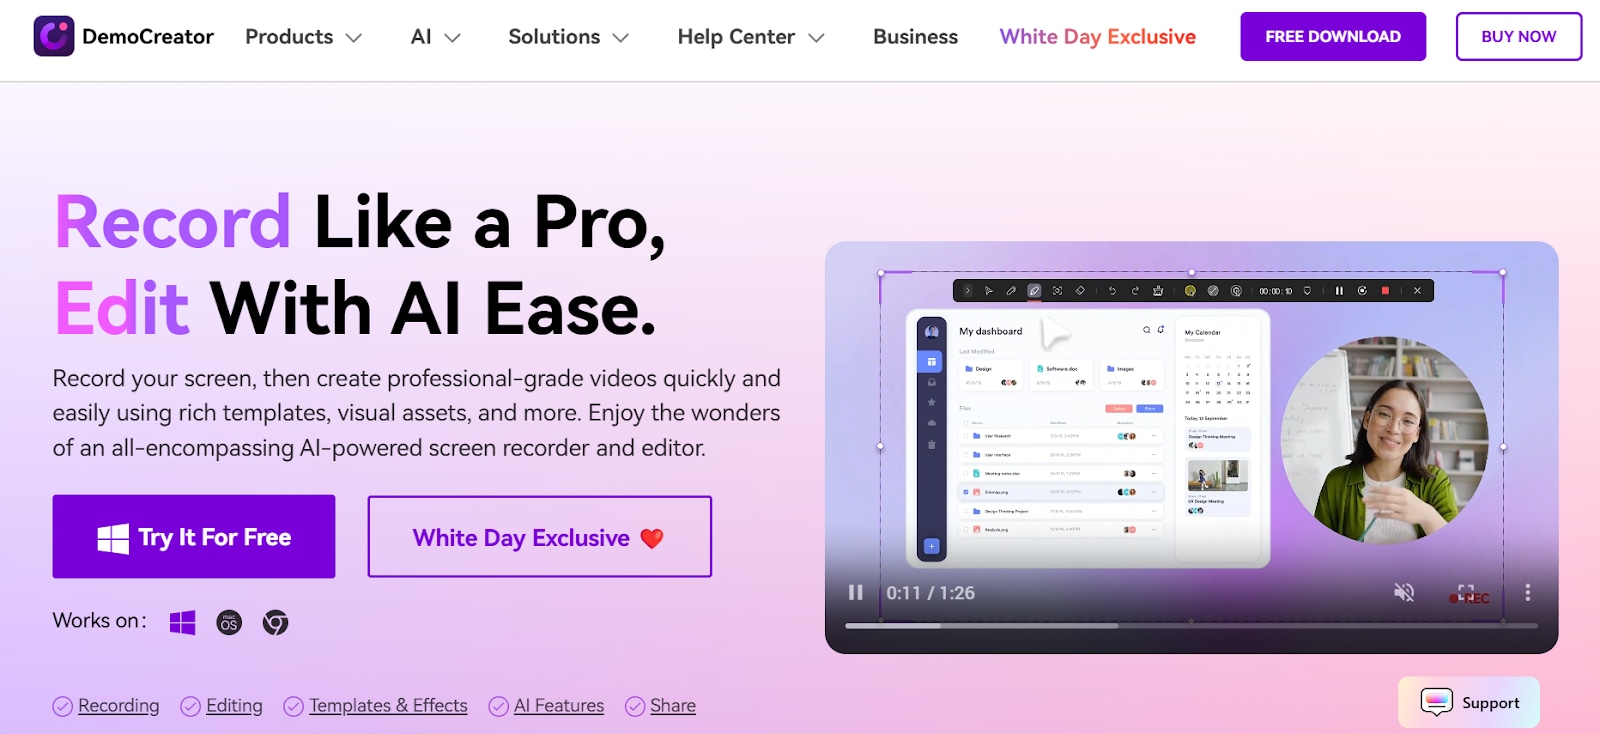
Part 4: How to Use Wondershare DemoCreator for Recording & Editing Voice Messages
If you're looking for a more advanced way to save a voice recording on iPhone and edit it professionally, Wondershare DemoCreator is an excellent solution. This tool allows you to record, enhance, and edit voice messages directly on your computer. With features like AI-powered noise reduction, trimming, and format conversion, DemoCreator makes it easy to refine your recordings. Whether you're saving important messages or creating high-quality voice content, this all-in-one tool provides seamless recording and editing capabilities.
Key Features of Wondershare DemoCreator for Saving & Editing Voice Messages
- Direct iOS to Desktop Recording: Skip the hassle of using multiple apps. DemoCreator allows you to record voice messages directly from your iPhone to your desktop for immediate editing.
- All-in-One Recording & Editing: No need to switch between apps. Capture, edit, and enhance your audio in one lightweight desktop tool.
- Pro-Level Audio & Screen Capture: Record high-quality voice messages and iPhone screen content in up to 4K resolution at 120 FPS for crisp, professional results.
- Simultaneous Recording & Narration: Capture voice messages while recording your screen or webcam, perfect for creating tutorials, explainer videos, or presentations.
- AI-Powered Editing & Enhancements: Use noise reduction, volume balancing, and AI-powered effects to polish your voice messages and recordings.
- Huge Creative Asset Library: Access 5000+ royalty-free assets, including transitions, sound effects, and text overlays to enhance your recordings.
- Optimized Export Options: Convert and save voice messages in MP3, WAV, or high-quality AAC format for easy sharing and long-term storage.
How to Save & Edit iPhone Voice Messages Using Wondershare DemoCreator
Step 1Install Wondershare DemoCreator on Your Mac
Download and install Wondershare DemoCreator from the official website. Once installed, launch the software and ensure your iPhone is connected to your Mac using a USB cable. This connection allows smooth recording and editing of voice messages without quality loss.
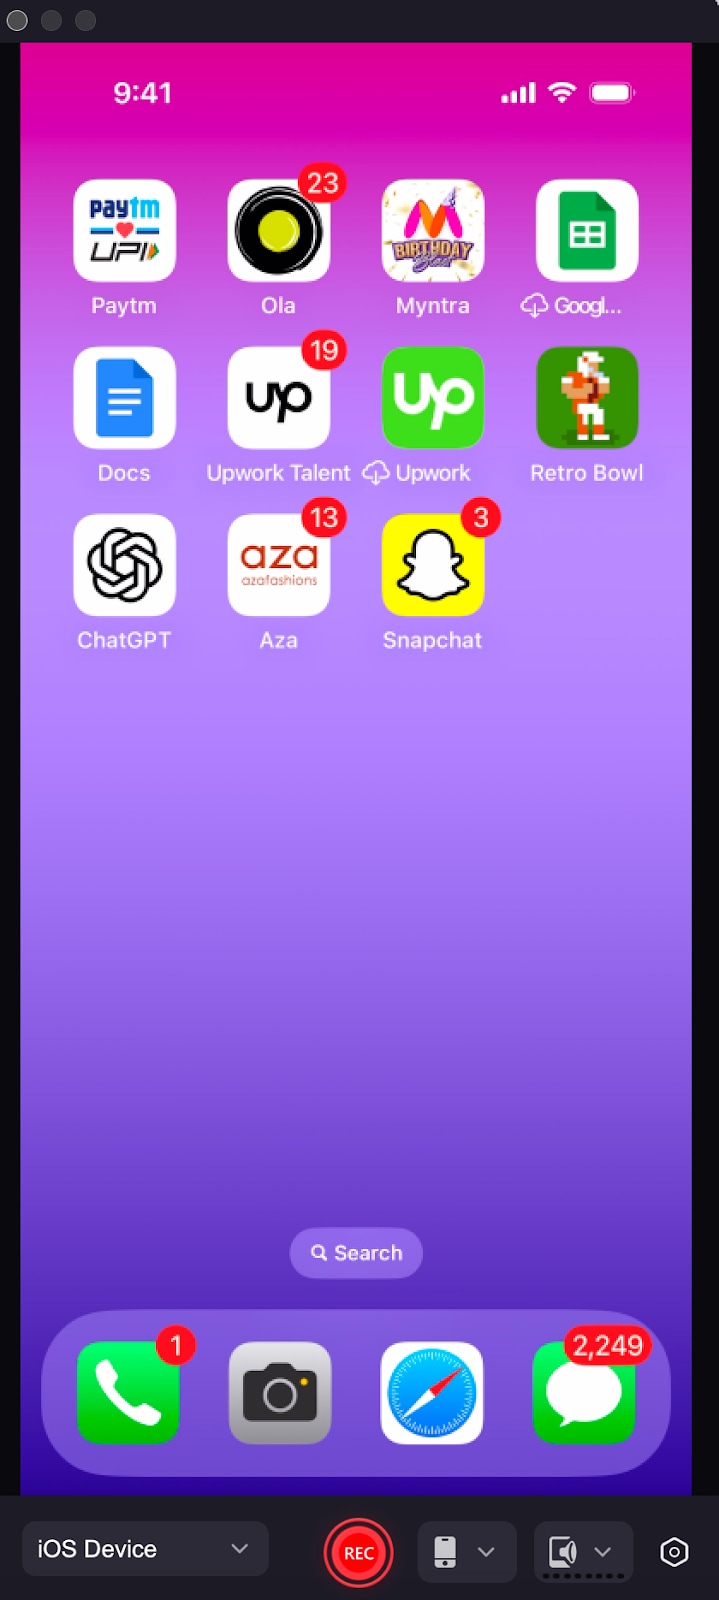
Step 2Record Voice Messages with High-Quality Sound
Click "Start Recording" to capture the audio message from your iPhone. DemoCreator ensures crystal-clear voice capture, reducing background noise for a professional sound. Further edit the audio under the advanced editing tab.

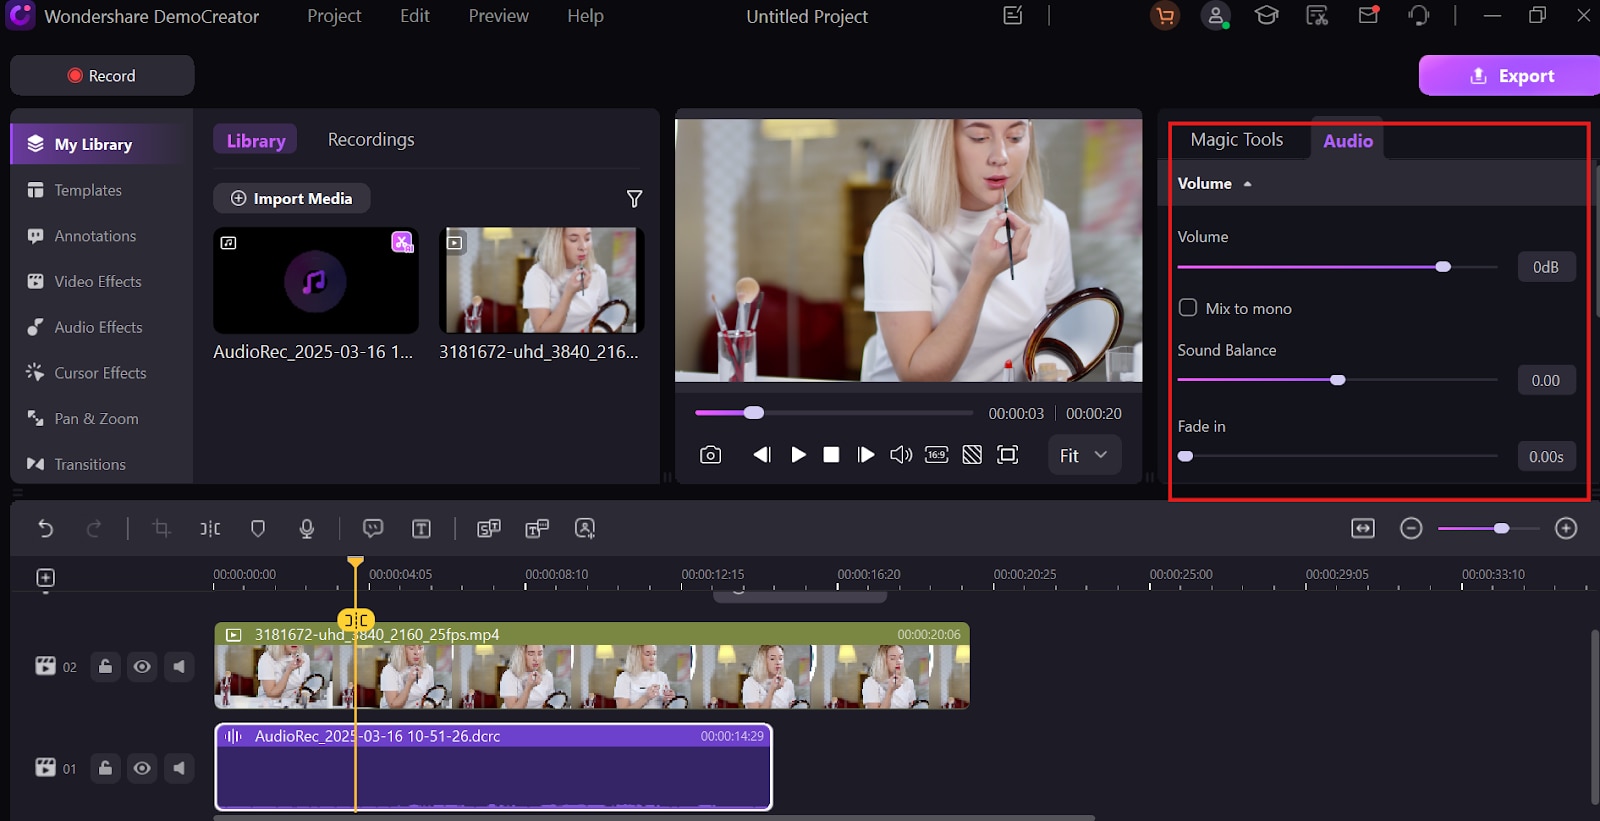
Step 3Edit & Enhance Your Audio
Use DemoCreator’s built-in AI-powered audio editing tools to trim, adjust volume, and remove unwanted noise. Add text overlays, visual effects, and music to make your recordings more engaging.
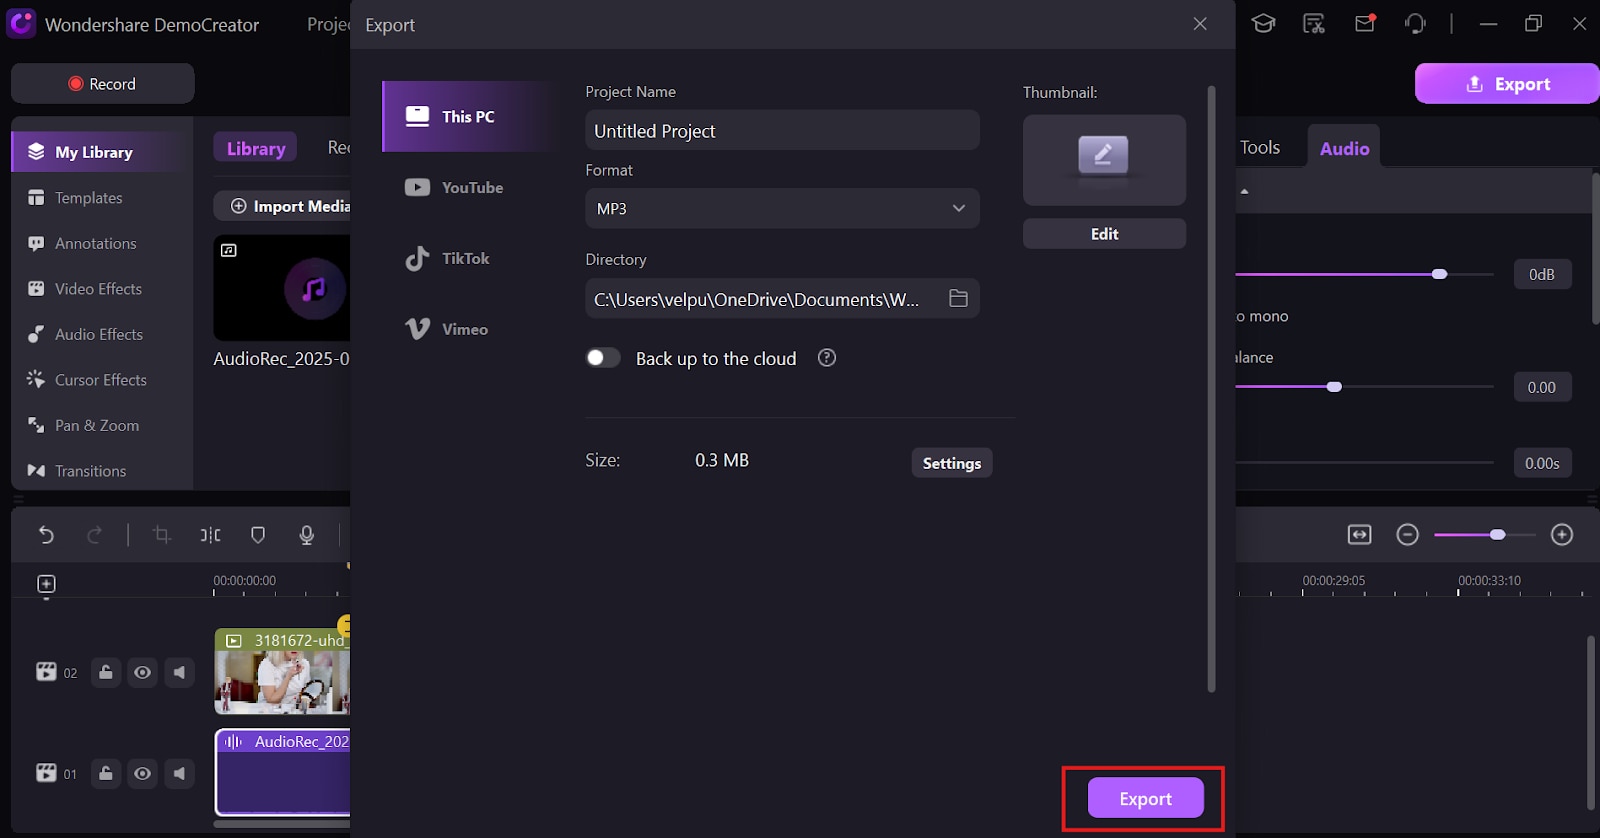
Step 4Export & Share in Any Format
Save your voice messages in MP3, WAV, or AAC format for easy playback. You can also export files optimized for social media, YouTube, or cloud storage for quick sharing.
Conclusion
Knowing how to save a voice message on iPhone ensures that important conversations and memories are never lost. Whether you're using iMessage, Voice Memos, or transferring recordings to a computer, these methods provide reliable ways to keep your voice messages safe. By troubleshooting common issues and utilizing tools like Wondershare DemoCreator, you can also edit and enhance your recordings with ease. For long-term storage, options like iCloud, AirDrop, and email make transferring files seamless. With these steps, you can secure, organize, and access your saved voice messages anytime.
FAQs
-
1. How do you save a voice message on an iPhone without it expiring?
To save a voice message on iPhone, tap and hold the message in iMessage, then select “Keep” to prevent auto-deletion. This ensures the message stays in the chat indefinitely. You can also save it to the Voice Memos app for long-term storage. -
2. Can I save a voice message as an audio file on iPhone?
Yes, you can save a voice message on iPhone by tapping and holding it, then selecting “Save to Voice Memos” if the option is available. Alternatively, use AirDrop or email to transfer the audio file. This allows for easy storage and sharing across devices. -
3. How do I share a saved voice message?
After saving a voice message on iPhone, open the Voice Memos app or locate the message in iMessage. Tap “Share” and choose from options like Messages, Mail, AirDrop, or cloud storage. This makes it easy to send the recording to others -
4. Can I transfer voice messages to my computer?
Yes, you can save a voice message on your iPhone and transfer it to your computer using iCloud Sync, AirDrop, iTunes, or email. For Windows, use iTunes or email, while Mac users can transfer via AirDrop or Finder. Wondershare DemoCreator also allows seamless recording and saving. -
5. Why do some voice messages disappear on iPhone?
By default, iOS deletes voice messages after two minutes unless you manually tap "Keep" to save them. To prevent this, adjust settings under Settings > Messages or save them to the Voice Memos app. This ensures your recordings remain accessible.


