
Introduction
YouTube may offer YouTube Music for offline audio listening, but it doesn't allow you to save songs or sound directly from YouTube to your computer or Mac, especially if you want to use the audio in your videos or other projects. To capture audio from YouTube, you can use third-party tools that enable this functionality.
This article serves to guide you toward a swift method to record sound from YouTube on a Mac. We will explore three user-friendly tools, allowing you to select the one that best suits your needs!
In this article
Part 1. Best Tools to Capture Audio from YouTube on Mac
First, we will list the third-party tools that you can use before we get into the steps how to capture audio from YouTube on Mac. We have carefully handpicked the following tools for their recording quality and ease of use: Wondershare DemoCreator, Audacity, and QuickTime Player.
1. Wondershare DemoCreator
Wondershare DemoCreator is a user-friendly software for recording your screen and editing videos. With features such as full-screen capture and multi-file format support, it gives you the option to either record and export it into audio only or include the video.
Moreover, you can enhance your recordings with various audio effects, such as fade-in and fade-out, sound balance adjustment, AI-powered noise reduction, speech enhancement, vocal removal, and voice changing. DemoCreator’s user-friendly interface makes it easy to use, and it’s also compatible with Windows, macOS, and online.
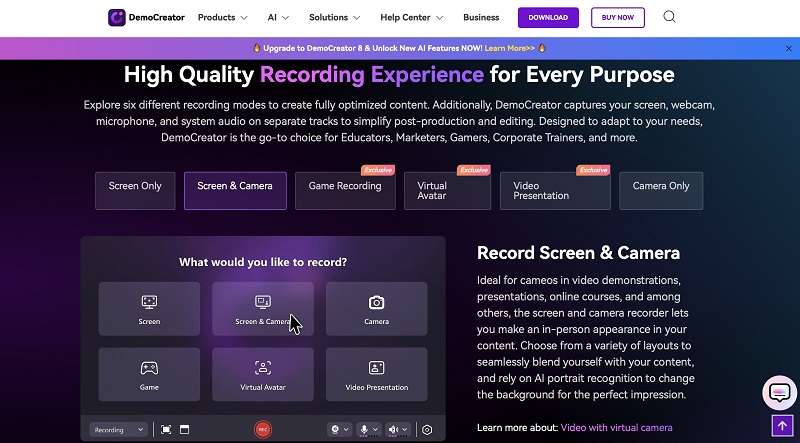
Our thoughts: Wondershare DemoCreator is an excellent option for those in need of a straightforward tool for screen recording and video editing. Its intuitive interface allows for quick recording and editing, making it ideal for creating tutorials or presentations without a steep learning curve. For users seeking a hassle-free solution that combines recording and editing, DemoCreator is a reliable choice.
2. Audacity
Audacity is a versatile and powerful free audio software offering comprehensive tools for recording, editing, and exporting audio. It works across various operating systems like Windows, macOS, and Linux. With Audacity, you can record sound from different sources, edit multiple tracks, and save your audio in various formats. Additionally, it features plugins and effects to maintain sound quality.
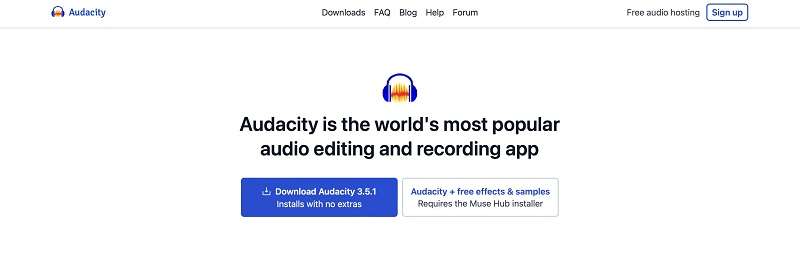
Our thoughts: Audacity is an excellent choice for both simple and complex audio projects. While it may require some time to learn, its multitude of features and high-quality results make it worthwhile. With patience, Audacity can greatly enhance your audio needs.
3. QuickTime Player
QuickTime Player, a product by Apple, comes pre-installed on all Mac computers. Primarily used for video playback, it also allows audio recording and editing. QuickTime Player boasts ease of use and compatibility with macOS, making it perfect for basic audio tasks.
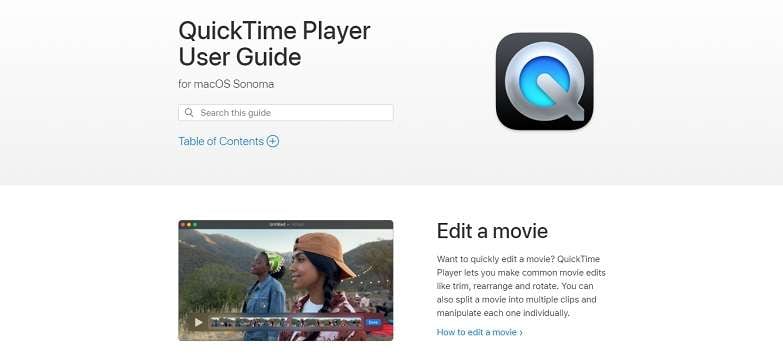
Our thoughts: QuickTime Player is an excellent tool for those seeking a straightforward and dependable method for recording audio or performing basic edits. It's particularly suitable for users who prefer simplicity over complex software. However, for advanced editing features or higher-quality recordings, alternative programs may be more suitable.
Part 2. How to Capture Audio from YouTube on Mac
After we've familiarized ourselves with the tools for recording audio from YouTube Mac, now it’s time to learn how to use them. We will begin with Wondershare DemoCreator first, then Audacity and QuickTime Player.
1. How to Record Audio from YouTube Using Wondershare Democreator
Step 1. Download and install Wondershare DemoCreator from its official website.
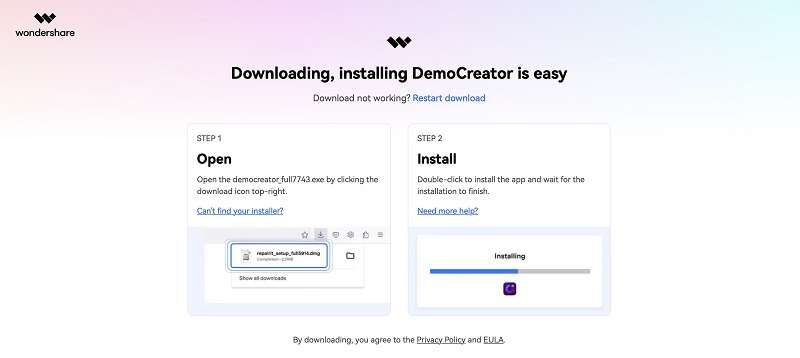
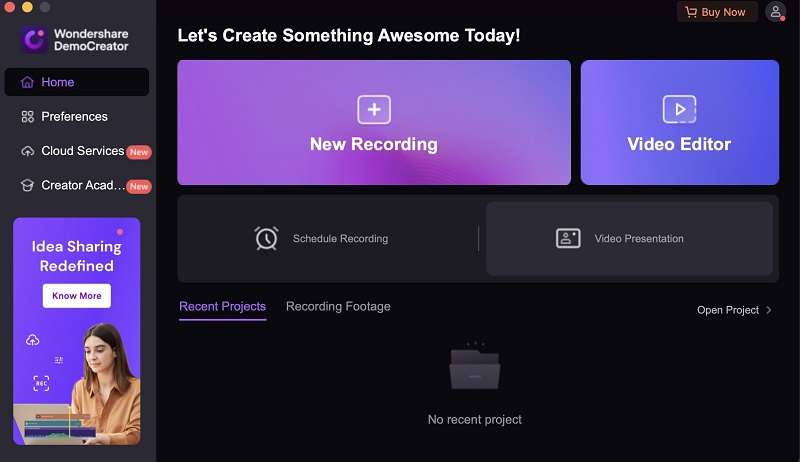
Step 2. Open DemoCreator on your Mac and select "New Recording."
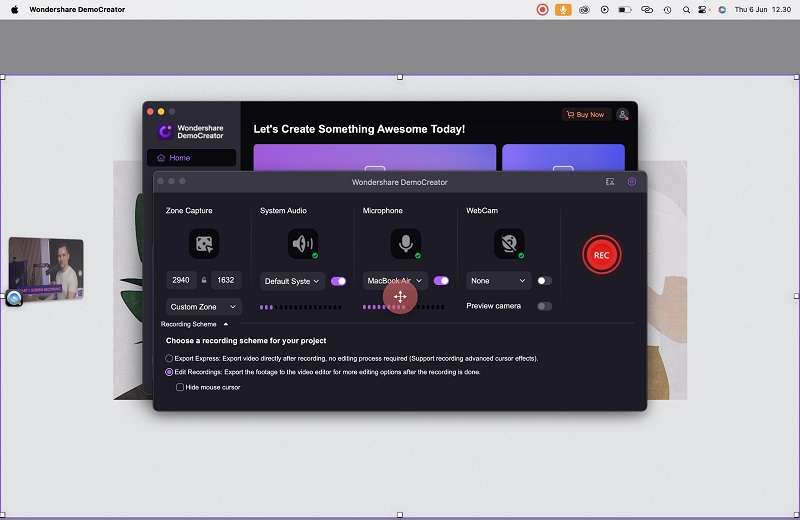
Step 3. Adjust the recording frame to fit the YouTube video.

Step 4. To begin recording, click the "Rec" button first, then start playing the YouTube video. If your video/audio starts late and it already starts recording, don't worry. You can adjust it later using the software.
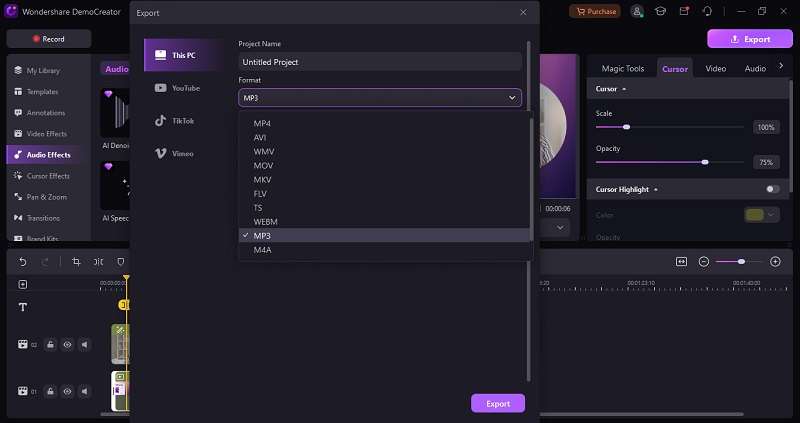
Step 5. Once done, click stop and you’ll be directed to its editing interface. Make any necessary adjustments if you’d like, then export to MP3 if you want to save the audio only.
2. How to Record Audio from YouTube Using Audacity
Step 1. Download and install Audacity from its official website.
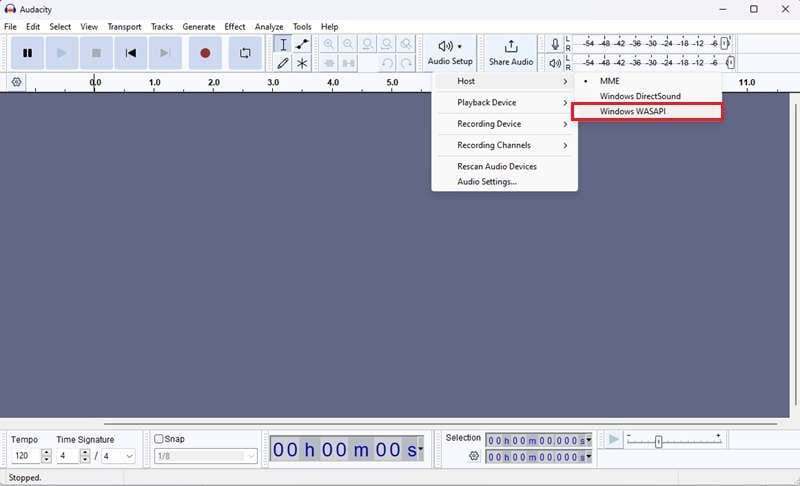
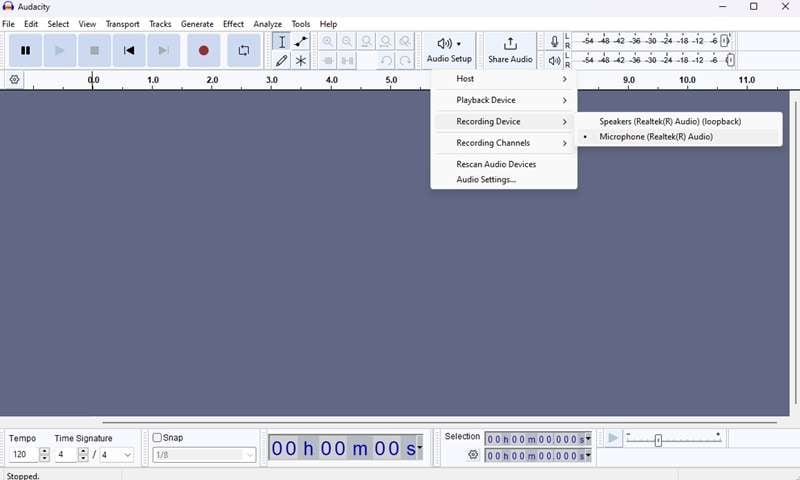
Step 2. Open Audacity and change the 'Host' setting to Windows WASAPI in the Audio Setup menu.
Step 3. Select your main output device on the 'Recording Device' menu.
Step 4. Open the YouTube video and click the Record button in Audacity to start recording.
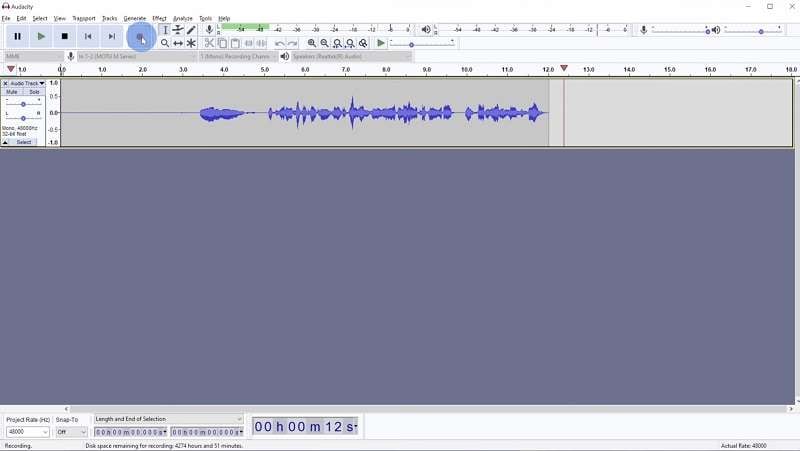
Step 5. Stop the recording once the YouTube video ends and click File > Export to save the audio in your preferred format.
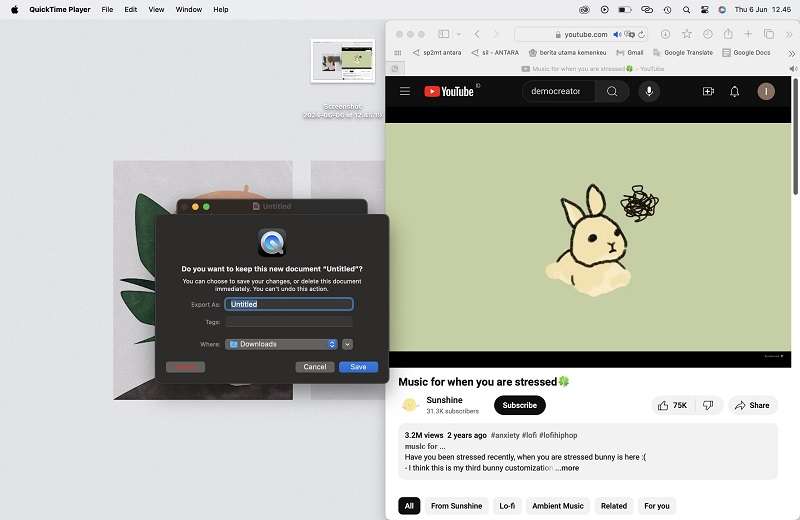
3. How to Record Audio from YouTube Using QuickTime Player
Step 1. Open QuickTime Player, and select New Audio Recording from the File menu.
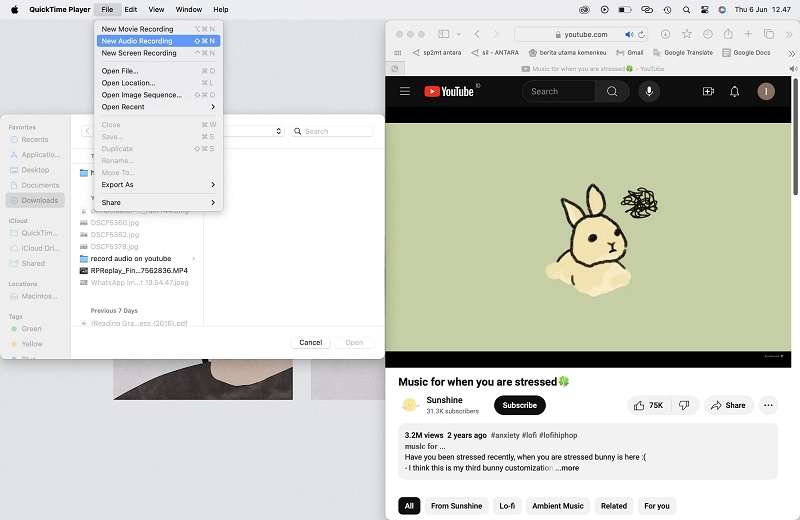
Step 2. Open the YouTube video, and start recording in QuickTime Player.
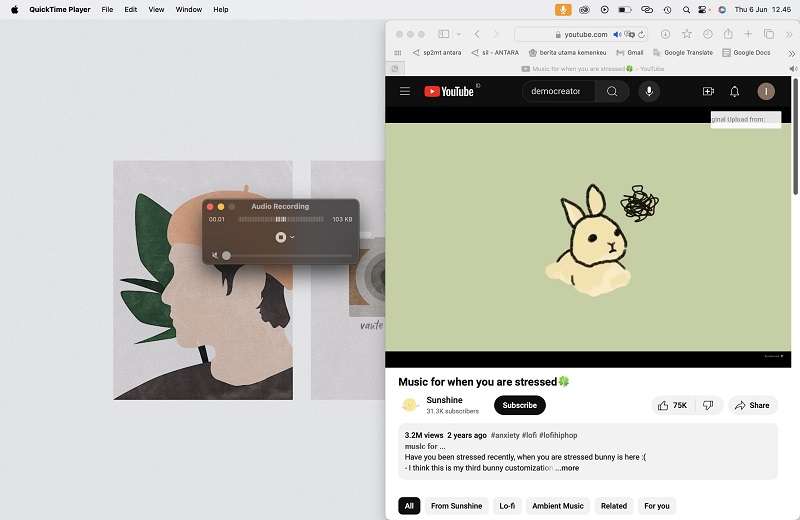
Step 3. Stop the recording if you are done. Then, save the recording.
Part 3. Tips for Recording Audio from YouTube
It's important to know these tips when picking software for recording YouTube audio on your Mac. Following these tips will help you get good results and stay within the law.
1. Making Sure Recordings are Good Quality
Choose software that can make high-quality audio recordings. Look for features like adjustable bit rates and sample rates, which make the sound better. Check user reviews to see what people think about the sound quality. Test the sound before recording to adjust settings for the best quality.
2. Fixing Common Problems
Sometimes, recording can have issues. If no sound is recorded, make sure the right audio input is chosen in the software settings. Adjust your Mac's settings to fix sound recording problems.
To fix bad sound quality, change the recording settings. Lower the volume if it's too loud and use noise reduction if available. If the software crashes, update it or close other programs to free up resources. Restarting your Mac might help too.
3. Legal Stuff
Recording audio from YouTube might be against the law if you don't have permission. YouTube says you can't download content without the owner's okay. Sometimes, you can record audio under "fair use" for things like school or talking about stuff, but it's tricky.
If you're not sure, don't share the audio without permission. Respecting copyright helps creators and keeps them out of trouble.
Conclusion
When you want to capture audio from YouTube on your Mac, there are a few tools to pick from. But, Wondershare DemoCreator is the best choice. It's easy to use and does everything you need quickly.
As the simple guide showed, DemoCreator makes it easy. You don't need to do tricky stuff or change your Mac's settings. Just install DemoCreator, record your audio from YouTube, and save it how you like.
Compared to other ways, DemoCreator is easy and works well. It's good for anyone to use. With DemoCreator, getting audio from YouTube is simple and reliable.


