
Are you looking for user-friendly Linux screen recording software? You're in for a treat because you can get many excellent tools from the Snap Store, Flathub, and other alternatives, including third-party sources.
We're here to simplify your search, rounding up the best screen recorders for Linux this year. Check out how we picked them before diving into their features, advantages, disadvantages, and user ratings. Keep scrolling for a bonus solution to record your screen like a pro.
Table of Content
How We Picked the Best Screen Recorders for Linux
We used the following guidelines when researching and testing Linux screen recorders:
- Features - Besides trying the solutions to ensure high-quality screen recordings, we checked for added functionalities like recording mouse clicks, customizable recording settings, and live streaming.
- Performance - The best screen capture for Linux should perform well without bogging down your computer. Therefore, we picked high-performing tools with minimum CPU usage. Only one consumes more CPU but makes up for it in the features department.
- Ease of use - All our featured solutions have an intuitive interface. Some with bare-bones functionality made it to the list because of it.
- User reviews - We thoroughly research user experiences before recommending any software. We're confident you'll love the tools below as much as other users.
- Pricing - A Linux screen recorder doesn't need to break the bank. As it happens, all the solutions below are free.
Consider these factors when choosing the best screen recording software for Linux, whether you pick one of the tools below or an alternative.
Top 8 Linux Screen Recording Software
Here's a brief overview of our top picks, including the best use cases, supported platforms, language support, and download size. All are free and open-source.
| Screen Recorder | Best for | Platforms | Languages | Size |
| OBS Studio | Live streaming, tutorials, and gameplay recordings with layered audio tracks | Linux (Xorg and Wayland support), Windows 10 and 11, and macOS 11.0 and above | 59 (including English) | 350 MB |
| Kazam | Screenshots, HD screencasts, and live streaming in multi-monitor setups | Linux Mint, Debian, and Ubuntu using an Xorg display server | English | 325.9 kB |
| SimpleScreenRecorder | Recording games and programs for tutorials or presentations | All Linux distributions using Xorg | English, Portuguese, Ukrainian, Chinese, Basque, and Tamil | 90.9 MB |
| recordMyDesktop | Recording desktop activities for tutorials in a multi-screen setup | All Linux distros using Xorg | English, German, Greek, French, Dutch, Ukrainian, Chinese, Japanese, and Russian | 198.7 kB |
| Kooha | Simple screen recordings in a multi-display setup | All Linux distributions (Xorg and Wayland servers) | English | 44.2 MB |
| Blue Recorder | High-FPS screen recordings in a multi-screen setup | All Linux distros (Xorg and Wayland servers) | English | 152.4 MB |
| Gifex | Creating GIFs from screencasts | All Linux distributions using Xorg | English | 499.7 kB |
| GNOME Screen Recorder | Screenshots and screen recordings without audio | All GNOME-based Linux distros (Xorg and Wayland support) | Any (depending on the region settings) | Unknown |
OBS Studio

OBS Studio is professional-grade Linux video capture software. As one of the most advanced solutions, it's feature-rich and takes some getting used to, but it produces top-notch recordings up to 4K.
It supports FLV, MKV, MOV, MP4, M3U8 (HLS), and TS video formats and AAC, ALAC, FLAC, Opus, and PCM for audio. The best part is multi-track support for audio sources, enabling you to edit them separately.
Key Features
- Multi-source support - choose a display, browser, window, game, webcam, video capture device, or another video source and create multiple scenes with seamless transitions;
- Audio mixer - record up to six audio sources (including a microphone, system audio, and application sounds) and use filters like noise suppression and gain;
- Live streaming - broadcast your recording on multiple platforms like Twitch or YouTube.
Pros & Cons
User Ratings
OBS Studio has a 4.7/5 rating on Capterra and an impressive 8.9/10 rating on TrustRadius.
Kazam

Kazam is a Linux Mint, Debian, and Ubuntu screen capture tool. Besides screenshots and screencasts, it lets you create webcam and live recordings and is ideal for computers with multiple displays.
However, you can't get the latest 1.5.8 version on the Snap Store, so visit GitHub or PyPI. Otherwise, you won't have broadcast and webcam support.
Key Features
- Screen and webcam recording - simultaneously capture your screen and webcam with internal and external audio sources;
- Customizable recording area - choose the entire screen, a custom selection, window, or all displays in a multi-monitor setup;
- Mouse and keyboard recording - record your cursor, mouse clicks, and key presses;
- Live streaming - broadcast your screencast on YouTube.
Pros & Cons
User Ratings
Kazam has a 4.5/5 rating on AlternativeTo.
SimpleScreenRecorder

SimpleScreenRecorder lets you record your screen with audio and is perfect for tutorial or gameplay recordings. It displays a preview, statistics (e.g., FPS in and out, time, and bitrate), and logs while recording and can add timestamps and separate files per segment.
It supports MKV, MP4, OGG, and WebM video formats and AAC, MP3, Vorbis, and uncompressed options for audio.
Key Features
- Four recording modes - capture the entire screen, an OpenGL window, a V4L2 device (e.g., a webcam or capture card), or a fixed rectangle (which can follow your cursor);
- Multi-audio recording - choose your built-in sound device, an external microphone, and any backend source through JACK, ALSA, or PulseAudio sound servers;
- Customizable recording settings - select video and audio codecs, adjust the bitrate and constant rate factor, allow frame skipping, and record the cursor.
Pros & Cons
User Ratings
SimpleScreenRecorder has a 4.5/5 rating on AlternativeTo.
recordMyDesktop

recordMyDesktop is another lightweight screen recorder for Linux. Like Kazam, it supports a multi-display setup and can capture your mouse cursor.
However, it doesn't support webcam recording. Also, it only outputs video and audio files in open Theora and Vorbis formats (respectively) using the OGG container.
Key Features
- Display selection - choose a monitor from a multi-screen setup;
- Three screen recording modes - capture the entire screen, a window, or a custom area, which can change if you enable following the mouse cursor;
- Advanced settings - adjust the video and sound quality, record your mouse pointer, window decorations, and tooltips, and outline the capture area.
Pros & Cons
User Ratings
recordMyDesktop has a 4.0/5 rating on AlternativeTo and a perfect 5.0/5 rating on SoundForge.
Kooha

Kooha is a no-frills Linux screen capture tool. It lets you record your screen with audio in a few clicks while capturing your mouse cursor, making it ideal for tutorials.
You can choose a monitor and output format (MKV, MP4, WebM, or GIF) and adjust the recording delay, frame rate, and location. That's about it, making it perfect for beginners or anyone creating a quick how-to video.
Key Features
- Display selection - choose a monitor from a multi-screen setup;
- Three recording modes - capture the entire screen, a window, or a custom selection with or without a mouse pointer;
- Audio recording - simultaneously record your microphone and system audio while capturing the screen.
Pros & Cons
User Ratings
Kooha has a perfect 5.0/5 rating on AlternativeTo.
Blue Recorder

If you liked the discontinued Green Recorder, you'll love its Blue successor. The Rust-based Blue Recorder uses a GTK3 toolkit for a smoother interface and supports all Linux distributions, including those with Xorg and Wayland display servers. It lets you choose from six video output formats (AVI, MKV, MP4, NUT, WMV, and GIF) and modify the frame rate and recording delay.
However, it's still in development, with the latest 0.2.0 version in the edge channel. The Snap Store only has the older, stable 0.1.4 software version, which doesn't support a multi-display setup and has frequent crashes and glitches. Therefore, choose the newer edition on Snapcraft and install it using the Linux Terminal.
Key Features
- Three recording modes - choose a monitor and capture the entire screen, a window, or a custom area, which can change if you enable following the mouse pointer;
- Audio recording - record system audio with or without your microphone while capturing the screen, or choose a PulseAudio input source;
- Customizable settings - capture the mouse cursor, adjust the frame rate, set a recording delay, and select an output format and location.
Pros & Cons
User Ratings
Blue Recorder is relatively new and has one 3.5/5 user rating on Softpedia and 72 in the Snap Store, where it has only 2.5/5 stars. However, that's where the glitchy version is, so the rating isn't surprising.
Gifex

Gifex is a Linux screen recorder for creating screencasts in the GIF format. It has no advanced features but is excellent for quick desktop tutorials that don't need audio.
However, it's available only on Linux distros using Xorg. The developers plan on including Wayland support and more functionalities in future updates.
Key Features
- Region selection - specify a fixed area to record or make it follow your cursor;
- Capture settings - record your mouse pointer, decoration hints, and the selection rectangle;
- GIF editing - preview and trim the recording, modify the frame rate and resolution, add a looping effect, change the location, and save the clip in the GIF format.
Pros & Cons
User Ratings
Gifex has a 3.5/5 rating on the Snap Store and 4.0/5 stars on Softpedia.
GNOME Screen Recorder

Have you ever used the PrtScr key to create a screenshot or screencast on Linux? You've used the built-in GNOME Screen Recorder (or the Screenshot tool, depending on who you ask).
It's a straightforward screen recorder Ubuntu users (and others relying on all Linux distros) love because of its no-nonsense functionality. It captures your screen and calls it a day. However, it has no additional settings and supports only the WebM format.
Key Features
- Screenshot tool - capture the entire screen, a custom selection, or a window;
- Screencast recording - record your desktop, application window, or a selected area;
- Automatic saving - access your captures in /Pictures/Screenshots and /Videos/Screencasts in the Home directory.
Pros & Cons
User Ratings
GNOME Screen Recorder is a native Linux utility unavailable as a standalone app. Therefore, neither the Snap Store nor other sources feature its user ratings.
How To Pick Recording Software for Linux
Choosing a screen recorder for Linux boils down to system requirements and your needs. Does your Linux distro use Xorg or the new Wayland display server? Do you need a screen recording with audio? Do you wish to capture your webcam or create screencast-based GIFs? What about cursor movements, mouse clicks, and tooltips?
Do you want an option to choose a monitor to record if you have more than one? Do you wish to route audio between your hardware and applications or output it to multiple sources? If so, your best bet is a screen recorder supporting multi-display setups and sound servers like PulseAudio.
The best way to choose a perfect fit is to try various tools. All those in the Snap Store, Flathub, and GitHub are free, so install them to explore all the features. You're bound to find something you like.
Bonus: Best Screen Recorder for Windows/Mac
If you're a seasoned Linux user, you know you can run Windows programs on your system. That requires command-line knowledge, but you don't need to be an expert. The Linux community offers user-friendly tutorials and tips anyone can follow.
Therefore, you don't need to stick with Linux-exclusive screen recorders; you can use Windows-based software to unlock many more features.
Wondershare DemoCreator is one example. It's a professional screen recorder Linux users can enjoy. Besides recording your screen and camera with audio (internal and external), it can help you create virtual avatar recordings and video presentations (integrating them with video conferencing and live streaming platforms). It even has a game-integrated mode for 24-hour 4K or 8K recordings at 120 FPS.
Furthermore, it has a feature-rich video editor with AI-powered tools, including a subtitle and auto-caption generator, denoiser, voice changer, speech enhancer, etc. You can also edit your screen, camera, microphone, and system audio tracks separately.
How do you run this Windows software on Linux? You can use Wine, PlayOnLinux, or a similar compatibility layer.
Here's how to install Wine, run Wondershare DemoCreator on Linux, and record your screen:
- Launch the Terminal using the Ctrl + Alt + T shortcut.
- Run this command to refresh your system's packages and avoid compatibility problems:
sudo apt update. The first Terminal command requires a password, but you won't see it as you type.
- Upgrade the installed packages with this command:
sudo apt upgrade -y.
- If you use 64-bit Linux, enable 32-bit architecture with this command:
sudo dpkg --add-architecture i386.
- Make a directory for the Wine repository keyrings:
sudo mkdir -pm755 /etc/apt/keyrings.
- Download the Wine repository key:
sudo wget -0 /etc/apt/keyrings/winehq-archive.key https://dl.winehq.org/wine-builds/winehq.key.
- Download the Wine repository source for your system. You can choose from Ubuntu, Debian, and Fedora WineHQ binary packages. We'll execute a command for Ubuntu 22.04:
sudo wget -NP /etc/apt/sources.list.d/ https://dl.winehq.org/wine-builds/ubuntu/dists/jammy/winehq-jammy.sources.
- Update your packages with
sudo apt update.
- Finally, install the latest stable Wine version:
sudo apt install --install-recommends winehq-stable -y.
- Verify your Wine installation:
wine --version.
- Launch Wine's GUI configuration tool with the
winecfgcommand and choose the desired Windows version. DemoCreator supports Windows 7, 10, and 11.
- Download Wondershare DemoCreator for Windows.
- Right-click the installation file, click Open With Wine Windows Program Loader, and follow the steps to install the software.

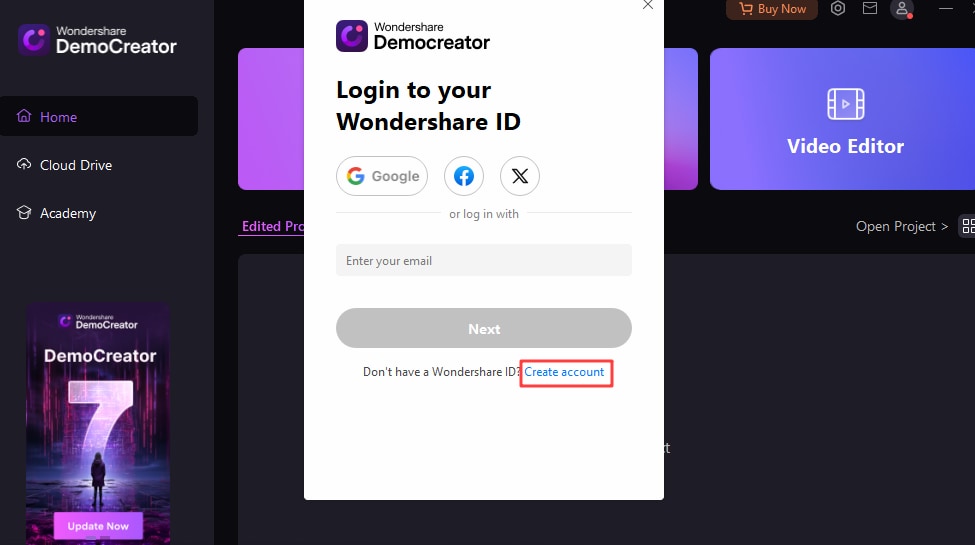
- Launch DemoCreator and register or log into your account.
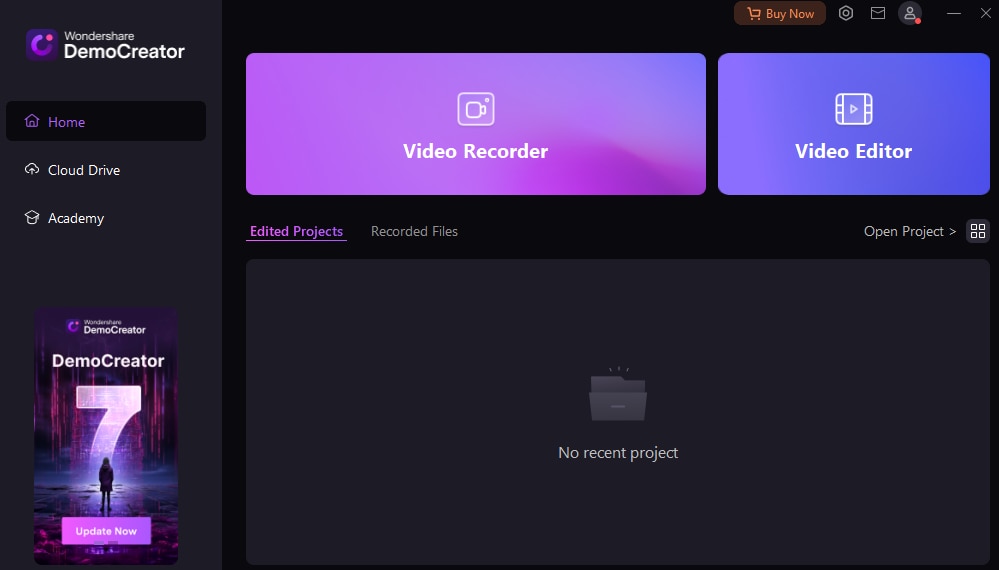
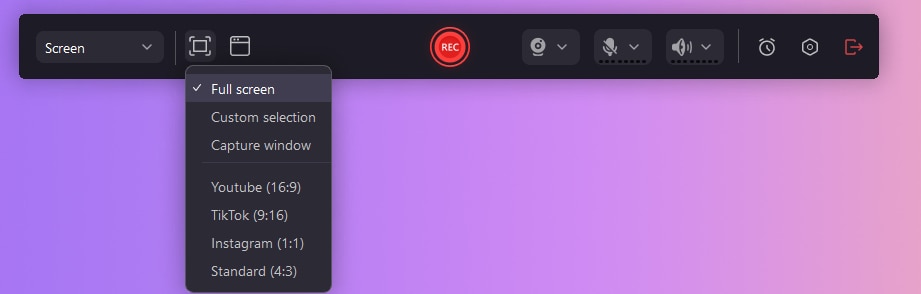
- Open the Video Recorder.
- Choose a recording mode.
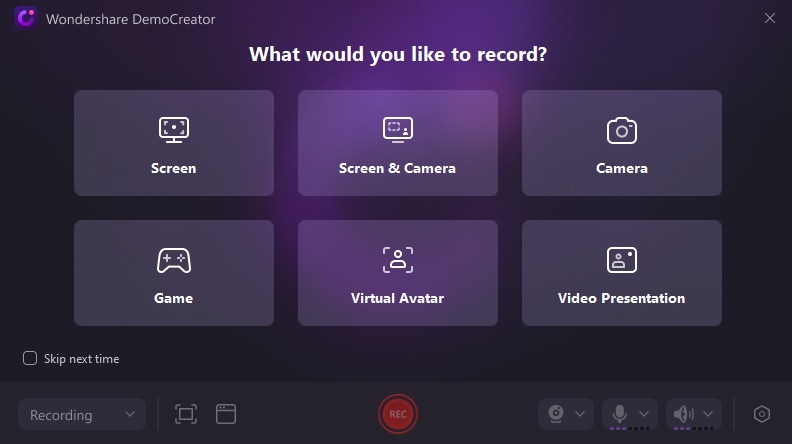
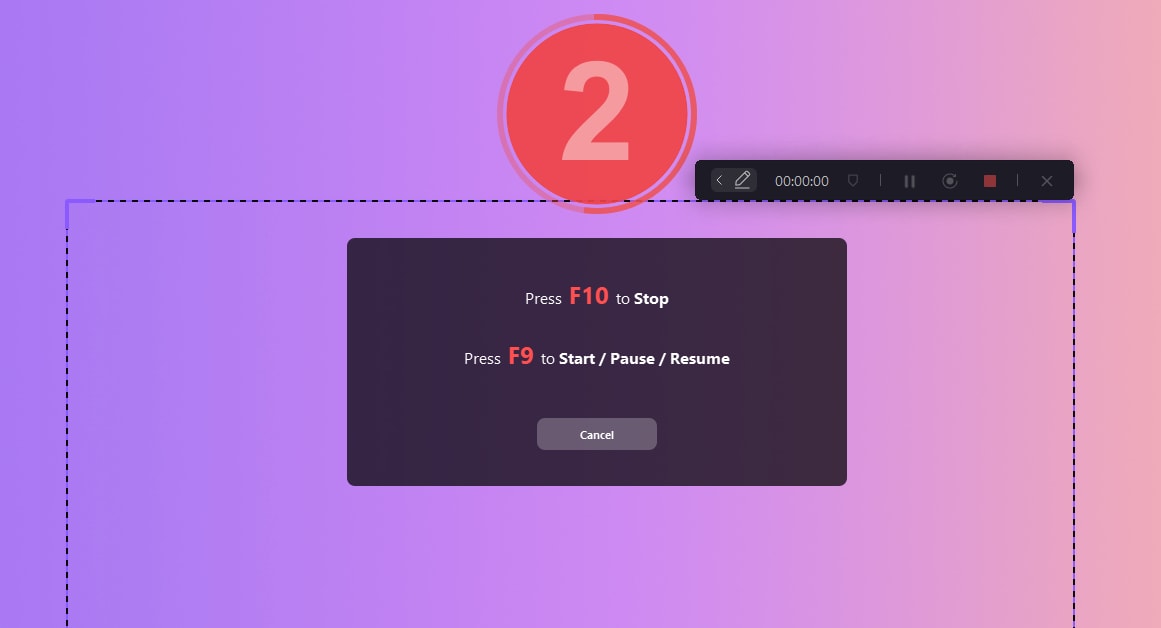
- Specify the recording area, choose your camera, microphone, and system audio device, and start recording with REC or F9.
- You'll see a three-second countdown. Pause and resume anytime with F9, expand screen drawing tools with Ctrl + Shift + D, and hit F10 or the Stop button to finish recording.
Conclusion
Have you found your favorite Linux video recording software? All the free, open-source options above are excellent choices.
However, Wondershare DemoCreator may be the best screen recorder for Linux because it can help you create high-definition recordings and polish them with AI and many standard editing tools. It may require using the Terminal, but the effort pays off.


