

The COVID-19 pandemic made online learning practical yet fun, and even after its end, most universities have retained the format, as online learning lets students get an education from home.
However, with most students loving to sleep in and many working to pay the bills, attending lectures isn't always an option. In those situations, recording lectures on a Mac comes in handy, helping educators create engaging content for those who aren't always present.
That's why today's guide will focus on the best ways to record lectures on a Mac. So, stay around as we delve into the top tools for the task and show you how to record lectures on a Mac with audio.
A Quick Comparison of Lecture Recording Methods
Before we delve deeper into the tools you can use to record a lecture on Mac, we'd like to compare these tools' effectiveness and ease of use. That way, you can choose a tool depending on what you value more between these two aspects and find a method that best suits your needs.
| Method | Effectiveness | Ease of Use |
| Screen Recording and Editing Software DemoCreator |
High - As a professional screen recorder and editor, DemoCreator makes recording lectures on Mac effortless. The built-in video editor makes the app even better, as users can import PowerPoint files and record voiceovers. | High |
| Mac Built-in Tool QuickTime Player |
Low - QuickTime Player can record lectures on a Mac, but only with microphone audio. It won't be the best choice if your lectures include background music and video demonstrations. The tool also lacks many annotation tools and editing features. | Medium |
| Online Recorder DemoAir |
High - Recording lectures on a Mac with DemoAir is a breeze, and the web app's Online Video Recorder, Online AI Video Presentation mode, and Screen Recorder for Chrome can be incredibly valuable for any educator. | High |
Method 1. Record Lectures on Mac Using Wondershare DemoCreator
Having professional screen recording and editing software by your side can make learning significantly more convenient. A tool like Wondershare DemoCreator is a perfect example, as it includes everything an educator might need, making it the best app to record lectures on a Mac.
Since both older Intel-based devices and the latest Apple Silicon Macs with M1 and M2 chips support it, the app runs flawlessly on any Mac device made in the last 15 years. Its user-friendly interface makes screen, webcam, system sound, and microphone audio recording seamless, and you can record a lecture on a Mac with it in a few simple steps. Here's how:
- Launch the app on your Mac and select the All-in-One Recorder.

- Adjust the Capture Area by selecting a resolution preset or clicking Custom area and manually adjusting the recording window to fit your lecture. Set the Webcam if you'd like to add yourself to the lecture video.

- Enable System Audio and Microphone recording to include these in your lecture recordings.
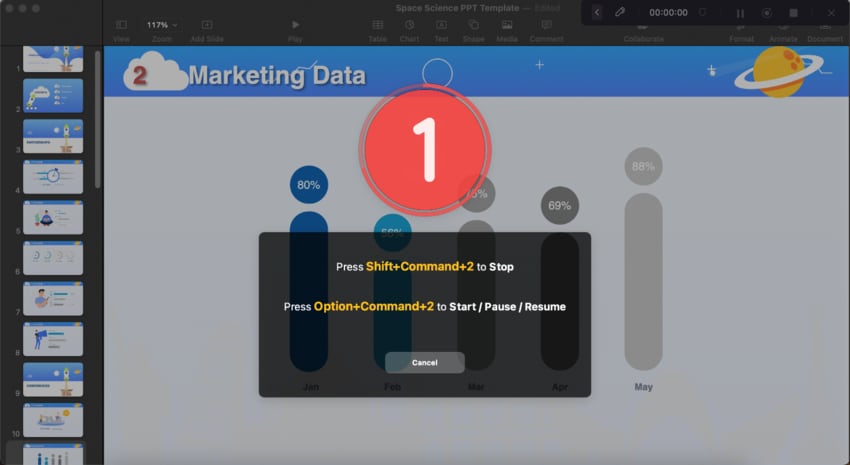
- When ready, tap the REC button or hit OPTION + COMMAND + 2 to record a lecture on a Mac with DemoCreator. If you need to pause the recording, use the same OPTION + COMMAND + 2 keys for pausing and resuming.
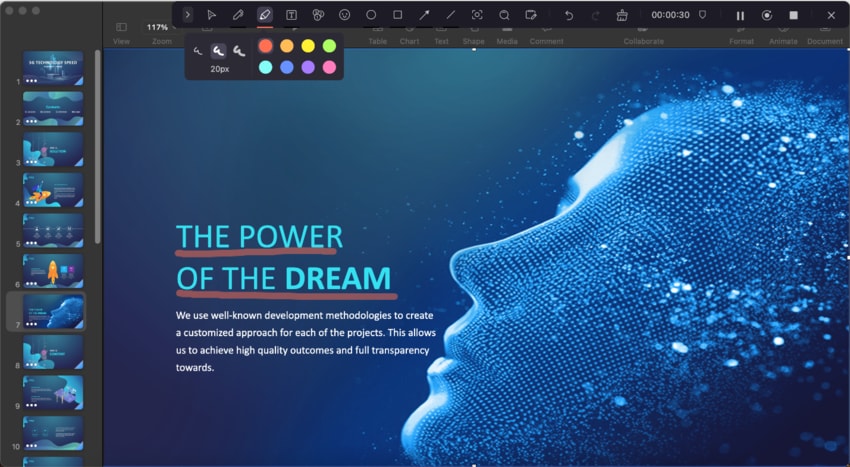
- During the recording, you can activate the screen drawing tools to make your points easier to follow.
- When the lecture is over, click the Stop button or press the SHIFT + COMMAND + 2 keys to stop recording lectures on a Mac.
- Your recorded lecture will go into the Video Editor, you can polish it with various editing tools and visual assets. When all is OK, click the Export button to save or share it.
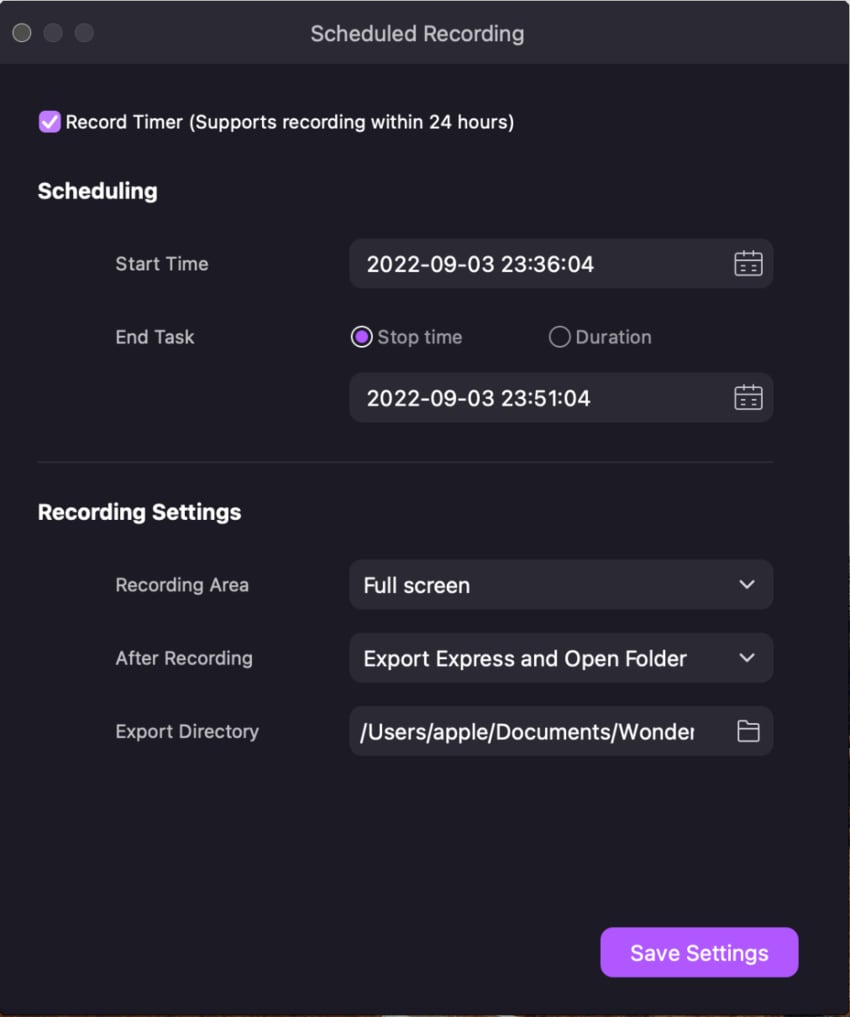
DemoCreator is also invaluable for students who like to sleep in and those working during lectures. They'll also love DemoCreator's Schedule Recording mode, which lets them record online lectures on a Mac even if they're not physically near the device.
Using it as a student is as effortless as using the app's All-in-One Recorder as an educator; you need to set up the schedule and adjust the recording settings beforehand.
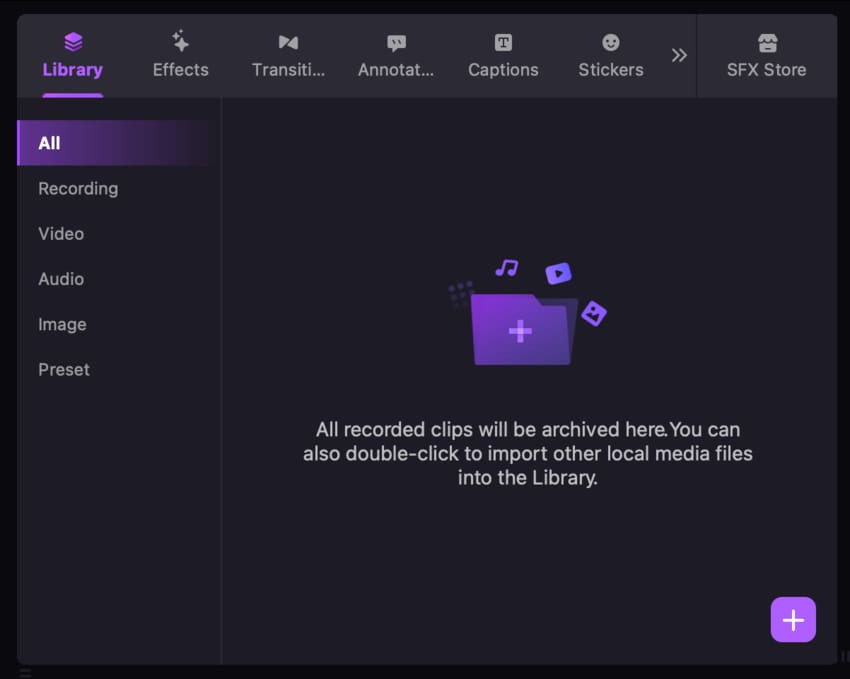
The app's built-in Video Editor makes DemoCreator even better at recording lectures on Mac, as it lets users import PowerPoint presentations and record voiceovers, which can make lengthy lectures and learning sessions much more effortless. Here's how you can do that:
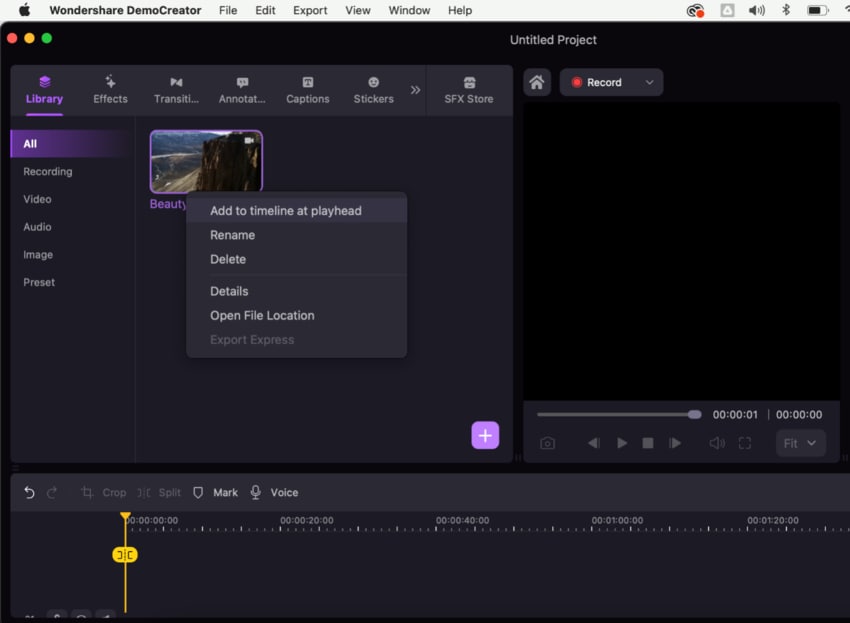
- Open the app and tap the Video Editor.
- Double-click the app's Media Library or drag a PowerPoint presentation into it to import it.
- Tap the Annotation tab to add any of the app's Text, Line&Arrow, and Shapes annotations to your PowerPoint presentations. You should also try the app's Effects, Transitions, and Stickers, which can make your lecture presentations more engaging.

- You can tap the Microphone button above the Timeline to add a voiceover to your PowerPoint presentation file.
When ready, tap the Export button in the top right corner to save your PowerPoint presentation.
Method 2. Record a Lecture on Mac Using QuickTime Player
Educators who want to avoid downloading or installing third-party software will undoubtedly appreciate the native QuickTime Player recording method. Since this is a built-in tool you likely use daily, figuring out how to record class lectures on a Mac with QuickTime Player is a breeze. Here's how you can do it:
- Open your online lecture and head to the Applications folder on your Mac to launch the QuickTime Player.
- In QuickTime, head to File > New Screen Recording.

- Adjust the recording area to fit your online lecture.
- Set the volume and click the tiny Arrow next to the Record button for more options. When ready, hit Record to record a lecture on a Mac.

As you can see, figuring out how to screen record lectures on a Mac with the built-in QuickTime Player is effortless. However, it's important to note that this app can only record the screen with microphone audio. Capturing system sounds requires a lengthy workaround, and that's why QuickTime Player isn't the best choice if your online lectures include the professor's audio, music, or video demonstrations.
It's also important to remember that QuickTime Player is primarily a tool for playing video and audio files. As it's not a professional screen recorder or video editor, it lacks many annotation tools and has no editing features that an educator might need.
Method 2. Record a Lecture on Mac Using an Online Recorder - DemoAir
Besides the built-in QuickTime Player, educators can use online recorders to capture lectures without additional installations. DemoAir, essentially the online version of DemoCreator, is an excellent choice in this category. After all, learning how to record online lectures on a Mac with DemoAir is seamless, and you can follow these steps to try it yourself:
- Launch a web browser on your Mac and visit DemoAir's home page.
- Select the Online Video Recorder option.

- Select the Screen Only mode and follow the instructions to give the web app access to your Mac's microphone.

- Select your microphone under Recording Inputs and tap the Start Recording button.
- Depending on where your lecture is, you can choose to share your Browser Tab, a specific Window, or the Entire Screen. Then, tick the Also share system audio option and press Share to record a lecture on a Mac.

- When your lecture ends, tap Stop and save your recording as a WebM video file.
In addition to prompting you to save the recording, DemoAir will open its online editor. You can then preview the lecture recording, name it, add it to a cloud drive, download it, share it with Google apps, and send it directly to someone via GitHub, Slack, Jira, and other similar tools.
Tips for Recording Lectures on Mac
With the right tools and techniques, recording lectures on a Mac can be incredibly straightforward. That's why we're also including a few tips and tricks to get you started, and they include the following:
- Recording Software - Choose a tool that suits your needs. The built-in and easy-to-use QuickTime Player will do the trick for educators who want to keep it simple. For others, the vastly superior and customizable Wondershare DemoCreator will be more suitable, while a third group might prefer doing everything within the browser and using DemoAir.
- Lecture Annotations - While recording your Mac's screen is effortless, creating high-quality lecture recordings requires more effort, and that's where annotations come in. Adding annotations to your lecture recordings makes the learning process far more manageable, as these tiny explanations can drastically improve a video lecture.
- Clip Organization - Although DemoCreator's Schedule Recording tool makes recording lectures on a Mac effortless, it's easy to forget about your recordings. That's why it's essential to categorize and organize these lecture videos, as it'll make finding the correct lecture a breeze, and you'll be thankful to yourself for investing the time.
You should also regularly back up your essential video lectures to keep them safe in case of hardware failure or accidental formatting and deletion.
Conclusion
Learning to record lectures on a Mac with audio is an invaluable skill for both teachers creating educational content and their students, who will watch these lectures. That's why we've shown you the three best ways to record lectures on a Mac.
The first method revolves around Mac's QuickTime Player. However, while this integrated tool can help you record a lecture on a Mac, it's primarily a video and audio player and thus lacks the necessary annotation and editing features. It also only supports screen recording with microphone audio.
Using a third-party tool instead makes much more sense, as an app like Wondershare DemoCreator was explicitly created with educators and students in mind.
It provides everything you need to record a lecture on a Mac, allowing you to record screens, a webcam, and audio seamlessly. The app also lets users annotate and edit lecture recordings and PowerPoint presentations to make them significantly more engaging to students.
Wondershare DemoAir, DemoCreator's online version, is also a terrific option for recording lectures on a Mac. The web app's online video recorder, online AI video presentation mode, and screen recorder extension make it a fantastic alternative to Mac's built-in QuickTime Player and one of the best apps to record lectures on a Mac.


