

Your Mac's built-in recording tools don't support system audio, calling for specific kernel extensions or third-party software. Don't worry - we've done the legwork for you. This comprehensive guide will introduce the top six tools to screen-record on a Mac with internal audio and show you how to use them.
Before learning to record the screen with internal audio on a MacBook or iMac with these tools, check out their quick overview to see what to expect and pick your favorite.
| Method | Ease of Use | Effectiveness |
| Wondershare DemoCreator | 👍Super easy - no plugin requirements | 👍High - capturing the screen (and webcam) with system or microphone audio, or both, recording in 4K or 8K at 120 FPS, screen drawing tools, separating video and audio tracks for post-production, and AI-powered video editor. |
| QuickTime Player | Medium - third-party plugin installation | Low - capturing the screen and system sound with a plugin, recording videos up to 4K at a maximum of 60 FPS, standard editing features. |
| OBS Studio | Complex - extensive setup and virtual audio cable installation for macOS Monterey or older | Medium - recording the screen, system audio, and microphone up to 4K (depending on the screen resolution) at a maximum of 60 FPS, blurry videos with older GPUs, no editing capabilities. |
| Awesome Screenshot & Recorder | Easy - no extra plugins | Medium - capturing the screen with system audio, microphone, and webcam, recording up to 4K at 60 FPS, standard editing tools. |
Method 1. Screen-Record With Internal Audio on a Mac Using DemoCreator
Wondershare DemoCreator is the best screen recorder for Mac with internal audio recording capabilities. It's an AI-powered solution with six recording modes: Screen, Screen & Camera, Camera, Game, Virtual Avatar, and Video Presentation. It lets you record videos up to 8K at 120 FPS with crisp audio (system and microphone) and can include your webcam in screen recordings. The best part? It separates video and audio tracks for seamless multi-track editing.
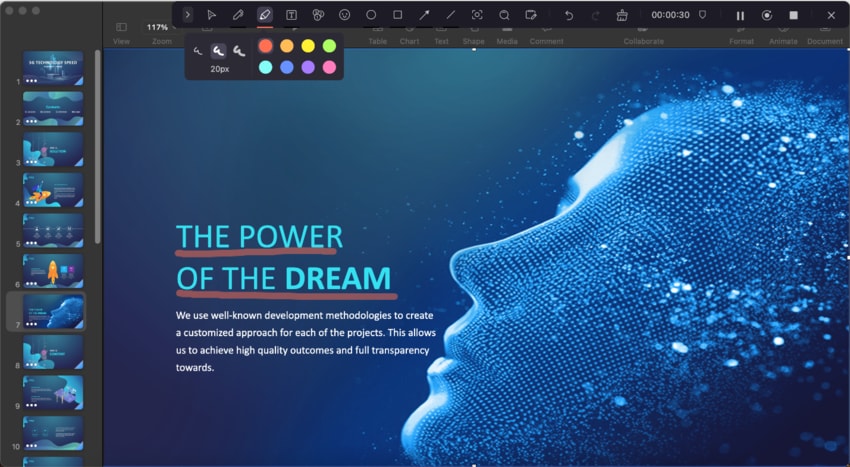
Furthermore, you can draw on the screen while recording to emphasize clicks or crucial information. You can also add cursor and spotlight effects, annotations, transitions, and shapes.
Moreover, DemoCreator shines in the editing department. It can denoise your recordings, change your voice, remove or replace backgrounds, add auto-captions and subtitles, and help you polish your videos with many other AI tools. It even has an Visual Assets with 50,000+ creative assets, including audio, video, and text effects.
Here's how to record the screen on a Mac with internal audio using DemoCreator:
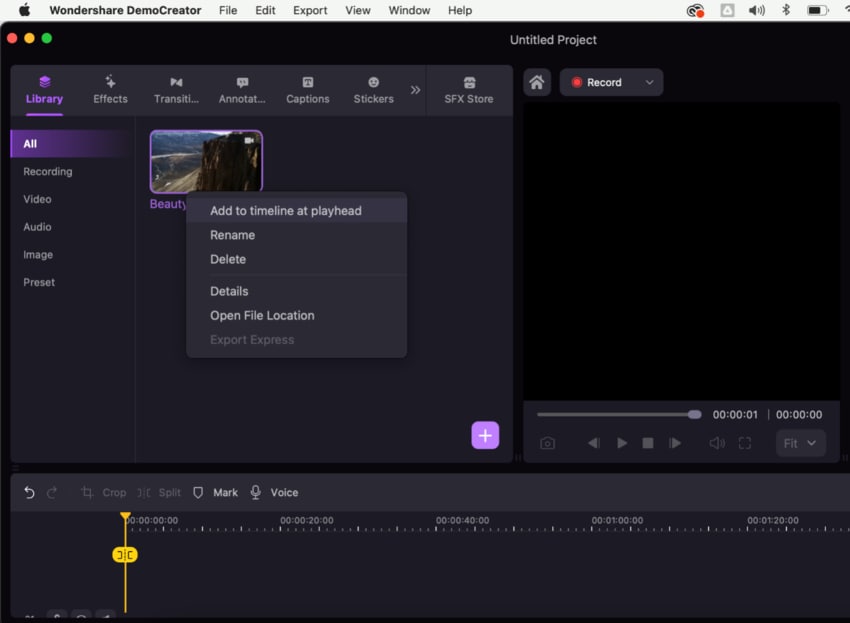
- Download Wondershare DemoCreator for macOS and install it on your Mac.
- Launch the software and click All-in-One Recorder.

- Specify the recording area or aspect ratio.

- Choose one or more windows to record (optional) and select your system audio device, microphone source (if you wish to record your voice), and webcam (for a webcam overlay). Then, click the REC button or use the Option + Command + 2 shortcut to start recording.
- Activate the Screen Drawing Tool with Command + D to annotate the recording and highlight various elements. Pause and resume anytime with Option + Command + 2, and stop recording with Command + Shift + 2.
- After the recording, you can either export the video directly or enhance it in the DemoCreator's Video Editor.
Method 2. Screen-Record on a Mac With Internal Audio Using QuickTime Player
QuickTime Player doesn't support macOS screen recording with system audio, at least not without a plugin. It can only record your Mac screen with internal audio when you install a kernel extension like Soundflower. That enables it to create a virtual audio output device that doubles as an input.
Here's how to capture computer audio when recording your Mac screen with QuickTime:
- Download Soundflower for macOS.
- Go to the Apple menu > System Settings (macOS Ventura or newer) or System Preferences (macOS Monterey or older) > Security & Privacy > General and click Allow to enable Soundflower installation.

- Return to the System Settings or Preferences, select Sound in the left sidebar, and choose Soundflower (2ch) in the Output tab.

- Go to QuickTime Player > File > New Screen Recording.

- The Screenshot toolbar will launch if you use macOS Catalina or newer. Choose Soundflower (2ch) under Options to capture system audio and click Record.

- If your Mac runs on macOS Mojave or older, click the downward-facing arrow next to the Record button and select Soundflower (2ch).

- Hit the Record button, specify the recording area (or click anywhere to capture the entire screen), and click Start Recording.

- Click the Stop button in the menu bar to finish recording.

- Go to File > Save to name the video, tag the file, and pick a location.

Method 3. Record the Mac Screen With Internal Audio Using OBS Studio
OBS Studio is free, open-source software for recording and streaming videos. It can capture your screen with internal and external audio but has an extensive setup. Also, if your Mac runs on macOS Monterey or older, you must install a virtual audio cable. Don't worry; we'll walk you through all the steps.
Here's how to use this Mac screen recorder with internal audio:
- Download and install OBS Studio for macOS.
- If you use macOS Monterey or older, download and install VB-Cable on your Mac to capture sound from the computer. Otherwise, proceed to Step 7.
- Launch your Audio MIDI Setup app and click the Plus sign.

- Click Create a Multi-Output Device.

- Tick the VB-Cable checkbox and the one corresponding to your system audio. Set the latter as the Primary Device.

- Go to the Apple menu > System Settings or Preferences > Sound and select your Multi-Output Device in the Output tab.

- Launch OBS Studio and click the Plus sign under Sources.

- Click Display Capture > Create New > OK.

- Choose your display and hit OK.

- Go to Settings > Audio and select VB-Cable as the Desktop Audio under Global Audio Devices.

- You can now control your system audio in the Audio Mixer dock.

- Go to Settings > Output and choose a location under Recording Path.

- Click Start Recording to capture your Mac screen with system audio.

- Click Stop Recording to finish capturing.

Method 4. Screen-Record a Mac With Internal Audio Using Awesome Screenshot & Recorder
Awesome Screenshot & Recorder is a no-frills Mac screen recorder with system audio recording capabilities. It lets you take screenshots and record your screen with internal and external sound. It can also capture browser windows and your webcam.
Furthermore, it has a video editor with standard features like cropping, trimming, and annotations. Moreover, it lets you share your recordings and save them locally or to the cloud.
Here's how to screen-record your Mac with internal audio using Awesome Screenshot:
- Download Awesome Screenshot & Recorder from the Mac App Store.

- Launch the software and sign into your account. Click Full Screen under Record, hit the Speaker icon to capture the Mac computer audio, enable the microphone (optional), and choose the video quality (720p, 1080p, 2K, or 4K). Finally, click Start Recording.

- Hit the Pause or Stop button in the menu bar to pause, resume, and finish recording.

- Awesome Screenshot will automatically save your recording to the cloud and display the Manage window. You can edit, share, or download it as MP4.

Conclusion
Mac screen recording with internal audio is complicated with most solutions—at least until you get the hang of it.
However, you can streamline the process with advanced software like Wondershare DemoCreator. It doesn't involve jumping through hoops or installing additional tools to capture your screen and system sounds. It's also excellent for editing, providing cutting-edge AI features for transforming your videos.
FAQs About Mac Screen Recorder With System Audio
-
Is there a way to screen-record on a Mac with internal audio?
Absolutely! You can use Wondershare DemoCreator, Awesome Screenshot & Recorder, or OBS Studio. If you prefer built-in tools, you can use QuickTime Player, but you must install a kernel extension to capture internal audio. -
How do I record system audio output on my Mac?
Audacity and Easy Audio Recorder Lite are among the best solutions for recording system audio output on your Mac. However, the latter only captures your microphone, requiring a plugin for computer sound. -
What is the best recording software for capturing the screen with system audio on a Mac?
Wondershare DemoCreator is the best macOS software for recording Mac screens with system audio. It has six recording modes and can capture your screen, webcam, microphone sound, and internal audio. Moreover, it has AI-powered editing tools and support for 8K videos at 120 FPS.


