

Ever wondered how artists effortlessly sketch and create digital masterpieces on their computers? Screen drawing tools are the secret sauce. Simply put, these tools are software applications that let you draw directly on your computer screen while recording your process.
But they’re not just for artists! From educators explaining concepts to gamers sharing strategies, these tools have become indispensable for anyone looking to communicate visually. This article walks you through the process of using these screen drawing tools, and as a bonus, this guide will explore the list of the best drawing tablets with screens! Let’s dive in!
In this article
Part I. How To Use Screen Drawing Software for Your PC
In the digital age, communication often goes beyond words. With screen drawing tools, expressing ideas visually has never been easier. These software tools empower you to draw directly on your PC screen while recording, making it a breeze to illustrate concepts, create tutorials, or enhance presentations.
This section will walk you through leveraging screen drawing software, using the versatile Wondershare DemoCreator as an example. This powerful screen drawing tool lets you dive in and unleash your creativity!
How To Use DemoCreator
DemoCreator allows you to annotate, highlight, and draw directly on your computer screen, adding an interactive element to your presentations or tutorials. Here’s a step-by-step guide on how to use it:
Step 1: Download and install DemoCreator on your computer. Once finished, launch DemoCreator.
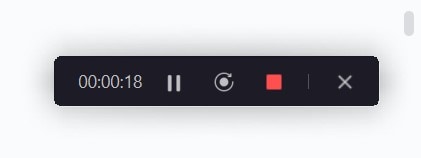
Step 2: To begin recording, select one of the available options on the next screen, then click the REC button.

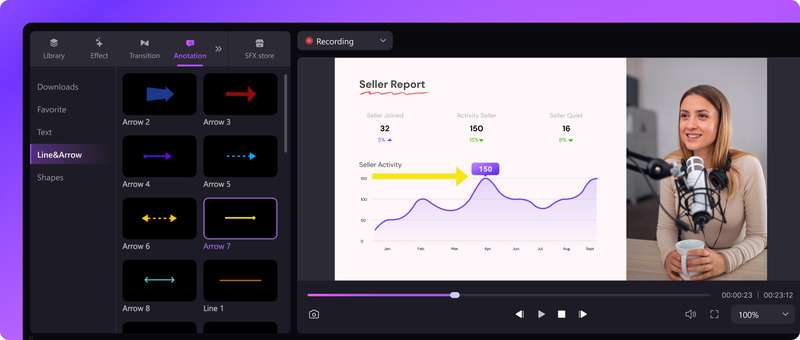
Step 3: One of the numerous features of DemoCreator is that it lets you sketch on your screen while you record. Click on the “drawing tool” (pen) icon to enable it. If you’re done recording, just click the Stop button.
Step 4: You can alter your recorded video after it has been recorded by using DemoCreator’s sophisticated editing features. DemoCreator makes it simple to:
- Integrate mouse effects. A variety of professionally designed cursor effects are available to highlight specific cursor motions and actions. It includes enlarge, highlight, spotlight, click sound, and click rings.
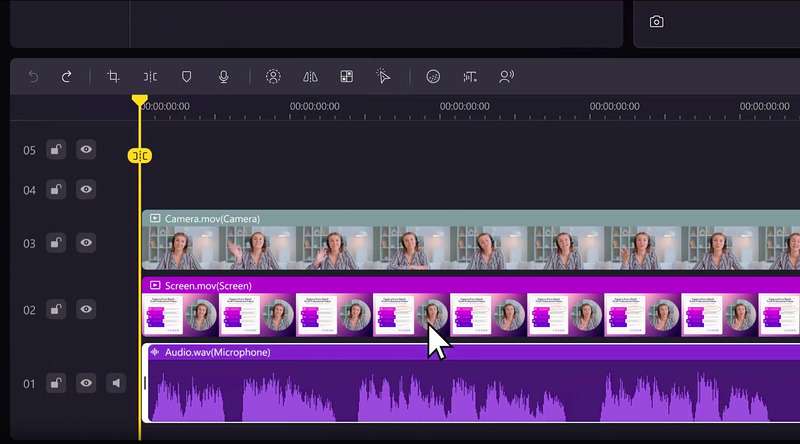
- Edit on several tracks. Video editing can be done more quickly and effectively if you independently record your screen, microphone, and camera. After that, you can switch between each track individually or all at once.
- Make use of annotation tools. To improve comprehension and communication, dynamically annotate recorded games with text, voice boxes, shapes, lines, and arrows.
- Zoom and pan. The ability to instantly alter an element’s size, length, and position will allow users to draw attention to certain areas, produce eye-catching zoom-in and zoom-out effects, and improve the overall visual experience.
Step 5: After making all the necessary changes, save your screen recording to your PC, and then you’re good to go!
Wondershare DemoCreator - Elevate Your Screen Capturing Experience
Now that you’re familiar with the general process of using screen drawing software, let’s take a closer look at Wondershare DemoCreator. This powerful tool offers a range of features that make screen drawing a breeze. Here are some key features to look out for:
- Intuitive interface. DemoCreator boasts a user-friendly interface that makes it easy for beginners to get started with screen drawing.
- Versatile drawing tools. From pens and brushes to shapes and text, DemoCreator offers a wide range of drawing tools to suit your needs.
- Real-time editing. With DemoCreator, you can edit your drawings in real-time, correct mistakes, or make adjustments on the fly easily.
- Seamless integration. DemoCreator seamlessly integrates with other Wondershare products, allowing you to enhance your recordings with additional features like voiceovers and animations.
With DemoCreator, screen drawing has never been easier. Whether you’re creating tutorials, presentations, or instructional videos, this powerful tool has everything you need to bring your ideas to life.
Part 2. How To Use Screen Drawing Tools of Cloud Meeting Apps
Did you know that many popular cloud meeting apps are also equipped with screen drawing tools? Whether you’re hosting a virtual meeting, conducting a webinar, or collaborating with colleagues, these tools can take your presentations to the next level.
This section will explore how to use screen drawing tools in two of the most widely used cloud meeting apps: Zoom and Google Meet. Let’s dive in and discover how you can leverage these powerful tools to enhance your online meetings!
Screen Drawing on Zoom
One of the top video conferencing platforms available is Zoom, which has features that make online brainstorming, sharing, and discussion much more efficient for your team. The whiteboard, which allows you to write and draw on a blank canvas on your screen, is one of the standout features. You may use it, for instance, to create pie charts, engage your team in games, and much more during meetings.
How To Draw on Zoom
Check out below how you can use Zoom’s screen drawing tool:
Step 1: Open Zoom on your Mac or PC. Set a Zoom conference and extend an invitation to your team to attend.
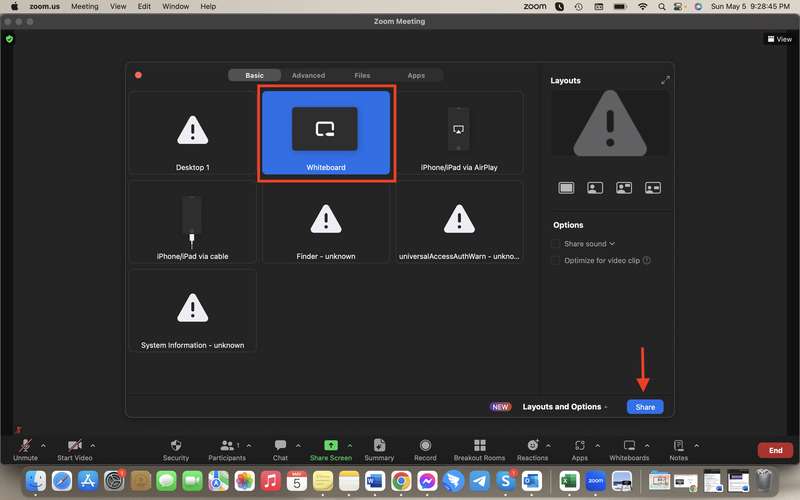
Step 2: Once in the meeting, click the Share Screen button.
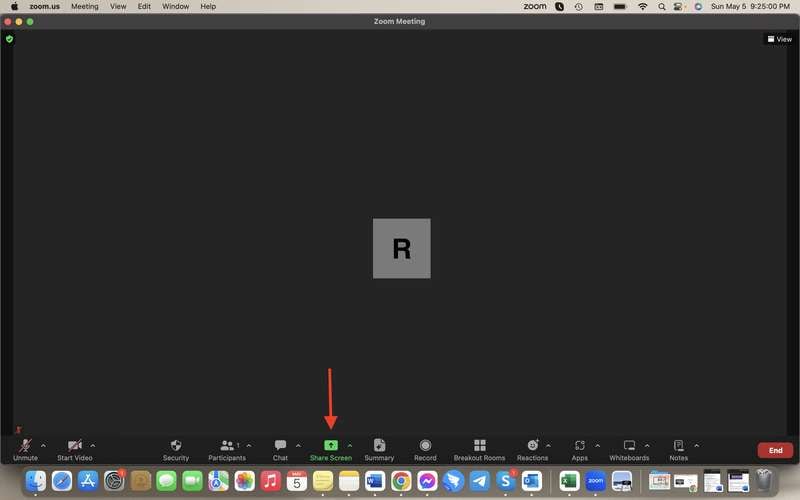
Step 3: Choose Whiteboard from the selection that displays, then click Share.
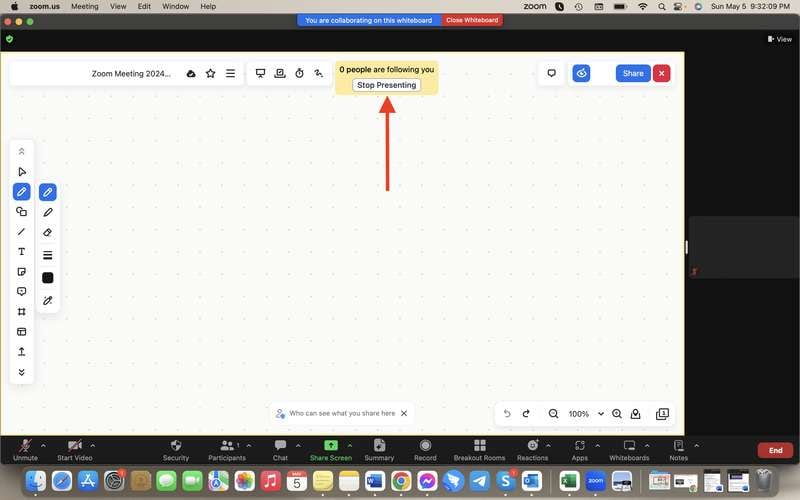
Step 4: Using the annotation panel, select your desired tool (such as a sketch, text, or stamp). To begin drawing, use your trackpad or mouse. Your meeting attendees will see everything you write on the whiteboard.
Step 5: Click Stop Presenting from the toolbar that appears when you move the mouse over the screen to end sharing your Zoom Whiteboard.
Screen Drawing on Google Meet
Google Meet has a whiteboard to assist you in visualizing and illustrating flowcharts, processes, and other business procedures. You may use the pen tool on the Google Meet whiteboard to draw objects, erase objects, add photos and sticky notes, input text boxes, and more. After that, you may copy and share your whiteboard with others by saving it as an image or PDF file. This is how it operates.
How To Draw on Google Meet
Here’s how you can draw on Google Meet during a meeting:
Step 1: Start or join a Google Meet session and share your screen with participants.
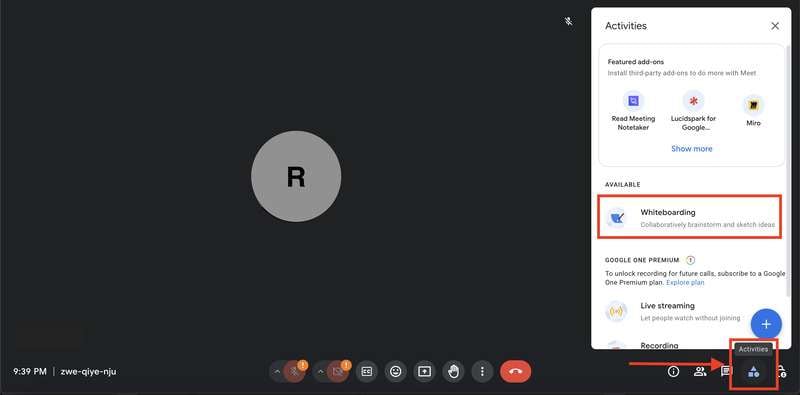
Step 2: Once your screen is shared, navigate to the lower right corner of your screen and click on the “Activities” icon. Now click the Whiteboarding button, then choose Start a new whiteboard or Choose from Drive.
Step 3: This will open a menu with various annotation tools, including pens, highlighters, and shapes. Choose the tool you want to use and start drawing directly on your screen. Participants can see your annotations in real-time, making it easy to emphasize key points or illustrate ideas during your presentation.
With screen drawing tools built right into popular cloud meeting apps like Zoom and Google Meet, adding visual elements to your online meetings has never been easier. So why not try it and see how you can elevate your presentations to the next level?
Bonus: The Best Drawing Tablets With Screen
In no particular order, here are the best drawing tablets with screens that you can buy right now to unleash your artistic talents:
iPad Pro M2 (12.9 inch)
With its stunning Retina display and powerful A-series chip, the iPad Pro M2 offers unparalleled performance for digital artists. Its precise Apple Pencil support and ProMotion technology make it the perfect canvas for sketching, drawing, and painting.

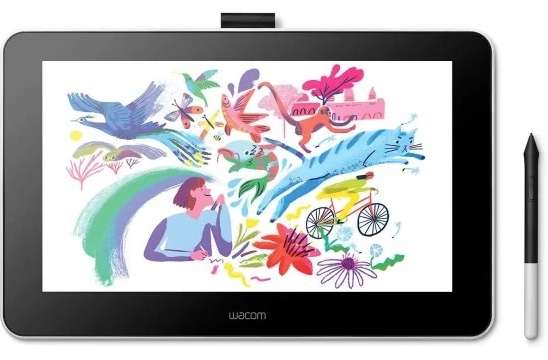
Wacom One (2019)
Wacom One combines a high-quality screen with Wacom’s renowned pen technology, offering a seamless drawing experience. With its pressure-sensitive pen and customizable shortcuts, Wacom One is a favorite among professional artists and designers.
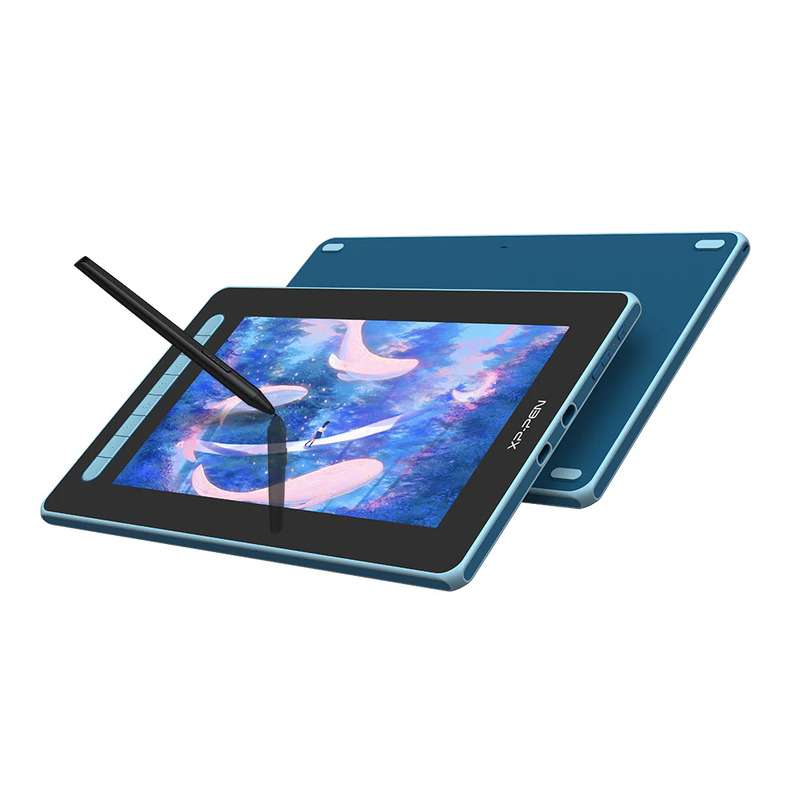
XP-Pen Artist 12 (Gen 2)
The XP-Pen Artist 12 Gen 2 features a vibrant display and ergonomic design, making it ideal for long drawing sessions. Its customizable express keys and tilt recognition technology give artists precise control over their creations.
Huion Kamvas Pro 16 (2.5k)
Boasting a stunning 2.5k display and 120% sRGB color gamut, the Huion Kamvas Pro 16 delivers true-to-life colors and crisp details. With its battery-free stylus and innovative touch bar, Huion Kamvas Pro 16 offers a natural drawing experience that’s second to none.

Whether you’re a professional artist or just starting out, these drawing tablets offer the best combination of performance, features, and value. So why wait? Grab your best drawing tablet with a screen today and bring your creative vision to life!
Conclusion
In this article, you’ve explored the exciting world of screen drawing tools and the best drawing tablets with screens. These tools offer endless possibilities, from enhancing presentations to unleashing your artistic potential. Remember, whether you’re using a cloud meeting app or a dedicated drawing tablet, the ability to draw directly on your screen opens up a world of creative opportunities.
And if you’re looking for top-notch software with a screen drawing tool, it’s highly recommend trying out Wondershare DemoCreator. Its intuitive interface and powerful features make it the perfect companion for bringing your ideas to life!


