

Are you looking for the best, most straightforward way to record a video on Windows 11? You’ve come to the right place, then. Though Windows 11 offers a few video recording features per se, the native recorders that come with your operating system offer limited functionality.
That’s why you should look into the best alternative methods. The tools we’ll discuss today will allow you to record videos in the most effective way.
Whether you need professional video content for business purposes or just top-notch videos for social media platforms, these video recording methods for Windows 11 will empower you to accomplish your goals.
In this article
Three Methods for Recording Videos on Windows 11

If you’re a video creator, you know how essential screen recording can be to your video creation efforts. Below are the top three methods for recording videos on Windows 11 desktops and laptops to help you streamline the process and get the best results.
Method 1: Record Videos on Windows 11 With Third-Party Software – Democreator
Wondershare DemoCreator is an advanced, user-friendly, AI-powered audio and video recording & editing software that allows you to record your desktop in high resolution. You can use the DemoCreator video recording tool to record webcam footage and the mic simultaneously.
In addition, the tool comes with easy-to-use video editing features you can tap into to fine-tune the recorded video content with precise details.
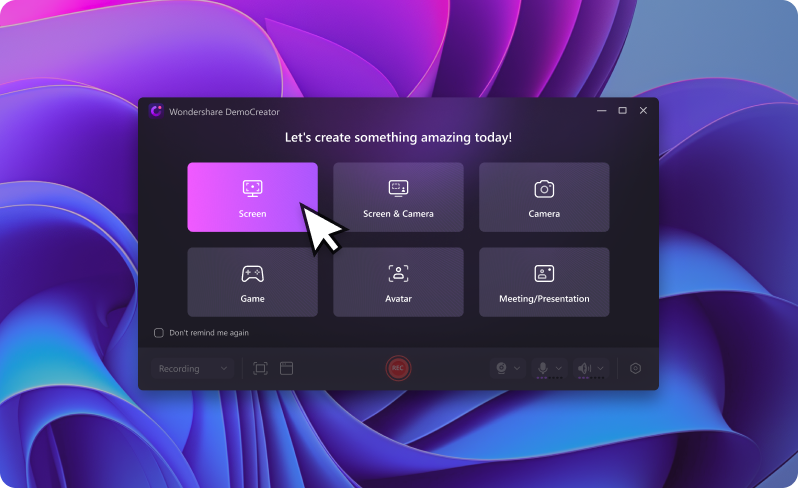
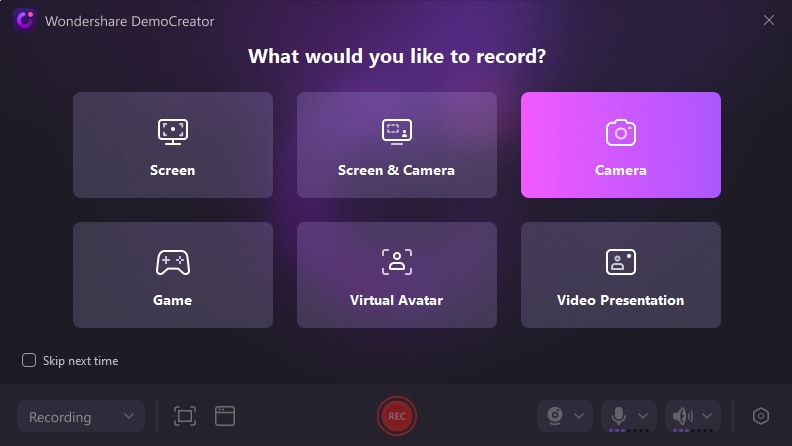
DemoCreator enables you to record videos using three different video recording modes:
With DemoCreator, you can easily record and customize your video files according to your needs. Whether you need to capture your computer screen, audio, gameplay, or webcam, DemoCreator streamlines the process and enables you to record and edit full HD resolution video clips.
Recording videos with DemoCreator is simple and takes only a few easy steps. Download DemoCreator for Windows 11 and install it on your computer, then follow the steps below to create a top-grade video.
Step 1. Launch DemoCreator on your Windows 11 computer;
Step 2. Navigate to the main menu and select what you want to do:
1. Record your screen;
2. Record your camera footage and screen;
3. Record your camera.
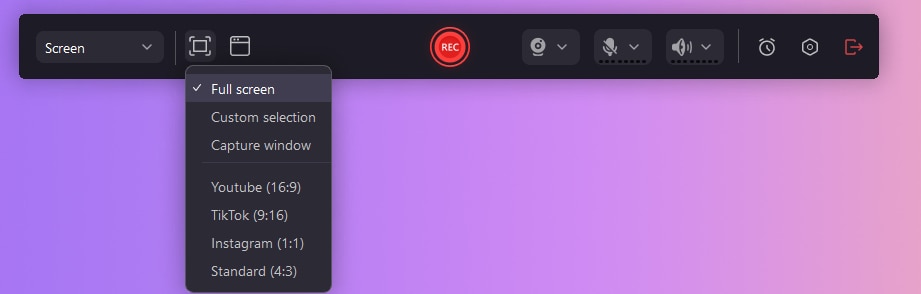
Step 3. Adjust the video recording settings such as system audio, webcam, microphone, screen size, etc.;
Step 4. Click the red Rec button to begin recording;
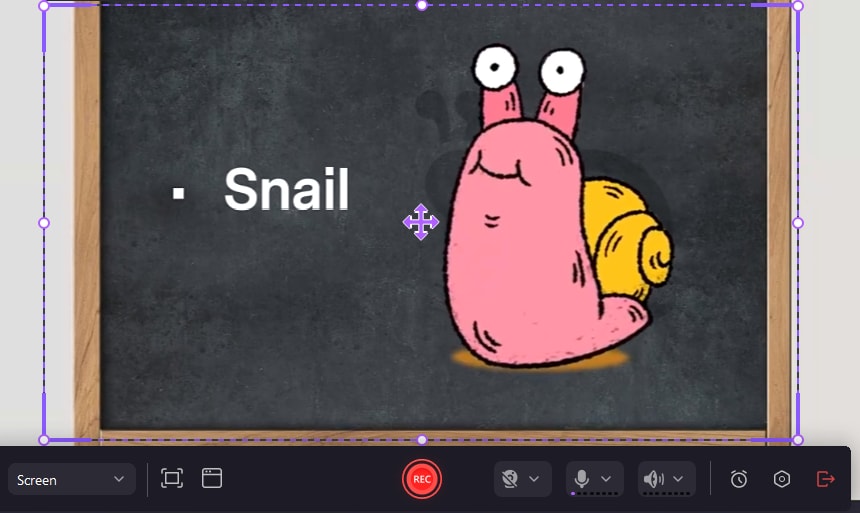
Step 5. Edit your video before saving it on your computer;

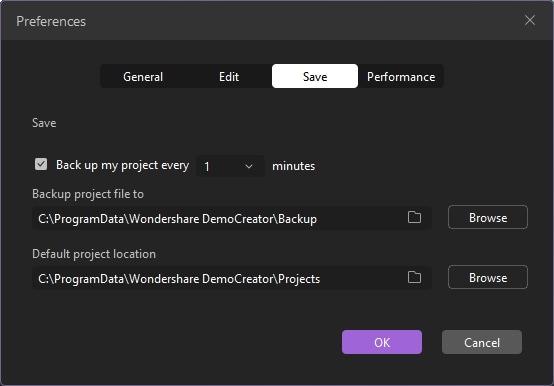
Step 6. Save your recording to your computer locally by navigating to File > Preferences > Save > OK.
Method 2: Recording Videos in Windows 11 With Snipping Tool
Snipping Tool is an excellent built-in Windows 11 video recording solution that lets you record a video with a camera or your screen with your computer audio.
You can use the tool to capture and edit screenshots, crop images, trim videos, and save or copy your recordings and screenshots to share them on online and social media platforms.
Here’s how to record videos in Windows 11 with Snipping Tool:
Step 1. Type snipping tool in the search bar and click Open;

Step 2. Navigate to Record > New;

Step 3. Click Start to record a video;

Step 4. Click the Save As icon to select where to save your new video recording.

Method 3: Record Windows 11 Videos Using Xbox Game Bar
Xbox Game Bar is a built-in Windows 11 video recording tool you can tap into to capture the computer activities on your screen, including your gameplay.
Though it’s a basic screen recording tool, the app simplifies the video recording and screen capturing process, giving you multiple recording options outside of recording the gameplay.
Here’s how to use it to record Windows 11 videos.
Step 1. Type Xbox Game Bar in the search box and click Open or press the Windows + G keys to open the app;

Step 2. Navigate to Settings and click the Capturing tab to adjust video recording settings;

Step 3. Navigate to Settings > Gaming > Captures to adjust audio and video quality;

Step 4. Click the Record button to record a video;

All text: recording video windows xbox game bar
Step 5. Click See my captures to preview your video;
Step 6. Access the recorded video via the Open file location option.

Which Is the Best Method for Recording Videos on Windows 11?
The best method for recording videos in Windows 11 is using the built-in Snipping Tool. The tool allows Windows 11 users to quickly and easily capture downloadable and shareable videos and screenshots with a few easy steps.
Tips for Recording Videos on Windows 11
Before you start recording videos on your Windows 11 computer, consider these procedural steps to ensure you capture top-class footage:
- Ensure your recording area is well-lit – whether recording a fun clip for social media, a professional meeting, or something else, you need a well-lit area for your video recording needs.
- Check your camera before recording – test your camera before recording to ensure it’s working correctly. Connect your webcam and let your computer detect it. Open the cam app, and you should see a video if everything is in order.
- Ensure your computer can access your mic and webcam – navigate to Start > Settings > Privacy & Security > Camera and enable your mic and camera. You won’t be able to record videos without the mic and camera permission.
- Use the Camera app – you can also record videos on Windows 11 using the built-in Camera app. Type camera in the search bar and launch the app.
Conclusion
Windows 11 has a user-friendly screen and video recording tools that empower users to record shareable video content easily. Whether you need fun videos or professional content, these tools can help you share your videos with friends, colleagues, clients, etc.
However, the Windows 11 video recording tools are pretty basic, with limited functionality. For example, they don’t offer advanced video and audio editing features.
If you need a professional audio/video recorder with AI-powered editing tools, consider installing Wondershare DemoCreator. DemoCreator is an all-in-one screen recorder and audio/video editor that can satisfy even the most demanding Windows 11 video creators.
FAQ
How do I record a video on Windows 11 using the Xbox Game Bar?
You can record a video on Windows 11 using the Xbox Game Bar by following the steps below:
- Locate Xbox Game Bar in the search bar and open the app;
- Configure video recording settings via Settings > Capture;
- Adjust audio and video quality;
- Click Record;
- Select Open file location to preview the recorded video.
Which are the most popular screen recording tools for Windows 11?
Xbox Game Bar and Snipping Tool are the most popular screen recording tools for Windows 11.Can I edit recorded videos on Windows 11?
Yes, you can edit recorded Windows 11 videos using the built-in Clipchamp video editor.
Here’s how:- Type Clipchamp in the search bar and open the app;
- Tap into editing features via the timeline, such as undo/redo, duplicate, delete, split, and trim;
- Edit your video;
- Export and save the edited video anywhere on your computer.


