Snap camera is a virtual camera application with which you can effortlessly apply virtual backgrounds, makeup, and filters wherever you are. You can access Snap camera on both Mac and Windows. The fact that Snap Camera works with any application on your computer is its best feature. Snap camera is your virtual assistant when you want to quickly transform from one look to another, depending upon the types of meeting you have to attend on different computer applications such as Zoom, Sendspark, Google Meet, and other such video applications.
In this article
Part 1. What are Snap Camera and Virtual Camera?
Virtual Camera
A virtual camera is a professional software that enables users to use high-definition camera resolution, filters, and further enhancements to their online meetings. Instead of using a live webcam during a video conference, people can use their computers' resources with the help of a virtual camera. In a nutshell, virtual camera software installed on your Windows or Mac devices can help you get creative with your video conferences, video calls, and online streaming.
Snap Camera
Snap Camera is a free software created by Snap Inc., which is the parent company of Snapchat. If we rewind to the lockdown conditions, it can be traced that the medium of the educational institutes and organization setups was converted to online mode. Considering the situation, Snapchat, for the first time, brought the camera outside of its mobile application which resulted in the release of a dedicated desktop app, called Snap Camera, which lets people use its signature augmented reality selfie lenses inside of other desktop apps.
Part 2. What Can Snap Camera be Used For?
Snap camera is your best way out when you're running out of time and don't feel like getting ready from scratch. You can utilize several virtual lenses in addition to your webcam when using Snap Camera. The best feature of the Snap camera is that you can bookmark your favorite filters in Snap Camera so you can find them easily. To quickly locate your favorites again, click the tiny star next to them. Besides the uses highlighted above, there are various other benefits of using a Snap camera on your desktop. A few of them are listed as follows:
- Snap camera is used to enhance video quality, resolution, and enhancement through the addition of multiple presets and filters in your educational and organizational presentations, whether they are formal meetings or online classes.
- You can use the Snap camera to browse Snapchat's lens collection, which includes user-made lenses created with the Lens Studio software.
- Snap Camera can be used with any video application that enables camera switching.
- Through Snap camera, you can integrate with multiple apps including Google Meet, Sendspark, Twitch, YouTube, Skype, and Zoom.
- Snap camera allows easy access by searching for your favorite lenses using keywords. You can save these filters to your favorites using a star icon, or browse the lenses you've used most recently in a dedicated tab.
Part 3. The Normal Way to Make Video a Presentation
Wondershare DemoCreator is a one-stop shop for creating explainers and demo videos. This software enables students, teachers, freelancers, and gamers to advance their idea-sharing skills. With Wondershare DemoCreator, you can put together live, engaging video presentations to stream to your audience. In DemoCreator, you can annotate the screen while you record, and there is a library of video effects that you can use. Additionally, it contains transitions, a green screen, facial recognition, pan and zoom capabilities, and more.
An essential demo-making tool that helps learners, educators, freelancers, and gamers to take idea-sharing to the next level.

How to use DemoCreator "Demo Mode" to make a video presentation:
Step 1Download, Install and Launch DemoCreator Demo Mode
Go to the official website of Wondershare DemoCreator and free download Wondershare DemoCreator. Safely install the latest trial or new full version for Windows 10 (x32, 64-bit, 86) or any Mac device. After finishing the installation, launch the software on your desktop.
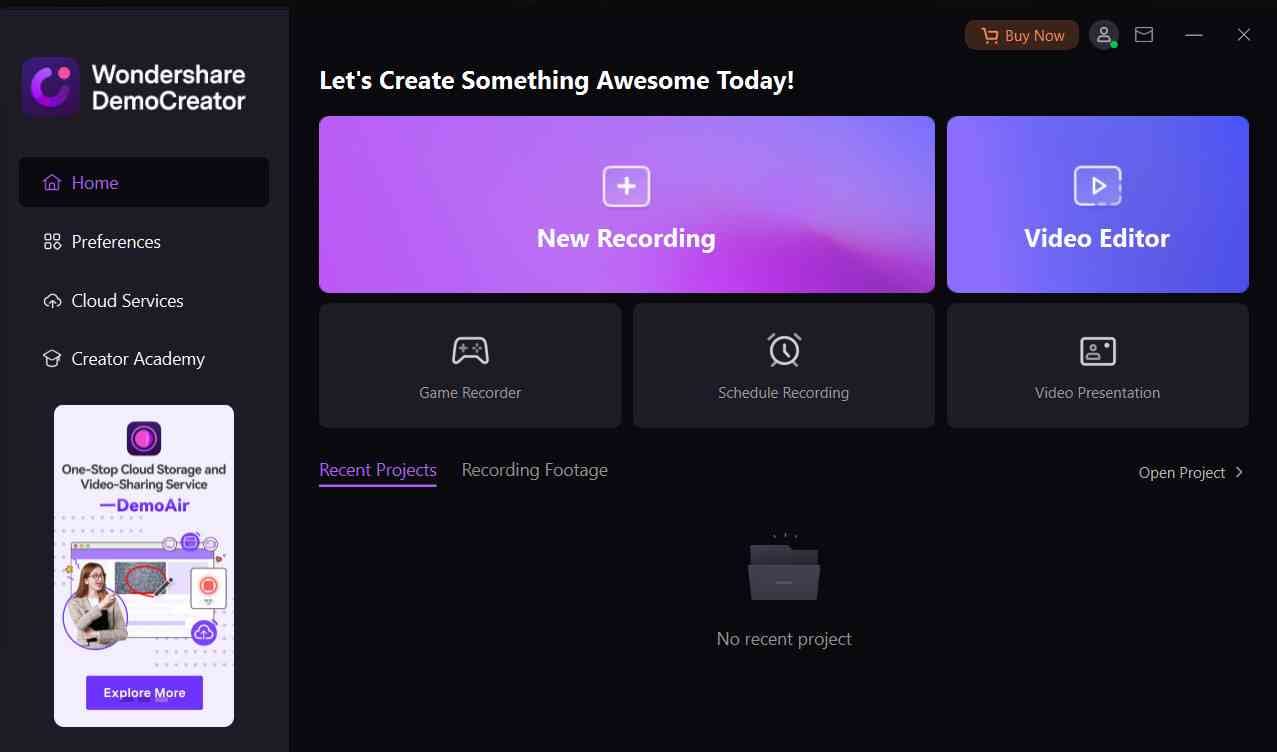
Step 2Start a New Demo Project in DemoCreator
After launching the software, go to "Start a New Demo Project" from the main interface.

Step 3Setup your Screen
Adjust the settings according to your video presentation. Start by adjusting your webcam, microphone, and audio settings on the top left side of the interface.
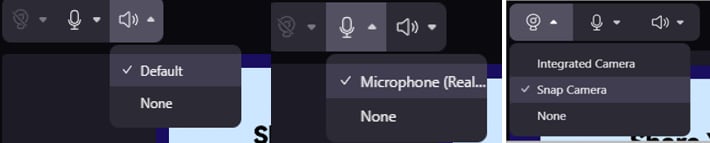
Next to these icons, you can find camera and Avatar settings. These allow you to record the video presentation with your real person's presenter on the screen or use a preferred virtual avatar presenter.

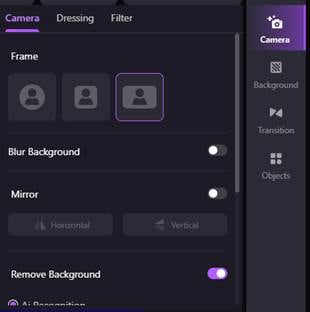
You can choose among different camera settings such as blur background, remove background, add green screen, Ai recognition and other presets that best suit your presentation platform.
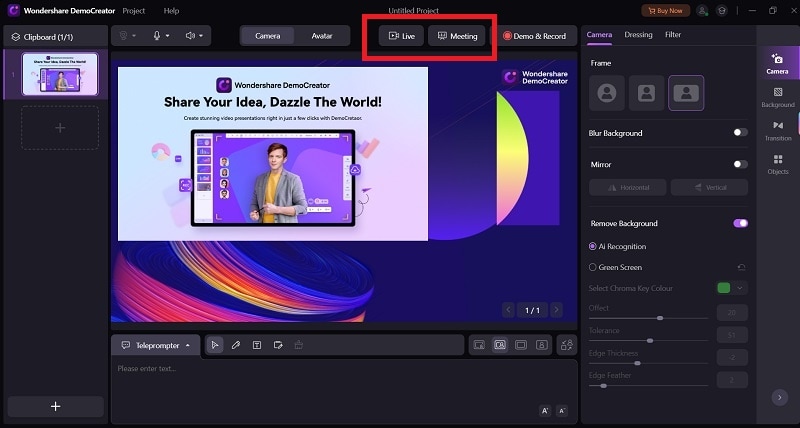
Step 4Select the Recording Mode
Next to the camera and avatar icons, there are three other settings, Live, Meeting, and Demo record. These settings give you options for different video recording scenarios.
- Select "Live" to stream the presentation screen to the Live Streaming Platforms, including OBS Studio, YouTube Live, Twitch, Discord, Facebook Live, and more.
- "Meeting" is similar to the "Live" feature. It is capable of real-time streaming the recording or presentation screen to video conference platforms like Zoom, Tencent Meeting, Skype, Microsoft Teams, TeamViewer, and more.
- The "Demo & Record" is for starting recording in this Demo Mode.

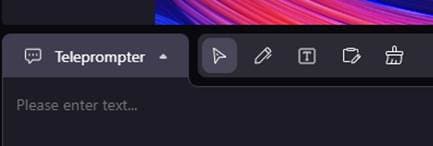
Additionally, at the bottom of the panel are the "Teleprompter", Drawing Tools, and the Presets for Content and Character. There are 5 Drawing Tools supported, including Pointer, Pen, Text, Whiteboard, and Clear All.
Step 5Import Files onto the DemoCreator Demo mode Interface
From the left side of the panel, click "+" to import your media files including Pages, PowerPoints, videos, and images. After you have imported all the necessary documents, PowerPoint presentations, images, and other media files, start recording your presentation by hitting "Demo and Record".

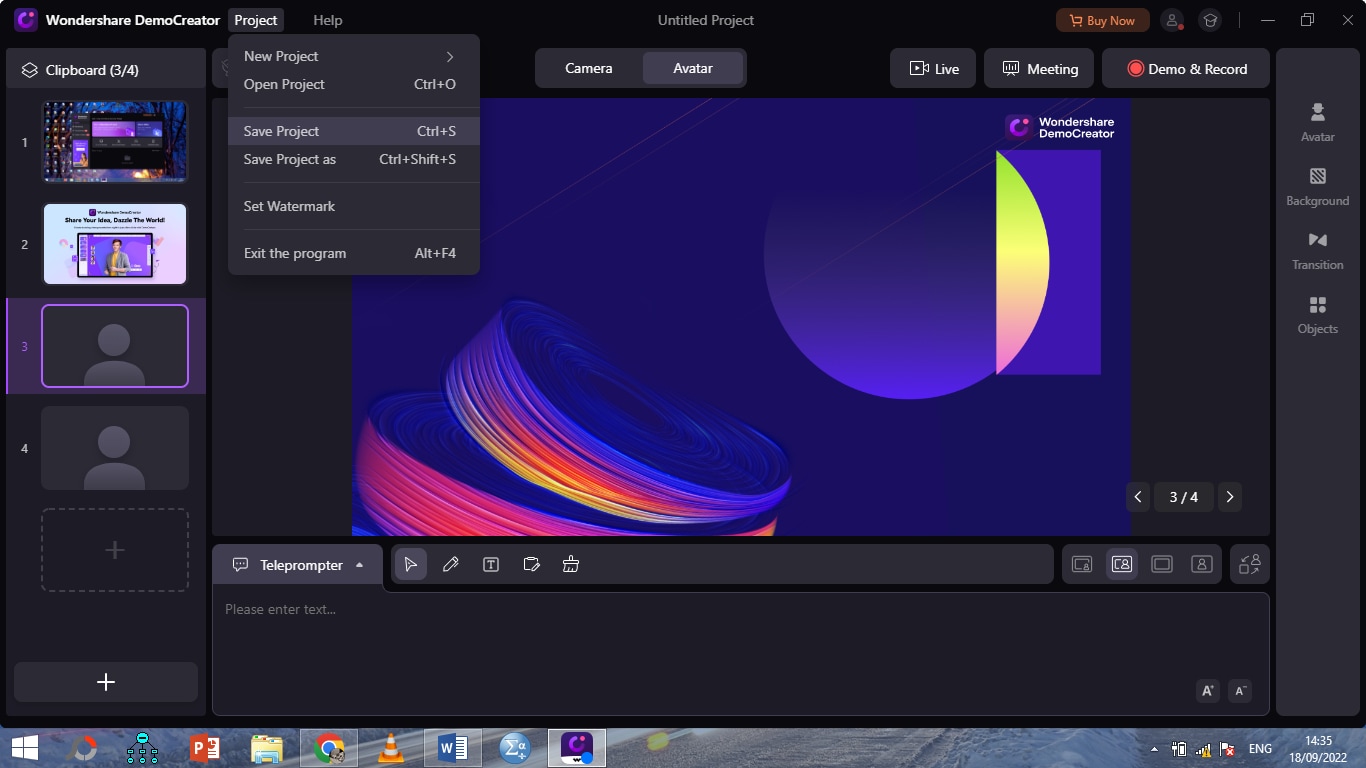
Step 6Export/Share
After you are done recording and are finished with your video presentation, go to the Project tab at the top right side of the interface and save your project. Export the file and now your video presentation is ready for sharing on different media platforms such as YouTube, Twitter, etc.
Part 4. Add Snap camera as webcam source in DemoCreator Demo mode
By using the Snap camera on your desktops, you can make your presentations more fun and attractive but you definitely will be required to follow a few simple steps. Let's dig deeper to find out how to make a video presentation through the Snap camera.
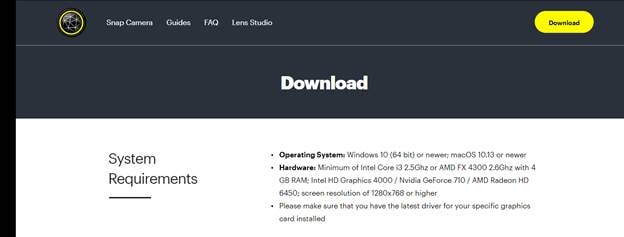
Step 1Download and Install Snap camera
With Snap Camera installed on your PC/Laptop, you'll be able to use it as a virtual camera with all of your PC applications. Before downloading and installing the Snap camera on your desktops, make sure that you are not using an operating system earlier than Windows 10 (64-bit).
To begin with your fun video presentations, you need to download the Snap camera on your Windows or Mac desktop.
Step 2Connect Snap Camera in DemoCreator Demo Mode
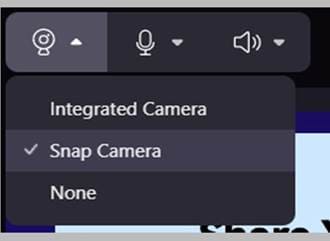
Launch the DemoCreator interface by following the steps described earlier. Start a new project and in the top left panel of the interface, hit the camera icon.
Among all the options, select Snap camera to add the snap camera as a webcam source in the DemoCreator software.
Advantages of adding Snap camera as webcam source in DemoCreator mode:
Using Snap Camera in your DemoCreator video presentation, you can choose from "thousands" of Snap lenses which can help you alter your everyday looks, as well as change the backgrounds. You can access all the Snap camera filters through the DemoCreator app and you can incorporate these fun filters and backgrounds into your video presentations to make them look captivating and interesting for your viewers.
Virtual Backgrounds
By going through the multiple camera options this interface offers, you can add any color behind you to make your background look more interesting. This distinguishing feature produces creative content which makes your video presentations look professional. Virtual background options in DemoCreator include various effects in both 3D and 2D backgrounds and blur background, which are both visual effects and post-production techniques.

Virtual Avatars
There is a fun option in Wondershare DemoCreator to include a meta-human or virtual avatar that converses and imitates your facial emotions in real time. The meta-human DemoCreator can replicate recorded noises and can track your movements, facial expressions, and lip-syncs. With this feature, get thrilled and creative since you can personalize your avatar with whatever you wish, including different mouth forms, hairstyles, outfits, and 2D or 3D looks like anime. The avatar can be included in interesting in-game commentary and real-time responses.

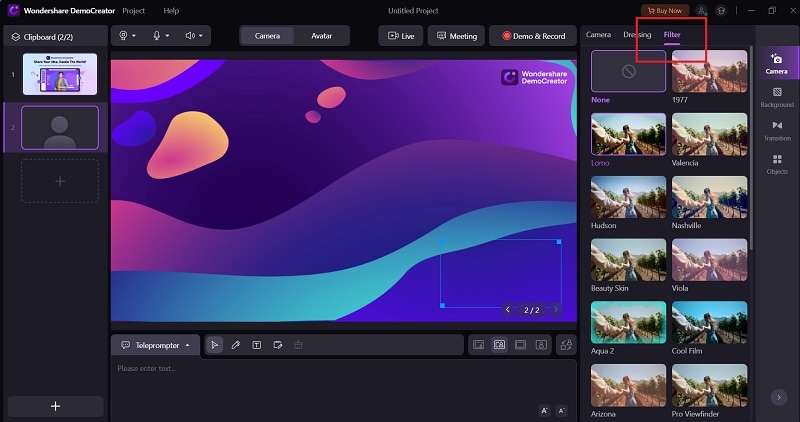
Filters
DemoCreator software enables you to add fun filters to your camera recordings. DemoCreator demo mode enables us to use the different filters it offers by hitting the camera icon. Otherwise, you can also use other applications as a camera a webcam source in DemoCreator.
Screen Recording and Broadcasting
The majority of streaming software always offers the choice of screen recording. However, Wondershare DemoCreator's streamlined features make this recording process simple and time-saving. You may record your screen, audio, and camera concurrently with the new recording option at up to 120 frames per second (fps) without experiencing lag.
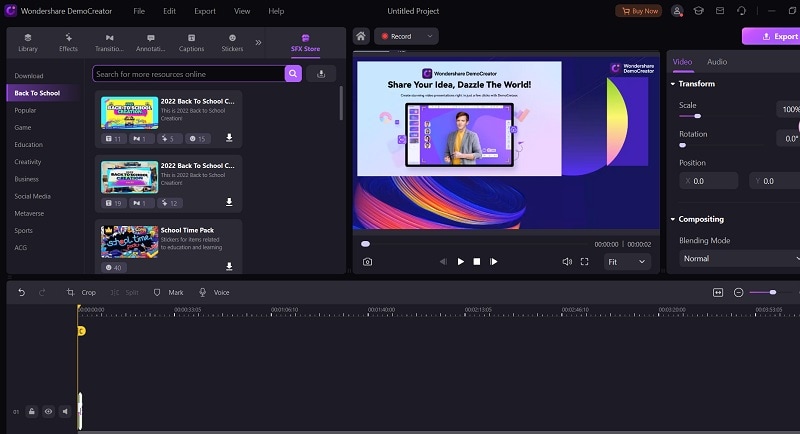
Audio and Video Editing
You'll frequently export the video file you just recorded into another software to edit it. However, this is unnecessary with Wondershare DemoCreator because everything is incorporated into one. You can also crop, split, cut, resize, rotate, change the speed, add markers, add text and titles, and even use its voice recording feature. Go to the SFX store to further spice up the content.
Conclusion
The dire need of this digital era is to personalize everything on the tip of your fingers. Due to this emerging need and different trends in fashion, people prefer to use digital applications which improve their video quality and enhancement by incorporating a lot of different magic filters, avatars, and other features that different virtual camera software offer. You can use this article to see how we can make our video presentations better and enhanced by using virtual camera software like Snap camera and DemoCreator.
A powerful AI video presentation maker helps empower everyone to create impactful virtual presentations that are easier to remember.