Discord is fantastic for real-time communication with friends, brands, followers, and favorite content creators. Whether you play games, communicate with teammates or classmates, or interact with fans, you can engage with the community through chat rooms across private and public servers. You can even send voice messages, make voice and video calls, and chat with users in voice channels.
Can you record your Discord conversations on a Mac computer? Absolutely. Before showing you how to record Discord audio on a Mac using the best three methods, let's see if Discord has a built-in recording option.
Table of Content
Can Discord Record Audio?
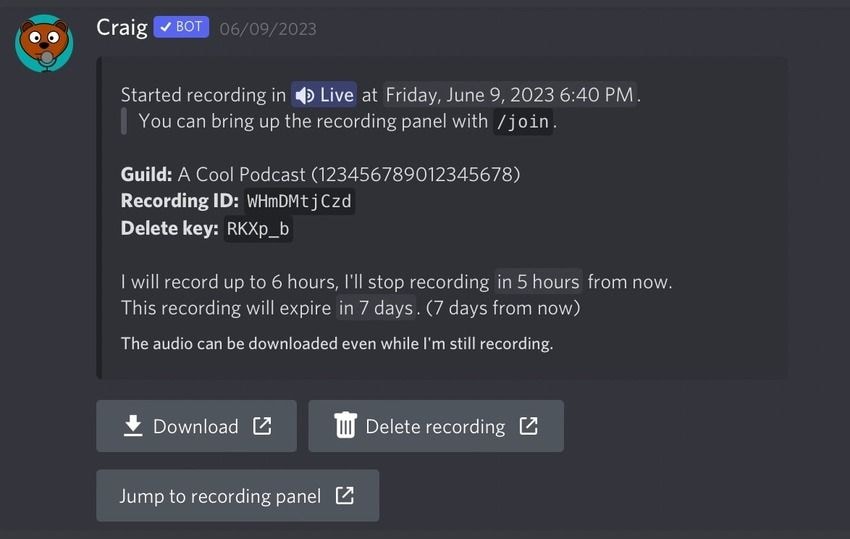
Discord doesn't have a built-in recorder. However, you can use Craig, a multi-track recording bot for Discord voice channels. It captures all speakers in separate files, making it ideal for multi-track editing for gameplay recordings or podcasts.
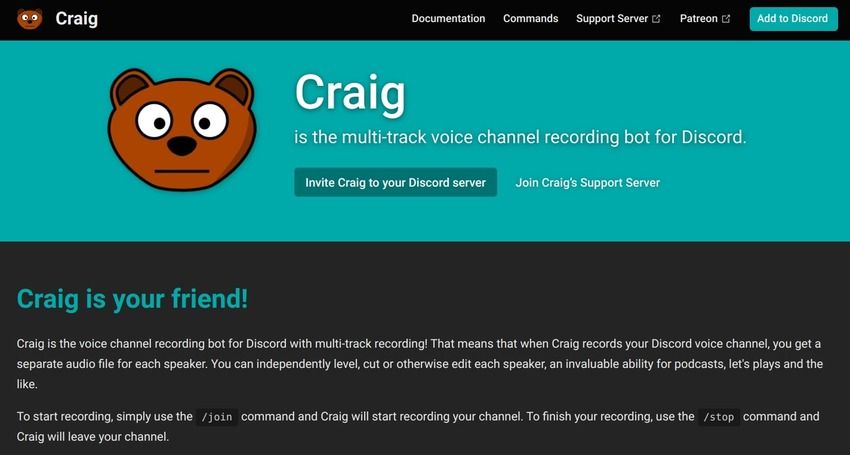
However, you can only use Craig on your Discord server. Once you invite and authorize it, type " /join" in a specific voice channel to start recording audio. You can also add notes while recording.
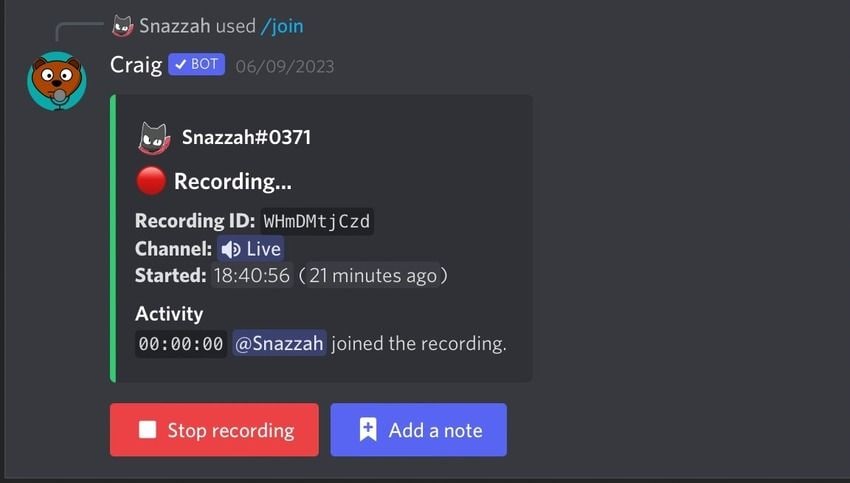
Craig will inform you that the recording will last a maximum of six hours and expire in seven days. However, you can download it to have a safe backup. When you want to stop recording, you can use the dedicated button or type " /stop" to instruct Craig to leave your voice channel.
The problem is Craig can't record live streams and videos. You also may experience delays and lag because thousands of people use the bot. Fortunately, you have other options.
Best Options for Recording Discord Audio on a Mac
How To Record Discord Audio on a Mac With Wondershare DemoCreator
Wondershare DemoCreator is a professional video and audio recorder. However, it's more intuitive and has editing capabilities. It uses state-of-the-art AI to denoise, translate, and transcribe your recordings, change your voice, enhance your speech, and provide other tweaks.
It also lets you trim, accelerate, and decelerate your audio tracks and add fade-ins, fade-outs, and other sound effects. It features an SFX Store with 50,000+ creative assets to help you transform your video and audio recordings.
The best part is capturing your voice and system audio simultaneously and editing them separately. You can also add multiple tracks for batch processing. That's ideal when recording Discord conversations.
- Record screen, system audio, microphone, and webcam simultaneously or seperately
- Edit video and audio quickly with a wide range of professional tools
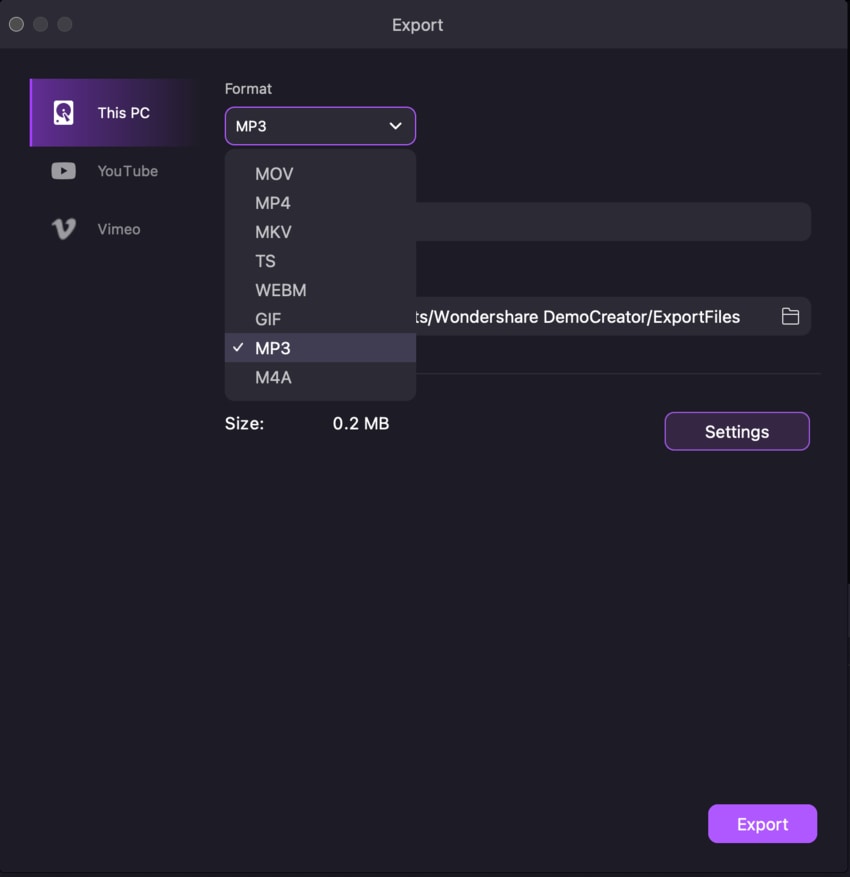
- Export to MP4, MP3, MOV, MKV, GIF, and multiple formats

Here's how to record Discord audio on a Mac using DemoCreator:
- Download and install Wondershare DemoCreator for macOS.
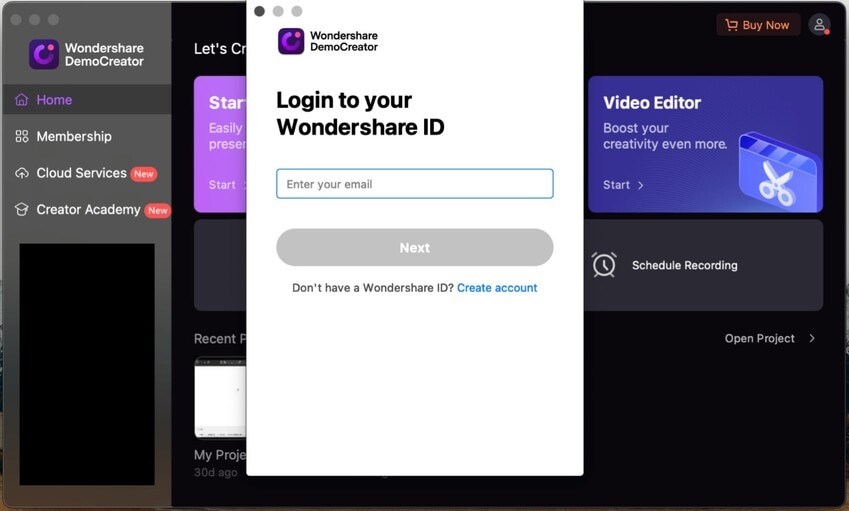
- Log into your account or register if you're a first-time user.
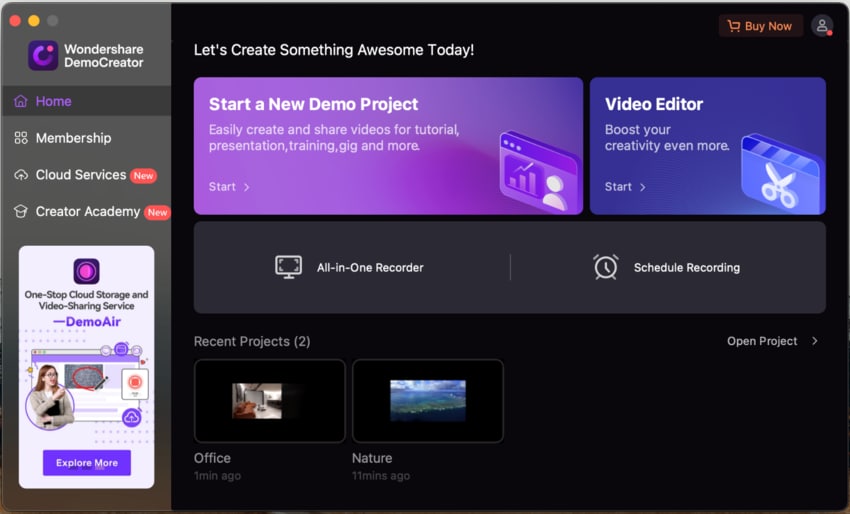
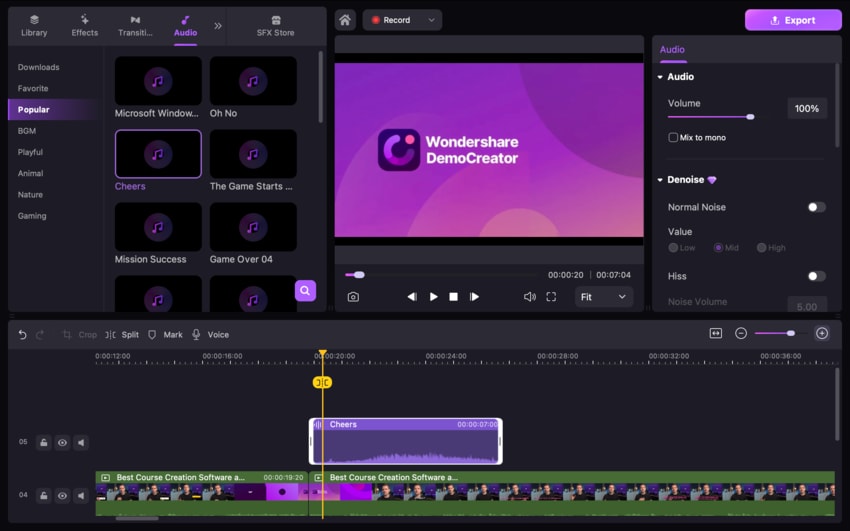
- Launch the All-in-One Recorder.
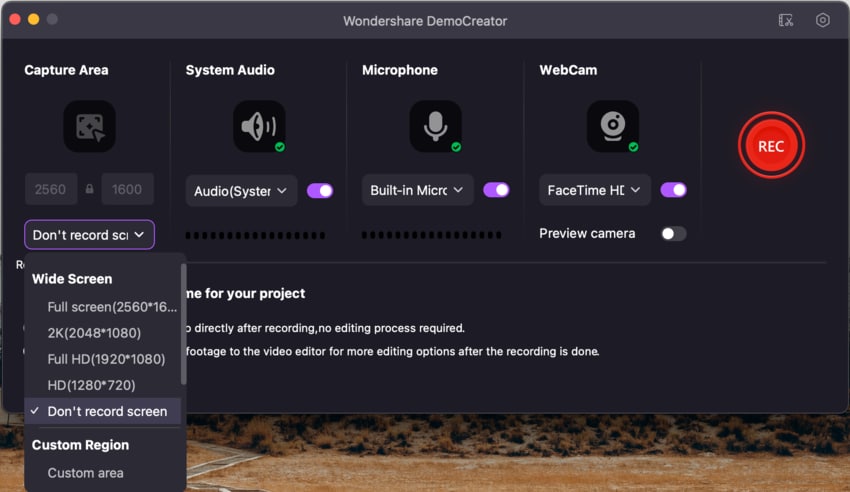
- Click "Don't record screen" under Capture Area, turn off your webcam, and select your system audio device and microphone. Then, click the REC button and open Discord to start a voice call or communicate on your voice channel.
- Once you finish recording, DemoCreator will open its Video Editor, so polish your audio and click Export to save it to your computer.
- Choose an audio format and output folder and hit Export.
How To Record Discord Audio With OBS Studio on a Mac
OBS Studio is free, open-source software for live streaming and cross-platform screen recording without time limits. It's perfect for recording gameplay, tutorials, webinars, and other videos. It can also record audio only.
However, it doesn't have editing capabilities and can't capture system sounds on Mac computers without a virtual audio driver.
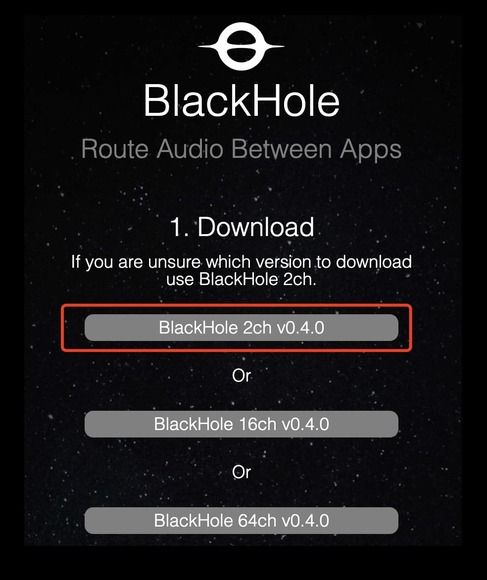
Your best options are BlackHole and Soundflower, kernel extensions for routing internal audio between applications. They're free but require an extensive setup. We'll walk you through BlackHole installation and settings, but the steps are identical for other loopback drivers.
Here's how to record Discord audio with OBS Mac:
- Download and install BlackHole 2ch on your Mac.
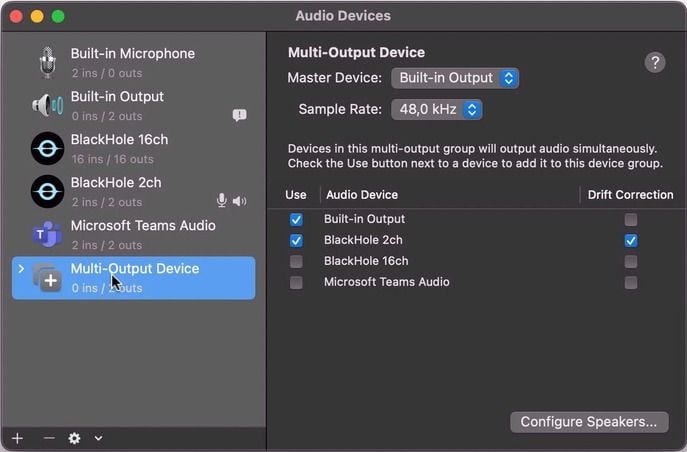
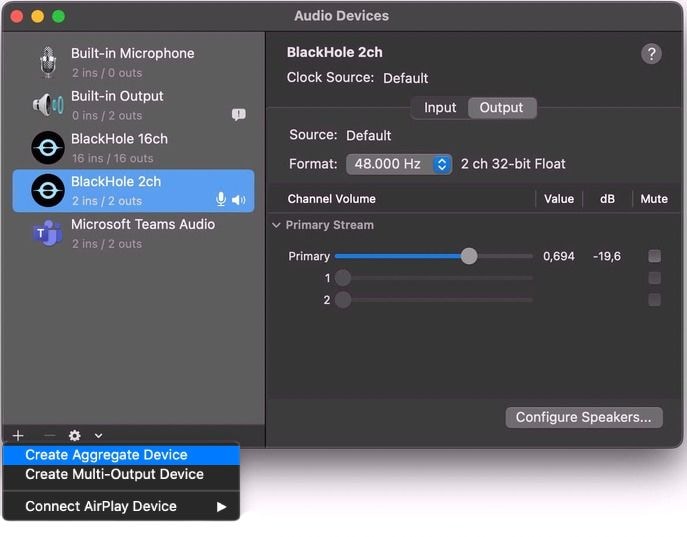
- Launch Audio MIDI Setup, hit the Plus button, and click Create a Multi-Output Device.
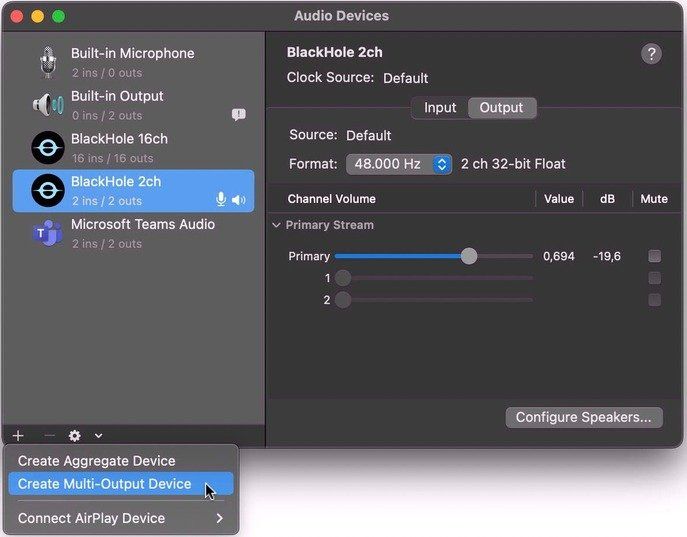
- Choose your Built-in Output (or MacBook Pro Speakers or similar, depending on the device) and BlackHole, and enable Drift Correction for BlackHole. That will route your system audio through the virtual driver, but you won't hear the sound while recording. However, the order is crucial, so uncheck BlackHole if it's at the top and recheck it to push it down.
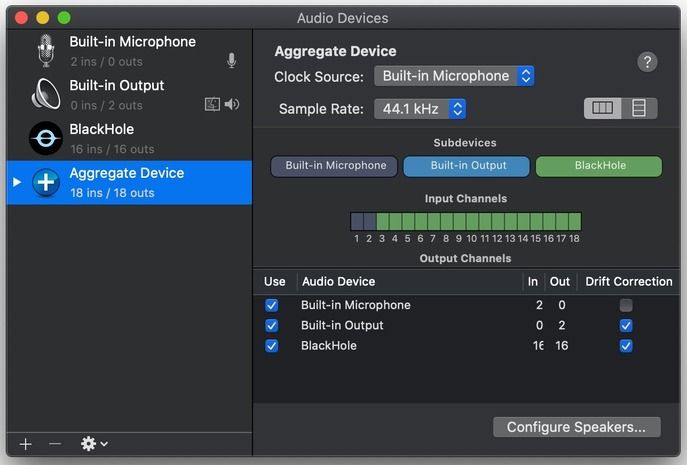
- If you wish to capture your microphone with system audio and hear the output while recording, hit the Plus button and click Create an Aggregate Device.
- Add your Built-in Microphone (or an external one), Built-in Speakers (or others you've added in the steps above), and BlackHole, and enable Drift Correction for all except the mic. Again, they should be in this particular order, so uncheck and recheck them if necessary.
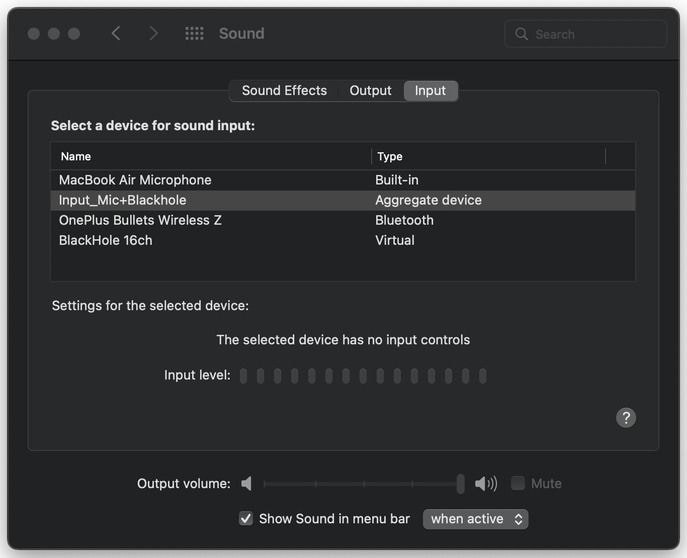
- Go to the Apple menu > System Settings (or System Preferences) > Sound > Output and choose the Multi-Output Device.
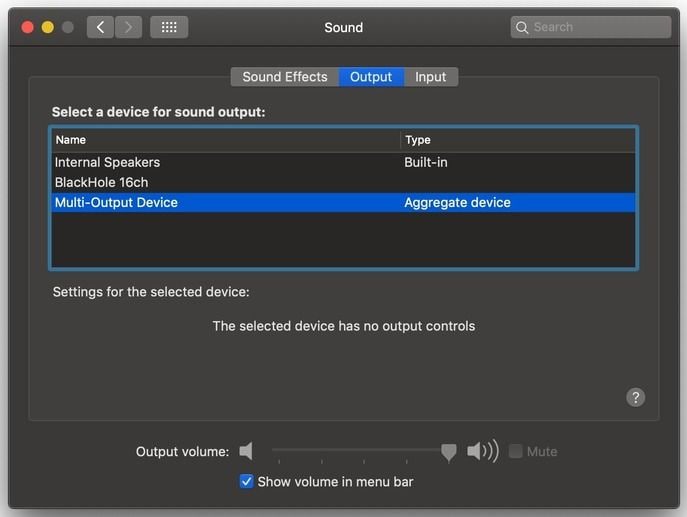
- If routing your microphone and system audio through BlackHole, switch to the Input tab and choose your newly created Aggregate Device.
- Download and install OBS Studio for macOS.
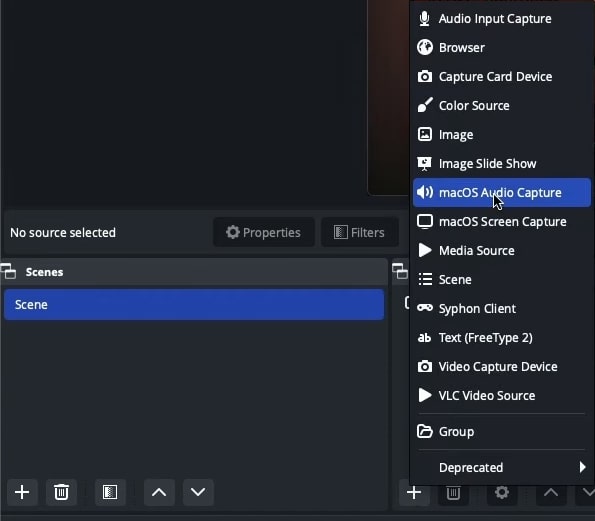
- Launch the program, click the Plus button under Sources, and select macOS Audio Capture (OBS Studio 30 on macOS Ventura or newer) or Audio Output Capture (older software versions).
- Name it however you like and click OK.

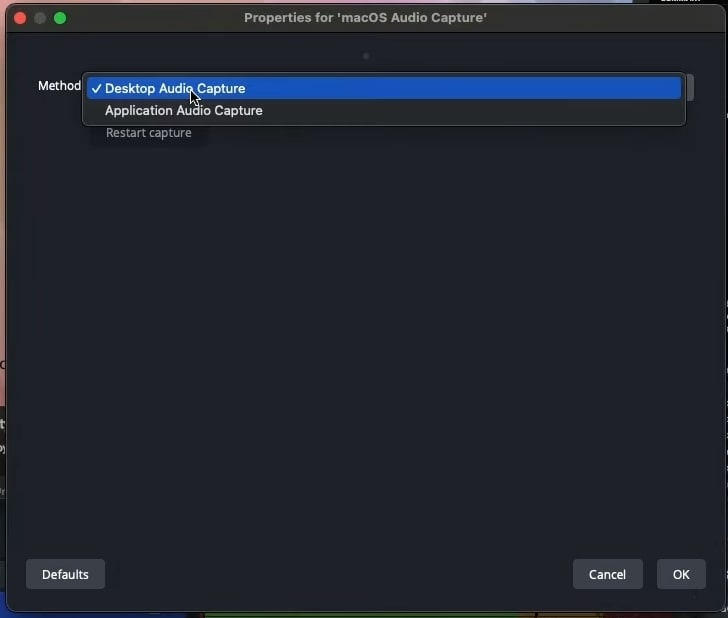
- Choose between a Desktop and Application Audio Capture, and hit OK.
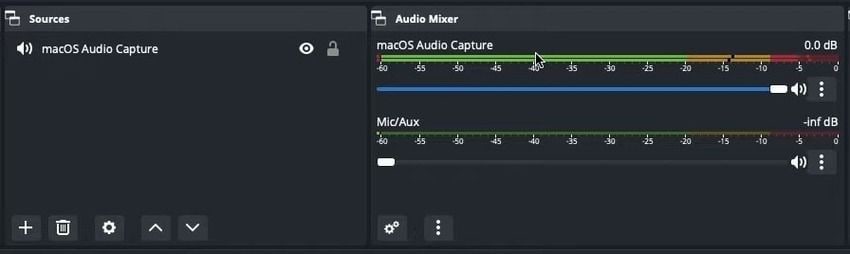
- Use the Audio Mixer to adjust the source's volume. As you can see, OBS Studio will automatically capture your microphone.
- Go to Settings > Audio.
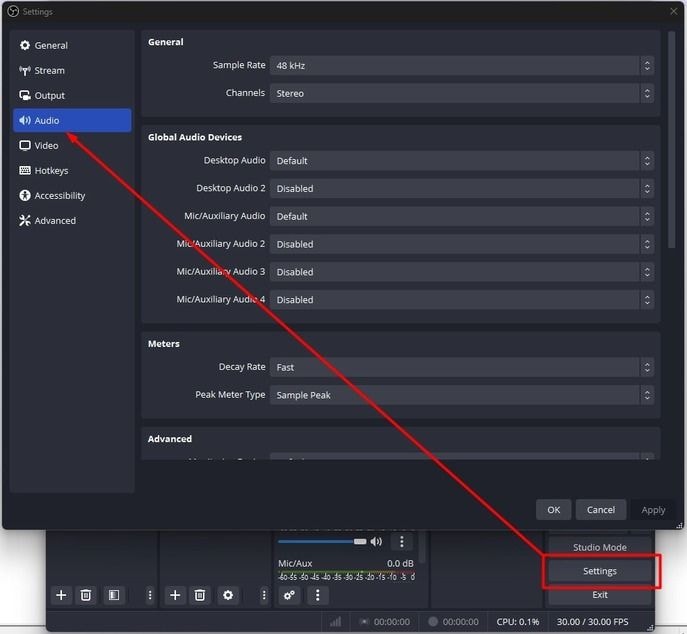
- Choose BlackHole under Desktop Audio and set it as your Mic/Auxiliary Audio if you've created an aggregate device to record your voice and system sounds.

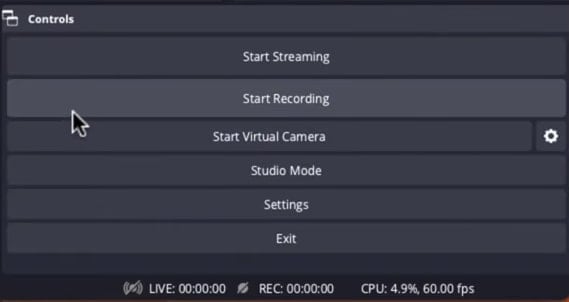
- Click Start Recording and open your Discord voice channel to capture audio.
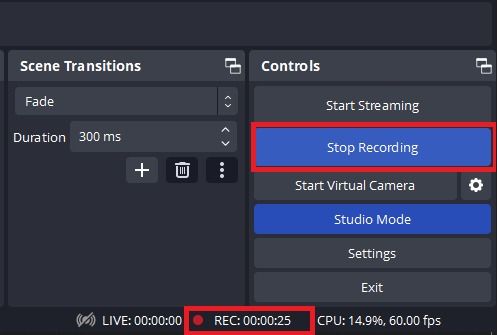
- Click Stop Recording and go to File > Show Recordings to access the output folder (you can change it in Settings).
How To Record Discord Audio With Voice Memos on a Mac
Voice Memos is a built-in macOS app for recording your microphone. That means you can't capture other speakers in your Discord voice channel. Still, it's excellent for podcasts and separate audio tracks in gameplay sessions. It lets you fine-tune and share your recordings and has no recording limit.
Here's how to record audio on Discord Mac using Voice Memos:
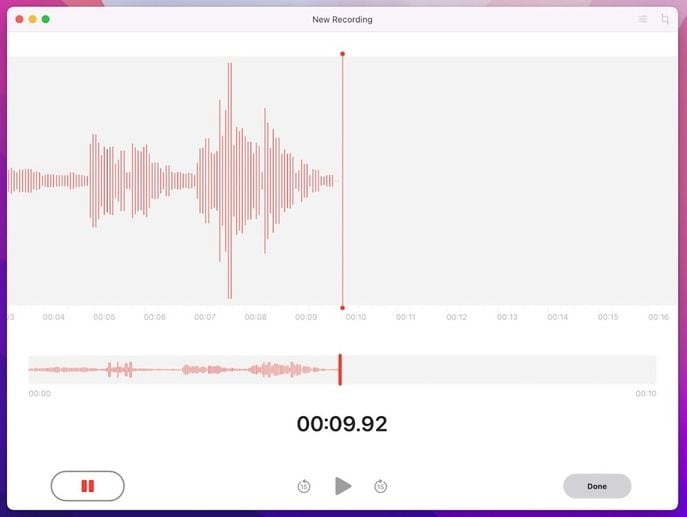
- Go to your Discord voice channel, launch Voice Memos on your Mac, and click the red Record button.

- Pause and resume anytime, and click Done to stop recording.
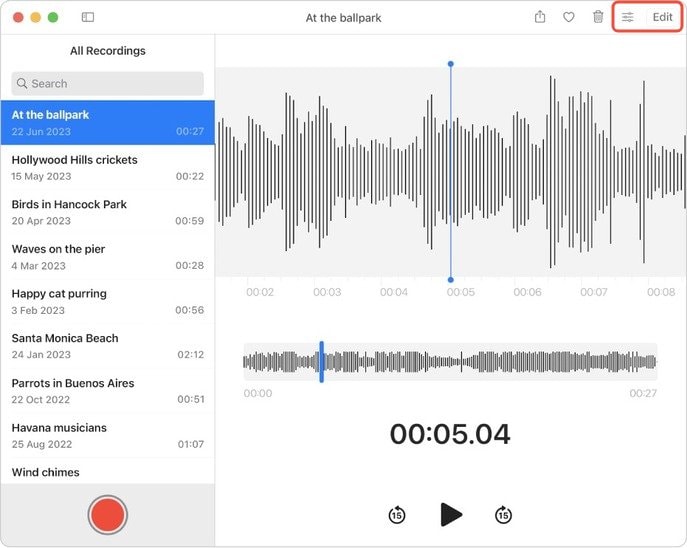
- Rename, listen to, and fine-tune your recording. Click Edit or the Playback Settings button to adjust the speed, reduce reverberation and background noise, and skip silent fragments.
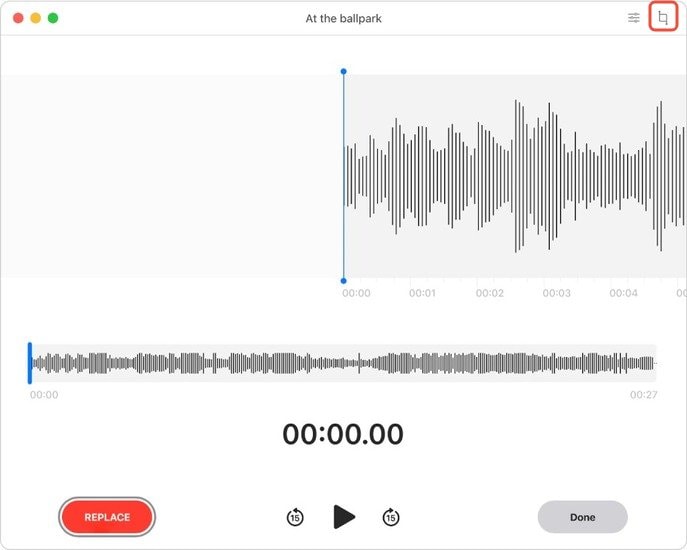
- Once you click Edit, you can overwrite a specific part. Simply drag the playhead to select a section, hit Replace to record a new voice memo, and click Done to save the change. If you wish to delete some segments (e.g., the beginning and end), click the Trim button in the top right corner.
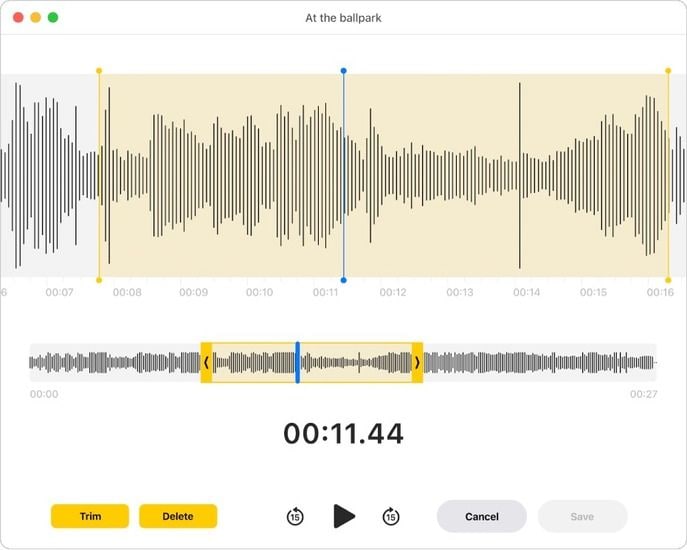
- Drag the yellow handles to select the desired portion and click Trim or Delete. The former will automatically save the trimmed part as a new recording.
- Right-click the recording to share it via Mail, Messages, AirDrop, Notes, Reminders, or another app. You can also click the Share button and drag it to the Finder or desktop.

Tips for Recording Discord Audio on a Mac
Regardless of your chosen audio recorder, you can't merely hit the Record button and expect a flawless recording. Thorough preparation and practice are necessary for high-quality audio.
Here are some practical tips for recording Discord audio on your Mac:
- Invest in high-quality equipment - Your microphone can make or break your Discord audio recordings. Therefore, get an external mic because it will produce better audio than your Mac's built-in microphone. A condenser mic can capture crystal-clear sounds but is more sensitive than dynamic microphones, requiring a quiet recording environment. Either way, get a pop filter to eliminate popping sounds.
- Create a controlled acoustic environment - Minimize or eliminate background noise to enjoy clean audio. Soft materials like foam and fabric absorb sound, so surround yourself with those to trap sound waves and avoid unwanted reverberation and echo.
- Optimize your recording settings - Discord supports 44.1 kHz and 48 kHz (enough for high-quality audio), so don't use a higher sample rate when recording voice calls or chats, even if your audio hardware supports it. Otherwise, other speakers won't hear you (nor will you make out what they say) unless they use the same settings.
- Don't shy away from your microphone - Speak close to your mic and enunciate clearly. You want your listeners to hear and understand you.
- Test before the final recording - Once you get everything in order, make a test recording on your Discord audio channel to identify potential areas for improvement. That will significantly cut your post-production time.
Let these tips be your North Star, but don't worry if your Discord audio recordings aren't perfect. That's where editing tools come in, helping you remove background noise and add other tweaks.
Conclusion
Recording Discord audio on Mac computers is straightforward when capturing only the microphone. One example is Voice Memos, which your Mac has by default. However, open-source programs like OBS Studio let you record internal audio, although you must install a kernel extension like BlackHole.
All-encompassing programs like Wondershare DemoCreator don't have such limitations. Besides simultaneous system audio and voice recordings, DemoCreator's video recording features and AI editing tools make it a superior option.