
Windows 11 comes with an in-built voice recorder that lets you capture audio, save it, and share it easily. However, the built-in audio recorder Windows 11 may not always meet the quality demands for professional use. For better results, you might consider third-party tools like a voice recorder for PC or a dedicated sound recorder for PC that offer advanced features and higher-quality output.
This article will guide you through recording audio on Windows 11 and introduce the best alternatives, including free options like a streaming audio recorder Windows 10 free or a reliable free computer audio recorder. Whether you’re looking to record with a microphone or need a more versatile solution, we’ve got you covered.
In this article

Hot Articles
Part 1: Can I Record Audio on Windows 11?
Yes, you can record audio on Windows 11 using the built-in audio recorder for PC tool. It is the easiest and cheapest way to record audio, as you don’t need to pay a dime to use it. However, the built-in sound recorder Windows has limited features, and one of its most significant drawbacks is the inability to trim recordings. Let’s explore how to record sound on Windows 11 and look into advanced options for better quality.
Part 2: How to Record Audio on Windows 11?
There are multiple ways to record audio on Windows 11. Let’s explore the built-in tools and third-party software for recording internal and external audio.
Method 1: Use the Built-in Voice Recorder App on Windows
Let us understand how to record sound using Windows 11. The steps are straightforward to understand so that even a noob will be able to do it.
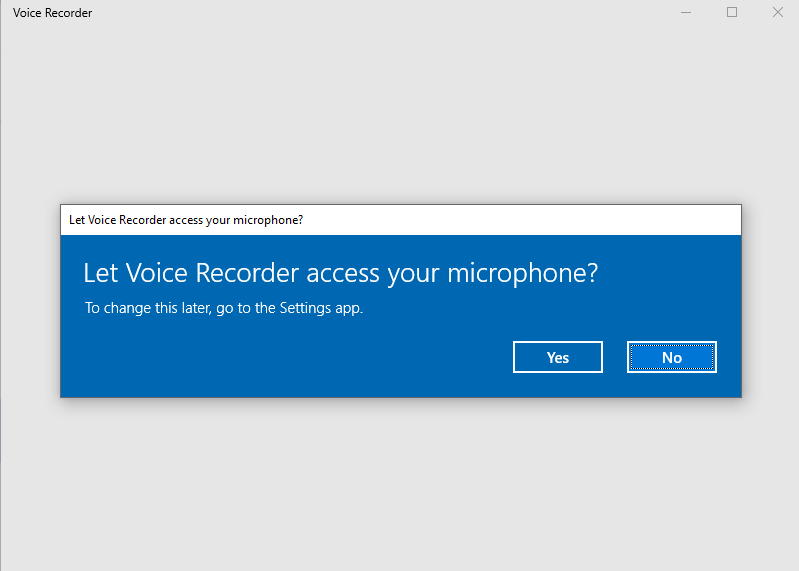
Step 1: Go to the Start Menu and search for Voice Recorder. The voice recorder will ask whether you are allowed to access the microphone. Click on Yes.
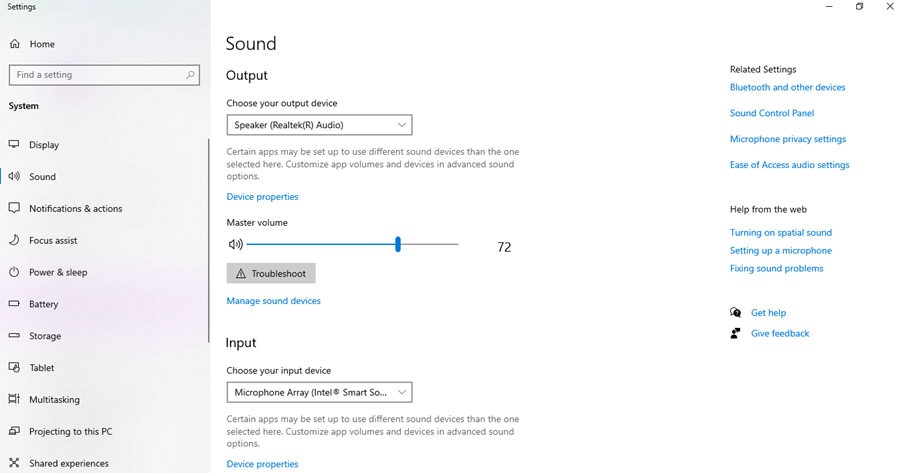
Step 2: You can directly begin recording by pressing the start button. However, it is advisable that you first do the audio settings to optimize the quality of the recording before you begin the recording. You can do the settings by going to Start Again and searching for sound settings. Here, you can select the input and the output device you want to use for recording.
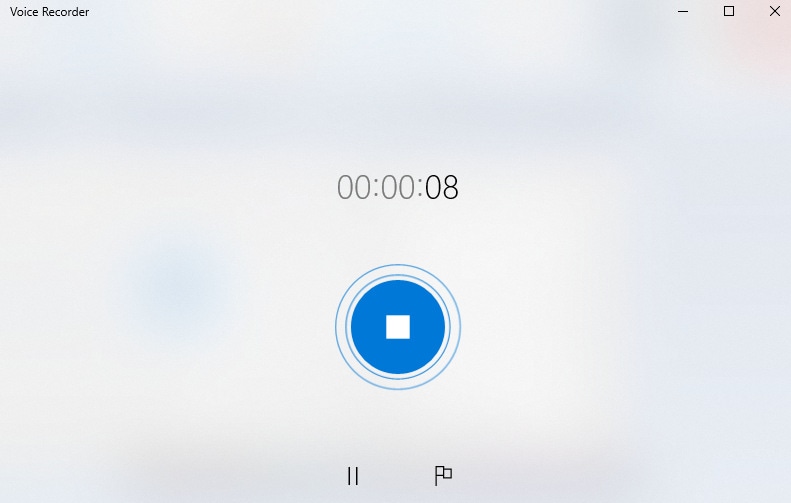
Step 3: Begin recording.
After completing the microphone and output device settings, return to the voice recorder and press the record button. You will be able to see the length of the recording.
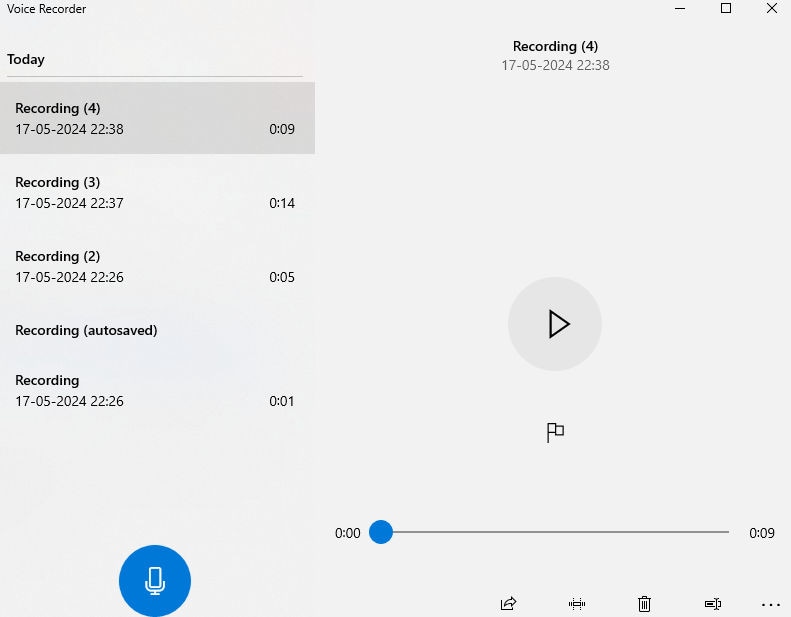
Step 4: Play and edit recording
Once you are done recording, play the stop button. You will be taken to the next screen, where you can playback the recording, edit it, rename it, delete it, or share it. Do whatever you want to.
Method 2: Use Apowersoft Online Voice Recorder Windows 11
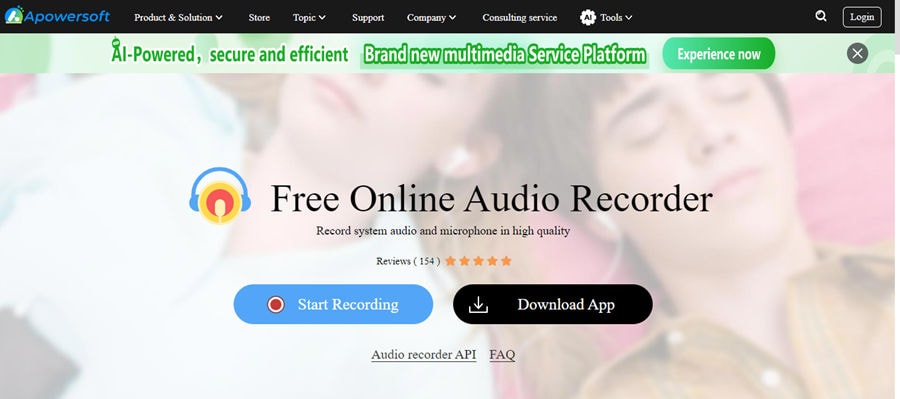
The built-in Voice Recorder is very easy to use and record. But it has fundamental features. So here is another software that can be used. Apowersoft is a beautiful free Online Audio Recorder. Let us see how to record audio on Windows 11 using Apowersoft Online Voice Recorder.
Step 1: Open the Apowersoft Online Voice Recorder software on your PC’s web browser. You will have two options: download the application or start recording online. Click on Start Recording.
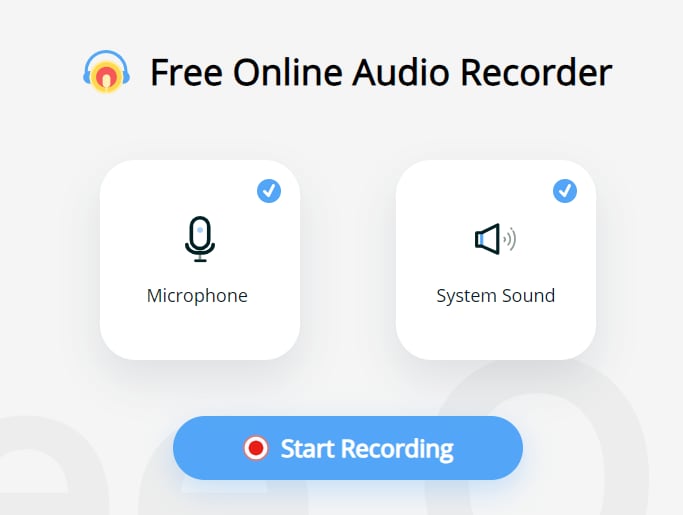
Step 2: You will be asked to select the input source on the next screen. Choose whether you want to use a Microphone, System Sound, or both. Check the relevant option and click on Start Recording.
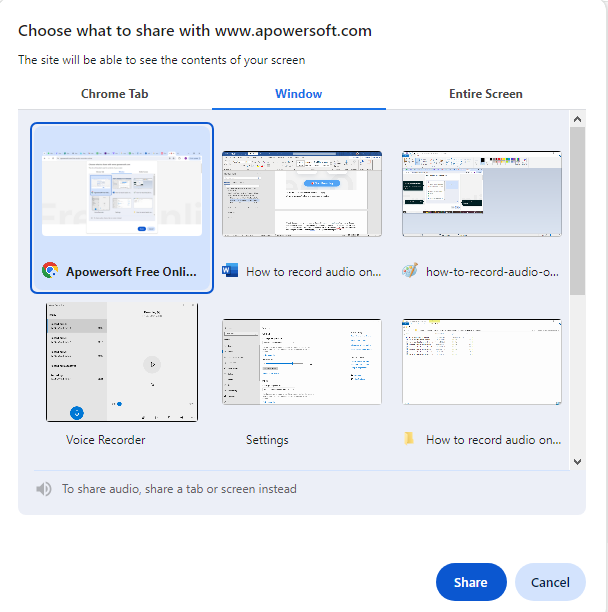
Step 3: Select the content you want to share with www.apowersoft.com. You need to choose from one of the three options – Chrome tab, a particular Window, or the entire screen, to move further. Choosing the Window option and then selecting the Apowersoft Window is advisable. This way, your data won’t be shared, and your privacy can be preserved.
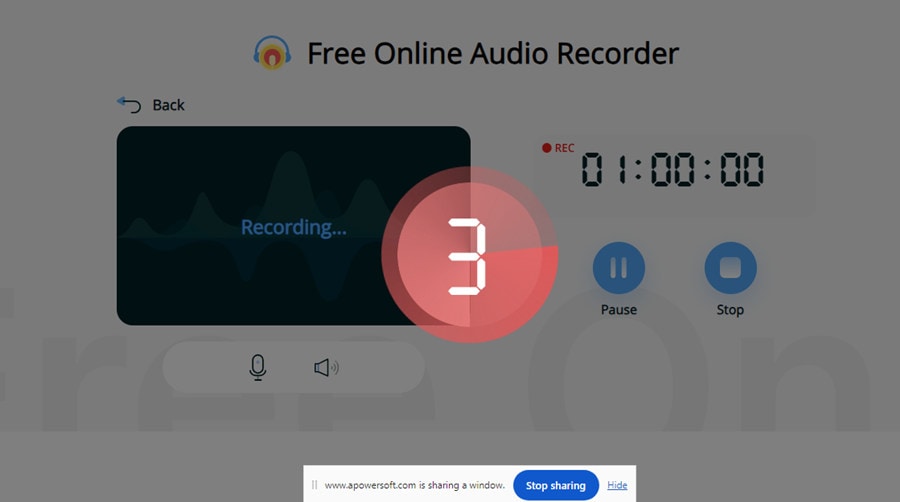
Step 4: Start Recording – Once you click on start recording, there will be a timer of 3 seconds for you to prepare before starting. Then, the recording will begin. You can also pause your recording in between. Once done, click on stop.
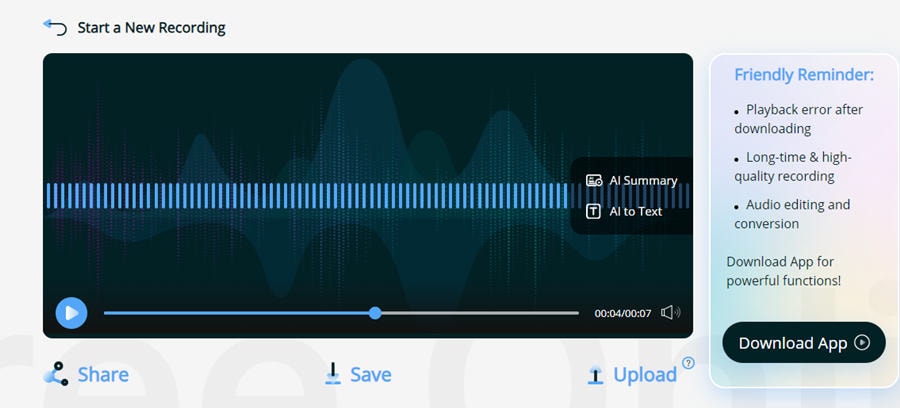
Step 5: Share, Save, Upload—Once you have finished recording, you can playback the audio to check the recording. You may then save the audio, share it with your friends, upload it on social media, or go back to start a new recording. However, additional features like audio editing and conversion are only available in the application.
Method 3: Use Wondershare DemoCreator to Record Audio on Windows (Recommended)
Apowersoft Online Voice Recorder is a perfect online Voice Recorder. However, it has certain drawbacks, such as the need to share your data with the developers and the fact that the advanced features are unavailable in the online version. To overcome these shortcomings, we recommend using Wondershare DemoCreator to record Audio on Windows 11. Here is how you can do the same.
Step1Launch Wondershare DemoCreator
Launch Wondershare DemoCreator and select Video-Recorder. You will then be taken to the next screen, giving you an option of what you want to record. If you want to record only audio, select Screen and begin recording.

Step2Microphone and System Audio settings
As we are interested in audio recording, only make sure that the microphone is on and System Audio has been selected. Once you have checked these settings, begin recording.

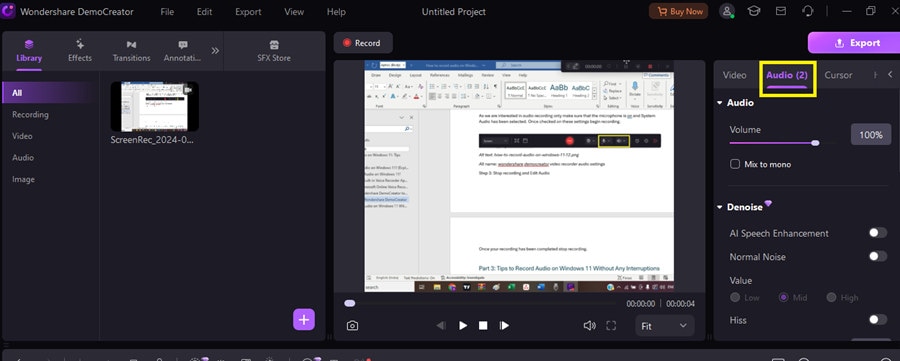
Step3Stop recording and Edit Audio
Once your recording has been completed, click the red square button to stop recording. You will be taken to the next screen. As we are more interested in audio recording, optimize the audio settings such as Audio Volume, Denoise, Voice Changer, Speed, etc.
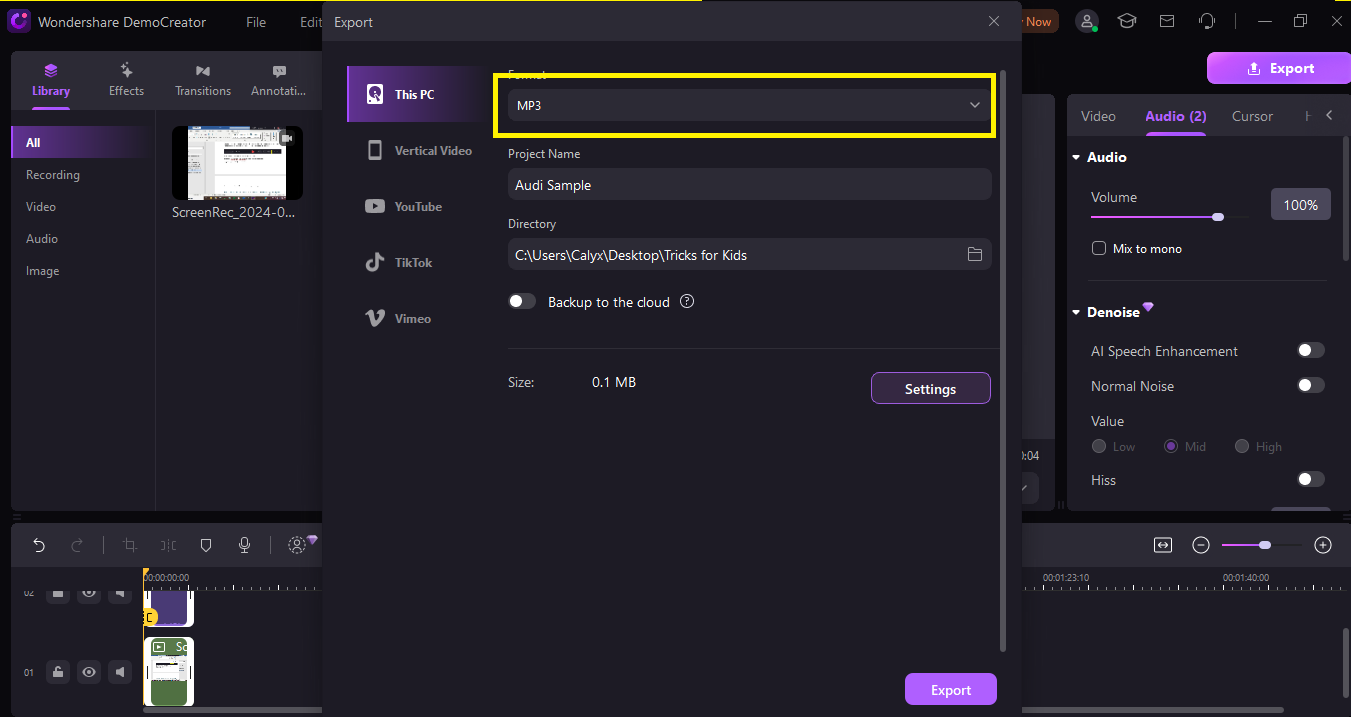
Step4Export
Once all the settings have been done, click on export. Here, you will be asked to select the format you want to export. As we are interested in Audio only select the audio format such as MP3 or any other audio format from the dropdown menu as per your requirement. You can rename your project here and choose the path where you need your audio saved; once done, click Export again.
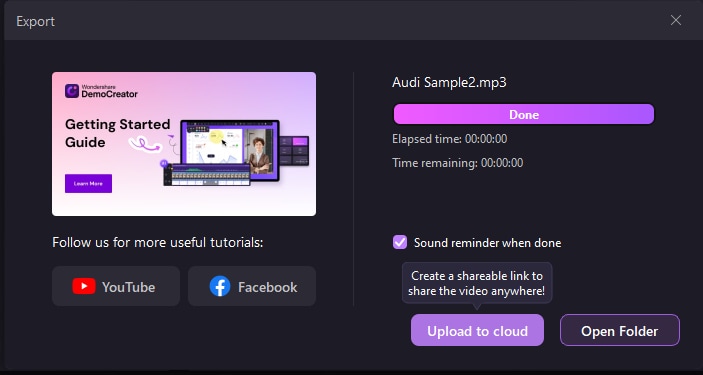
Step5Upload to the cloud or Open Folder
Once you click on Export, your audio will be converted and saved. Clicking on Upload to Cloud will create a shareable link to share the video anywhere you want. Opening the Folder will open the folder where the audio has been saved.
- Record customized screens with audio and edit them in different tracks.
- Capture gaming videos, tutorials, and presentations and then edit them in one tool.
- Built-in unlimited editing templates, special effects, and other sources.
- Supported export to MP4, MOV, MKV, GIF, and other formats.

 Pro-tip
If you want to get Loom alternatives, you can click here to get a detailed guide.
Part 3: Tips to Record Audio on Windows 11 Without Any Interruptions
Here are some of the tips to sound recorder for pc without any interruptions:
- Choose a quiet environment: Choose a recording location with minimal background noise. This will not only improve the quality of your audio but also reduce the headache of editing to a great extent.
- Soft Surface: Ensure the recording room has proper curtains, carpets, and heavy furniture to absorb the sound and reduce echo.
- Optimize microphone settings: Use a good-quality microphone and position it correctly, typically 6-8 inches from your mouth. Also, the microphone sensitivity in the sound settings should be adjusted.
- Use advanced software: Advanced software such as Wondershare DemoCreator gives you more control and makes editing more accessible and powerful. You can also denoise the audio to make your audio quality more captivating.
Conclusion
Whether you’re using the built-in sound recorder Windows or exploring third-party tools like DemoCreator, recording audio on Windows 11 is simple and flexible. If you need basic functionality, the free built-in voice recorder Windows is sufficient. However, for professional content creators, advanced software with more features can make a significant difference in audio quality.
FAQ
-
Q1: Does Windows 11 have an audio recorder for PC?
A1: Yes, Windows 11 has a built-in audio recorder for PC called Voice Recorder, accessible from the Start Menu. -
Q2: How do I record sound on a computer with a microphone?
A2: Go to "Sound Settings" in Windows, choose your microphone as the input device, and use tools like Voice Recorder or DemoCreator to start recording. -
Q3: What are the best free options for audio recording?
A3: Free tools like the built-in Voice Recorder or streaming audio recorder Windows 10 free apps are great for casual use.


