

Recording mouse clicks and cursor movements when capturing your screen provides several benefits to you and your viewers. Whether creating a presentation, product demo, or tutorial for an online course, showing and highlighting your mouse pointer can take your videos to the next level and boost engagement and reach.
This quick guide will walk you through the four best screen recorders for capturing mouse clicks and movement and help you choose the best one for your needs. Before exploring them and picking your favorite mouse recorder download, learn what mouse recording is and what benefits it provides.
In this article
What Is Mouse Recording?
Mouse recording means capturing the mouse pointer’s clicks or path on the screen, bringing viewers’ attention to every element you point to or click. For instance, you can emphasize clicks with concentric circles and sounds, highlight movement and clicks with a color or spotlight effect, or magnify click-based actions.
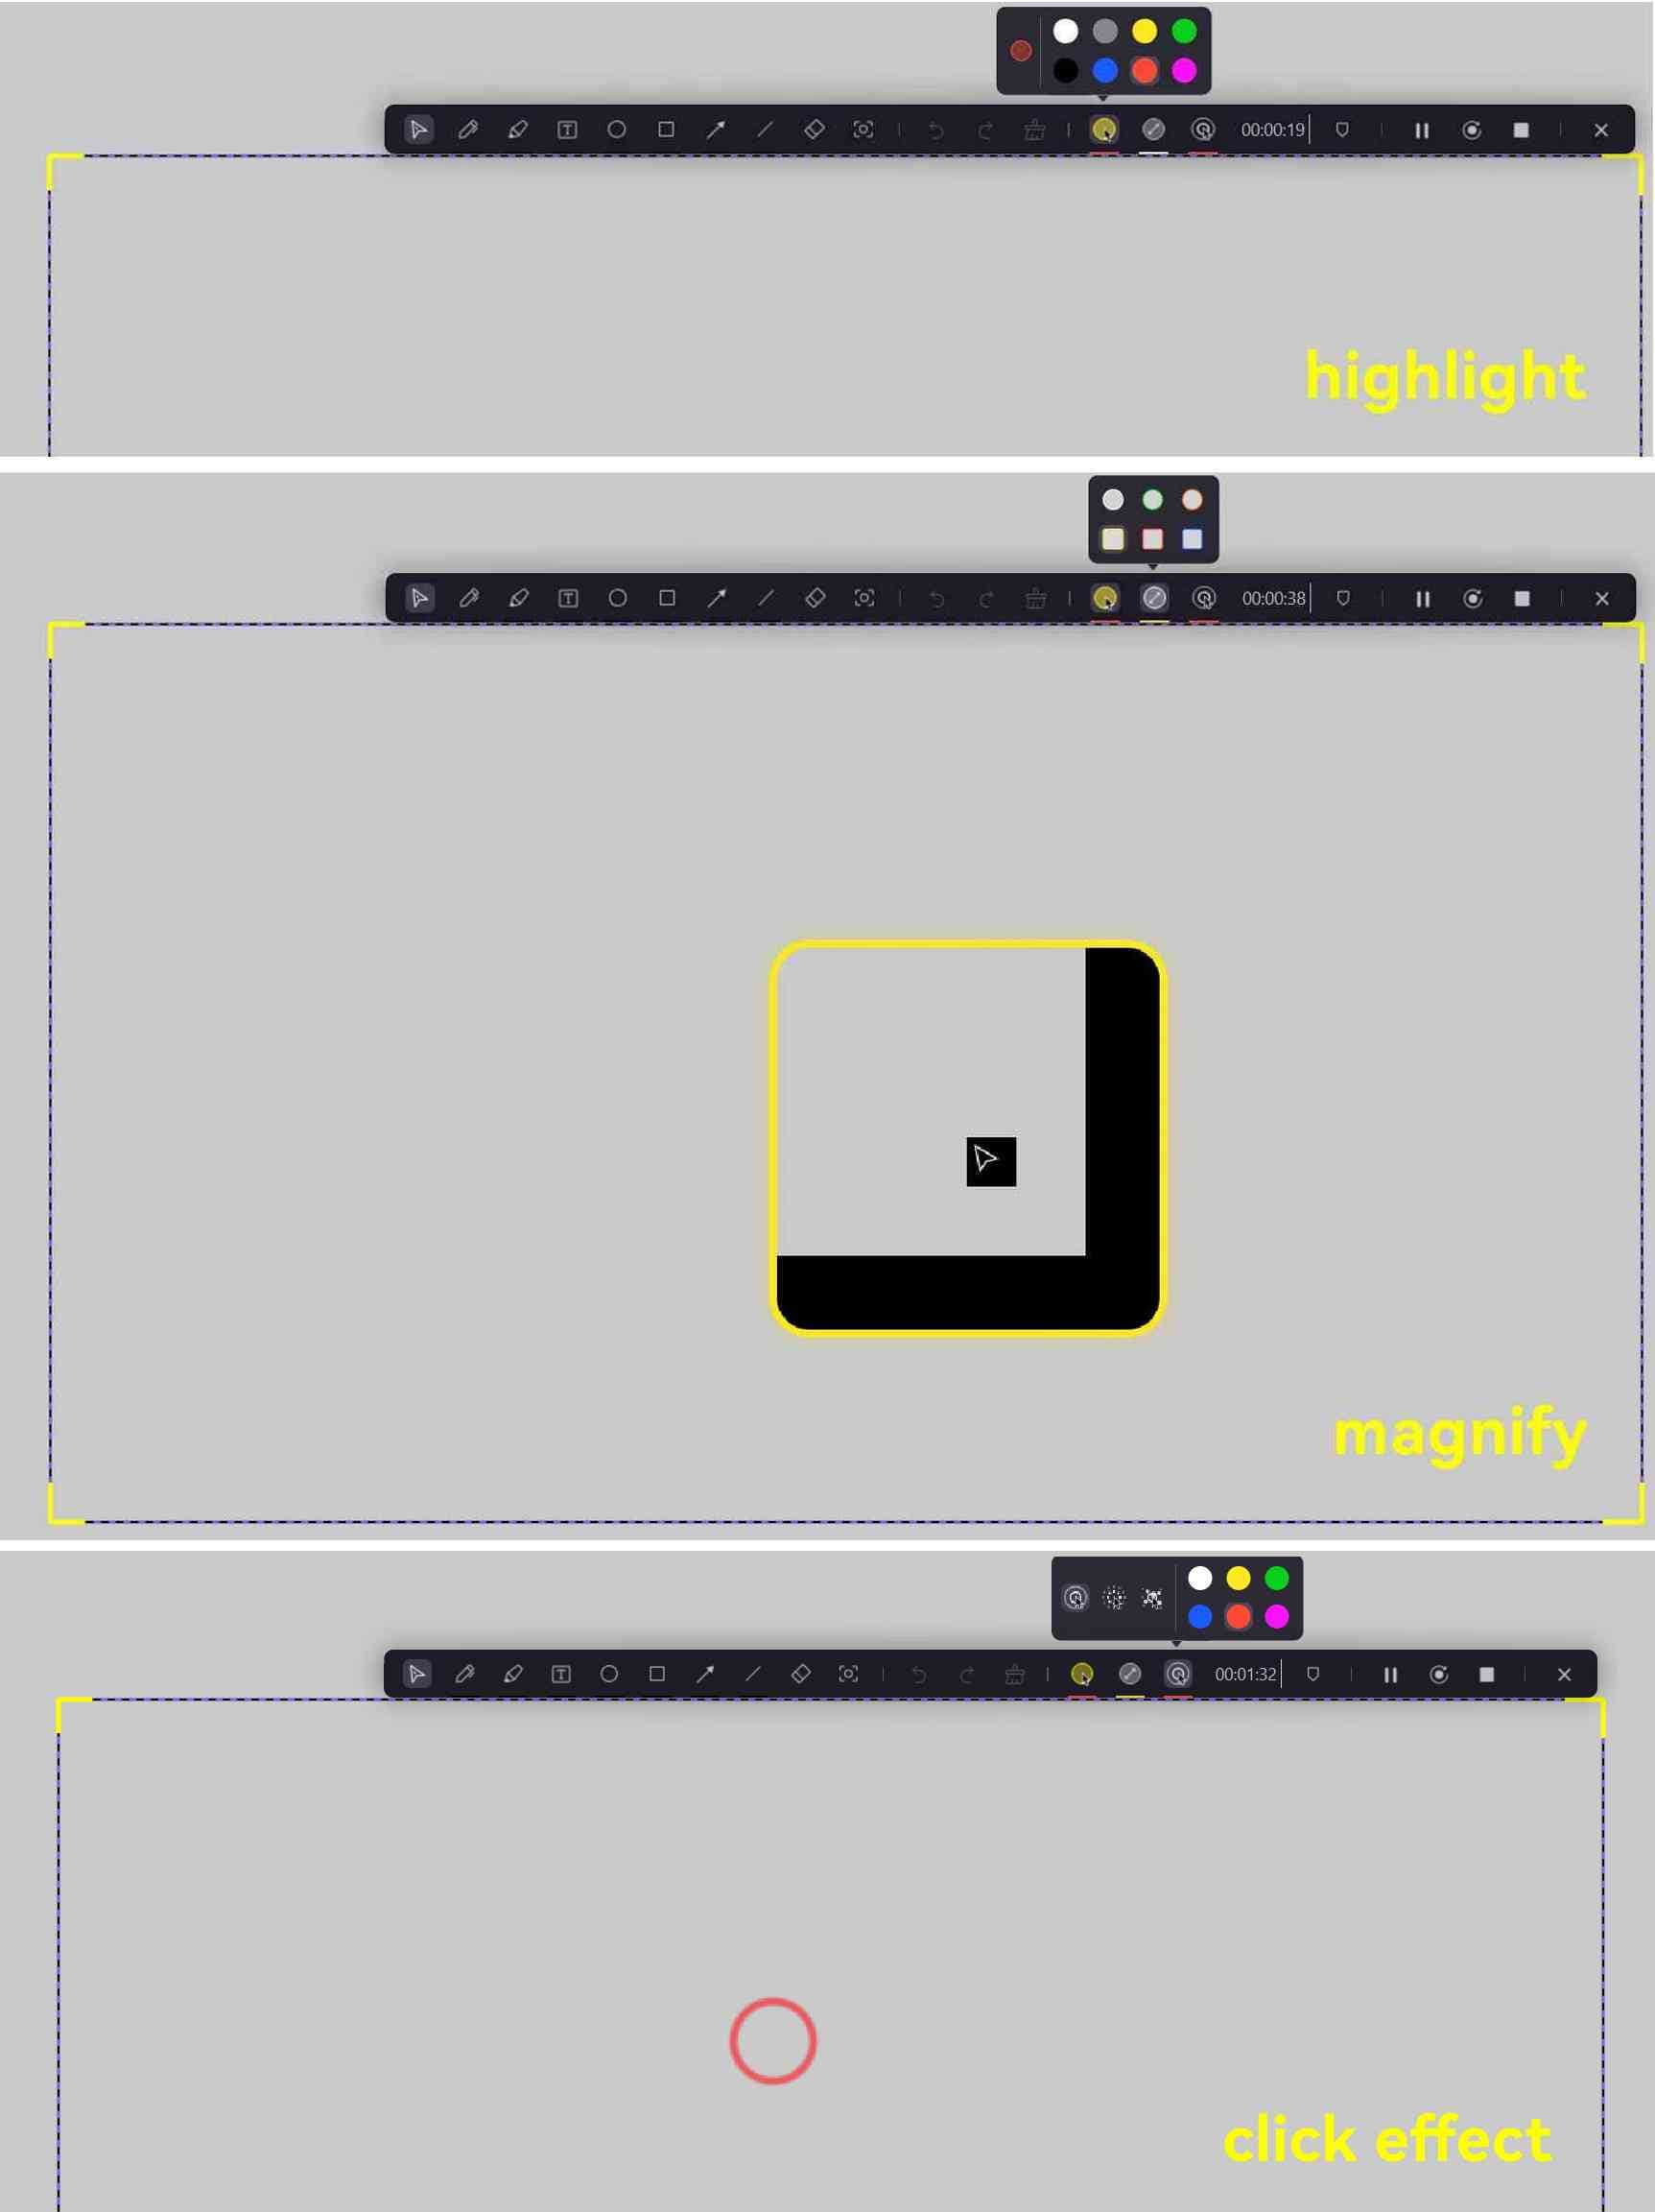
Here’s an example of recording mouse movement with highlight and spotlight effects:
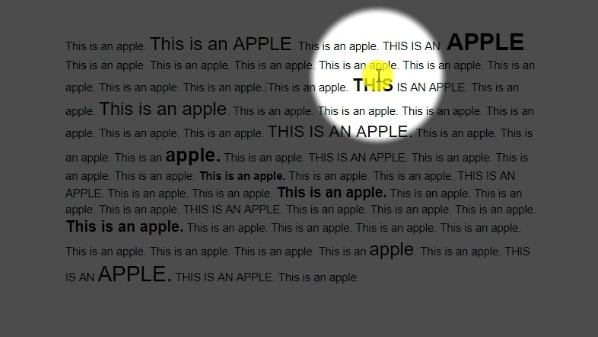
As you can see, they bring specific areas into focus, providing better visual cues. The same goes for the magnifying effect, except it enlarges everything you click or drag, making it ideal for zooming in on tiny buttons, text, and other details. Here’s an example:
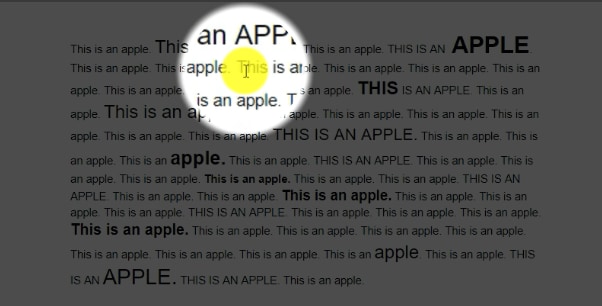
A highlighter and magnifier may not work well because the color can draw attention from the zoomed-in content, but you get the gist.
However, do you understand how capturing mouse clicks and movement can improve your screen recordings? Check out the benefits below.
Advantages of Recording Mouse Movement and Clicks
The most notable benefits of capturing mouse movement and clicks when recording the screen include the following:
- Enhancing the visual appeal – Cursor highlights and other mouse effects make your recordings look more professional and visually pleasing.
- Improving clarity – Visual cues make your explanations or instructions seamless to follow. They provide more value, engage viewers, and help them focus on what matters.
- Making videos more accessible – A mouse cursor magnifier helps people with low vision understand your content or follow your step-by-step guide.
Are you ready to enhance your screen recordings with visible mouse clicks and pathways? Try Wondershare DemoCreator, OBS Studio, Bandicam, or MiniTool Video Converter. Check out how to use each before comparing their top features and pricing to pick your favorite.
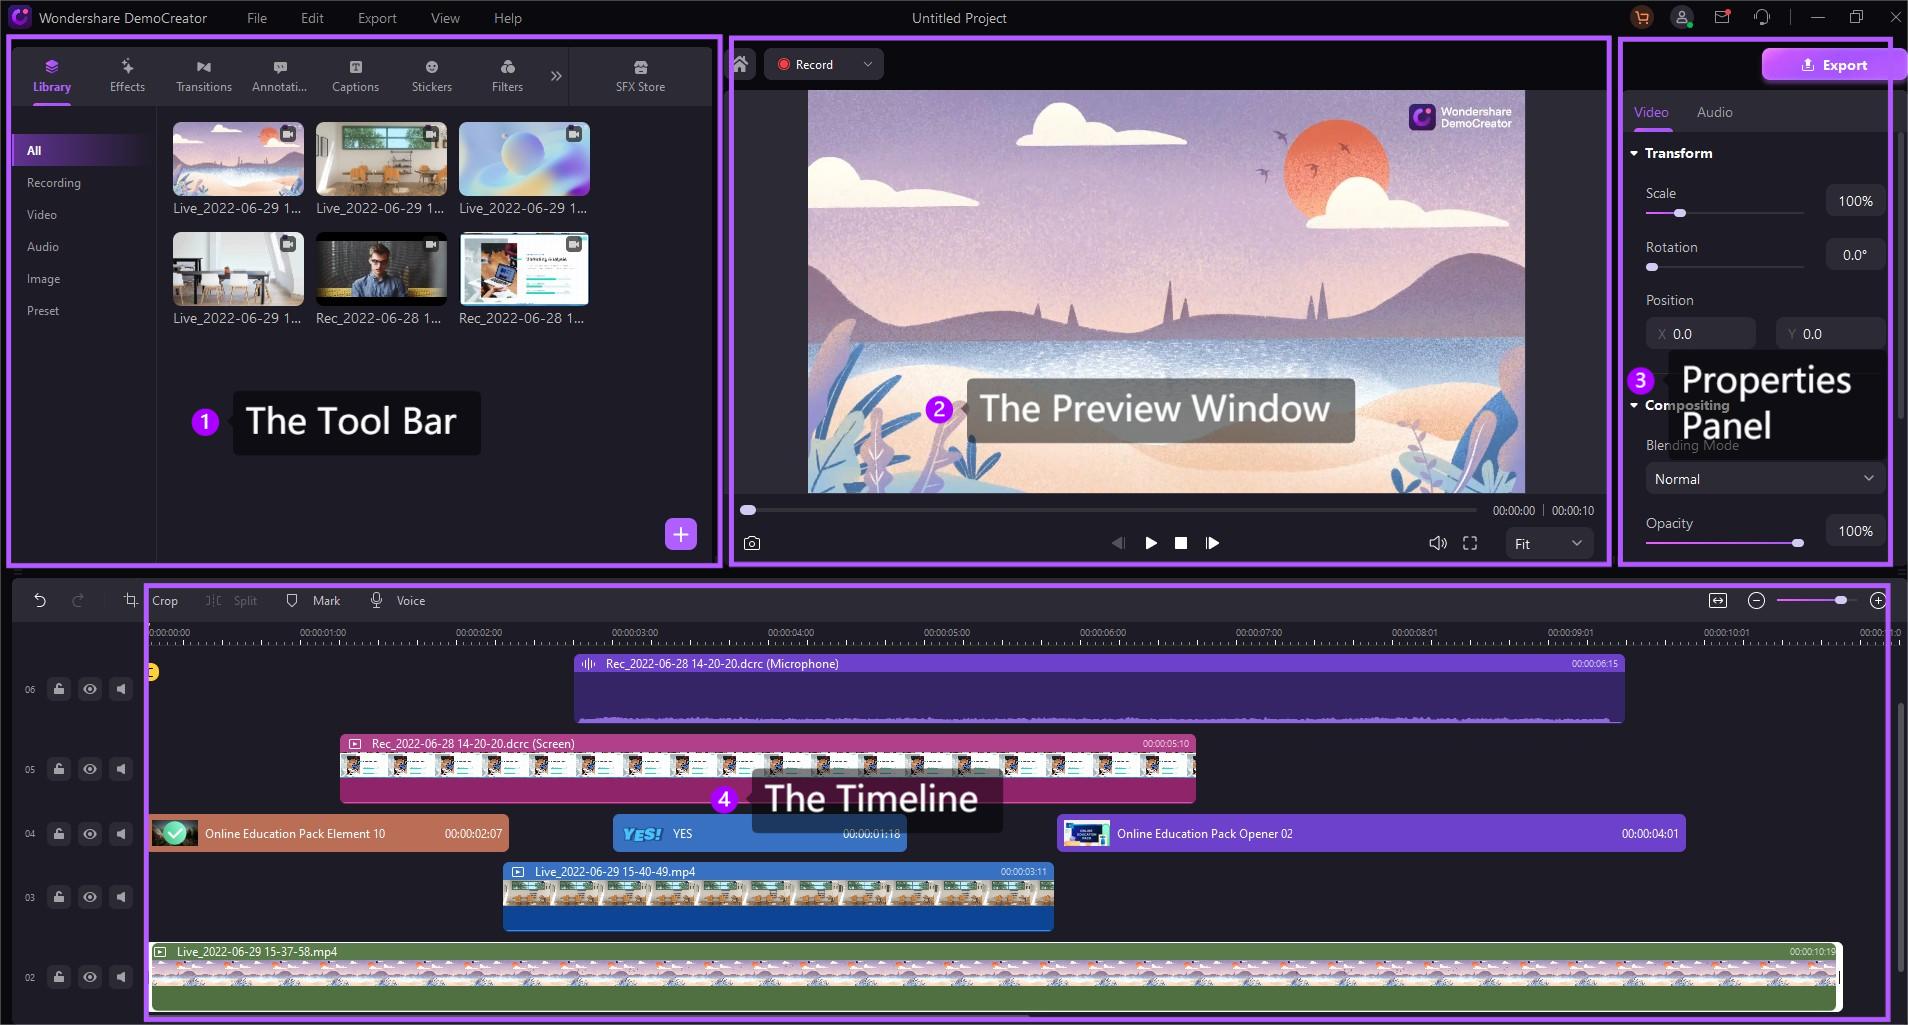
How to Record Mouse Clicks With Wondershare DemoCreator
Wondershare DemoCreator is a professional video recorder and editor with AI-powered features like a denoiser, voice changer, background remover, auto-captions, and dubbing. It lets you record your screen, add a webcam overlay, capture your camera only, and create video presentations, virtual avatar videos, and gameplay recordings.
It has screen drawing tools for real-time on-screen annotations, including mouse cursor effects, and many editing features for polishing your videos. Besides standard editing (e.g., cutting, cropping, trimming, etc.), you can add transitions, animations, dynamic stickers, filters, and sound effects. There’s no shortage of those, as DemoCreator’s SFX Store counts 50,000+ creative assets and templates.
The best part? You can enjoy 4K or 8K videos (depending on your RAM) and record your gameplay at 120 FPS, regardless of screen resolution (thanks to the exclusive game-integrated mode). You can also capture your screen, camera, and audio (internal and external) separately for better editing control.
Visit the official website for a screen and mouse recorder download, and follow these steps to record mouse clicks:
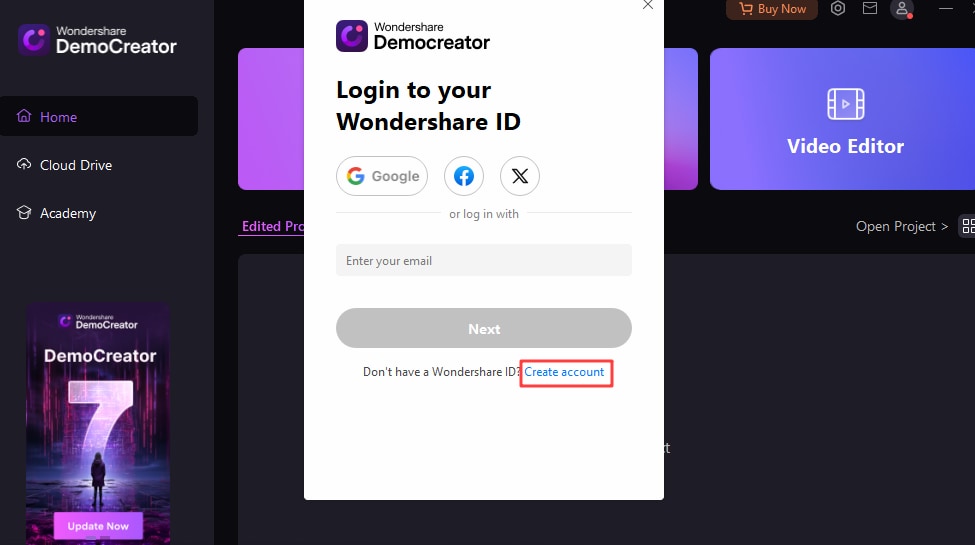
Step 1: Launch DemoCreator and log into your account (or create a new one).
Step 2: Open the Video Recorder.
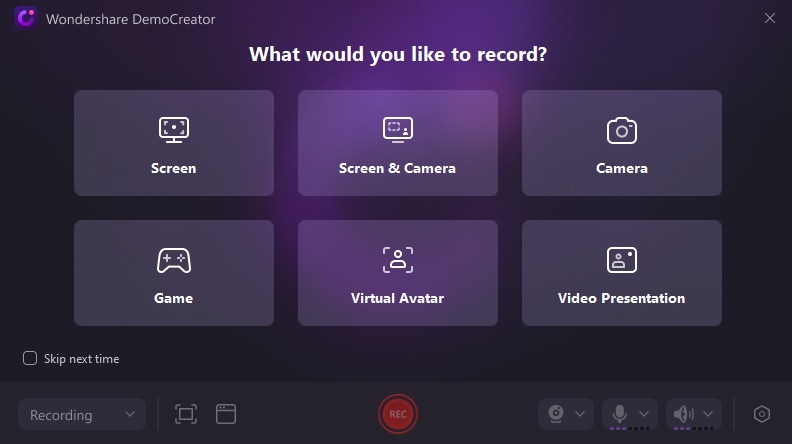
Step 3: Choose a recording mode.
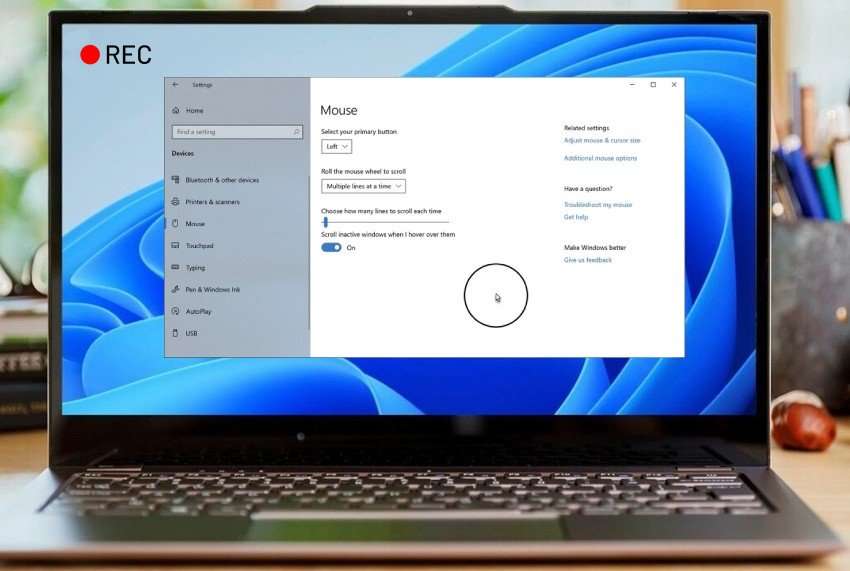
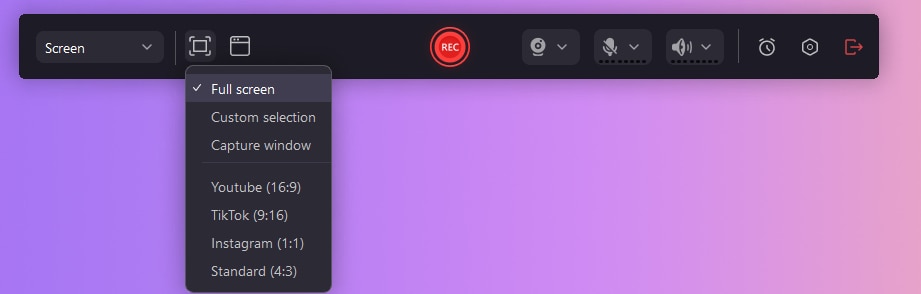
Step 4: Specify the recording area (the entire screen, a custom selection, one or more windows, or a social media aspect ratio). Then, enable your camera, system audio, and microphone, and hit the REC button or F9 to start recording.
Step 5: Click the Mouse Click Record button in the toolbar (Cursor Highlight, Cursor Magnify, or Click Ring) and choose your preferences (e.g., the color).
Step 6: Pause and resume with F9 anytime, and hit the Stop button or F10 to finish recording. DemoCreator will launch the Video Editor, so drag your recording to the timeline.
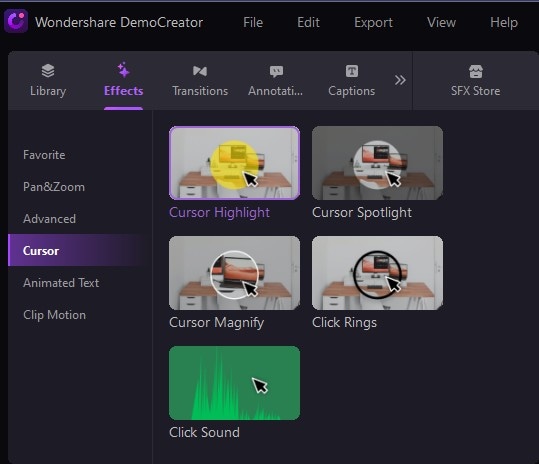
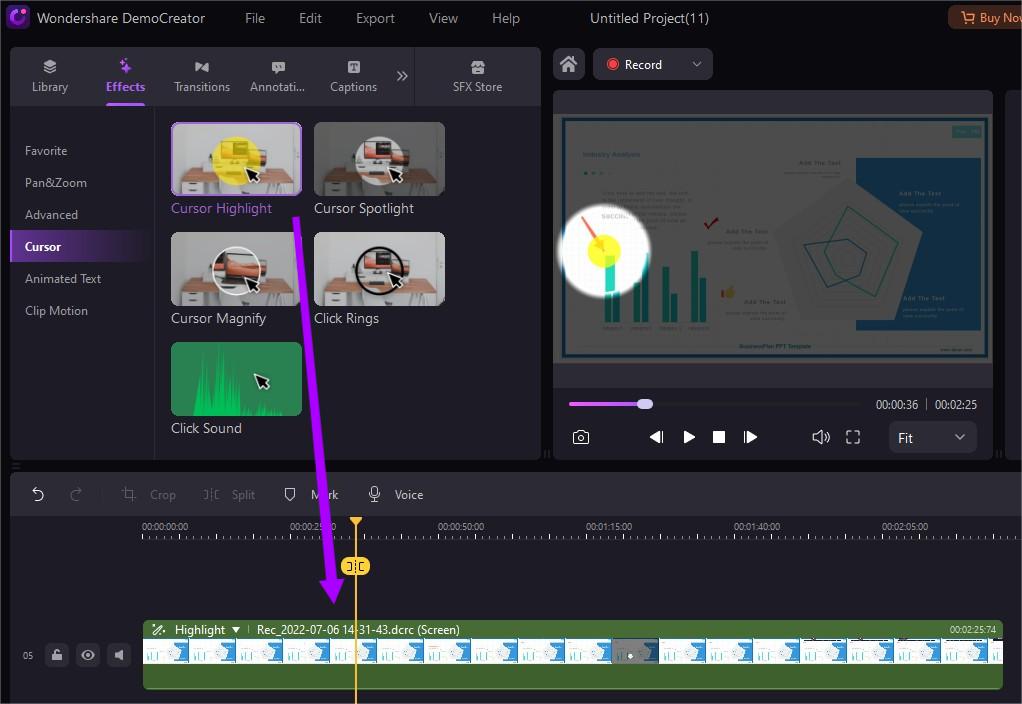
Step 7: Edit your video and audio with multiple tools. For instance, click Effects > Cursor to access the Cursor Spotlight and Click Sound (unavailable while recording).
Step 8: Drag any to your video on the timeline.
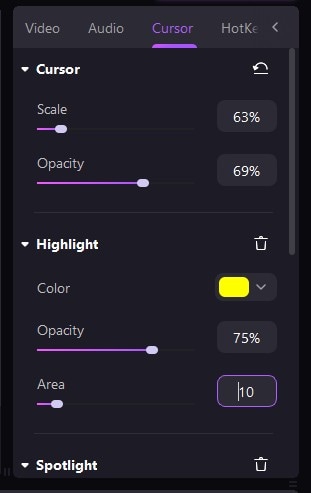
Step 9: Adjust the opacity, scale, area, color, and other settings in the Properties panel’s Cursor tab.
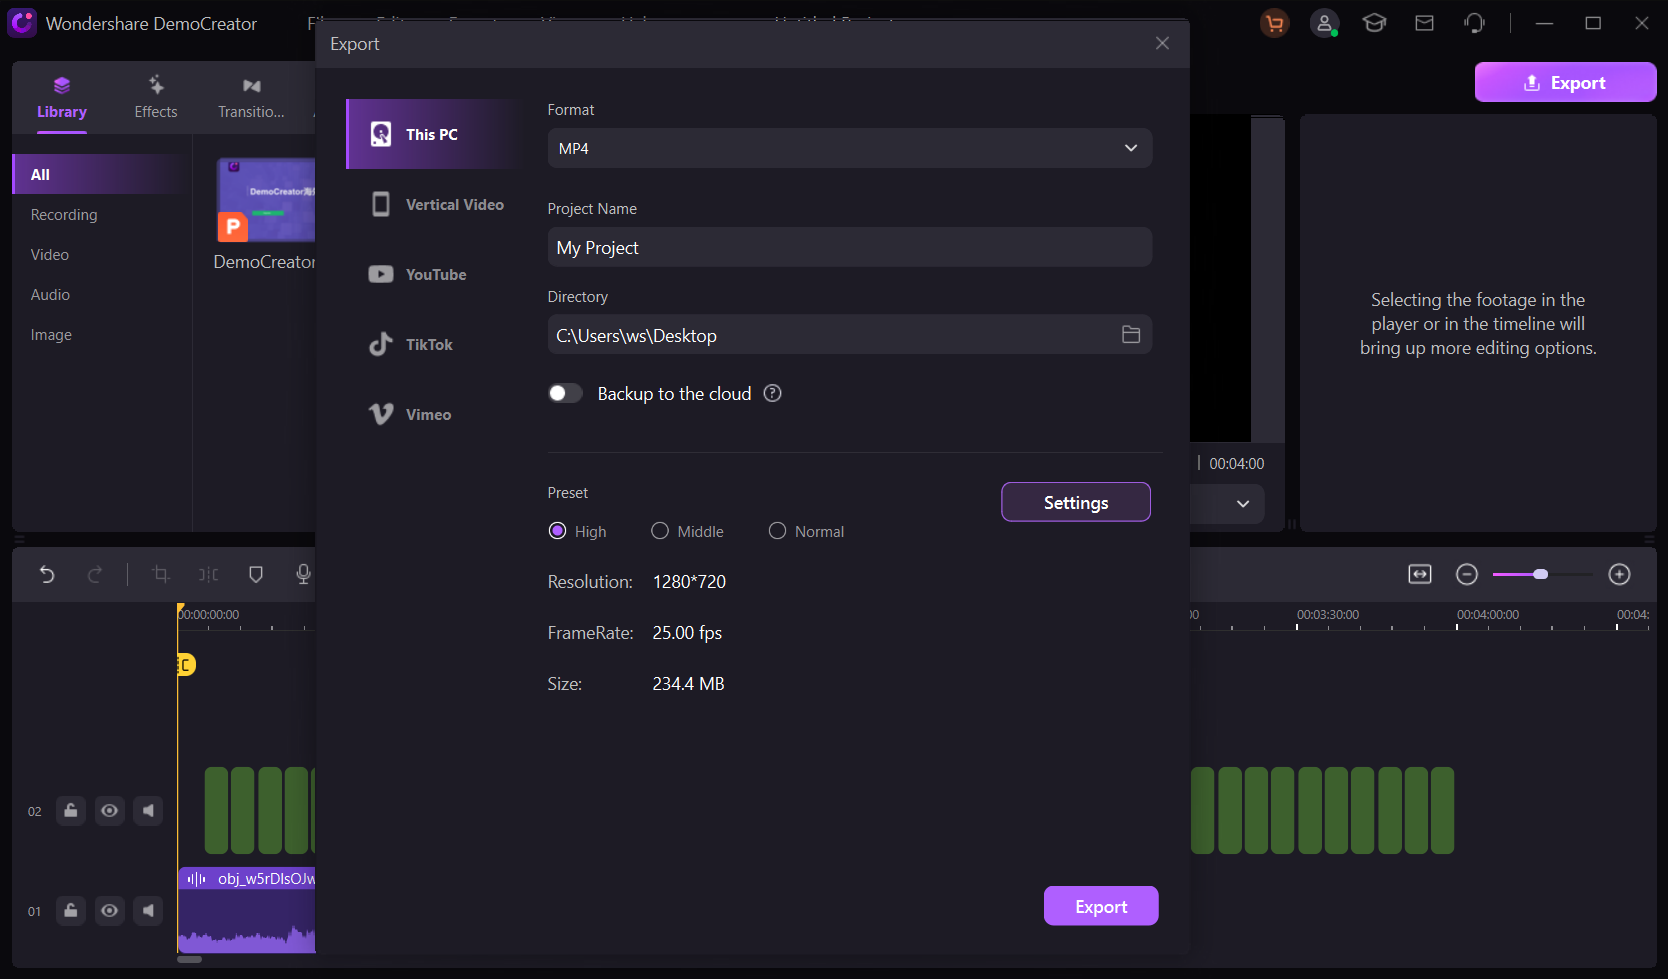
Step 10: Click Export to save the recording to your computer or share it directly on YouTube, TikTok, or Vimeo. You can choose the preferred format and resolution.
How to Record Mouse Clicks With OBS Studio
OBS Studio is free, open-source software for recording the screen and live-streaming videos. It lets you add multiple capture sources (not simultaneous), including a display, window, browser, game, image, slide show, application audio, and VLC (among others).
You can also set up a video capture device to add a separate webcam feed to screen recordings or record Xbox 360 gameplay (or your gaming action on another console) with a capture card.
Like DemoCreator, OBS Studio can separate your audio and video tracks and simultaneously capture multiple audio sources. However, it doesn’t have editing tools or mouse effects; it only makes the cursor visible.
Here’s how to record mouse clicks with OBS Studio:
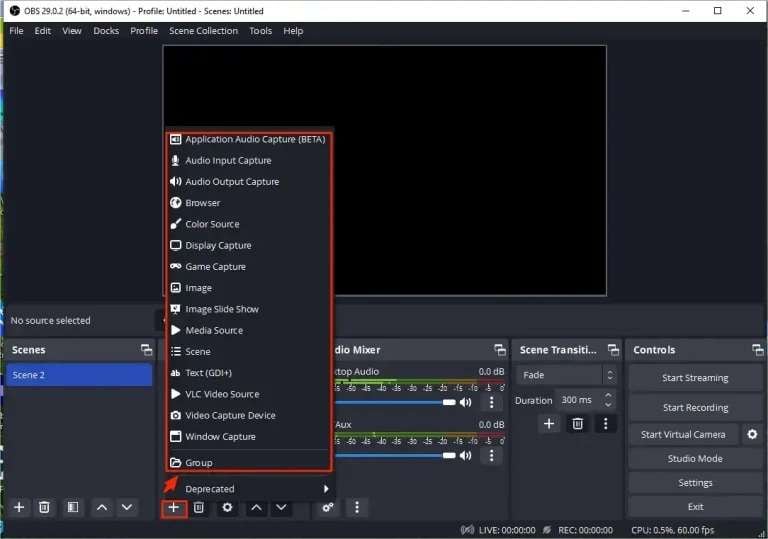
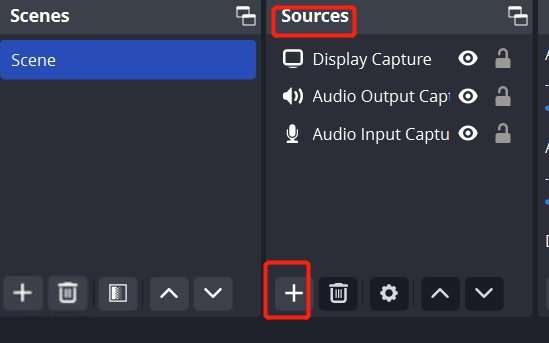
Step 1: Click the Plus sign under Sources and choose a Display or Window Capture.
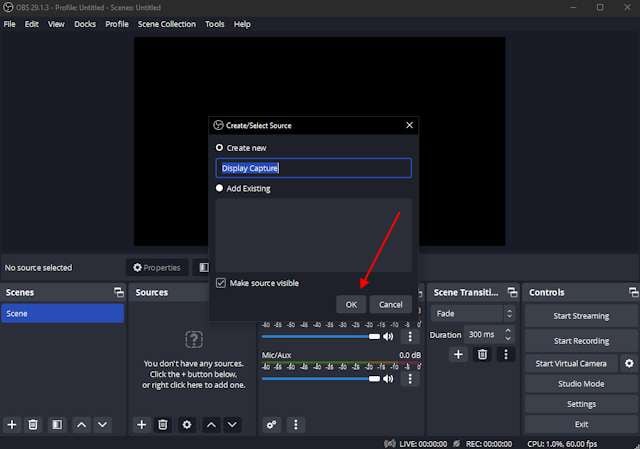
Step 2: Name your new source and click OK.
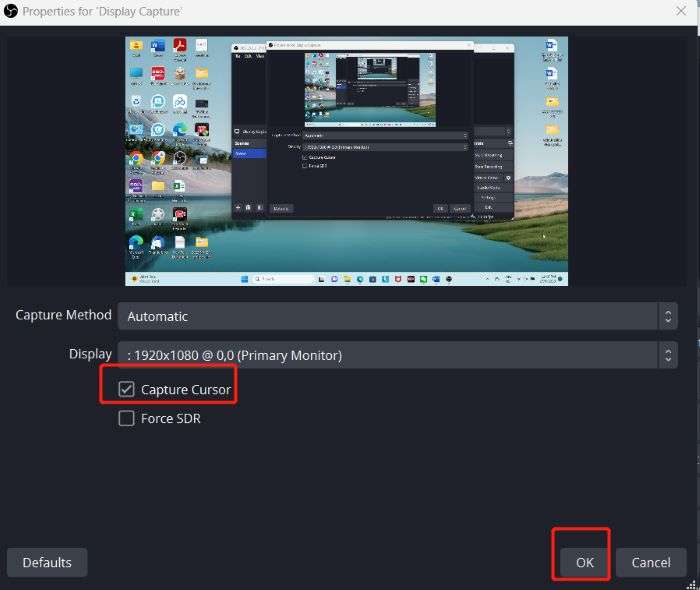
Step 3: Choose your display or window, tick the Capture Cursor checkbox, and click OK.
Step 4: Repeat Steps 1–3 to add an Audio Input Capture (to record your microphone) and an Audio Output Capture (e.g., to record other computer sounds besides system audio).
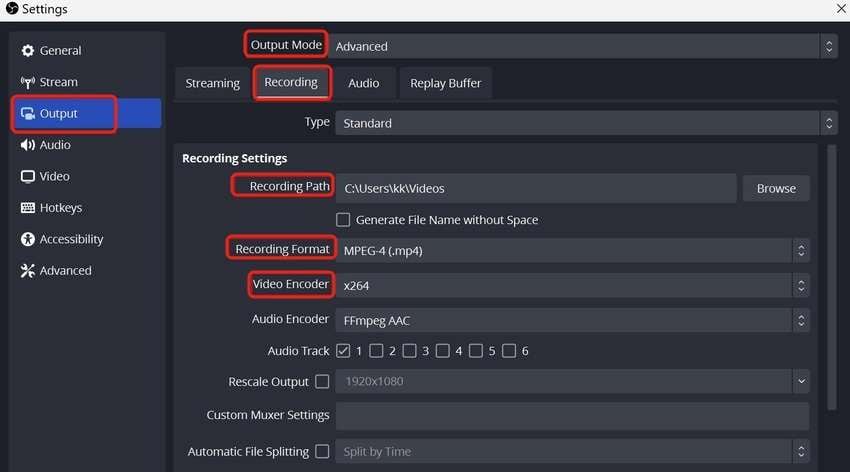
Step 5: Go to Settings > Output to set the recording path, format, encoder, and other preferences.
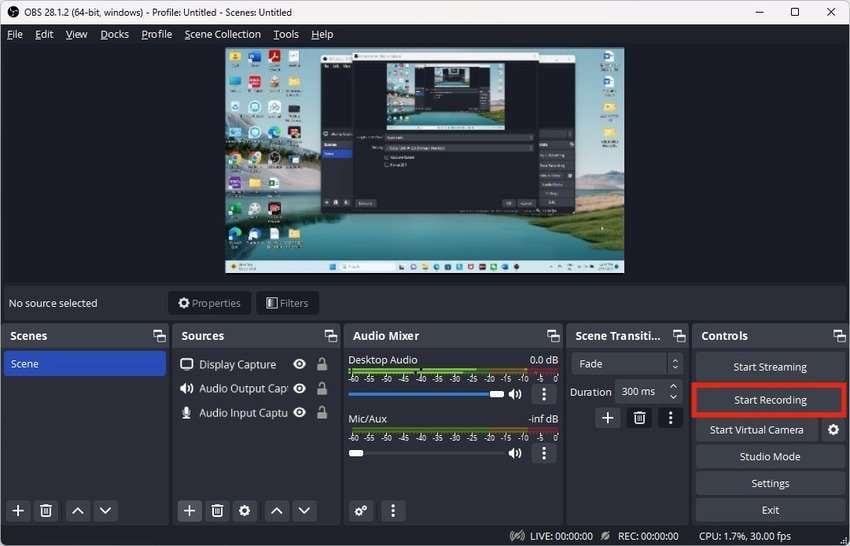
Step 6: Close the Settings and click Start Recording.
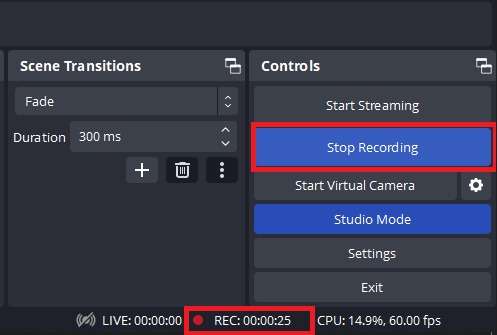
Step 7: Click Stop Recording and go to File > Show Recordings to view your video.
How to Record Mouse Clicks With Bandicam
Bandicam is a high-quality video recorder that lets you capture your screen, camera, gameplay, or only audio. It also supports external video devices like webcams, smartphones, Xbox, and PlayStation.
It stands out for recording 4K gaming videos at up to 480 FPS. However, that frame rate is only available on high-end computers that can handle it without lag and other performance issues. Otherwise, it works best at the default 30 FPS or 60 FPS.
As for mouse effects, it offers cursor highlights, colored clicks, and click sounds. Here’s how to record them:
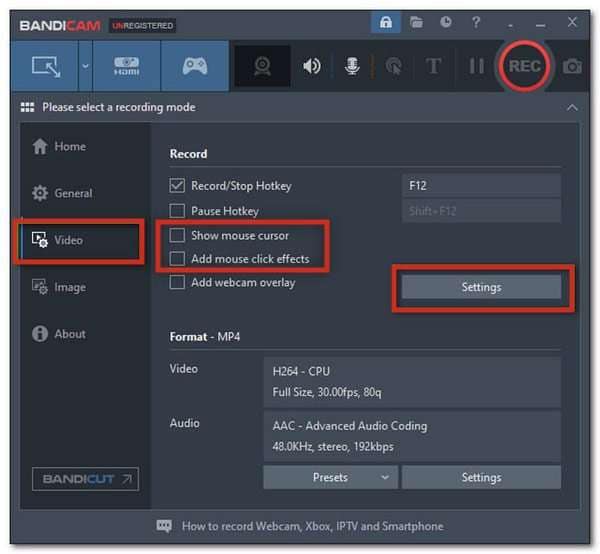
Step 1: Click Video > Show mouse cursor > Add mouse click effects, and go to the Recording Settings.
Step 2: Tick the Record Sound checkbox and choose your speakers and microphone. You can also save a separate audio track and enable your camera in the Webcam tab.

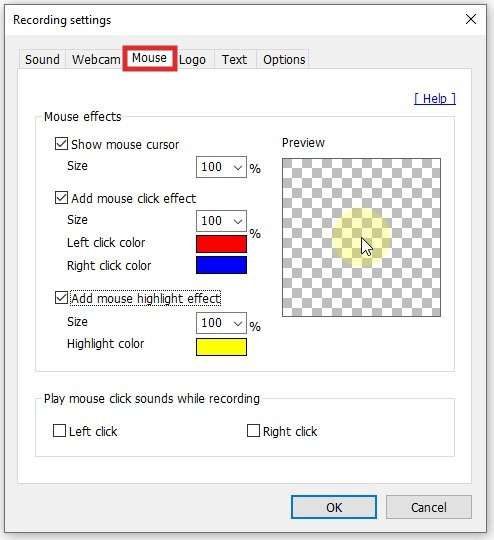
Step 3: Switch to the Mouse tab to enable and customize the desired cursor and click effects.
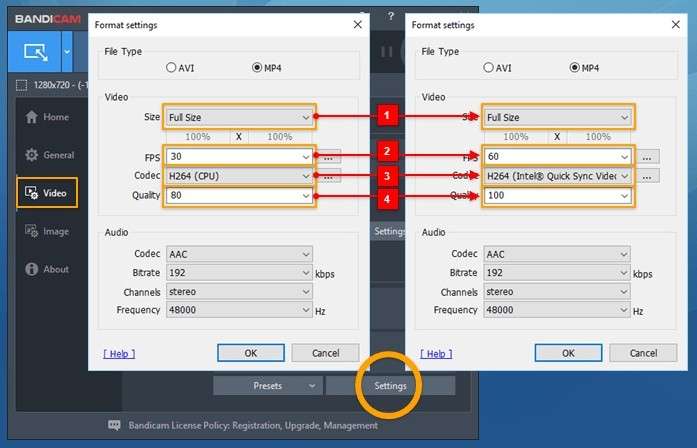
Step 4: Go to Format Settings under Video to choose a file type (AVI or MP4) and change the default size, FPS, quality, codec, and other parameters for a high-resolution video.
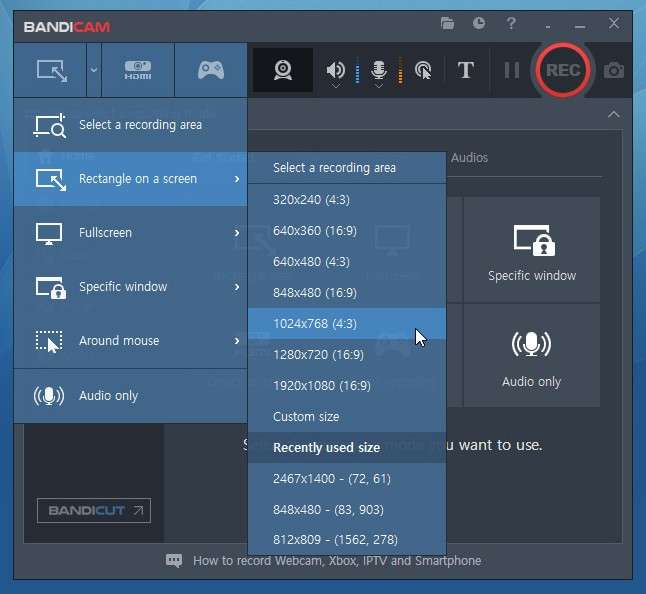
Step 5: Go to Home and select a recording mode.
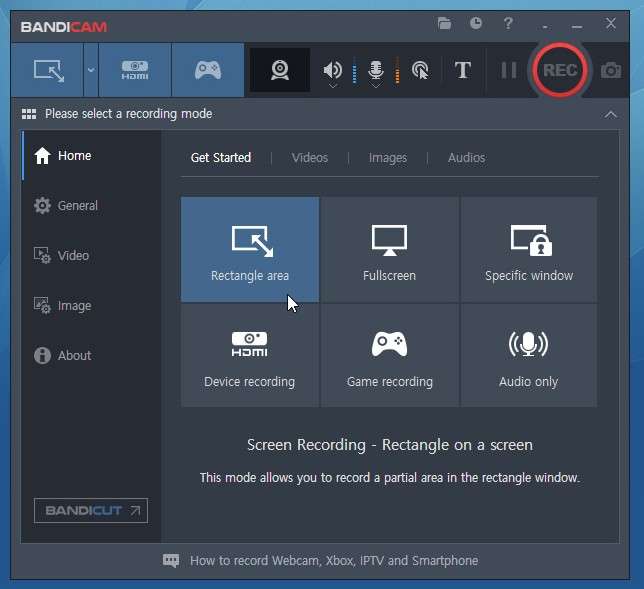
Step 6: Each lets you choose a custom or preset aspect ratio. Once you customize the recording area, click the REC button in the toolbar or hit F12.
Step 7: Use screen drawing tools for annotations and finish recording with F12 or the Stop button.
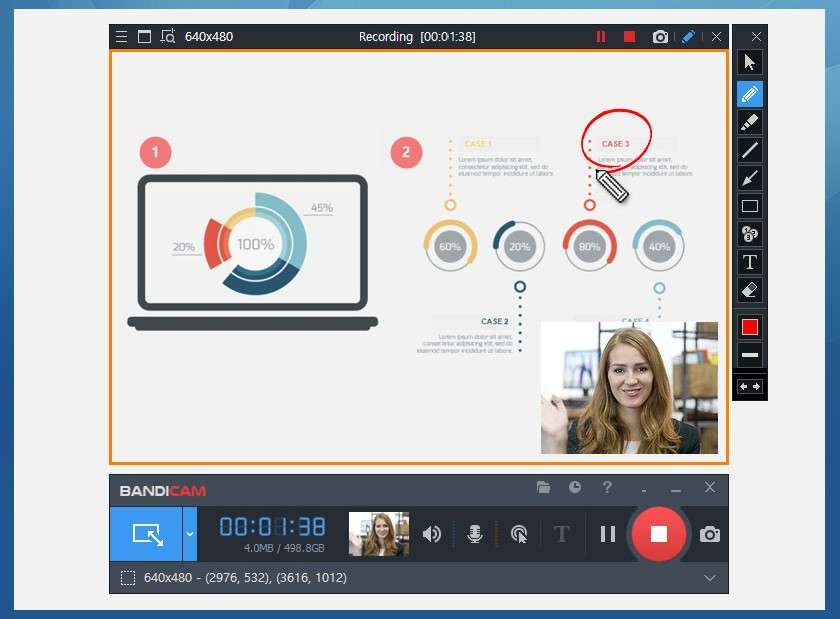
Step 8: Find your recording under Home > Videos. You can play, delete, or upload it directly to YouTube or Vimeo. Editing requires Bandicut.

How to Record Mouse Clicks With MiniTool Video Converter
MiniTool Video Converter is among the best mouse recorder freeware solutions. It’s a no-frills tool that lets you record the entire screen or a specific area and simultaneously capture internal and external audio. The best part? You can do it for free without time limits or watermarks.
This tool’s only other features are YouTube downloads, video format conversion, and video-to-audio conversion (and vice versa). Still, it supports 1,000+ formats, making it an excellent choice.
As for mouse effects while recording, it offers cursor highlights and mouse clicks (left, middle, and right). Here’s how to record them:
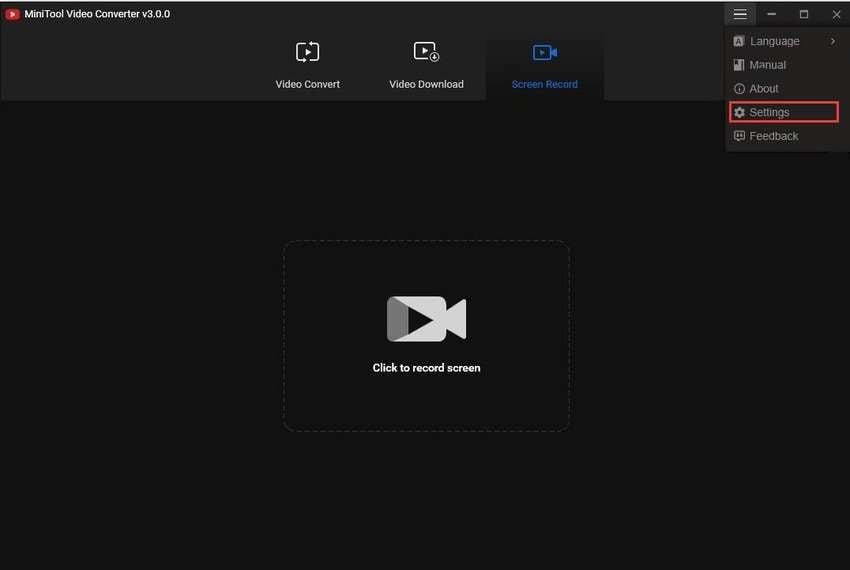
Step 1: Click Screen Record, open the hamburger menu (three stacked lines), and go to Settings.
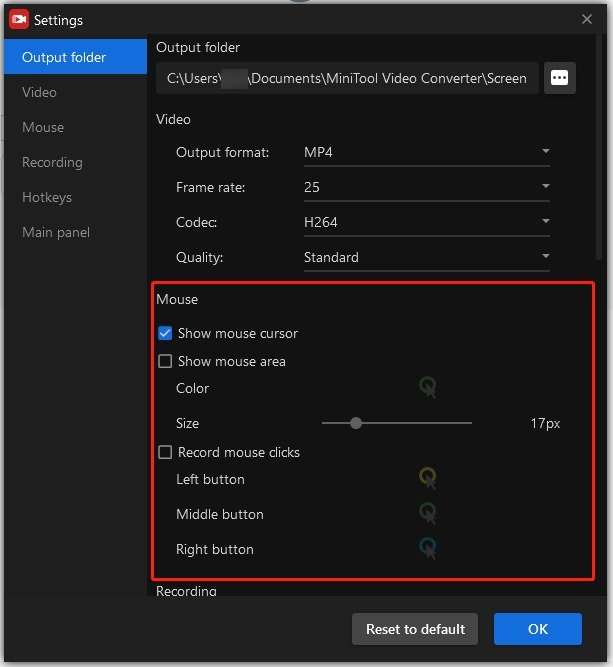
Step 2: Choose the output folder and video preferences, tick the Show mouse cursor checkbox, enable visible mouse clicks and highlight effects, and pick the area color and size. Click OK.
Step 3: Click the specified area to record the screen.

Step 4: The Full Screen is the default, but you can also Select a Region. Turn your system audio or microphone on or off, and click the Play button or F6 to start recording.

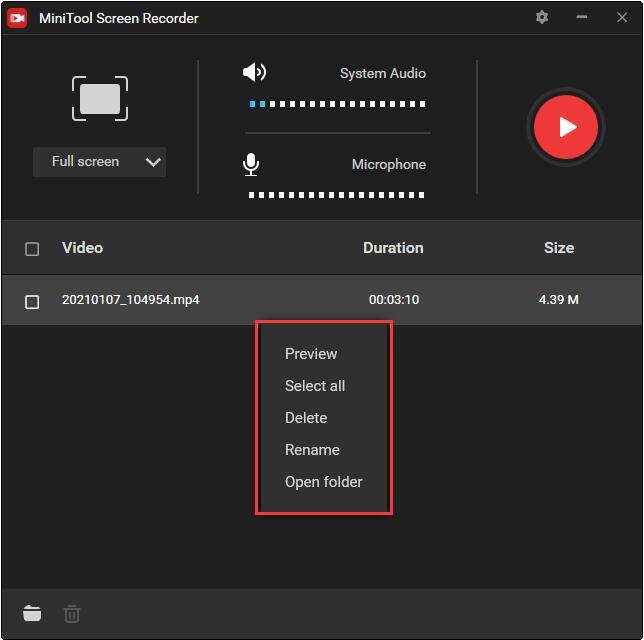
Step 5: Pause and resume anytime with F9, and finish recording with F6. Your video will appear below, so right-click it to rename, preview, delete, or go to its location.
Which Option to Choose
All these screen recorders are excellent options, each letting you capture your screen without paying a dime. However, some have limited free-of-charge functionalities, and others have no editing features.
Here’s a comparison table with their free features, pricing, mouse effects, and other notable functionalities to help you make an informed decision.
| Screen Recorder | Wondershare DemoCreator | OBS Studio | Bandicam | MiniTool Video Converter |
| Recording Modes | Screen, Camera, Screen & Camera, Game, Virtual Avatar, and Video Presentation | Screen, Screen & Camera, and Game | Screen, Device, Game, and Audio Only | Screen |
| Mouse Click Record | Yes | Yes | Yes | Yes |
| Cursor Effects | Highlight, spotlight, magnify, left click rings, and left click sounds | No | Cursor and click (left and right) highlight and click sounds (left and right) | Cursor and click (left, middle, and right) highlight |
| Editing Tools | Yes (standard and AI-powered) | No | Only with Bandicut | No |
| Video Output Formats | AVI, MKV, WMV, MOV, MP4, TS, and WebM | FLV, MKV, MOV, MP4, M3U8 (HLS), and TS | AVI and MP4 | AVI, FLV, MKV, MOV, MP4, TS, and WMV |
| Supported OS | Windows 7 through 11 and macOS Catalina (10.15) or newer | Windows 10 and 11, macOS Big Sur (11.0) or newer, and Ubuntu 22.04 and later | Windows XP through 11 | Windows 7 through 11 |
| Pricing | Free, $22.99/quarter, $59.99/year, or $79.99 (perpetual license) | Free | Free, $2.78/month (annual license), $44.96 (lifetime), or $49.97/year or $59.78/lifetime for Bandicam + Bandicut | Free, $9.99/month, $29.99/six months, $49.99/year |
| Free Features | Screen recorder with a watermark, ten-minute recording limit, and some editing tools (no mouse cursor effects) | All | All (a watermark and a ten-minute recording limit) | Screen recorder (no time limits or watermarks) and audio-to-video converter (and vice versa) |
Conclusion
As you can see, recording mouse clicks and cursor movement is seamless with user-friendly screen recorders. Which one you choose will depend on your recording needs.
The free, open-source OBS Studio is excellent for various capture sources but doesn’t support editing or cursor effects. Bandicam doesn’t have editing tools either and supports only two output formats but delivers high-quality recordings.
MiniTool Video Converter has bare-bones functionality without editing features but doesn’t restrict video length or put a watermark on your videos.
Finally, Wondershare DemoCreator doesn’t support mouse cursor effects in the free version. Still, its exclusive recording modes and feature-packed Video Editor with AI tools make a premium license worth it.


