

All macOS versions since Mojave have the Screenshot toolbar, a user-friendly option for screenshots and recordings. However, if your Mac runs on macOS High Sierra or older, QuickTime Player is your only choice for recording the screen of your MacBook.
One problem with this app is the playback controls disappear once you hit Record, making you wonder how to stop screen recording in QuickTime Player.
Don't worry - you've landed in the right spot. This guide will cover five straightforward methods to help you stop QuickTime screen recording on a Mac.
In this article
How To Stop Screen Recording in QuickTime Player With the Stop button
You can quickly stop QuickTime screen recording, although it initially makes you scratch your head in confusion. Here are the four methods you can use.
How To Stop Screen Recording in QuickTime Player With the Stop button
The QuickTime playback controls may disappear while recording, with no timer in sight or indication that recording is in progress, but your Mac's menu bar is still visible. That's where you'll find the Stop button.
Here's how to end screen recording in QuickTime:
- Click the Stop button in the menu bar.

- Click File > Save and choose a location for your screen recording.

How To Stop Screen Recording in QuickTime Player With hotkeys
Hotkeys exist for a reason. They help you perform various tasks faster and make your workflow more convenient. Why not use them in QuickTime?
Here's how to use hotkeys to stop screen recording in QuickTime:
- Simultaneously press the Command + Control + Escape keys to finish recording.

- Hit Command + S to save your QuickTime screen recording.

How To Force Quit Screen Recording in QuickTime Player
Forcibly quitting QuickTime Player helps when experiencing a technical hiccup. For instance, the app may freeze, ruining your screen recording and making you start from scratch. However, when you end QuickTime screen recording by force-shutting the player, you lose that video because you can't save it before closing the program.
Here's how to do it if QuickTime doesn't respond to the Stop button or the keyboard shortcut:
- Open the Apple menu and click Force Quit QuickTime Player.

- The Force Quit Applications dialog box will pop up, so select QuickTime Player on the list, click Force Quit, and confirm your choice.

You can also open the Force Quit Applications dialog box with a keyboard shortcut. Here's how:
- Simultaneously press the Command + Option + Escape keys.

- Click QuickTime Player > Force Quit to stop recording in QuickTime.

How To Stop QuickTime Screen Recording With Activity Monitor
Activity Monitor is a valuable macOS utility for monitoring CPU, memory, energy, disk, and network usage. It also lets you terminate apps and processes, which is ideal when they're unresponsive.
However, quitting QuickTime in Activity Monitor may mean losing your screen recording. The Quit option terminates the player when it deems it safe to prevent data loss. For instance, it may wait for the app to unfreeze before closing it.
On the other hand, the Force Quit option instantly ends the process. It's your only choice if the Activity Monitor refuses to close QuickTime because your recording is in progress.
Here's how to quit QuickTime screen recording by terminating the player in Activity Monitor:
- Go to Finder > Applications > Utilities > Activity Monitor.

- Select QuickTime Player on the list and terminate the process by clicking the Stop button (the . symbol).

- Confirm your choice by clicking Quit. If nothing happens, click Force Quit.

Further reading: how to stop screen recording on Mac
How To Screen-Record on a Mac Using Wondershare DemoCreator
Once you download and install DemoCreator on your Mac, follow these steps to record your screen:
- Click All-in-One Recorder.

- Choose a recording area: the entire screen, a custom portion, a window, or a preset aspect ratio. Then, enable your microphone to capture external sounds and select speakers to record system audio.

- If you'll record one or more windows, specify which DemoCreator will capture and hit the REC button to start recording. You can also use the Option + Command + 2 keyboard shortcut.
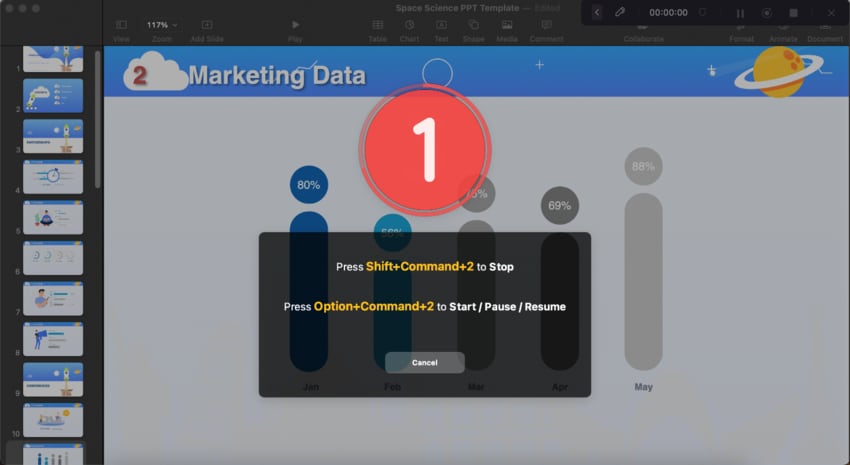
- Open the Screen Drawing Tool with the Command + D shortcut to add annotations and cursor effects. Pause your recording with Option + Command + 2, and stop recording with Command + Shift + 2.
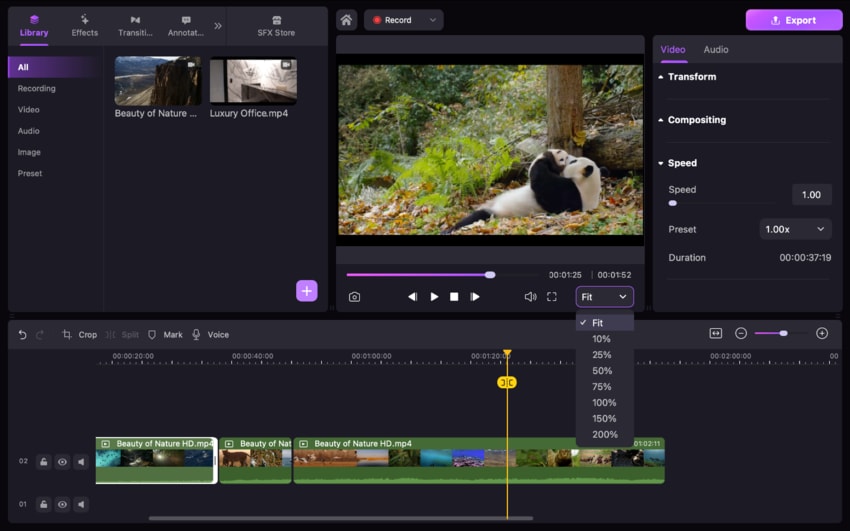
After ending the recording, you can export it directly or edit it for better results in DemoCreator's Video Editor.
Conclusion
There are several methods available for screen recording on a Mac, but many of them do not clearly indicate how to stop the recording once it has begun. It can be quite frustrating to complete a recording only to find that it captured silence at the end because you weren't sure how to stop it. One effective solution is to utilize a dependable screen recorder. Wondershare DemoCreator offers simple and intuitive controls, making it easy to manage your recordings. Additionally, editing your recording afterward is straightforward, and you can easily share it across various platforms.


