
Have you ever recorded a special moment only to find the video looks grainy, blurry, or poorly lit? Maybe it's a once-in-a-lifetime event, a travel vlog, or a business presentation, and now it looks unprofessional when uploaded to YouTube, TikTok, or Instagram Reels. With the rise of high-definition content on social media, low-quality videos stand out for the wrong reasons. Whether you're a content creator, a marketer, or simply someone who loves capturing memories, learning how to enhance video quality after recording is essential for making your videos look polished and professional. In this guide, we’ll show you how to fix common video issues like blur, noise, poor resolution, and shaky footage using built-in iPhone tools, third-party apps, and Wondershare DemoCreator’s AI-powered enhancements. Whether you're looking to convert low-resolution videos to 4K, stabilize shaky clips, or adjust color and brightness, we’ve got you covered.
In this article
- Part 1: Can You Change Video Quality After Recording?
- Part 2: How to Improve Video Quality Using iPhone’s Built-in Features
- Part 3: How to Change iPhone Video Quality with Third-Party Apps
- Part 4: Enhance & Upscale Video Quality with Wondershare DemoCreator
- Part 5: Best Practices for Recording High-Quality Videos on iPhone
- Conclusion
- FAQs
Part 1: Can You Change Video Quality After Recording?
Many iPhone users wonder if they can increase a video’s resolution after recording. While you cannot truly increase the original resolution, you can enhance video quality through AI upscaling and post-processing techniques. AI-powered tools analyze and refine pixel details, making low-resolution videos appear sharper and more refined, but they do not restore lost details.
Instead of changing resolution, you can enhance video clarity by reducing noise, sharpening edges, adjusting white balance, and improving brightness and contrast. Stabilization tools can also smooth out shaky footage, while AI-based upscaling can simulate higher resolution for better visual appeal.
Though you can't convert 720p video into true 4K, video enhancement software like Wondershare DemoCreator allows you to refine details, upscale resolution, and optimize colors for a more professional result. Next, we’ll explore built-in iPhone tools for improving video quality without third-party apps.
Part 2: How to Improve Video Quality Using iPhone’s Built-in Features
If you want to enhance your iPhone videos without downloading third-party apps, iOS offers built-in tools that can help. The Photos app and iMovie allow you to adjust brightness, contrast, and sharpness, while also reducing motion blur and stabilizing shaky footage. While these tools don’t increase resolution, they can significantly improve video clarity and overall visual appeal. Below are two simple methods to enhance video quality using your iPhone’s built-in features.
Method 1: Use the iPhone Photos App for Basic Enhancements
The Photos app provides a built-in video editor that helps adjust exposure, brightness, and contrast for clearer visuals. Open Photos, select your video, and tap Edit in the top-right corner. Here’s how to make precise improvements:
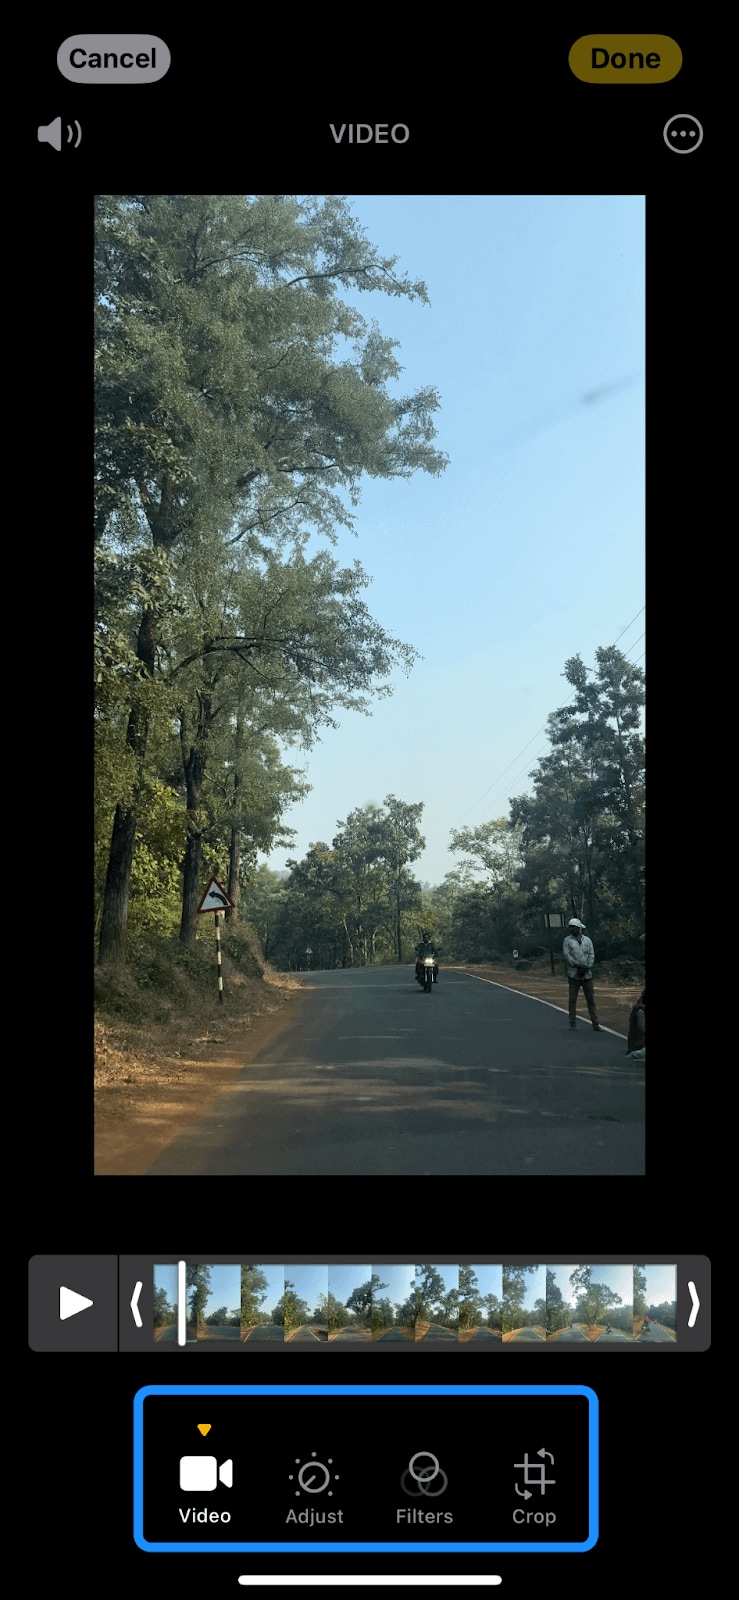
- Increase Shadows : Brightens dark areas without affecting the overall brightness, ideal for underexposed footage.
- Reduce Highlights : Helps recover lost details in overexposed skies and bright backgrounds.
- Adjust Contrast : Enhances details by making bright areas brighter and dark areas darker.
- Auto Enhance Feature : One-tap improvement that optimizes lighting, color, and sharpness, though it may over-process videos, making them look unnatural in some cases.
Example: If your video was recorded indoors with poor lighting, increasing shadows can reveal more detail in dark areas, while adjusting contrast makes the subject stand out more.
Limitations: While the Auto Enhance tool provides instant improvements, it can sometimes over-saturate colors or introduce unnatural sharpness. If this happens, manually adjust brightness, contrast, and highlights for a more balanced result.
Method 2: Trim or Stabilize Shaky Footage with iMovie
Shaky footage can make videos appear blurry and unprofessional, especially when recorded handheld or in motion. To fix this, use iMovie, Apple’s free video editor with a built-in stabilization tool.

Step 1Open iMovie and create a new project.
Step 2Import your video by selecting it from your media library.
Step 3Tap on your video clip, then navigate to the stabilization option.
Step 4Enable stabilization, and iMovie will automatically reduce excessive camera movement, creating a smoother playback.
Example: If you recorded a walking vlog and the camera shakes with each step, iMovie’s stabilization will smooth the movement for a more cinematic effect.
Part 3: How to Change iPhone Video Quality with Third-Party Apps
If built-in iPhone tools aren’t enough, third-party apps offer AI-powered upscaling, sharpening, noise reduction, and cinematic color grading to improve video quality. Whether you need to fix grainy footage, increase resolution to 4K, or adjust frame rates, here are the best apps to enhance your iPhone videos.
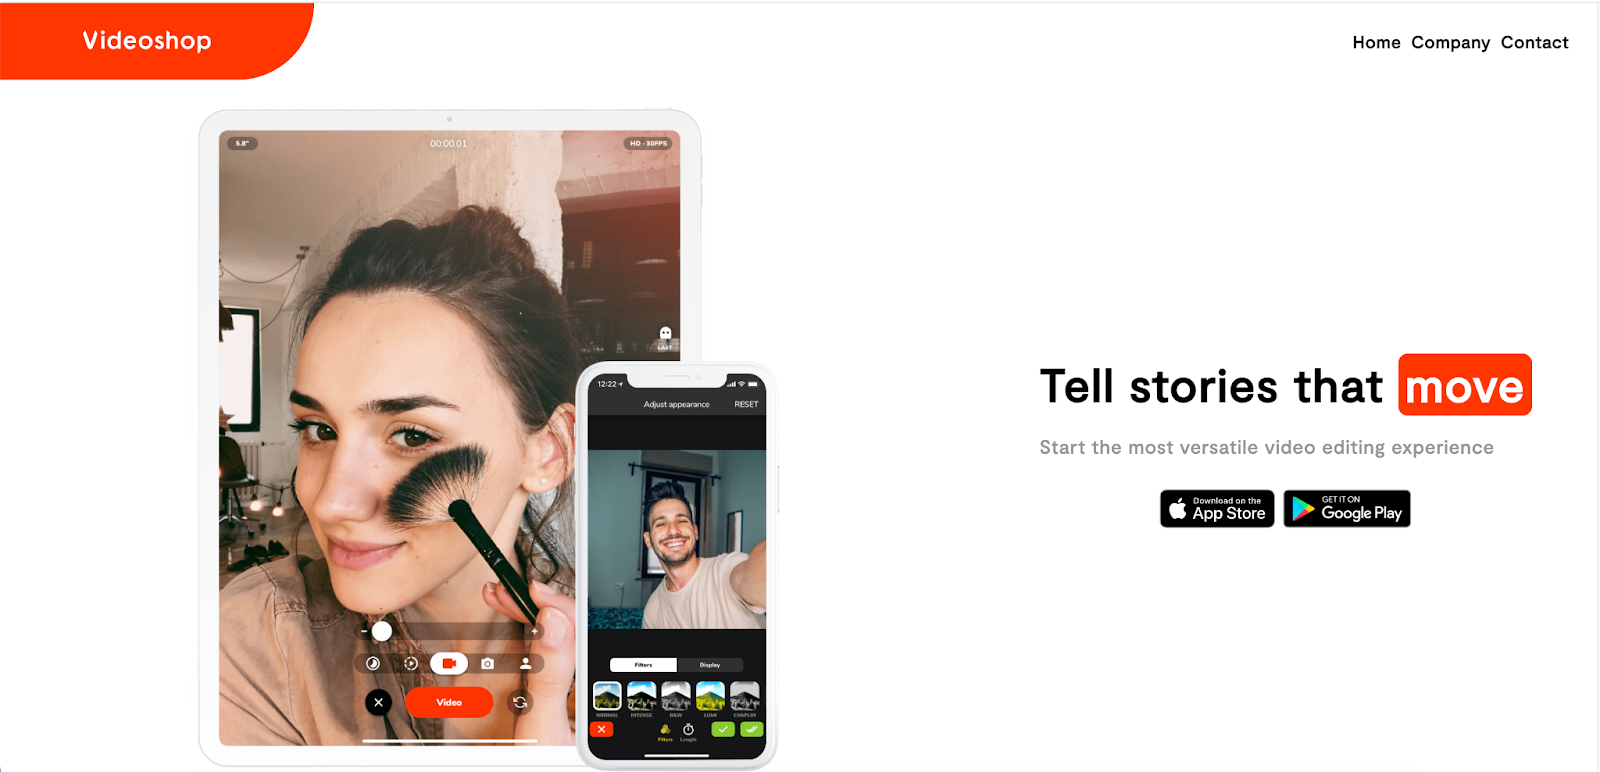
1. Videoshop : Edit & Enhance Video Resolution
Videoshop is an easy-to-use video editor that provides manual controls to improve video sharpness, contrast, and brightness. It’s great for basic quality enhancements like stabilizing shaky footage, improving lighting, and making colors pop without advanced AI tools.
Key Features:
- Increase video sharpness and clarity for a more detailed look.
- Adjust brightness, contrast, and saturation manually to fix exposure issues.
- Apply stabilization to reduce shaky movements and motion blur.
- Add smooth transitions to enhance storytelling.
- Export in high-quality formats without compression loss.
How to Enhance Video Quality with Videoshop:
Step 1Import Your Video
Open the Videoshop app and tap Import to select the video from your iPhone’s gallery. This will load the video into the editor, allowing you to make adjustments.
Step 2Adjust Brightness, Contrast & Sharpness
Navigate to the Adjustment section and manually tweak the brightness to improve visibility, contrast to enhance depth, and sharpness to refine details.
Step 3Apply Stabilization & Export
If your video is shaky, apply stabilization to smooth out movements. Once satisfied, tap Export, choose the highest resolution available, and save your enhanced video.
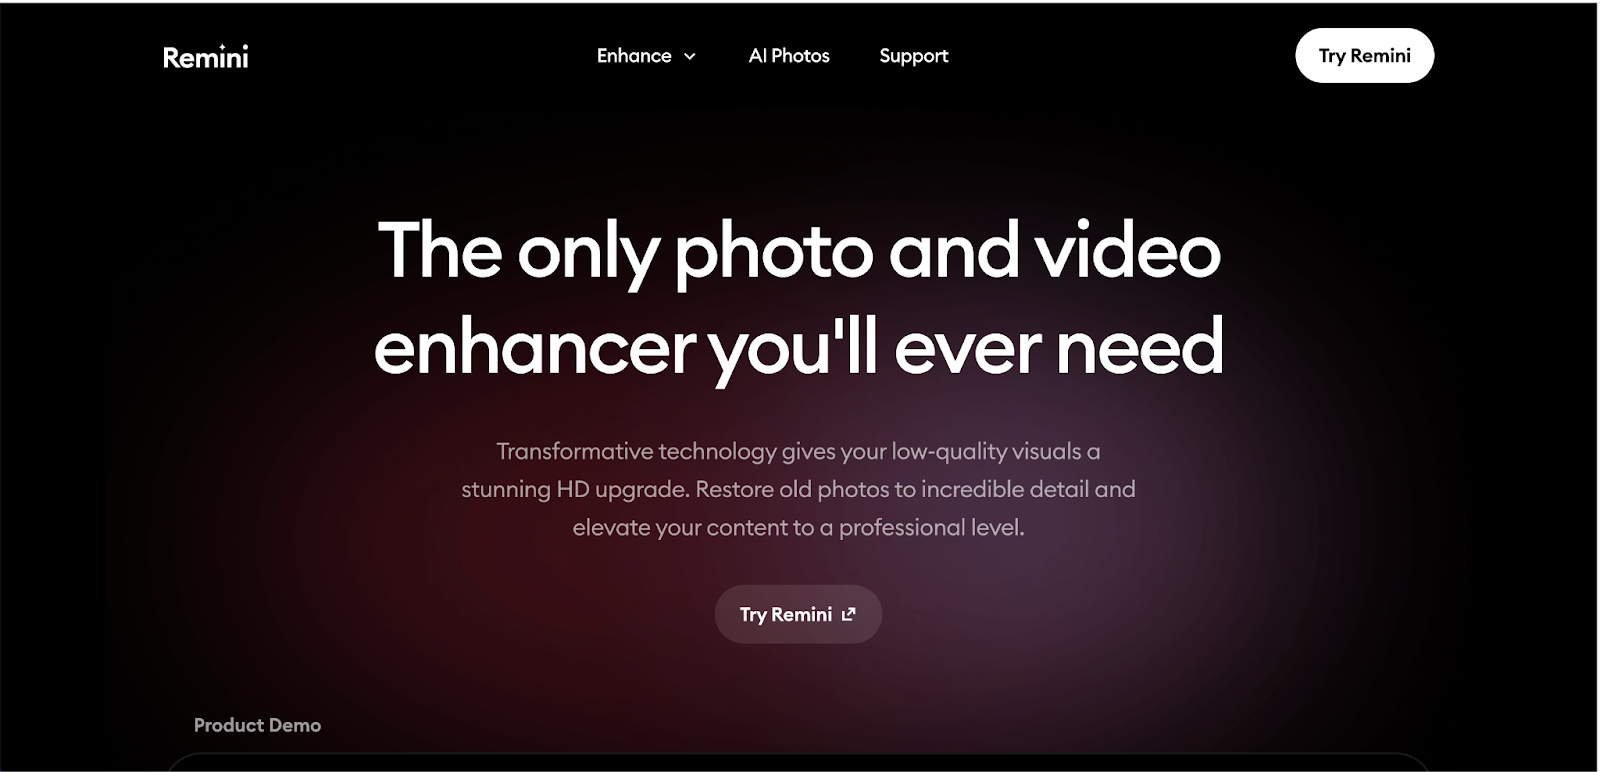
2. Remini : AI-Powered Video Upscaling
Remini is an AI-powered video enhancer that increases resolution, removes noise, and sharpens blurry videos. It’s perfect for low-light recordings or grainy footage, using advanced AI to restore clarity.
Key Features:
- AI upscaling to 4K while preserving details.
- Reduce noise and grain from low-quality videos.
- Sharpen motion-blurred footage to make subjects clearer.
- Auto-enhance colors and brightness for a more vivid look.
- Batch process multiple videos for quick improvements.
How to Upscale Video Quality with Remini:
Step 1Upload Your Video
Open Remini, tap on Enhance Video, and select the video you want to improve. The app will analyze the file before processing.
Step 2Choose the Desired Resolution
Select the AI upscaling option and choose whether you want to enhance the video to 1080p or 4K resolution. The app will then apply its AI-powered enhancements.
Step 3Save the Enhanced Video
Once processing is complete, preview the results. If satisfied, tap Download, and the upscaled video will be saved to your iPhone’s gallery.
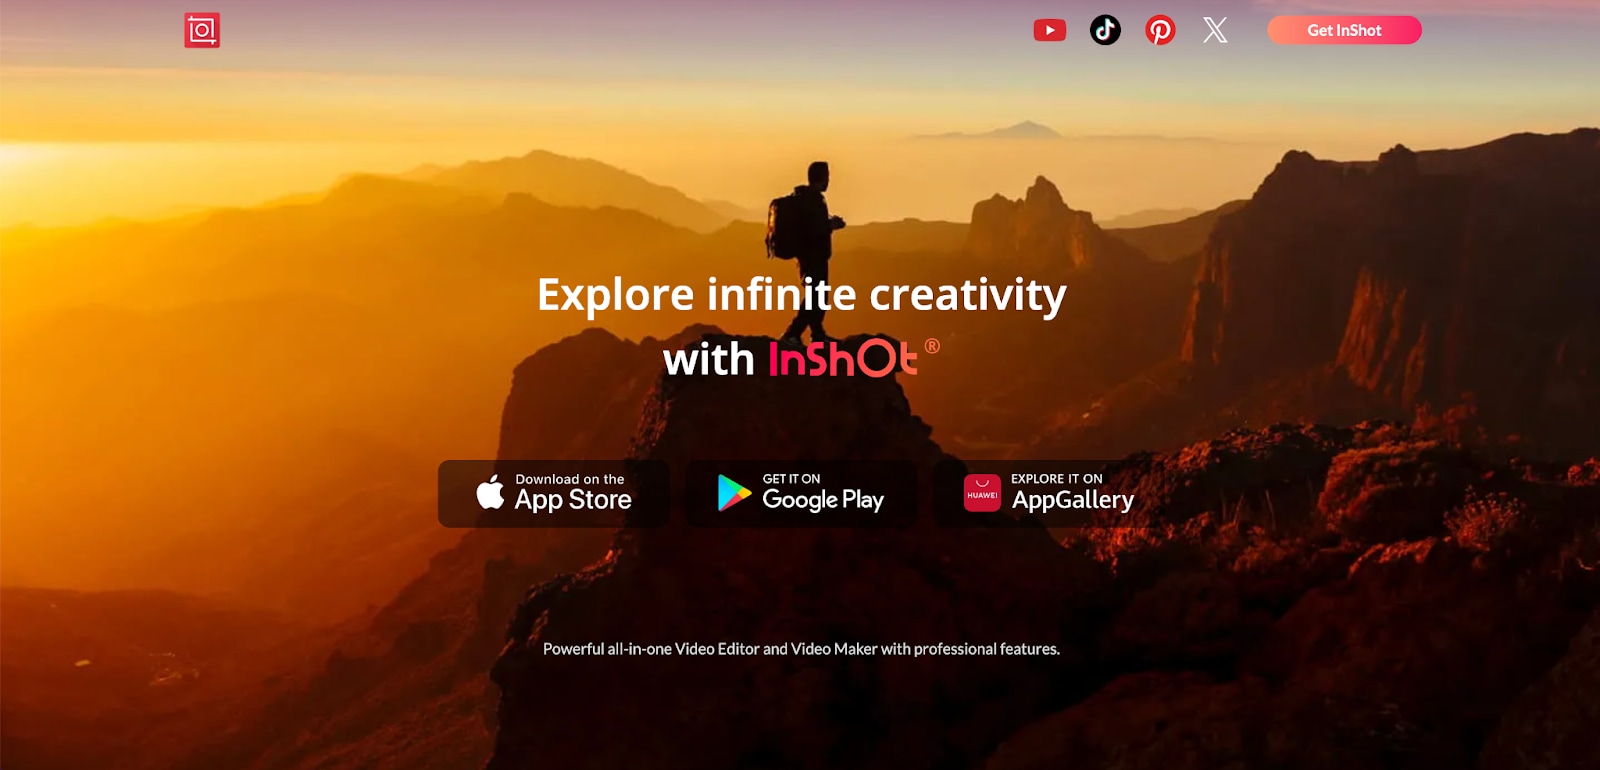
3. InShot : Professional Editing & Color Correction
InShot is a professional-grade video editor with advanced color grading, frame rate adjustments, and AI-powered sharpening. It’s ideal for cinematic effects, vibrant color correction, and smooth playback adjustments.
Key Features:
- Adjust frame rates (FPS) and resolution for smoother video playback.
- AI-powered sharpening to remove soft or blurry edges.
- Professional color correction tools to balance tones.
- Cinematic filters and effects for high-end video quality.
- Export in HD, 4K, or custom resolutions for social media or professional use.
How to Improve Video Quality with InShot:
Step 1Import Your Video into InShot
Launch InShot and select the video you want to edit. The app will load the video into its timeline for easy adjustments.
Step 2Apply Color Correction & AI Sharpening
Use the color grading tools to adjust brightness, contrast, and saturation for a more polished look. Then, apply AI sharpening to remove blurriness.
Step 3Adjust Frame Rate & Export in High Resolution
Increase the frame rate (FPS) for smoother playback and set the output resolution to HD or 4K. Tap Export, and your high-quality video will be saved.
Part 4: Enhance & Upscale Video Quality with Wondershare DemoCreator
If you’ve recorded a video on your iPhone but are unhappy with its quality—whether it's grainy, shaky, low-resolution, or poorly lit—Wondershare DemoCreator provides an AI-powered solution. This tool enhances video clarity, upscales resolution to 4K, reduces noise, and smooths frame rates for a professional-quality result. Whether you're improving travel vlogs, social media content, or business presentations, DemoCreator ensures your video looks polished and high-quality.
Why Use Wondershare DemoCreator?
- AI-Powered Video Enhancement : If your iPhone video looks blurry or lacks sharpness, DemoCreator’s AI-enhancement feature automatically refines details, removes noise, and improves clarity. This is perfect for improving low-light videos, old recordings, or videos captured with motion blur.
- 4K Video Upscaling : Want to convert a 720p or 1080p video to 4K? DemoCreator’s AI-driven upscaling ensures your low-resolution footage is enhanced without losing sharpness. Ideal for content creators, YouTubers, and professionals who need high-quality visuals for streaming or presentations.
- Advanced Stabilization : Shaky hands or sudden movements can ruin video quality, especially when filming vlogs, travel content, or action scenes. DemoCreator’s video stabilization feature smooths out movements for a more cinematic and professional look, making it perfect for influencers, fitness coaches, and educators recording tutorials.
- Frame Rate Smoothing : If your video appears choppy or laggy, DemoCreator lets you adjust the frame rate for a smoother playback experience. This is great for gamers recording high-FPS content, educators making screen recordings, or professionals preparing product demos where seamless motion is essential.
- Color Correction & Noise Reduction : Overexposed, underexposed, or grainy footage? DemoCreator provides AI-powered noise reduction and color grading tools to balance brightness, contrast, and saturation. Ideal for improving dimly lit wedding videos, travel footage, or real estate walk-throughs where color accuracy is crucial.
How to Improve iPhone Video Quality Using Wondershare DemoCreator
Wondershare DemoCreator allows users to import, edit, enhance, and export high-quality videos with AI-powered tools. Follow this step-by-step guide to optimize your videos effortlessly.
Step 1Install Wondershare DemoCreator on Your Mac
Download and install Wondershare DemoCreator from the official website. Once installed, launch the software and ensure your iPhone is connected to your Mac using a USB cable. This connection allows seamless recording and editing of video content.
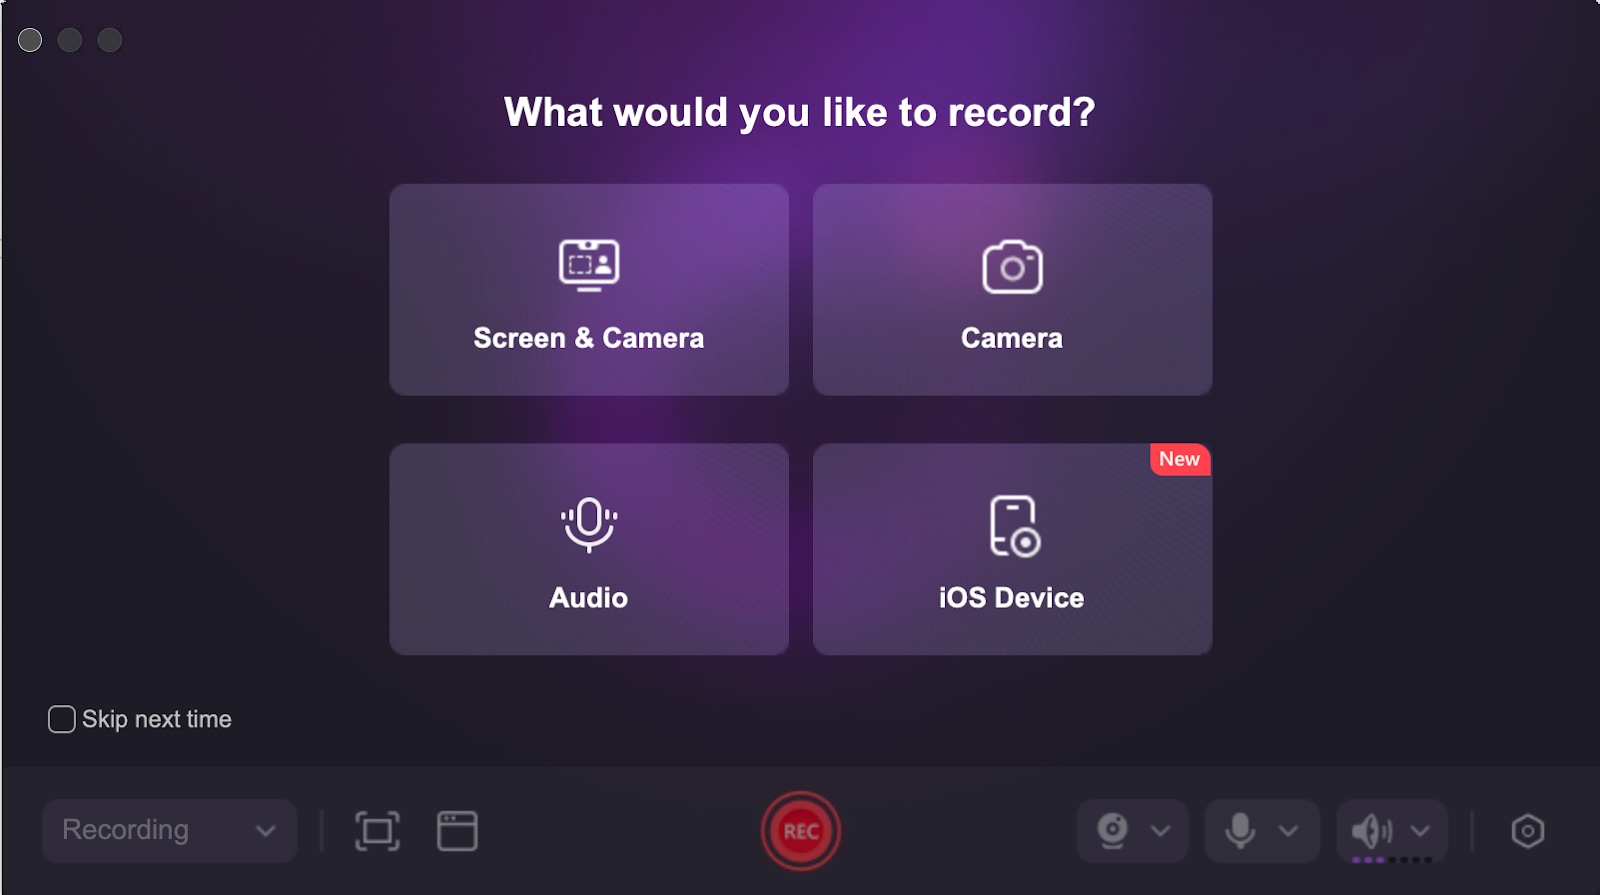
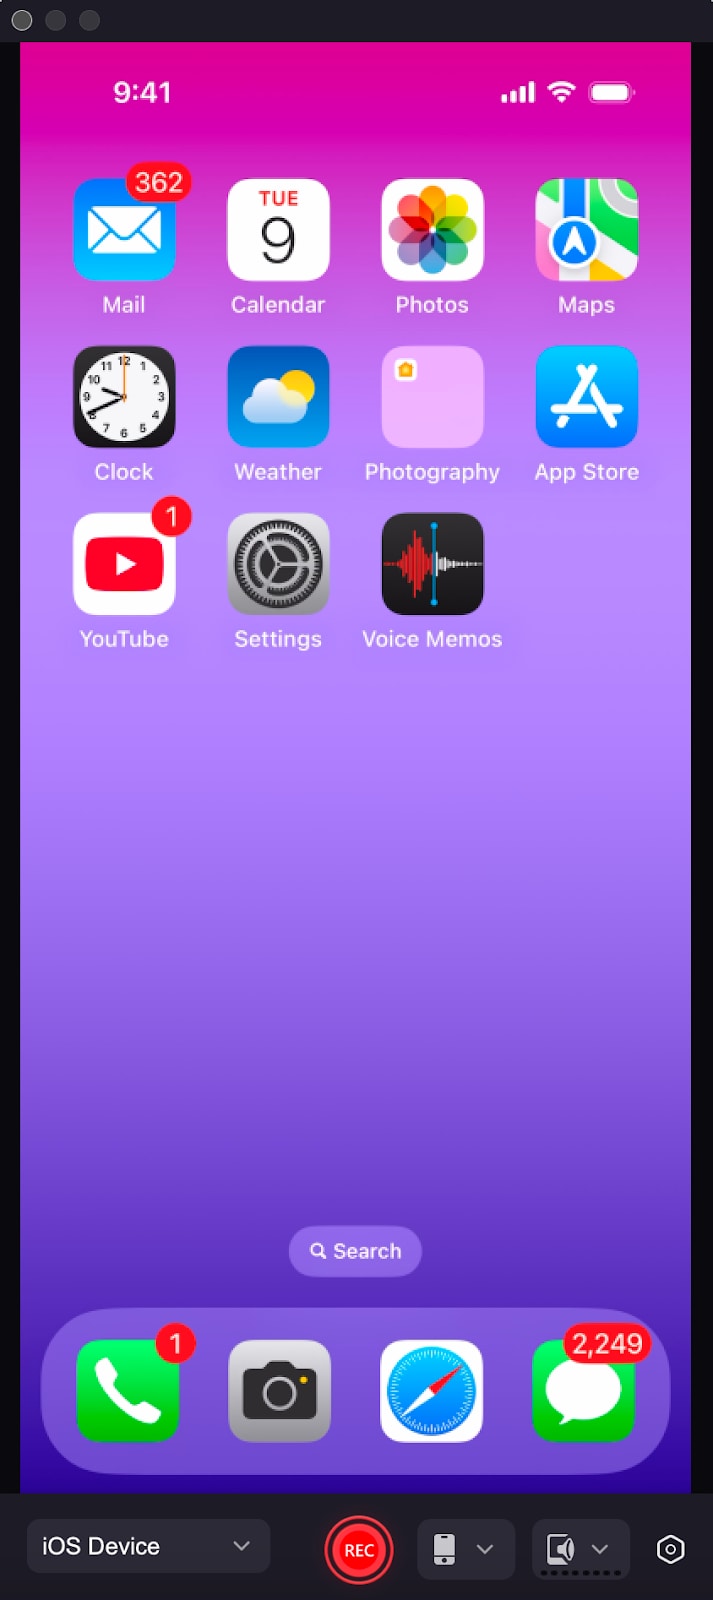
Step 2Record Your iPhone Video
Open the Camera app on your iPhone and start recording your video. In Wondershare DemoCreator, select the "Record iOS Device" option to capture high-quality footage directly from your iPhone. This ensures smooth video recording with no frame drops or compression issues.
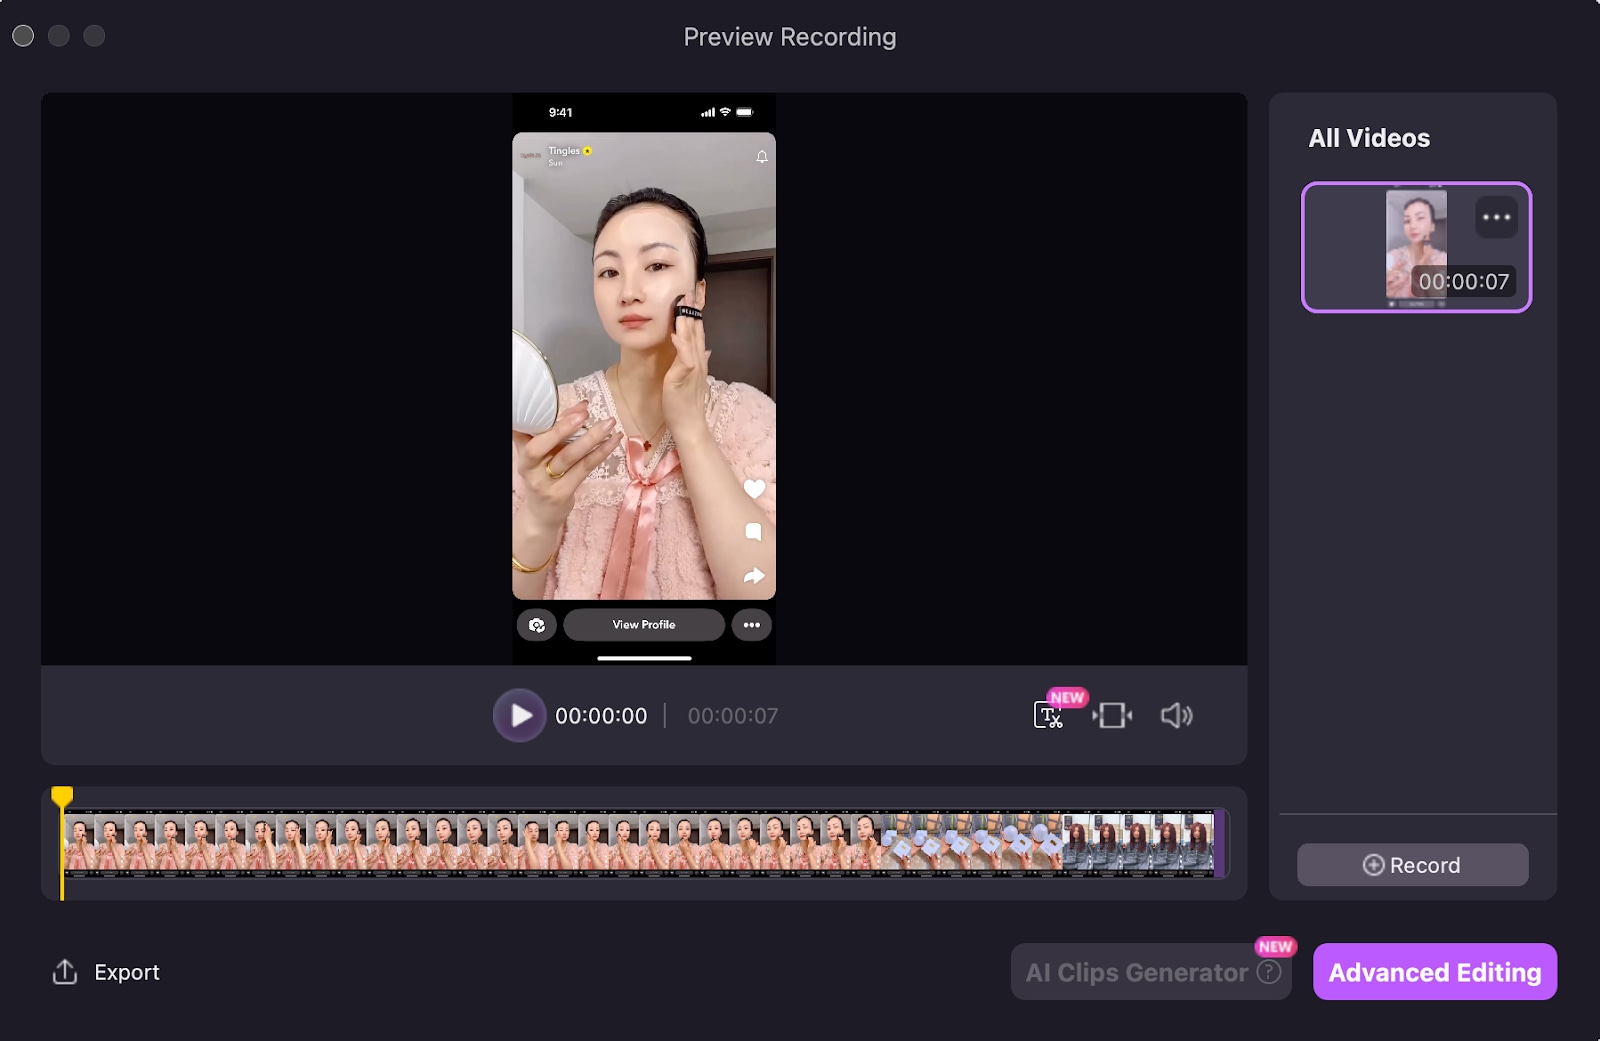
Step 3Edit & Enhance Your Video
After recording, switch to the "Advanced Editing" tab in Wondershare DemoCreator. You can also use the AI-powered noise reduction tool to improve audio quality. Add filters, transitions, and text overlays to make your video more engaging.
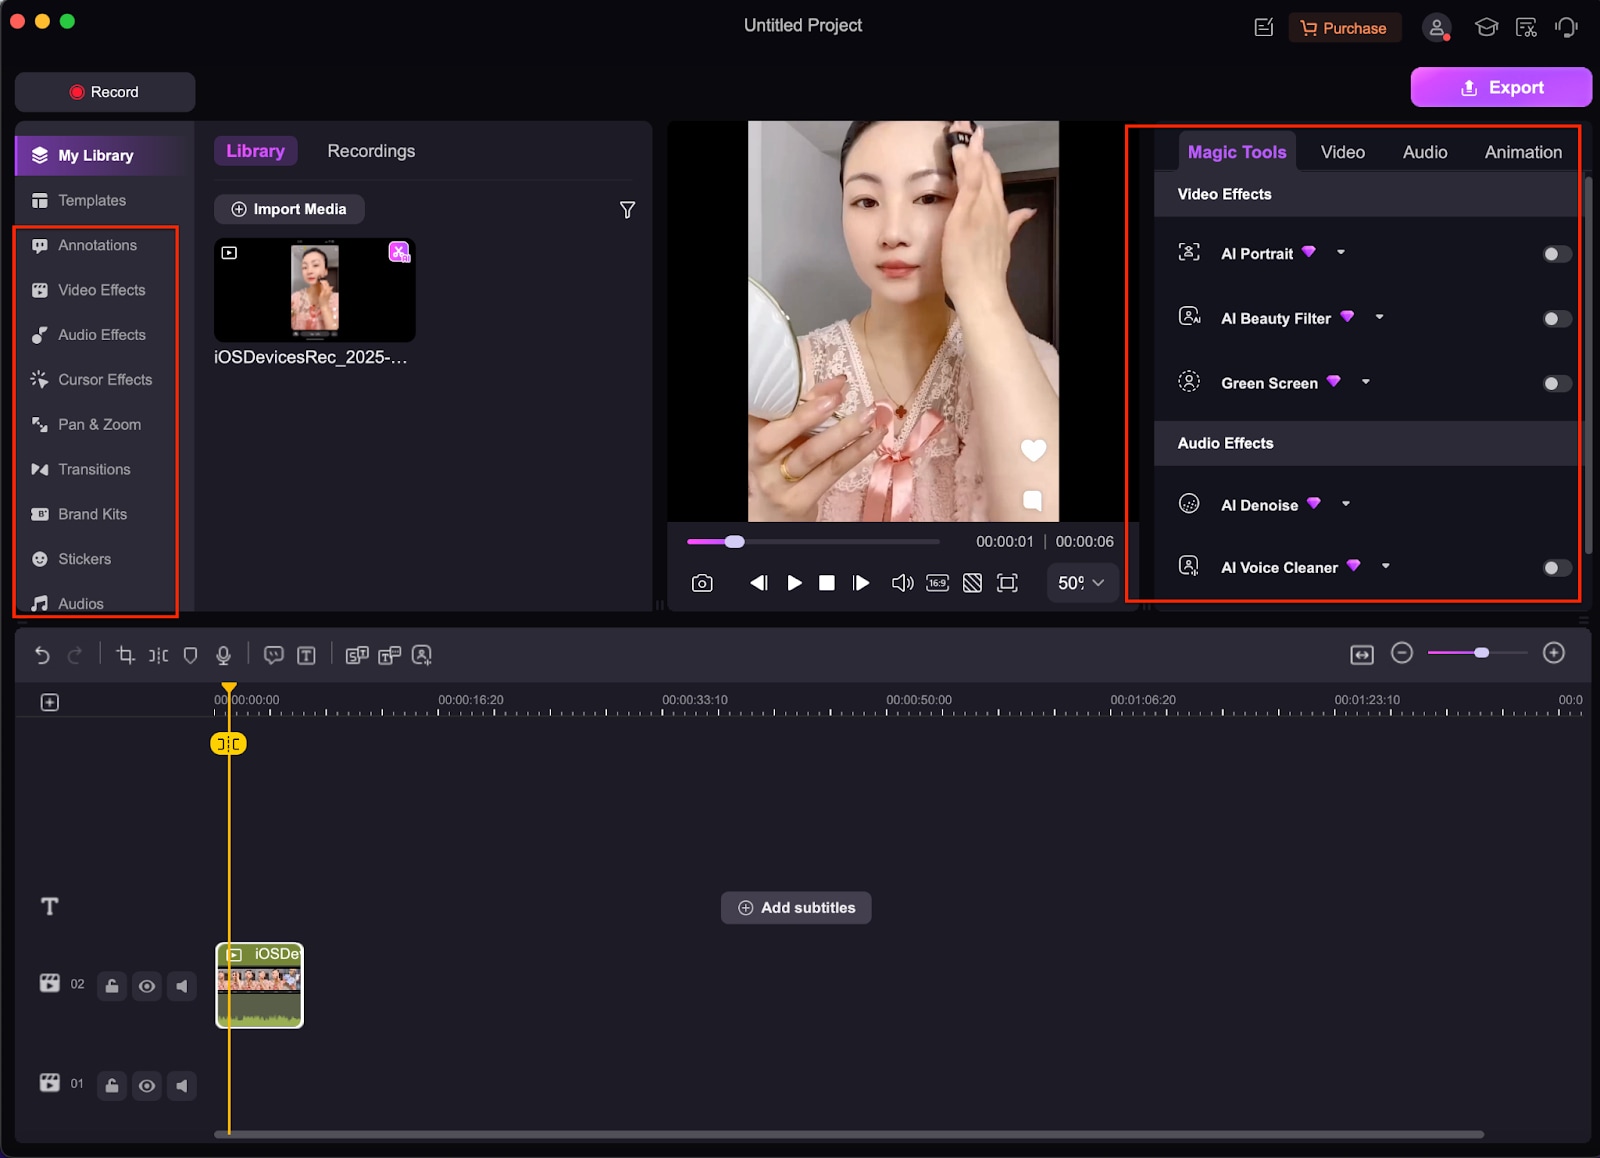
Step 4Apply AI-Powered Enhancements
Enhance your video using AI-powered tools available in the Magic Tools panel. Enable features such as AI Portrait for background removal, AI Beauty Filter for skin smoothing, and Green Screen for adding custom backgrounds. Additionally, improve audio quality by using AI Denoise to remove background noise and AI Voice Cleaner to enhance voice clarity. These features allow for a more polished and professional-looking video.
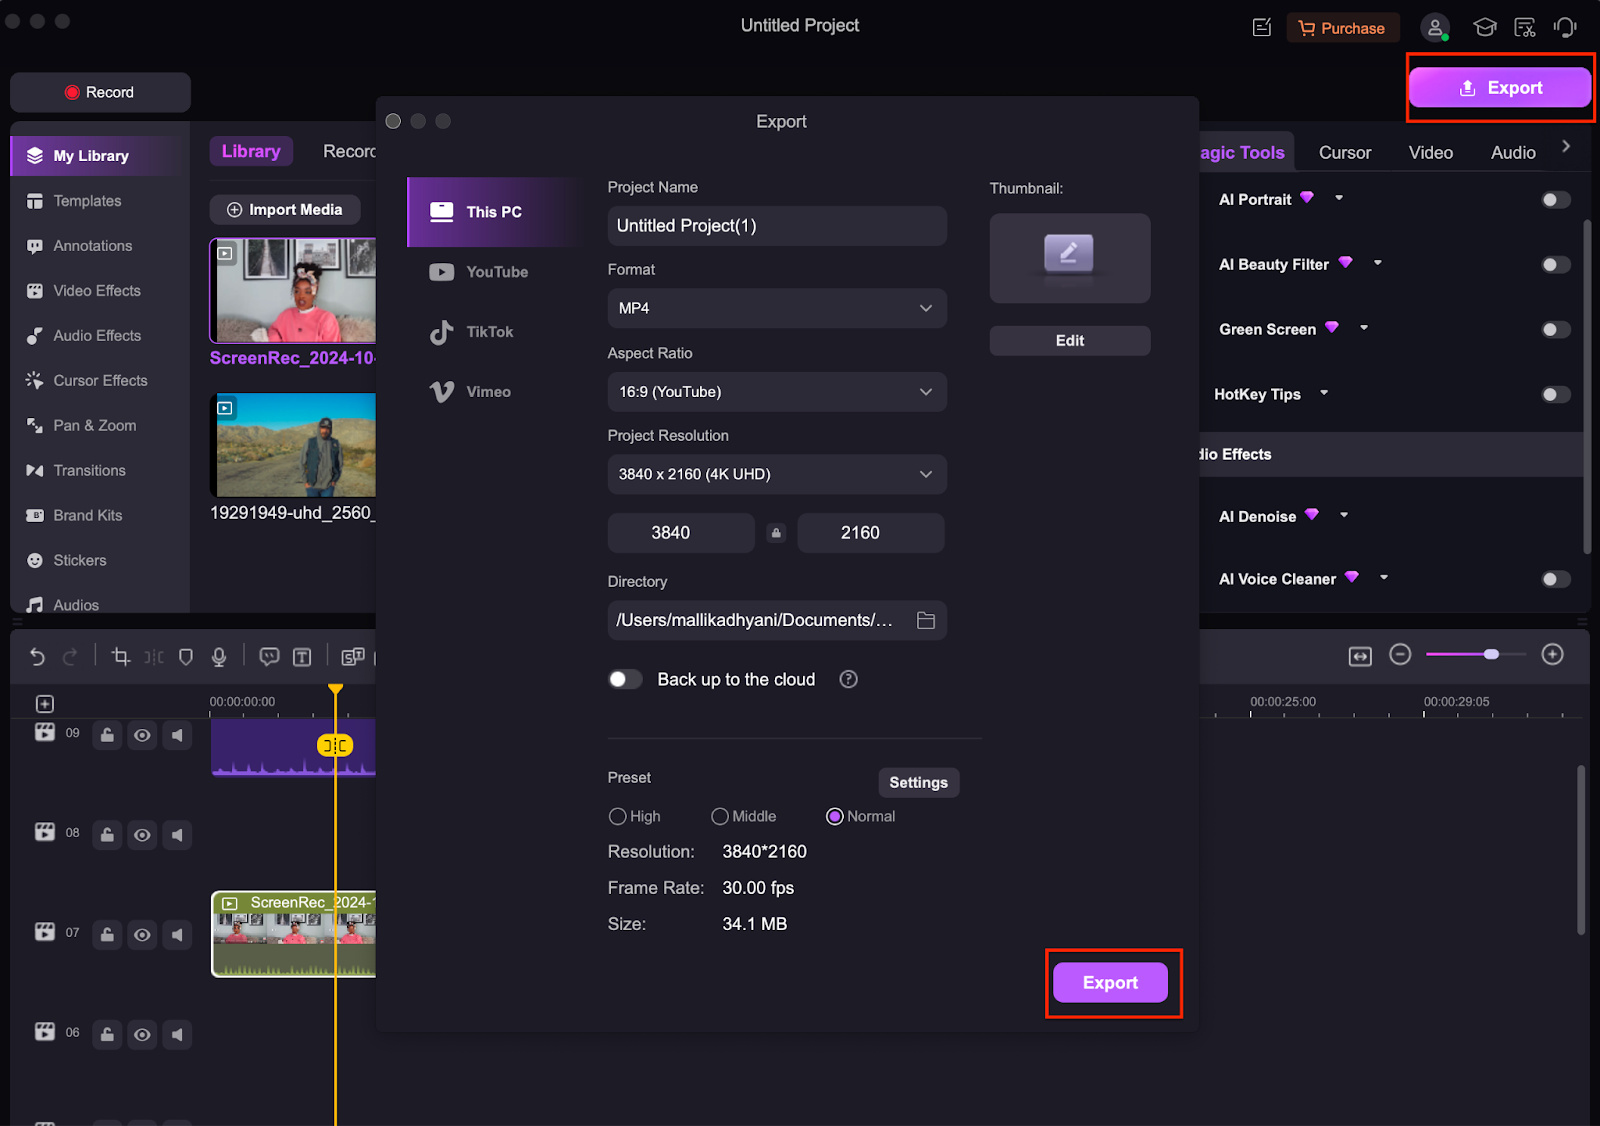
Step 5Export in High-Quality Format
Once the enhancements are applied, click Export and choose a high-resolution format like MP4, MOV, or AVI. Set the output to 4K with a high bitrate to preserve the improvements. After exporting, transfer your polished video back to your iPhone or share it directly on YouTube, TikTok, or Instagram.
Part 5: Best Practices for Recording High-Quality Videos on iPhone
Capturing high-quality videos starts before you hit record. To avoid grainy, shaky, or low-resolution footage, it's essential to optimize your iPhone’s settings and shooting conditions. Follow these best practices to ensure your videos look sharp, clear, and professional, whether you're filming for social media, vlogs, or personal projects.
- Set Video Quality Before Recording : Navigate to Settings > Camera > Record Video and choose 4K at 60fps for the highest clarity and smooth motion. This setting ensures maximum detail and reduces motion blur in fast-moving scenes.
- Use a Tripod or Gimbal : Stabilize your iPhone using a tripod or handheld gimbal to eliminate shaky footage. This is crucial for professional-looking videos, especially when recording walkthroughs, vlogs, or action shots.
- Ensure Good Lighting : Shoot in well-lit environments or use external lighting to reduce grain and noise. Natural light works best, but ring lights or softboxes help in indoor or low-light conditions.
- Record in HEVC Format : High-Efficiency Video Coding (HEVC) stores high-quality video at a smaller file size, allowing longer recordings without sacrificing clarity. Enable this in Settings > Camera > Formats > High Efficiency.
- Optimize Storage Space : High-resolution videos consume more space, so regularly delete unused files or transfer videos to iCloud or an external drive. This prevents lag and ensures you have room for future recordings.
Conclusion
While iPhones don’t offer a direct way to change video quality after recording, you can enhance resolution, remove noise, and stabilize footage using built-in tools, third-party apps, or Wondershare DemoCreator.
For AI-powered video enhancement, professional editing tools, and seamless upscaling, Wondershare DemoCreator is the best choice.
FAQs
-
Q1. Why does my video look blurry after recording?
The iPhone camera sometimes automatically lowers video resolution when storage space is low or when the device heats up. This can result in blurry or low-quality footage. To fix this, transfer your files to iCloud, an external drive, or a computer to free up space before recording. If the video is already recorded, use Wondershare DemoCreator’s AI-powered upscaling tool to enhance clarity and sharpen details. -
Q2. Can I convert a 720p iPhone video to 4K?
Yes, while you can’t restore missing details, AI-powered tools like Wondershare DemoCreator can upscale your 720p video to 1080p or even 4K while maintaining sharpness. The AI algorithm enhances edges, reduces pixelation, and smooths out noise, making the video appear clearer without significant quality loss. -
Q3. How do I fix grainy or noisy videos?
Graininess often happens when recording in low-light conditions or with a high ISO setting. Apps like Remini or Wondershare DemoCreator’s AI Denoise tool can reduce noise, smooth out grainy textures, and restore detail. Additionally, increasing brightness and contrast in an editing app can make the video look cleaner and more professional. -
Q4. Why is my iPhone video dark or overexposed?
Poor lighting conditions can make videos too dark or too bright, especially when shooting in direct sunlight or dim environments. To fix this, use Wondershare DemoCreator’s color grading tools to adjust brightness, contrast, and exposure manually. If shooting in low light, enable HDR video recording (Settings > Camera > Record Video > HDR) to capture better details. -
Q5. Does editing video quality reduce original quality?
No, as long as you use lossless export settings and avoid excessive processing. Exporting in a high-bitrate format (like 4K at 50Mbps) preserves quality. Wondershare DemoCreator ensures minimal quality loss by using AI-enhanced processing, making your videos look sharper and clearer even after editing.


