

Your iPhone device may hold numerous memories you want to preserve. From your favorite reels to moving wallpapers, you may have some elements you want to record in high quality and get the best results.
You may also want to record some issues you're experiencing and report them to the help center. However, you cannot seem to find the ideal iOS screen recorder, which is why we're here to help.
We've researched the market and tested numerous screen recording apps for iPhones and iPads to provide a list of the best methods available.
Table of Content
How We Reviewed the Best iOS Screen Recorders
The market is filled with iPhone and iPad screen recording applications, so we've developed a set of criteria all tools must meet to make the list. Check out some elements below to understand why the tools reached the top.
| Criteria | Description |
| 🙂 Ease of use | All the iOS screen recorders must be easy to navigate and use, making them suitable for beginners in the screen recording world. |
| 🔋 Resource usage | The tools should not drain your battery and cause more harm than good in the long run. |
| 🎨 Features | All screen recording software and apps presented below will have at least a few additional features to help you on the screen recording journey. |
| ✅ Performance | The methods below will quickly start the screen recording feature and have little to no technical issues. |
| ⭐ User reviews on the App Store | We've selected the most trustworthy iPhone and iPad screen recording tools based on other users' reviews and ratings on the App Store. |
| 💰 Value | You shouldn't overspend on a screen recording journey, so we've prepared tools to give you the best bang for your buck. |
10 Best iOS Screen Recorders for iPhone and iPad
Here's a list of the best iOS screen recorders available on the market.
1. Record it!

Compatibility: iOS 12 or later
App Store rating: ![]() 4.6/5
4.6/5
Pricing: $5.99 a month
Best for: basic editing and reaction video creation
Record It! is among the best screen recording apps for iPhone and iPad devices since it'll provide you with many additional features. For instance, you can use the picture-in-picture mode to add your camera to the recordings and create excellent content. People usually use it for reaction videos and basic video editing, such as trimming, cropping, and cutting recordings.
Key Features
Here are some of the best features you'll find on Record It!:
- Commentary - You can add audio comments to your videos to enhance engagement.
- Reactions - add reactions using your camera to emphasize the important parts of your recording.
- Organizer - categorize your iPhone/iPad screen recordings according to your preferences for easier access.
Pros and Cons
2. DU Recorder

Compatibility: iOS 11 or later
App Store rating: ![]() 4.4/5
4.4/5
Pricing: Free, $3.99-$89.99.
Best for: editing your iPhone/iPad recordings
DU recorder is a simple iOS screen recorder. It's easy to navigate and use, making it ideal for beginners and new iPhone/iPad owners. Aside from this, the recorder comes with numerous editing features and tools to help you improve the video's quality and get the desired recording results.
Key Features
Below is a list of the best features DU Recorder provides:
- Customization - you can add custom elements to your recordings, such as watermarks, to make your content unique.
- Editing - the tool provides an array of filters, effects, and other editing tools to improve your experience.
- Subtitles - you can add subtitles to your videos and make the content more accessible.
Pros and Cons
3. Web Recorder

Compatibility: iOS 8 or later
App Store rating: ![]() 3/5
3/5
Pricing: Free
Best for: simple recording tasks from the browser
Web Recorder was designed to help you record your web browser without displaying notifications and other distracting elements. This may be your ideal solution if you don't want to show off your entire screen. However, the tool doesn't provide additional advanced features to boost your experience and provide you with professional results.
Key Features
As mentioned earlier, Web Recorder doesn't provide too many features. Here are some of the tools you'll access if you download this iPhone/iPad screen recording app:
- Capture from the browser - the tool allows you to connect your browser to the app and ensure a convenient browser recording journey.
- Notifications - the application will remove all notifications that may come your way during the recording process.
- Bookmarks - you can create web-based bookmarks straight from the platform to remember what you want to record next.
Pros and Cons
4. RecPro

Compatibility: iOS 12 and later
App Store rating: ![]() 3.7/5
3.7/5
Pricing: $4.99-$29.99
Best for: custom screen recordings
RecPro balances all the features you need to create incredible iPhone screen recordings with sound. You can add filters, edit your recordings lightly, and customize the experience on this platform to get the best results. One of the most amazing things about the platform is that you can choose the desired frame rates and resolutions, allowing you to control the recording experience.
Key Features
Let's check out some of the best RecPro's features:
- Customize settings - choose the frame rates, resolution, and the part of the screen you want to record.
- Face Cam - add a front camera video to the screen recording to create a reaction clip.
- Filters - choose between 15 filters to create unique and professional content.
Pros and Cons
5. TechSmith Capture

Compatibility: iOS 12.4 or later
App Store rating: ![]() 4.6/5
4.6/5
Pricing: Free
Best for: high-quality screen recordings
TechSmith Capture is a simple yet one of the most loved iPhone and iPad screen recorders available. The tool doesn't provide advanced editing or recording features you can use.
Instead, you can enjoy the simplicity of TechSmith Capture and get the desired screen recording results. Moreover, if you enjoy using Camtasia or TechSmith to record videos on your Mac computer, you can easily transfer videos from your iPhone/iPad using a stable Wi-Fi connection.
Key Features
TechSmith Capture isn't a feature-packed tool, but here are some of the tools you'll get if you download the app:
- Transferring - using a Wi-Fi connection, you can quickly transfer your mobile screen recordings to your desktop.
- Library - you'll get a new recording library for your videos so you can organize them and easily access your recordings.
- Import - add other screen recordings to the TechSmith Capture library for better organization and experience.
Pros and Cons
6. V Recorder

Compatibility: iOS 12 or later
App Store rating: ![]() 4.7/5
4.7/5
Pricing: $0.99-$89.99
Best for: hiding your iPhone/iPad screen recordings
V Recorder is one of the most advanced iPhone/iPad screen recorders on the market. It was among the first to introduce AI-powered features, such as automatic captions, making the screen recording process even more efficient and time-saving. This tool is a solid option if you need something to meet your professional recording needs.
Key Features
V Recorder provides advanced recording and editing features, such as:
- AI voice changers - you can easily transform your voice with the help of this feature.
- Filters and effects - you can make high-quality content by adding these elements to your recordings.
- Automatic subtitles - the app provides machine learning mechanisms that can detect your voice and create subtitles accordingly.
Pros and Cons
7. AZ Recorder

Compatibility: iOS 13 or later
App Store rating: ![]() 4.3/5
4.3/5
Pricing: $3.99-$29.99
Best for: Screen recording on both phone and computer
AZ is one of the most popular screen recording solutions on desktops and mobile devices. It's convenient and easy to use, making it ideal for beginners in the screen recording business. This tool also provides a basic editing toolkit you can use to capture the best iPhone/iPad moments.
Key Features
You can check out the best AZ features below:
- Face Cam - record video with your camera simultaneously and add comments to your screen recordings.
- Sharing - the app allows you to share your creations on social media platforms in a single click.
- Editing - you'll get access to simple editing tools like trimming, cutting, and cropping your recordings.
Pros and Cons
8. Screen Recorder Pro

Compatibility: iOS 12 or later
App Store rating: ![]() 4.5/5
4.5/5
Pricing: $4.99-$39.99
Best for: Screen recording with simple editing and annotations
Screen Recorder Pro is a simple, modern solution for iPhone and iPad devices. You can record high-quality videos, up to 1080p, add reactions and comments to the recordings, and edit your videos in just a few clicks. The app is easy to navigate, and you'll master the tool in a matter of minutes.
Key Features
Here are some of the features you can expect to find on Screen Recorder Pro:
- Annotations - use the available annotation tools to emphasize the crucial elements in your iPhone/iPad recordings.
- Multiple recording options - you can record your screen, camera, and audio simultaneously.
- Editing - the tool provides basic editing features to take your experience to the next level.
Pros and Cons
9. Go Record

Compatibility: iOS 11 or later
App Store rating: ![]() 4.7/5
4.7/5
Pricing: $5.49-$9.99
Best for: screen recording editing
Go Record is a straightforward screen-capturing tool that makes the whole experience a piece of cake. You can start the recorder with a few simple clicks and enjoy the immense convenience.
It's not crowded with features and tools, so if you want a smooth experience, you can try this app. Moreover, Go Record has some of the best editing features to help you reach your video's maximum potential.
Key Features
Go Record doesn't provide any extraordinary and unique features. Instead, you can discover some of the following tools to boost your screen recording experience:
- Audio commentary - add audio comments over your videos to make the content more engaging.
- Facecam overlay - you can record your camera during the screen recording process, making the tool ideal for reaction videos.
- Editing – use advanced editing tools, such as filters, brightness, shadows, and more, to enhance the recording's quality.
Pros and Cons
10. Screenflow

Compatibility: MacOS 10 or later
G2 rating: ![]() 4.5/5
4.5/5
Pricing: $169-$259
Best for: professional screen recordings and editing
Screenflow works differently than the abovementioned tools. It's an iOS screen recording software that works on a computer. Instead of running the app on your phone, you'll connect it to your Mac device and start the recording process accordingly. That will ensure you get the best recording quality available, so we recommend it to professionals. In addition, you can discover numerous editing features and tools to deliver outstanding content.
Key Features
You can check out the best features this tool provides below:
- Closed captions - you can add captions to your videos to make them more accessible.
- Stock media - the tool has an extensive stock library of images and sounds you can use in your recordings.
- Audio mixing - control the audio experience using advanced mixers and maximize your content's quality.
Pros and Cons
Does the iPhone Have a Built-in Screen Recorder?
Yes! All iPhones have a built-in screen recording tool you can use to capture your favorite mobile moments. You can check out how to activate the app and start recording below.
- Slide down to access the Control Center.
- Then, click on the circle icon to start recording.

- To activate the audio recording feature, tap and hold the circle icon until you see the microphone option. Click on the button under Microphone to enable it.

- Tap the Start Recording option.
- After this, your device will start a 3-second countdown and start recording.
Downsides of Using the Built-in Option
Although the built-in screen recording tool for the iPhone may be convenient, it's not the best solution out there. We'll present a couple of disadvantages to help you understand why downloading a third-party app may be the best decision.
- Quality - the quality of your recordings may vary. Sometimes, you may get clear videos, while in other cases, your recordings may come out grainy and low-quality.
- No customizations - you cannot choose which part of the screen you want to record and whether you want to record with your camera simultaneously.
- A few editing options - the built-in tool doesn't provide many editing features. You can only rotate and trim your videos with this method.
- No external audio recording options - you cannot use additional input sources during your screen recordings, which means you're stuck with the hardware you already have.
Bonus: The Best Screen Recorder for Mac
Now that you've chosen the best screen recording tool for your iPhone/iPad device, you might as well discover the best screen recorder for Mac. You can unlock a feature-packed screen recording option called Wondershare DemoCreator.

This tool comes with a wide variety of recording and post-production editing features. For instance, you can customize recording settings, choose input devices, and control the recording process using the keys on your keyboard.
The list of editing features is far too extensive to present here. Some of the most prominent features include a teleprompter, automatic captions, voice changers, annotations, background changes, background noise removal, and many more advanced tools.
The best part about this platform is that it's powered by the latest artificial intelligence systems and tools, so you'll be up-to-date with all technological advancements while having the best time. If you want to try the tool, head to the official Wondershare DemoCreator website, download it to your Mac device and follow the guide below.
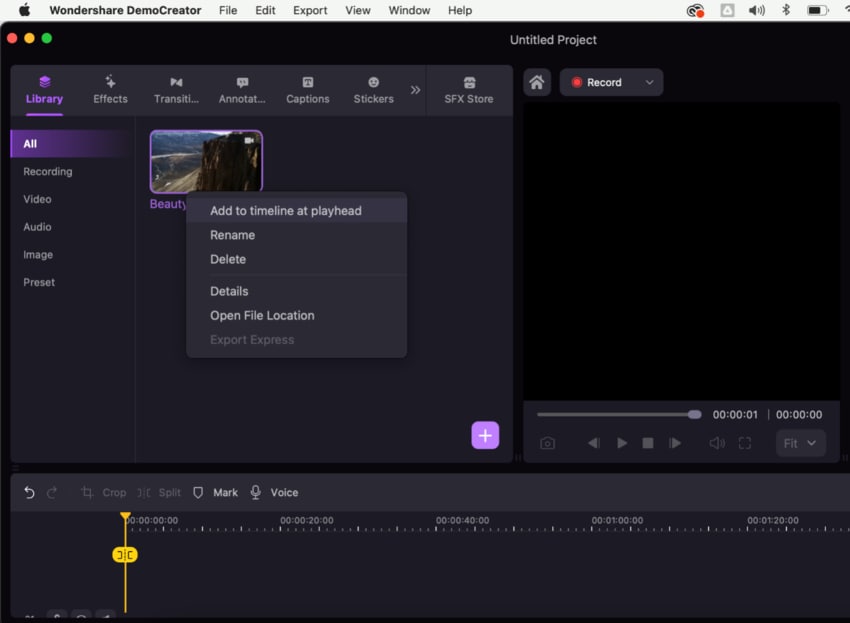
- Open Wondershare DemoCreator and click on the All-in-One Recorder option.

- Next, customize recording settings such as audio input, recording area, etc.

- Click the REC button to start recording, or use the Option+Command+. keys.
- During the recording, you can use the annotation tools to mark the important points and draw the attention of your audience.
- You can stop the recording by pressing the Shift+Command+. keys or the End Recording button.
- After the recording, you can either export the video directly or optimize it in DemoCreator's Video Editor.
Conclusion
Screen recording on your iPhone/iPad device should be easy and efficient. If you don't like the built-in solution, check out our top list below to find your ideal alternative and start recording the most amazing videos. All these tools provide advanced features to improve your experience and provide professional results.
We've also presented the best way to record your Mac screen: Wondershare DemoCreator. This all-in-one tool provides numerous advanced AI-powered features to boost your journey.
FAQs About Screen Recording App for iPhone and iPad
-
What screen recorder is best for iPhone?
All screen recorders have different features and capabilities. However, the most universal and robust solution is definitely Record It! It provides all the essential tools you need to record and edit high-quality videos. -
How do I record my iPhone screen in high quality?
The best way to do so is to use a third-party solution presented in our list. The guides will differ depending on your chosen platform, so we advise you to check the official tutorials for more details. -
How do I turn my iPhone screen recording on?
You can start recording with your iPhone by following this guide:- Swipe down to reveal the Control Centre.
- Click on the circle (Recording) icon.
- The 3-second countdown will start, and the phone will start recording.
-
Does iOS screen recording record sound?
Yes! The built-in feature can record your microphone and sound. You can enable it by following the steps below.- Swipe down to open the Control Centre.
- Tap and hold the Record icon.
- In the new screen, tap the Microphone button to enable it.
- Tap the Start Recording option.
-
Why can't I screen record on iOS?
Here are several reasons that may restrict you from recording your screen:- An outdated operating system version
- Software bugs
- Permissions
- Insufficient storage space.
-
Can I screen record for 2 hours on iPad?
iPhones and iPads don't have screen recording restrictions. You can record 2-hour videos if you have enough storage and battery to support the action.


