

Whether you're a streamer, student, or professional, knowing how to screen record on a Mac is essential. Whether it’s capturing online lessons, saving video calls, or sharing exciting content, a reliable screen recording method makes all the difference.
If you're new to macOS or unsure how to record your screen, don’t worry—we've got you covered. This guide will walk you through the best ways to screen record on Mac, whether you're using a MacBook Air, MacBook Pro, or iMac. Let’s get started!
| Method | Ease of Use | Effectiveness | Best for |
| Wondershare DemoCreator | High | High - There's a wealth of recording modes and customization options, and you can edit the screen recording immediately. | Online course, tutorial, explainer video, product demo, game recording, and video presentation. |
| Built-In Recorder | High | Low - It offers only the most basic capture area customization options. | Info sharing, basic tutorial |
| QuickTime Player | Medium | Low - You can't record the screen with system sounds without the Soundflower extension. | Info sharing, basic tutorial |
Now that we know the three best ways to screen record on Mac, we can move on to the guide portion of this article. Below are the detailed step-by-step instructions for using each of the three MacBook screen recording methods.
Method 1. Record the Screen on Mac Using Wondershare DemoCreator
With support for both Intel and Apple Silicon Macs, this specialized MacBook screen recording tool works as flawlessly as any built-in Mac app. It lets you capture MacBook videos with audio in just a few simple steps, making it the top choice in the Mac screen recorder category.
Characterized by customizable capture areas, simultaneous webcam recordings, and the ability to simultaneously record system sounds and microphone audio, this powerful Mac screen recorder is incredibly straightforward to navigate.
During the recording, you can utilize various screen drawing tools, such as Highlight, Whiteboard, Cursor, Text, Arrow, Line, and more, to emphasize important points. Here's how you can try it yourself. First of all, download and install it on your Mac computer.
- Launch the app and tap the All-in-One Recorder option.

- Adjust the app's Capture Area and choose to record System Audio and Microphone to create a MacBook screen recording with audio.

- Alternatively, adjust the WebCam option to record your reaction alongside a Mac screen capture.

- Tap the red REC button to capture the MacBook's video.
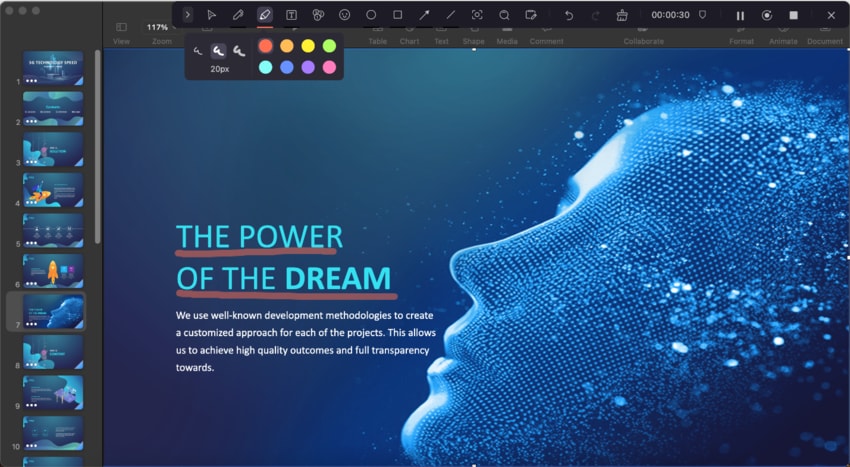
- While recording, you can swiftly write and highlight using the drawing implements, such as a Pen, Highlight, Spotlight, Whiteboard, and Stickers.
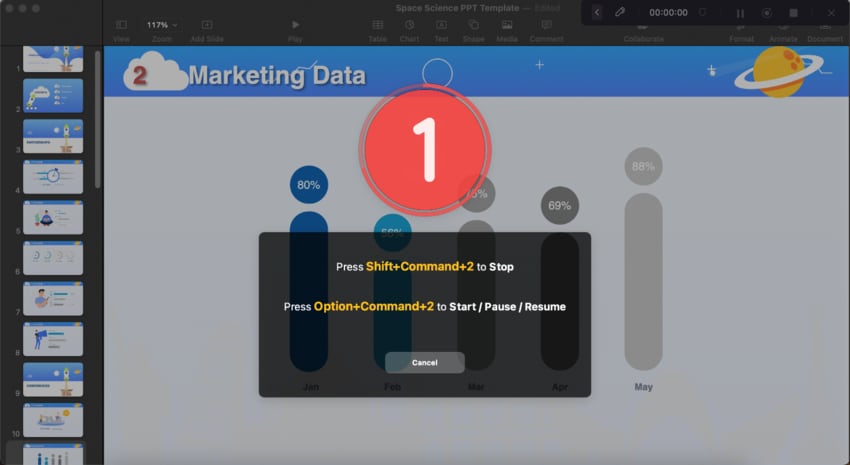
- Once you're done, tap the Stop button or press Shift+Command+2 on your keyboard to end the screen capturing.
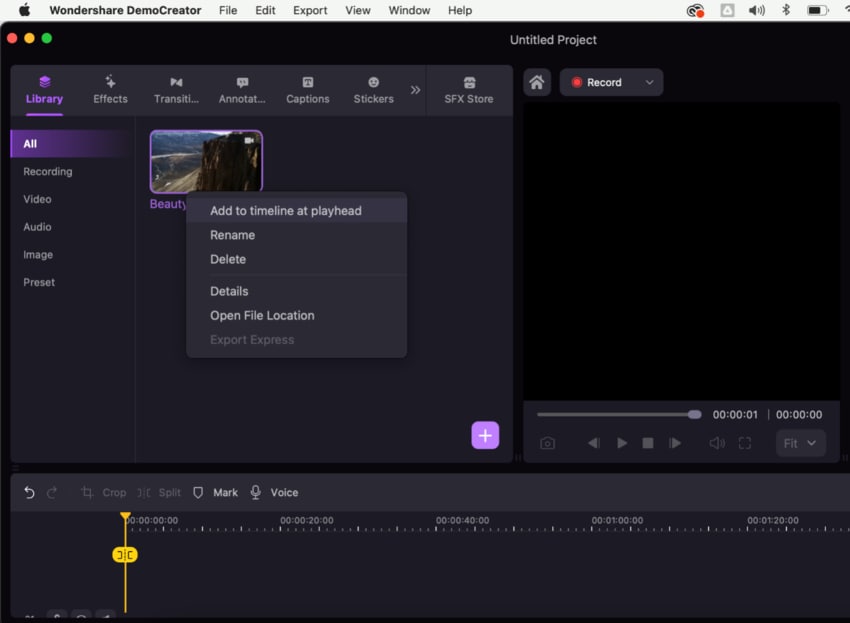
- The recorded video will go into the Library of DemoCreator. You can edit, export, or share it to social media according to your needs.
One of the main advantages of this robust MacBook screen recorder is its built-in Video Editor. Unlike Mac's Screenshot utility or QuickTime Player, Wondershare DemoCreator also includes a wealth of audio and video editing features, which you can apply to your screen grabs in just a few seconds.
Sharing features are also in the app, making it better than any built-in Mac screen recorder.
Method 2. Record the Mac Screen Using the Built-in Recorder
Those wondering if there's a "first-party app" way of recording a MacBook's screen or asking, "Does MacBook have screen recording capabilities?" will be pleased to learn that every Apple device has a built-in Mac screen recorder. Here's how to use it:
- Open your Mac's Launchpad and launch the Screenshot utility.

- You can record the screen on a MacBook with audio by selecting the fifth or sixth button in the Screenshot app, depending on whether you want to record the entire screen or a portion of it.
- Tap the Options button to select a microphone, adjust the delay, change the recording's location, or show the mouse pointer.

- When ready, tap the Screenshot utility's Record button and create a MacBook screen recording.
- Once you've captured a MacBook video with sound, tap the Stop the Recording button in the menu bar.
The built-in Mac screen recorder's default save location is a folder on the Desktop, but you can also change it to other places on your device. Once you're done, your screen recordings will be in that location. Conversely, the app can be used with keyboard shortcuts, which you can change to your liking by navigating to the Apple button > System Settings > Keyboard > Keyboard Shortcuts > Screenshots.
Method 3. Record the Screen on Mac Using QuickTime Player
QuickTime is the built-in video player for macOS, which can also be used to record your Mac screen. However, this MacBook screen recorder can only record microphone audio unless you install an extension. Here's how to screen record on Mac with QuickTime:
- Find the Soundflower extension on the official website, download it, and install it on your Mac.
- Go into System Preferences > Sound > Output, and change the Output device to Soundflower (2ch).

- Then, launch the QuickTime Player and navigate to File > New Screen Recording.

- Hit the Arrow button next to the red Record button, and select Soundflower (2ch).

- Now tap the red Record button to capture MacBook's video with sound, and then tap Stop to end the recording session and save it.
Tips for Recording the Screen on Your Mac
To get you started and ensure your MacBook screen recordings have sound, we've included a few tips to guide you on creating fantastic audio and video on your Mac. They include the following:
- Decide between built-in Mac screen recorders or specialized software;
- If you opt for it, investigate a third-party MacBook screen recorder before you use it;
- Use a lightweight app that won't slow down your Mac when recording the screen;
- Test a MacBook screen recorder and ensure you're capturing both audio and video, regardless of whether it's a built-in Mac screen recorder or a third-party app;
- Carefully select a capture area and ensure you're recording the right part of the screen;
- Adjust the Mac screen recorder's settings to show or hide the mouse pointer or record its clicking sounds;
- Only use the recordings for personal use to avoid audio copyright infringement.
Following these tips, creating elaborate MacBook screen recordings for whatever purpose you need will be easy. In a few steps, you can share your favorite desktop moments with friends, family, colleagues, students, etc.
Summing Up
Learning how to record a screen on a Mac can be incredibly valuable if you ever need to capture your gaming moments, create presentations for class, or make an elaborate tutorial for your students. As a result, choosing a suitable MacBook screen recorder plays a pivotal role for all video content creators, professionals, and educators who use a Mac.
Unfortunately, Mac's built-in screen recorders aren't ideal, as the Screenshot tool doesn't provide capture area customization options or screen recording editing capabilities. On the other hand, the QuickTime player, another built-in Mac screen recorder, can't simultaneously record system sounds and microphone audio without an extension.
That's where a fantastic third-party MacBook screen recorder comes in - Wondershare DemoCreator. With its wealth of customization features, simultaneous webcam recording capabilities, and the ability to record your microphone and your Mac's audio simultaneously and without any extensions, it's the best way to record a screen on a Mac.
FAQs
-
Can I edit the recorded screen on Mac?
Yes, you can! While it's impossible with Mac's Screenshot app, you can use QuickTime's built-in editing features if you've used that app to capture video on a MacBook. However, since these editing tools are pretty limited, using Wondershare DemoCreator for both screen recording of Mac's screen with audio and editing is highly recommended, as the app has an incredible, feature-rich, built-in Video Editor. -
Where does Mac save screen recordings?
The save location of your MacBook's screen recordings depends on the app you use. For example, the built-in Mac screen recorder saves the clips in a Desktop folder, but you can also change this to another location or find them in ~/Library/ScreenRecordings. Conversely, QuickTime Player and Wondershare DemoCreator will save the clips in their folders. -
How long can you screen record on Mac?
While there's no maximum time for MacBook screen recordings regardless of your method, it's worth mentioning that Mac OS X screen recordings eat at your storage space. A few hours of high-quality recording can take multiple gigabytes of space. Therefore, the length of screen recording on a MacBook depends on your device's free storage space. -
Can You Record Your Mac Screen With Audio?
Yes, you can record a MacBook's screen with audio. Whether you're gaming to share your high score, recording a video call for your loved ones, or showing a cool YouTube song or clip to your friends, recording a MacBook's screen is possible and relatively easy.


