

I've recently bought a Macbook, and I'm still getting used to the new OS (I've only used Windows OS so far). Since I'm running a podcast, I need a reliable tool for recording my microphone. I also want to be able to capture sounds coming from my computer, such as applications and browser. What are the best tools on Mac for this? Can you recommend a few different options?
There are many ways to record sound on MacOS, from simple tools for making voice memos to complex software for music engineers. We will give you several options that Mac users trust and a quick guide for choosing the best one for your needs.
So let's get started. Here's how to record audio on Mac for podcasts, videos, presentations, memos, music, and more.
| Method | Best for | Ease of Use |
| DemoCreator | Record Mac internal audio, microphone, screen, and camera with editing options. | |
| Voice Memos | Record and edit audio from an external microphone on a Mac. Can't record macOS internal audio. | |
| DemoAir | Record internal audio, microphone, screen, and camera online. | |
| QuickTime Player | Record Mac microphone, and screen. Record Mac internal audio by installing a third-party plugin. | |
| GarageBand | Record internal and external audio and create and edit songs. | |
| Audacity | Record and edit internal and external audio for professional musicians. |
How To Record Audio on Mac Using Wondershare DemoCreator
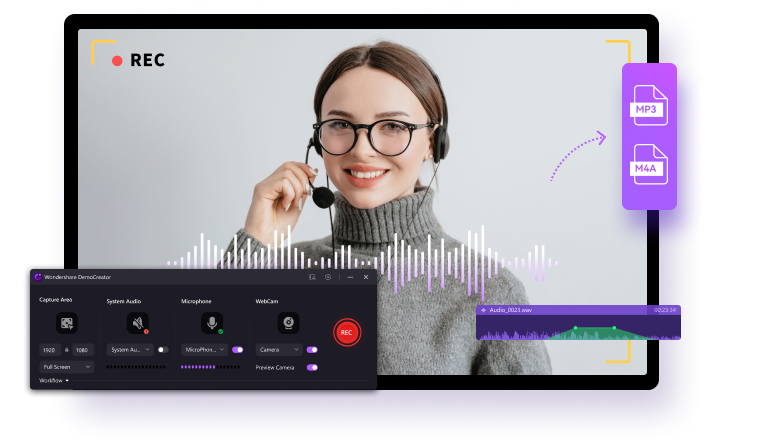
Wondershare DemoCreator is a screen recorder and video editor that allows you to capture and edit sound from your Mac and your microphone—both separately and simultaneously. But that's only the gist of it; DemoCreator offers many recording modes, presets, and options that simplify the process and help create audio and video content for various uses.
For instance, you can use DemoCreator's Voice Recorder to make video voiceovers, enhance speech and change voice, remove unwanted noise from recordings, add sound effects, and more. All this can be done separately from the video, but you can also record and edit them together using one of the recording modes, including Game, Virtual Avatar, or Video Presentation.
We can't possibly squeeze all this into a quick tutorial, so we will show you the simplest way to record internal and external audio using DemoCreator. Follow these steps:
- First, download DemoCreator from the official website and install it on your Mac.
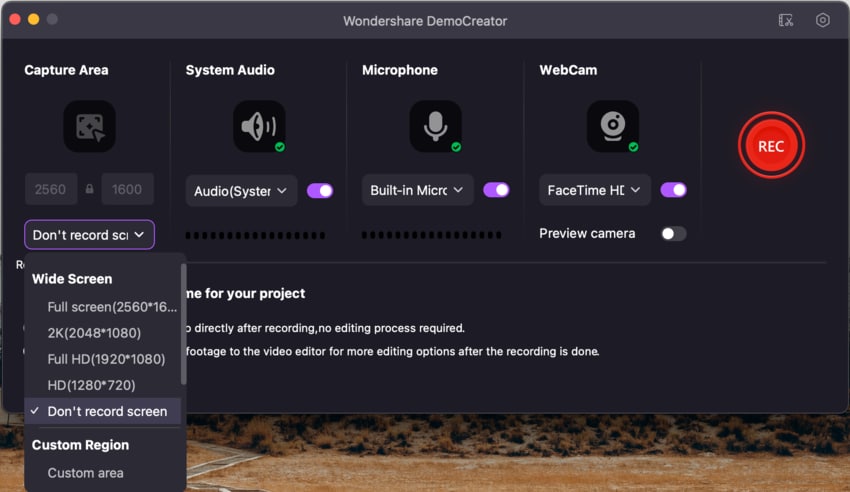
- Open DemoCreator and choose Video Recorder.

- Take a look at the recording settings. Here, you can adjust the Capture area to record your screen with sound and customize other options. You can also enable and disable the microphone and system sounds in case you want to record only internal or external audio.
- When you're ready to start recording, hit the big red REC button.

- Click the Stop icon at the top right corner when you want to stop recording.

- Now, you can adjust the volume and use Quick Export or Share to save or share the recording as it is.

- Alternatively, you can click on Advanced Editing, which will take you to the DemoCreator Video Editor.
- The sound editing options are in the panel on the right underneath Audio. Here, you can adjust the Volume, apply Denoise and AI Speech Enhancement, use Voice Changer, etc.

- To add sound effects, go to the menu bar on the top left and click Audio. Choose any available effect from the existing categories or search for more effects online.

- When you're done editing your audio, click the Export button in the top right corner. If you want to save sound only, click on Format and choose MP3 or a different audio format.

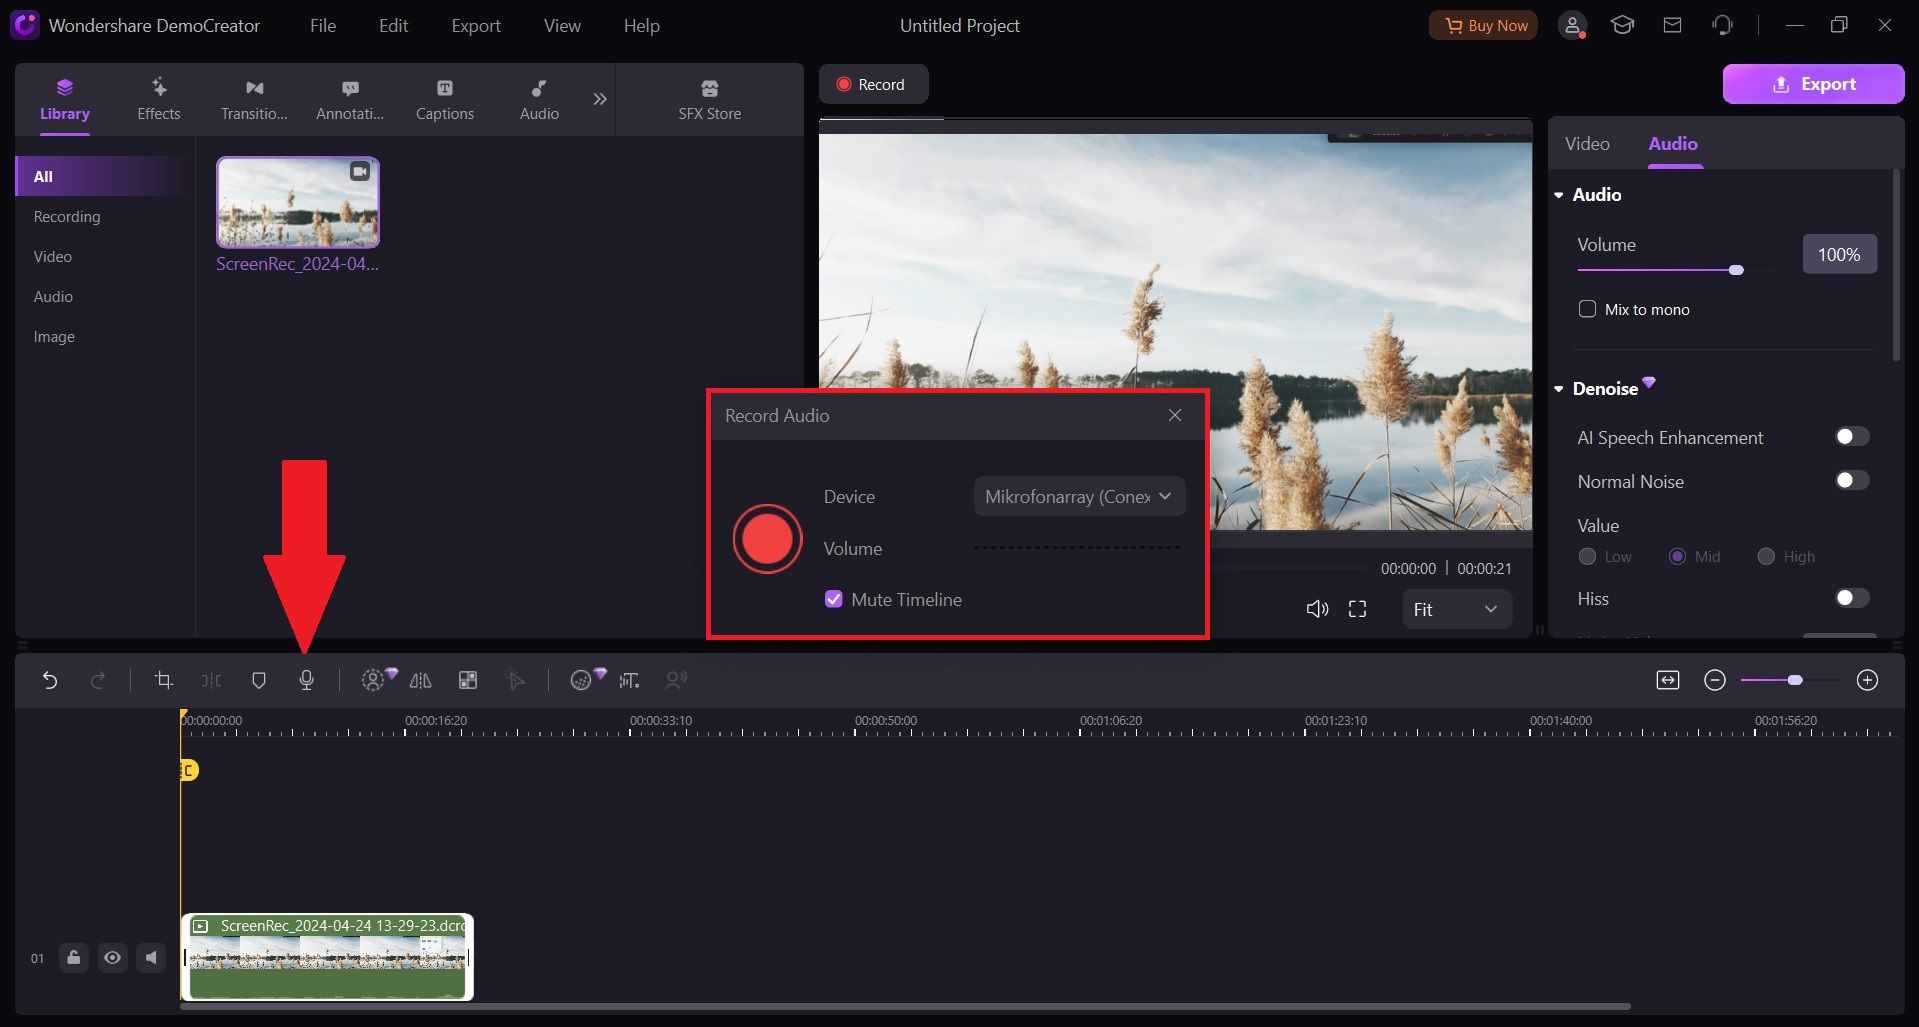
Bonus tip: There is one other way to use DemoCreator to capture microphone sound. This method is primarily used to record voiceovers for videos, but you may find your own creative way of using it. To do this, go straight to DemoCreator Video Editor and import an existing video file from your Mac to the Library.
Drag and drop it to the timeline below and click the Microphone icon above. You can adjust the Volume and check Mute the timeline to turn off the video sound.
How To Record Voice on Mac Using Voice Memos

Voice Memos is a built-in sound recorder for iOS devices with all Macs for free. It is one of the best ways to record audio on a Mac, aside from one shortcoming: Voice Memos can't capture the macOS internal sound. Despite being straightforward, it packs features for basic sound editing. You can adjust the playback speed, enhance vocals, skip pauses, and trim the memos.
Another useful thing about Voice Memos is that it is officially part of the Apple ecosystem, which allows you to access your recordings from multiple iOS devices as long as you have your Apple ID. You can easily sync the app with your iPhone, iPad, and iPod. However, the Mac version will always save voice memos in the M4A file format in the Recording folder on your computer.
Here's how to use Voice Memo to capture microphone sound on your Mac:
- Find Voice Memos in your Mac Finder or launch it from Spotlight.
- Click the red circle to start recording.

- Voice Memos allows you to pause and play, rewind, or fast-forward your recording.

- Click Done at the bottom right corner to stop recording.

- If you want to edit your recording, click Edit at the top right corner.

- Right-click on the voice memo to access additional options, such as share, delete, and duplicate.

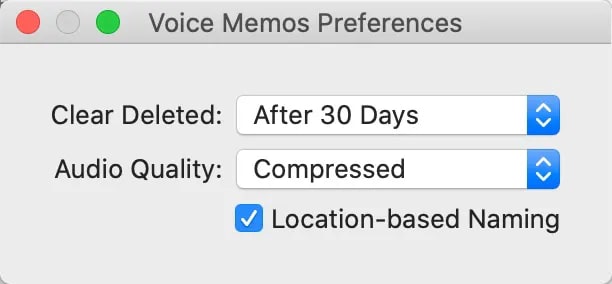
Pay attention: Voice Memos has two audio quality modes for sound recording: Compressed and Lossless. As the name suggests, the first compresses the audio file to preserve storage space, thus reducing the recording's quality.
The second mode records sound as it is, but it takes up more space on your Mac. You can pick your preferred mode in Voice Memo Preferences.
How To Record Sound on a Mac With DemoAir
DemoAir is Wondershare's browser-based screen and sound recorder that captures sound from your microphone quickly and hassle-free. With simplicity being its main focus, DemoAir doesn't intend to complicate the recording process with additional steps. For that reason, there aren't any sound editing tools you can use, but you can always switch over to DemoCreator.
DemoAir is perfect for recording sound in a hurry. On top of sound recording, DemoAir also includes online video recording and a screen recorder for Chrome. You can use it to take webpage screenshots and make AI video presentations.
And since it belongs to the same family as DemoCreator, you can use it in combination with the desktop version of Wondershare's Video Editor.
Here's how to record sound from a MacBook using Wondershare DemoAir:
- Go to DemoAir's official website and click on Online Audio Recorder.

- Do as prompted to give DemoAir permission to use your microphone.

- If you can't find the Mic icon in your browser search box, go to browser settings. In Chrome, for example, you need to go to Privacy and security > Site settings and click on Allow Microphone for DemoAir.

- When you are ready to start recording, click RECORD.

- DemoAir allows you to pause, discard, and stop recording.

- When you click Stop, your recording will automatically be saved to your Download folder in MP3 format. You can also listen to it, back it up on Wondershare Drive or Google Drive, or share it online.

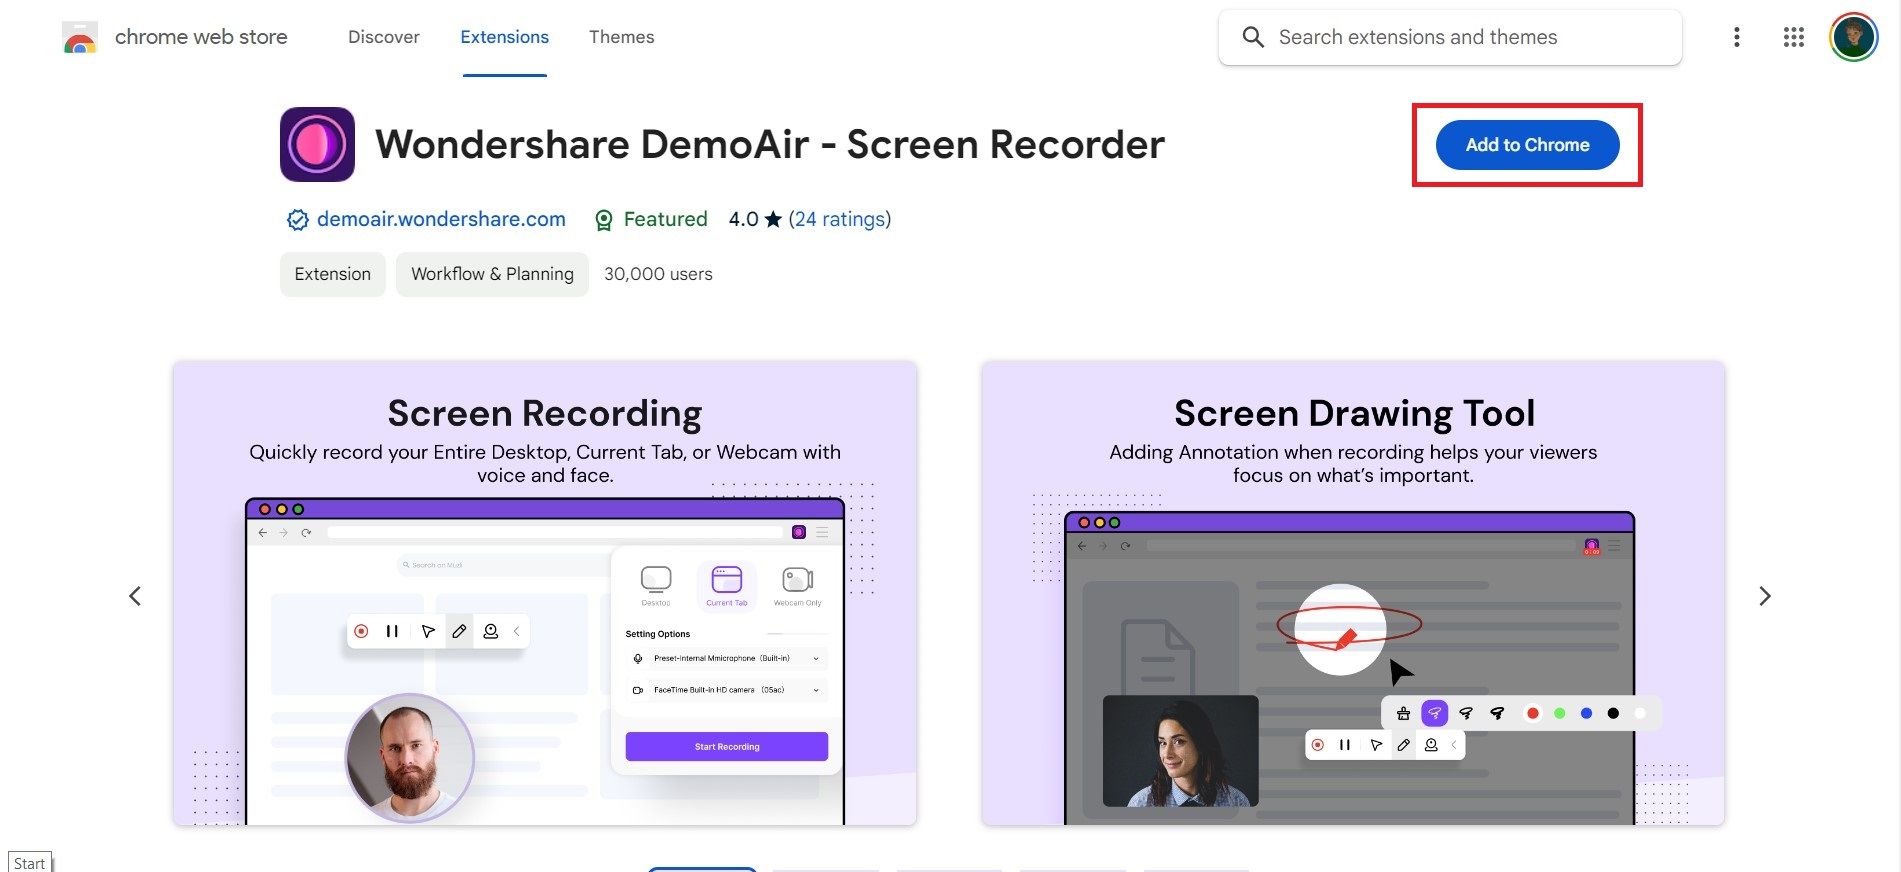
Pro tip: If you often need to record your voice for business or creative projects, you can add DemoAir to Chrome as an extension and pin it to your browser bar for quick access.
How To Record Mac Sound With QuickTime Player
QuickTime Player is another obvious choice when recording audio on a Mac. Unfortunately, that doesn't make it a good one. This popular player-slash-recorder has two clear advantages for Mac users: it's already on their computers and free to use. However, QuickTime Player has certain limitations that can complicate this process.
To begin with, QuickTime doesn't automatically record any sound. If you want to use it to capture external sound, you must manually enable the microphone. The situation is even more complex when it comes to capturing internal sounds. To do that, QuickTime requires a plugin that you'll have to download and configure before you can start recording sound.
We'll give you the necessary instructions for enabling both options, but be warned. It will take longer than it should, even though QuickTime doesn't let you edit sound. Follow the steps below to record audio on a Mac using QuickTime Player.
- Start with downloading and installing Soundflower, the plugin that will enable QuickTime Player to record sounds coming from your computer.

- Go to Finder > Applications > Utilities and select Audio MIDI Setup.

- Click on the + icon and select Create Multi-Output Device.

- In the device list on the right, check the box next to Soundflower (2ch) in the Use column and two boxes next to Built-in-Output in the Use and Drift Correction columns.

- Click the Settings icon at the bottom left corner and select Use this for Sound Output.
- Now, switch to QuickTime Player and open the File tab. Select New Audio Recording.

- In the recording widget, click Options and select Internal Microphone to start recording external audio.

- If you want to record system sounds as well, select Soundflower (2ch).

- Now, click on the red button to start recording.

- When you have everything you need on tape, click the Stop button.
- QuickTime Player will automatically save your recording to the Documents folder on your Mac. If you want to choose the location yourself, go to File > Save.

A word of warning: As mentioned above, QuickTime Player doesn't have any options for sound editing - you can't even adjust the volume after you finish recording. It also doesn't give you any control over the output format.
If you decide to record and export a multimedia file with both picture and sound, the only available format is MOV. Similarly, the only format for audio-only files is M4A.
How To Record Music on a Mac With GarageBand

GarageBand is a go-to music maker that you can use on any MacOS device for free. Beware: this is a huge software aimed at professionals and beginners alike, but it comes with a steep learning curve. GarageBand gives you many options for recording and editing music, including helpful presets for specific music genres and extensive keyboard and amp collections.
To record vocals on a Mac with GarageBand, you only need a quality external microphone for Mac. But if you want to create a song around your vocals or professionally edit your recording, you must master the software.
The good news is - whether it comes to playing an instrument or recording and editing sound, GarageBand makes learning easy.
In short, here's how to use GarageBand to record external voice on a Mac:
- Find GarageBand on your Mac or download it from the App Store.
- Launch the program. In the New Project menu, click on Voice.

- Click on Details to adjust the Tempo and other settings.
- Click on Input Device and select your microphone from the list.

- Click the Choose button in the bottom right corner of the window.
- Click the red button to start recording.

- Click the Stop button to stop recording.
- To save the recording to your Mac, click Share > Export Song to Disk.

- Name your file and pick a location, file format, and quality before you click Export.

Good to know: GarageBand makes it possible to record internal audio on your Mac computer, but only in collaboration with another MacOS software - Screenflow. Unfortunately, setting this up could feel like jumping through too many hoops, especially compared to other options from this list.
How To Record Mac Sound With Audacity
Audacity is a popular audio editing and recording app that you can use to record sound on a Mac. The best thing about this software is that it boasts premium features in an open-source package that anyone can download and use for free. The only catch is Audacity's clunky interface, which might take a lot of time and effort to navigate and get used to if you are a beginner.
Despite being complicated to use, Audacity is a good choice whether you want to capture external or internal sound. It includes a wide range of editing features, from simple tools for cutting, pasting, and smooth volume mixing to advanced effects like distortion, echo, and reverb.
Audacity lets you reduce background static, adjust tempo, reduce or isolate vocals, and more.
Below is a simplified guide for recording audio on a Mac with Audacity:
- Download Audacity for macOS and run the DMG file to install it.
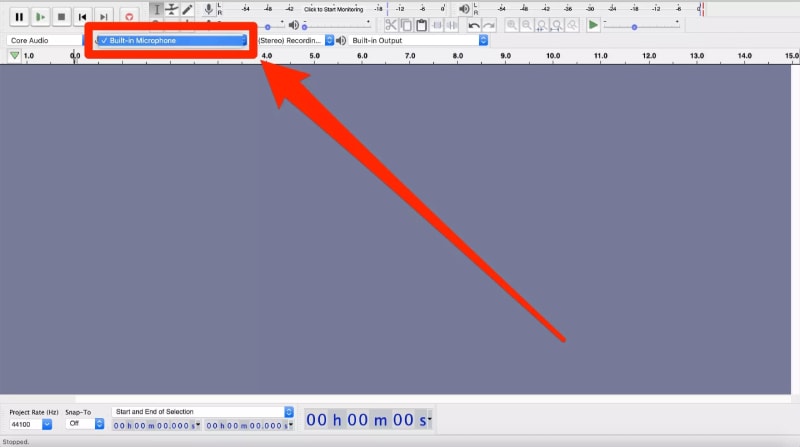
- Launch Audacity and click on the Recording Device tab.
- Click on the second drop-down menu (next to Core Audio) and select your microphone.
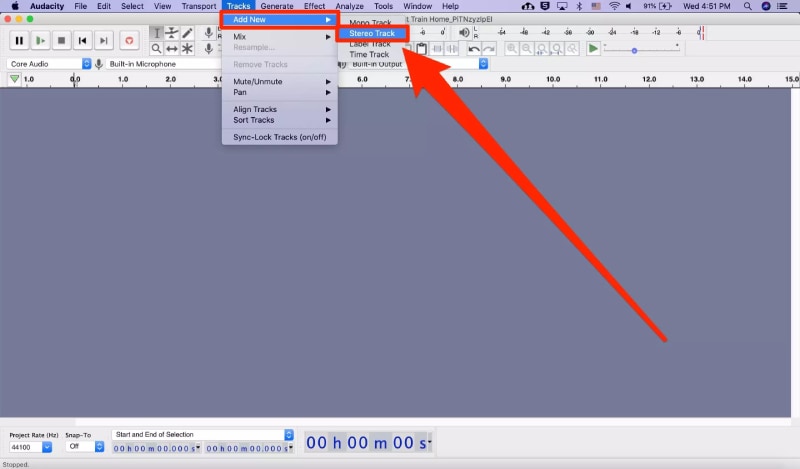
- Click on the Tracks tab in the top menu bar and select Add New.
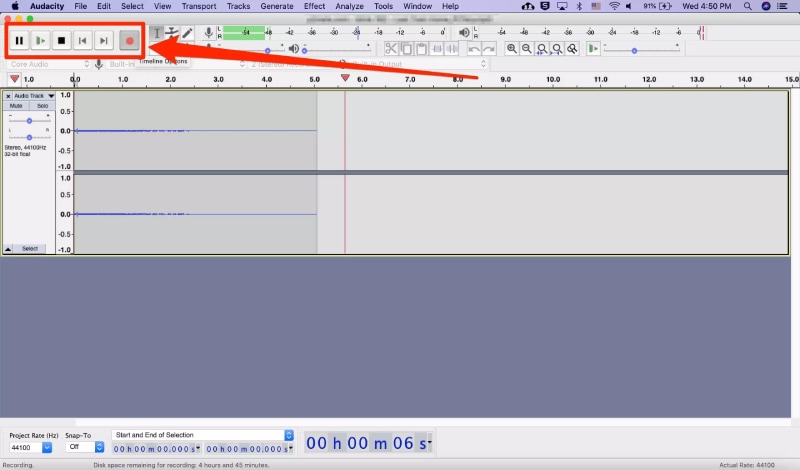
- To start recording external sound with Audacity, click the red button.
- When you are done, click on the Stop button at the top bar.
A word of caution: Even though Audacity has built-in desktop audio recording capabilities, they are not available to Mac users. In order to use this feature, you need to download, install, and configure Soundflower first.
How To Select the Right Mac Audio Recorder for You
As you can see, there are many different ways to record sound on Mac computers. So how do you choose the best one? It's a tricky decision because there's a lot to consider. You should consider what you need regarding capabilities, sound quality, and ease of use.
You still can't decide? We have prepared a quick questionnaire to help you out.
What sound do you need to record?
If you need to record your voice for a podcast, voiceover, or music, you need a solution to capture external sound. If you are creating online tutorials, videos, or business presentations, you need to be able to capture sound from your desktop as well (external audio).
Do you need to edit the sound, too?
Unless you are creating voice memos for yourself or your teammates, you will likely need to use editing tools to polish your recordings. Professional content creators rely on features like denoiser and speech enhancement, as well as background music and sound effects.
Do you need to record picture as well?
Most people who use sound recorders also need screen capture and webcam capabilities. Even musicians need video recording tools to create promotional content.
Do you want to make music on a Mac?
Audio recorders for Mac can be more or less complex. If you are a musician or you aspire to be one, you will need advanced recording and editing tools for sound engineers.
Hopefully, now you have a better understanding of various sound recording solutions for Mac and the different factors you need to take into account to make the right pick.
Conclusion
Do you have everything you need to decide which audio recorder for Mac to use? Let's sum it up once more. Suppose you want to record your voice quickly and share it with others. That means you need a simple tool for capturing external sounds, such as QuickTime, Voice Memos, and DemoAir. If you want to record vocals and make music, use GarageBand or Audacity.
Podcasters and other content creators often need to capture screen, webcam, and internal and external audio. If you belong to this group, don't forget about editing tools. The easiest and best way to record audio on a Mac for podcasts, gameplays, video tutorials, business presentations, and other types of multimedia content is with Wondershare DemoCreator.
FAQs About Audio Recording on Mac
-
Is there a built-in tool on Mac for recording audio?
Yes - you can record audio on a Mac using QuickTime Player. However, QuickTime can record only microphone sounds unless you download a MacOS plugin called Soundflower. Another built-in tool on a Mac that lets you capture and edit external sound is Voice Memos. -
How do I record digital audio on my Mac?
There are several ways to record digital audio on a Mac computer. Options range from simple audio recorders without editing tools, such as DemoAir and QuickTime Player, to comprehensive sound and video recorders with editing options like Wondershare DemoCreator. Music engineers can record and edit vocals using professional software like GarageBand and Audacity. -
Can I record my voice on Mac?
Yes. The easiest way to record your voice on a Mac is with the built-in tool called Voice Memos. The best online alternative is DemoAir. If you want to record your vocals for music, use sound engineering software like GarageBand or Audacity. The best voice recorder for MacOS for podcasts, gameplays, voiceovers, and other types of multimedia content is Wondershare DemoCreator. -
What is the best way to record audio on a Mac?
The best way to record audio on a Mac for online content is with Wondershare DemoCreator. If you need a quick tool for voice memos and messages, use a built-in Mac tool called Voice Memos or an online voice recorder called DemoAir. For professional music recording and editing options, use GarageBand or Audacity. -
How do I record and edit audio on my Mac?
You can record and edit audio on a Mac with Apple's native tool, Voice Memos. For additional editing options, such as voice changer and sound effects, use Wondershare DemoCreator. -
How do I record audio and video on my Mac?
The best way to record audio and video on your Mac is with Wondershare DemoCreator. It offers different modes for recording your screen, camera, gameplay, and video presentations, including awesome AI tools like avatar presenters, voice changers, subtitle generators, etc.


