

As a professional video editor, Premiere Pro offers features to rotate and flip videos as well. But we have received so many queries about how to rotate videos in Premiere Pro, are you also new to this and have no idea? Don't worry, we are going to help you solve the issue in this article.
Let's learn more about rotating and flipping videos before you start using the video editing software to achieve this purpose.
In this article
Part 1: Rotate VS Flip Videos
Do you know the exact difference between rotating and flipping videos? Let's keep you covered today.
Rotating a video involves the rotation of a video around its axis, or about a specified pivot point. This can be useful when a video was recorded, for example, in a vertical format while it should have been horizontal or even for creativity to add movement to a video.
However, flipping normally changes the orientation of a video by either horizontally or vertically flipping it. It can be applied to adjust the footage shot with a mirror effect.
Part 2: How to Rotate Videos in Premiere Pro?
- Import the Video: Switch on your computer and open Adobe Premiere Pro. Navigate to the File menu click on Import and then choose the video you would like to rotate.
- Drag the Video to the Timeline: To import the video into the timeline, drag the video file from the Project panel to the Timeline panel.

- Select the Video Clip: You need to click on the video in the timeline to highlight it.
- Open the Effect Controls Panel: If the Effect Controls are not visible, go to Window > Effect Controls to make the panel available.

- Adjust the Rotation: In the Effect Controls panel, you will see the Motion section of the Rotation option. Type the number of degrees by which the video has to be rotated (for example 90,180 or 270). If not, one may use the rotation wheel to adjust the angle of view by rotating it interactively.

- Preview and Export: The rotated video is ready for previewing in the Program panel. If satisfied with the result, to save your video go to File > Export > Media and choose the export settings you want then hit the Export button.
Part 3: How to Flip Videos in Premiere Pro?
Method 1: Flip the Whole Clip
In addition to rotating videos, you may also want one of those clips to face the other way to add a distinct ambiance to the overall design on some occasions. Here are the steps:
- Navigate to the Effects menu at the top of the window.
- Select the Transform tab.
- Go to the drop-down list and select either Horizontal Flip or Vertical Flip.

- Take whichever flip you want to use and place it on the clip by clicking and dragging the flip to the desired location.
- The flip effect can be applied of course immediately to the clip when you release the click. You can then use the viewer to playback the clip in question and see the impact a flip can bring about.
Method 2: Flip Part of a Clip
Do you know that you can also flip just part of a clip by using Premiere Pro? Let's know some details.
- You simply depress the C key on your keyboard to bring up the Razor tool.
- Right-click at the place on the clip that you would wish to begin flipping. Click again in the open area you wish the flip to occur.

- When applying the transition, select either Vertical Flip or Horizontal Flip in the Transform tab, as with flipping an entire clip.

- Now to apply the chosen Flip effect, simply drag it to the specific clip segment you have created.

- The part you selected should rotate within the blink of an eye. This will make it easier for you to view your project and ensure that the effect that you had in mind is properly achieved.
Part 4: Alternative to Premiere Pro: An Easier Way to Rotate/Flip Videos
Although we have made step-by-step guidance to rotate or flip videos in Premiere Pro, people may still feel it is quite complicated and would like an easier one-stop solution because Premiere Pro is designed for users with expertise after all. For individuals who are not interested in complicating their video editing tools with advanced features, Wondershare DemoCreator can be a good option to ease their process.
How to Rotate Videos with Wondershare DemoCreator?
If you need to rotate a video but aren't experienced with video editing, DemoCreator is an excellent choice. You don't need to manually adjust the orientation of the video, what you need to do is type in the degree you want to the software then it will present the result in real-time. Here is a quick guide:
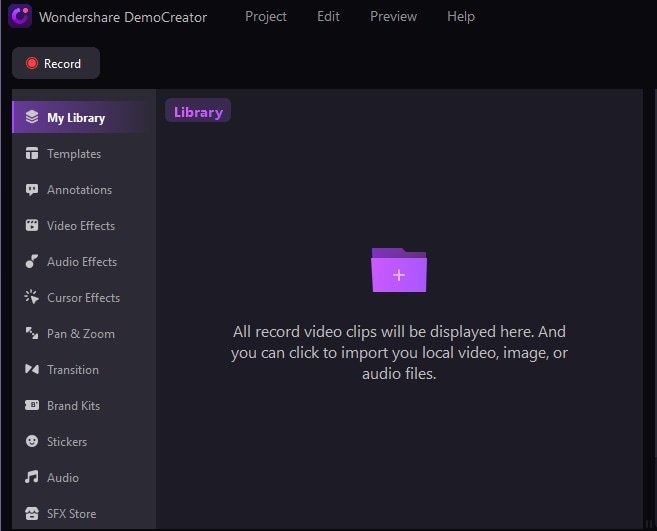
- Launch the Software and Import Media:
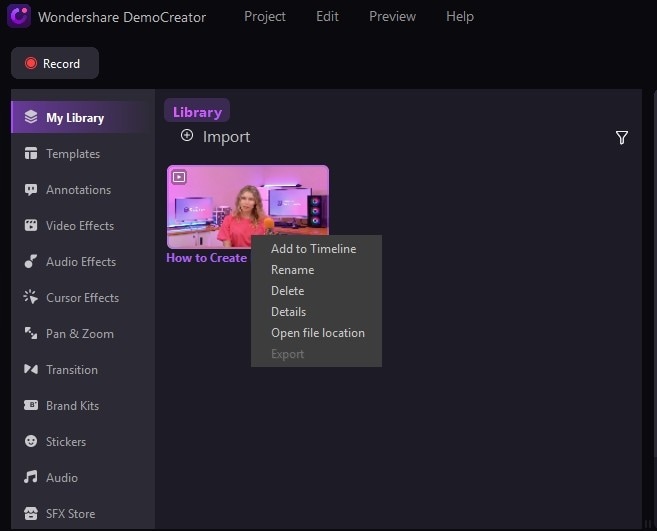
- Drag or add the videos to the timeline.
- Go to Video at the right sidebar next to Magic tools, then tap the "Transform" drop-down icon, and head to the "Rotate" section. Customize rotation degrees and positions.

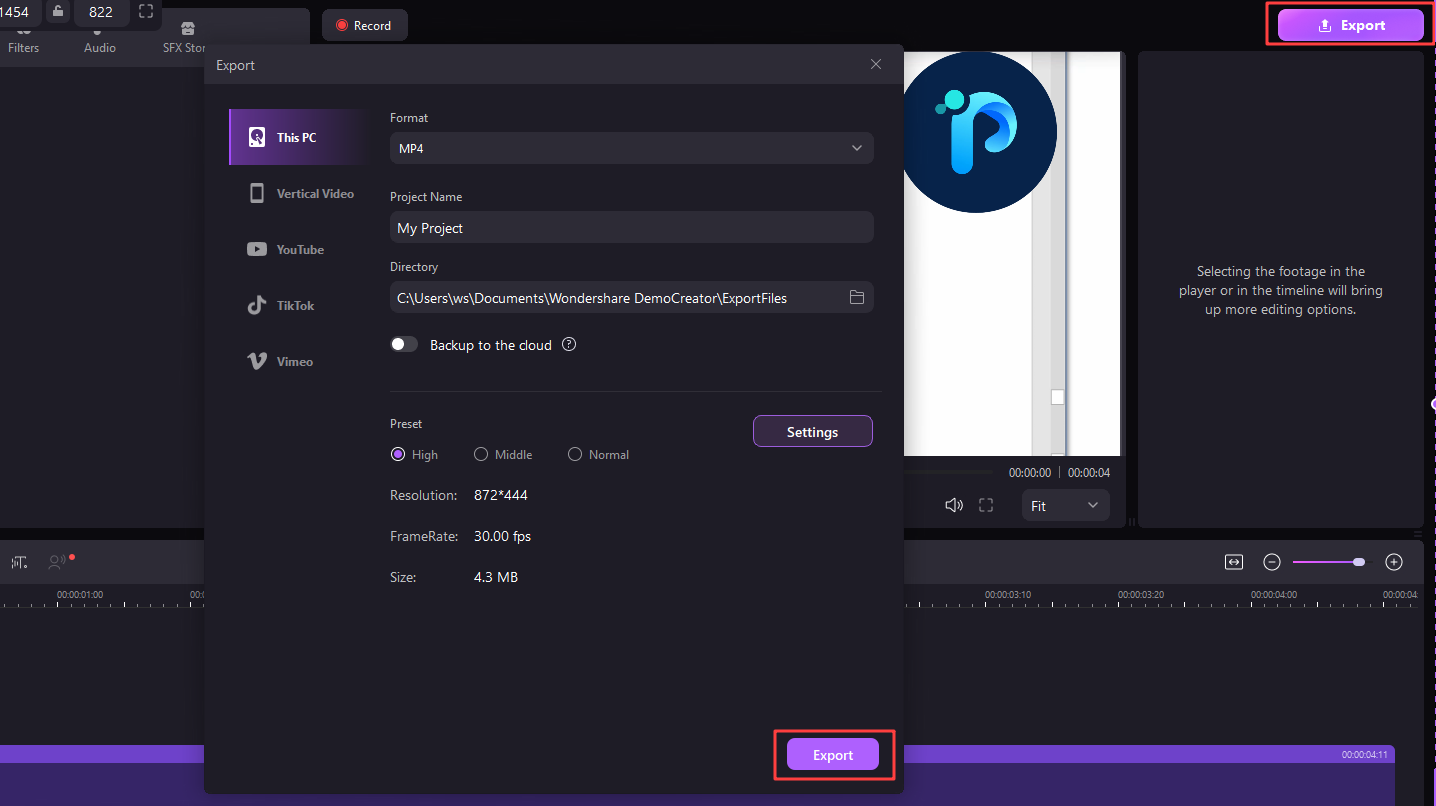
- If satisfied, export your rotated videos.
How to Flip/Mirror Videos in DemoCreator?
Wondershare DemoCreator offers horizontal mirroring, vertical mirroring, and even kaleidoscope effects, allowing you to add professional mirror effects to your videos effortlessly. Here are the steps:
- Follow the same steps to import, and drag the video to the timeline. Then go to Video Effects > Mirror > Apply it to the video.

- Choose to flip horizontally or vertically under Magic Tools at the right sidebar.

- Export your flipped video.
How easy is it! Right? Download Wondershare DemoCreator to Rotate your videos with ease now!
Part 5: Conclusion
We have discussed ways to rotate and flip videos in Adobe Premiere Pro. Whether you want to flip the whole video or just part of a clip, you can find the detailed guide in this article. However, if you are new to this and want a quick way to solve the urgent issue. Wondershare DemoCreator will best suit your needs it only takes three simple and quick steps.


