Premiere Pro is one of the best-known video editing tools. Today, we'll help you learn how to remove video backgrounds with or without a green screen in Premiere Pro.
Table of Content
How To Remove Green Screen Background in Premiere Pro
If you want to remove a green screen in Premiere Pro, here are the steps to follow:
- Start Adobe Premier, click on File, and click Import.

- Navigate to your video and double-click it.

- Click on File, click Import, find your background, and double-click it.

- Select your footage, right-click it, and select New Sequence From Clip.

- Grab your v1 layer and move it up to v2.

- Drag your background on the right until it matches the video's length.

- Navigate to the effects panel search and type "key." Grab the Ultra Key effect and drag it over your green screen footage.

- Select your background, locate the Ultra Key effect, click on the Key Color eyedropper, and select green.

- Right-click your video effects area and switch from Composite output to Alpha Channel.

- Click on Matte Generation and adjust the settings to ensure there's no noise on your video.

- Click on Matte Cleanup and adjust Choke and other settings.

- If a bit of green screen remains, click Spill Suppression and adjust settings until there's no green color.

- Go to the effects search and write "crop." Find the Crop effect and drag it over your video. Configure the settings until you're happy with the results.

- Click Export on the menu bar, adjust export configurations, and click Export.
How To Remove the Background in Premiere Pro Without Green Screen
If you don't have a green screen on your video but want to remove or change the background, you can also do this using Adobe Premiere. The process is a bit different, but it works effectively. Here are the steps to follow:
- Launch Adobe Premier, click File and Import to add your video and background.

- Move the video to the v2 layer, and drag the background to the right until it aligns with the video.

- Select your video and search "crop" in the effects panel. Double-click the Crop effect or drag it over your video. Add the desired values to cut out any excessive area in the background.

- Search for "ultra" in the effects panel and double-click the Ultra Key effect.

- Select the eyedropper icon and click on the color around your video.

- Change the output to Alpha Channel.

- Adjust Matte Generation, Matte Cleanup, and Spill Suppression until you get satisfying results.

- Click on Export, set everything up, and click Export again.

Things to Know When Removing Video Background in Premiere Pro
Here are some important considerations before removing a background from a video using Premiere Pro:
Use a Quality Video

Even though Premiere Pro is a very capable video editing tool, it can't compensate for the lack of video quality. In other words, if the video quality is poor, so will the background removal results. Quality videos have clear distinctions between backgrounds and subjects. They also have good frame rates, making removing backgrounds with natural results easy.
Keep Lighting Consistent
Make sure the lighting in the background and on the subject are consistent. Frequent lighting changes can make your videos chaotic. More importantly, it can make it difficult to separate the background from the subject and create clean backgrounds.
Background Complexity Plays an Important Role

Removing the background without ghosting can be difficult if the video has many fine details, shadows, gradients, changing lights, and other complex elements. That's why editing your videos before removing the background is essential for the best results.
Remove the Background Can Improve Your Video
If you have second thoughts about removing and replacing the background in your video, you should know that doing this can help in several ways. Removing the background can make videos more appealing, help boost distractions, improve branding, and make your videos more engaging.
A Simpler Premiere Pro Alternative for Removing Video Background With AI
Even though Adobe Premier is a staple name in video editing and offers many functions, it comes with a hefty price tag. Many video editing tools have also caught up with Adobe Premiere Pro and even surpassed some of its features.
Most importantly, these tools aren't that expensive and can do a great job. In Wondershare DemoCreator's case, removing video backgrounds is even simpler since this tool uses intelligent AI to remove the background automatically.
- Automatically remove video background with or without a green screen.
- Blend subjects into new backgrounds effortlessly using adjustable edge and feathering options.
- Enhance content with dynamic background blur for captivating visuals.
- Customize video backgrounds with 10+ templates or create unique custom designs.

Here is how to use the Premiere Pro alternative to remove a video background without green screen:
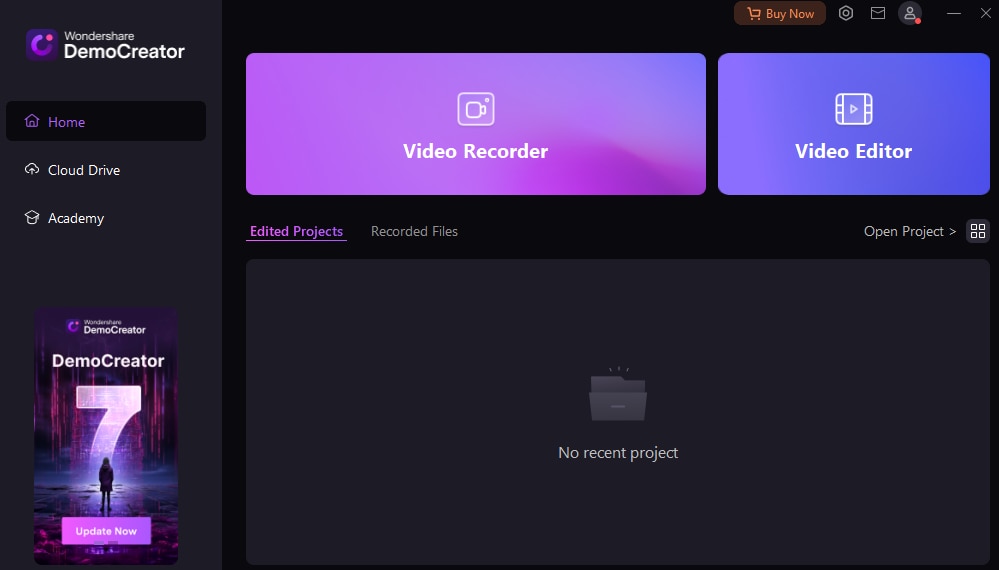
- Start DemoCreator, and in the opening window, click Video Editor.

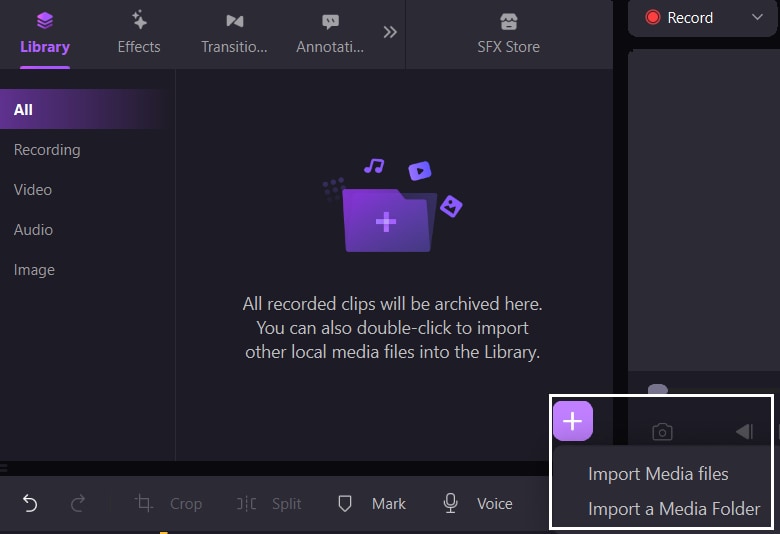
- Click the + icon and select Import Media Files. Navigate to the video you want to edit and import. Drag the imported video to the timeline.

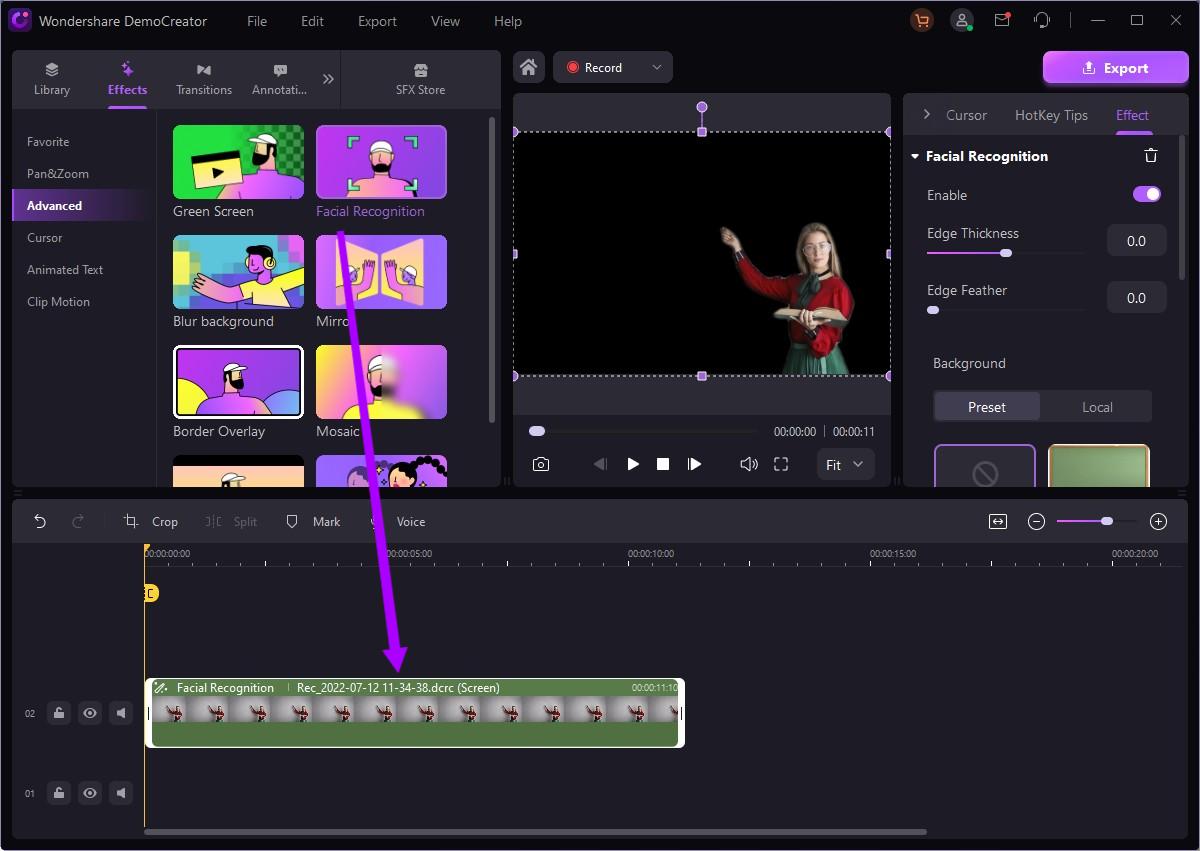
- Click on Effects and Advanced. Select the AI Recognition effect and drag it over the video onto the video.

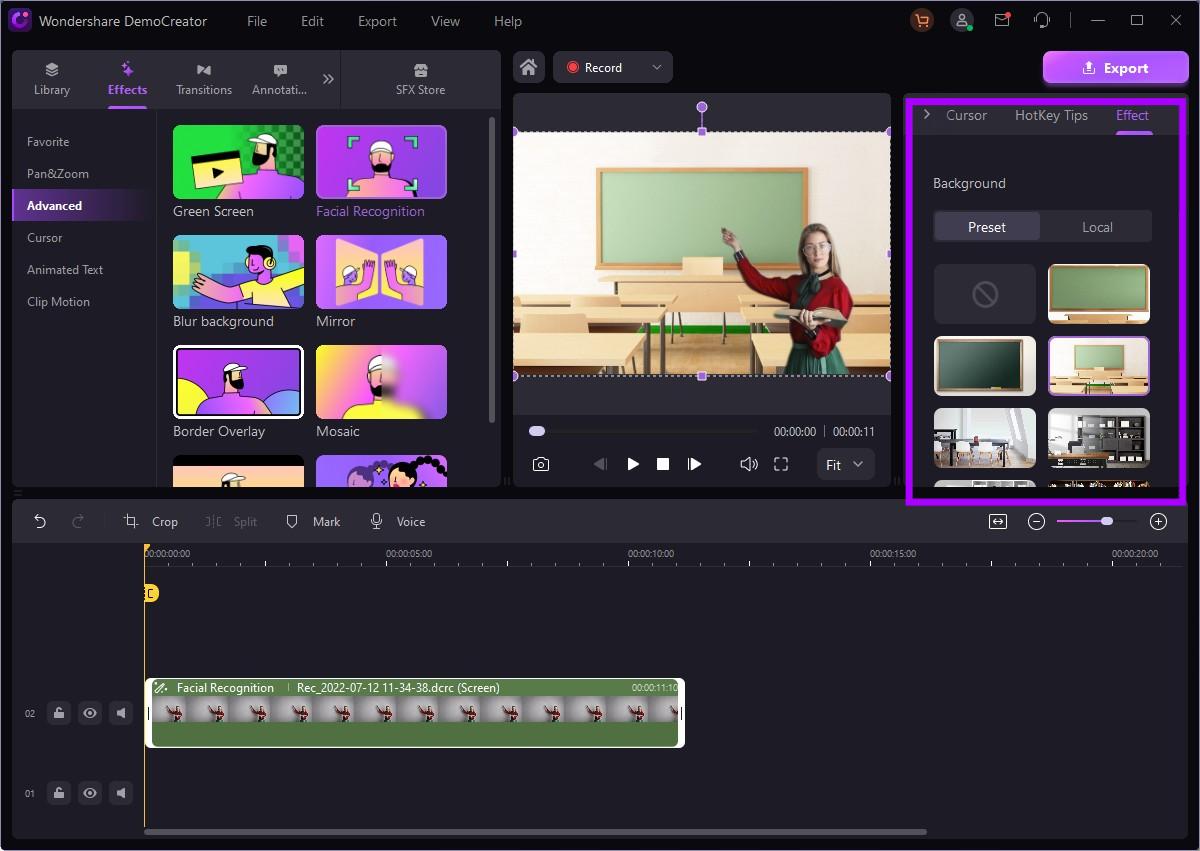
- The program will remove the background from your video automatically. You can add a new background or export it directly according your needs.

You can also easily remove the green screen from a video using Democreator:
Conclusion
This post has helped you understand how to remove background from a video in Premiere Pro with and without a green screen. Take the time to go through the steps carefully and follow them accurately to get the desired results.
If Adobe Premiere Pro is too complicated, consider using Wondershare DemoCreator. It has a far simpler process for removing backgrounds from videos and doesn't require any manual cropping, trimming, or color adjustments.
FAQs
-
Can I remove black or white backgrounds in Premiere Pro?
Yes, of course. You can remove black or white backgrounds in Adobe Premiere Pro using several different techniques. The most popular method is to use the Ultra Key effect, which lets you remove a specific color range. It's an especially useful feature when working with black and white. -
Which tools can I use in Premiere Pro to remove the background?
Adobe Premiere Pro has multiple tools that can be used to remove the background. Some tools for removing background are Ultra Key, Masking, Opacity Mask, Track Matte Key, Color Key, Garbage Matte, and Blend Models. Each of them offers different advantages and disadvantages when removing background. -
Can I remove a video background in Premiere Pro while maintaining quality?
Yes, removing the video background in Premiere Pro while maintaining the video quality is possible. However, there are certain things you need to do to ensure this level of quality. First of all, use high-resolution videos to remove the background. Create consistent and clean backgrounds and carefully adjust keying settings to get the possible transition and remove all the irregularities and transitions between subjects and the background. -
How do I change a video background in Premiere Pro?
You can use several methods to remove the background in Premiere Pro. One of the most straightforward approaches is to use the Ultra Key effect:- Start by importing your image and a new background.
- Apply the Ultra Key effect, key out the background, adjust the scale, change the position, and fine-tune your keying.
- Once you've done that, export the video with its new background.


