
For a long time, Instagram limited IG story videos to 15 seconds and video posts to one minute. While that's no longer the case, learning how to trim a video on Instagram remains valuable, as you may want to trim some unnecessary parts from your videos. So, how do you trim a video on Instagram?
That depends on whether you want to create a regular post or an IG story. This guide aims to answer that question and show you how to trim a video on an Instagram story and for regular posts that last longer than 24 hours.
In this article
Can You Trim a Video on Instagram Directly?
When trimming a video for Instagram, the most obvious choice is to use the Instagram app directly. Of course, you can do this, as Instagram has a decent built-in video trimmer with which you can cut the unnecessary parts of your video from the beginning or the end of the clip.
While effortless to use, Instagram's integrated video trimmer isn't the most precise tool for trimming videos for Instagram. Nonetheless, it's not impossible, and in this article, we'll show you steps to trim a video for an IG story in the Instagram app.
How to Trim Videos for Instagram Stories?
- Launch the Instagram app on your smartphone and tap the Plus button.
- Select a recorded video from your gallery and tap Next or tap the Camera button to record a new one.
- Once the video is loaded, press the Edit video button in the bottom left corner. Alternatively, swipe up to access the editing tools.

- Tap the Scissors icon or the Edit button in the bottom left corner again.

- Trim a video for an Instagram story or post.

- Instead of tapping the Blue Arrow button at the top right, click the Back button at the top left.
- Click the Download icon to save the trimmed video for an IG story later.

- Then, head to Instagram's home page and swipe from the left to access the story menu.
- Click the Gallery icon at the bottom left to see your trimmed video for IG stories.
5 Alternative Methods to Trim Videos for Instagram
Sometimes, the basic cropping or trimming features on Instagram cannot meet all requirements. They may also look for alternatives to precisely trim or make further edits. Here, we will provide many alternative solutions.
Our Best Pick: Using Wondershare DemoCreator to Trim Videos for Instagram
Trying to find another way to trim a long video into several different clips for instagram? Let's try a desktop video editing app that offers much more convenience, editing features, and precision, allowing you to trim videos for Instagram seamlessly.
Wondershare DemoCreator is one such application since this tool was created with beginners in mind. Its user-friendly interface is a breeze on Windows and macOS, even if you're a complete video editing and trimming novice.
Trimming videos for IG stories and posts with DemoCreator is a piece of cake. Here's how you can do it:
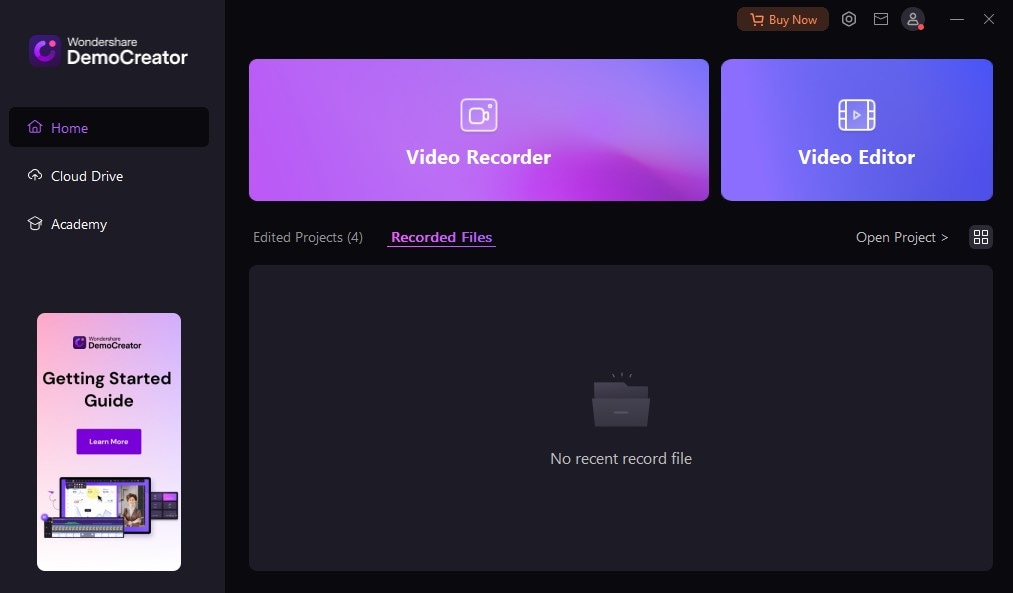
- Launch the DemoCreator app on your computer and tap on Video Editor.
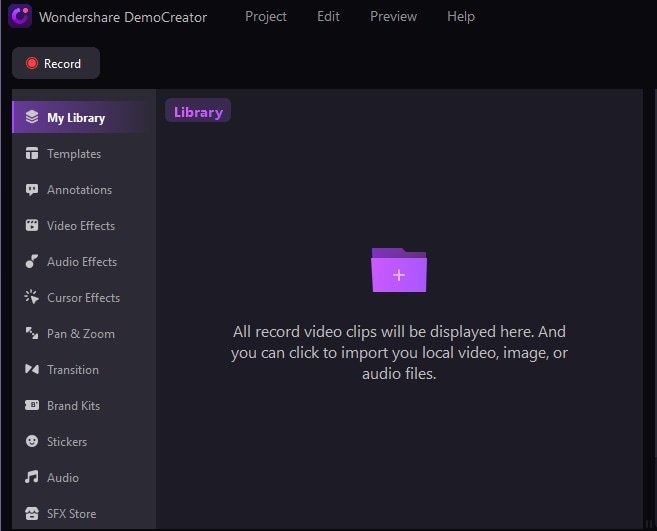
- Once inside the Video Editor, double-click the Media Library icon to import your video.
- Drag and drop the video from the Media Library into DemoCreator's Timeline below.
- Trim the video by moving the sliders in the Timeline. And you can split many times if you require.

- When you're done trimming, tap the Export button in the top right, adjust your settings, and click Export again to save the trimmed video for Instagram.
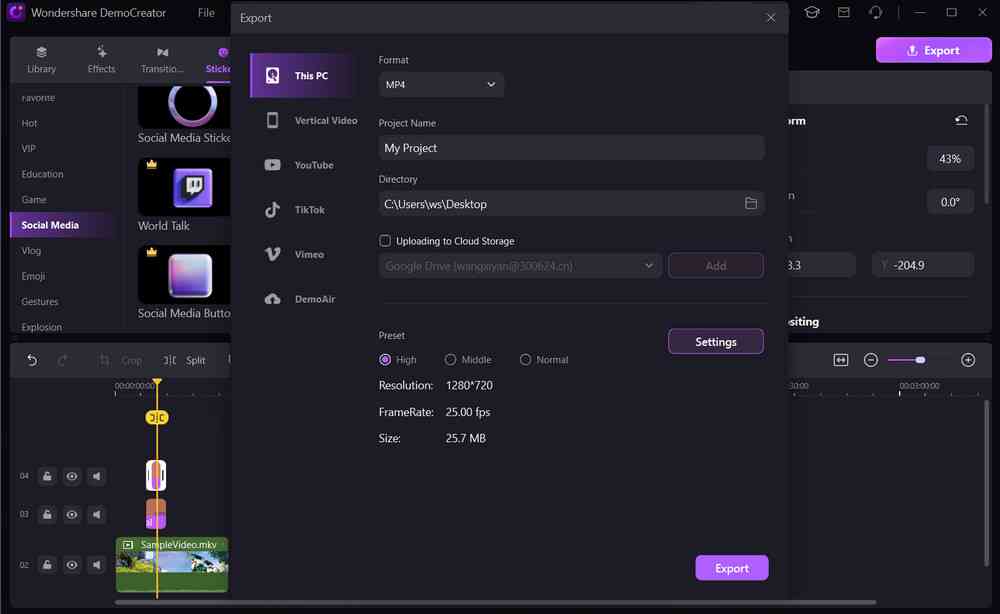
DemoCreator's Export feature lets you adjust the Aspect Ratio to fit Instagram's 1:1 standards. You can also change the export format to 11 different video file formats or adjust the preset to increase or decrease the exported video's quality.
How do you Trim a Video for Instagram Using AI-powered Software?
Do you think it is a little bit time-consuming to trim a video for Instagram manually? If so, we also compiled a solution so you can use AI to automatically produce the highlights of the video, that's where an app like Wondershare Filmora comes in. It works great on trimming long videos.
In addition to that, it offers a more comprehensive range of editing features such as keyframing, speed ramping, text-based editing, AI music generator, etc. Also, it has a wide collection of video effects, a music library, and stickers stock so you can easily add fun to your trimmed videos for instagram.
Here's what you'll need to do:
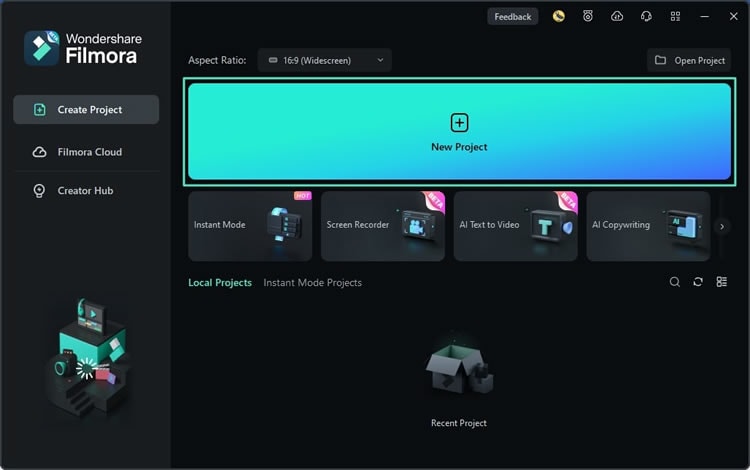
- Launch Wondershare Filmora on your PC or Mac and tap the New Project button.
- Once inside the comprehensive Filmora video editor, tap the Import button to add your video.

- Drag and drop the clip from Filmora's Import section into the app's Timeline below.

- Click on Export > toggle on Auto highlight, and you can customize the duration, then it will automatically generate the highlight part from your video.

Alternatively, it also offers Mark-in and mark-out features to help you quickly split or trim the videos for Instagram.
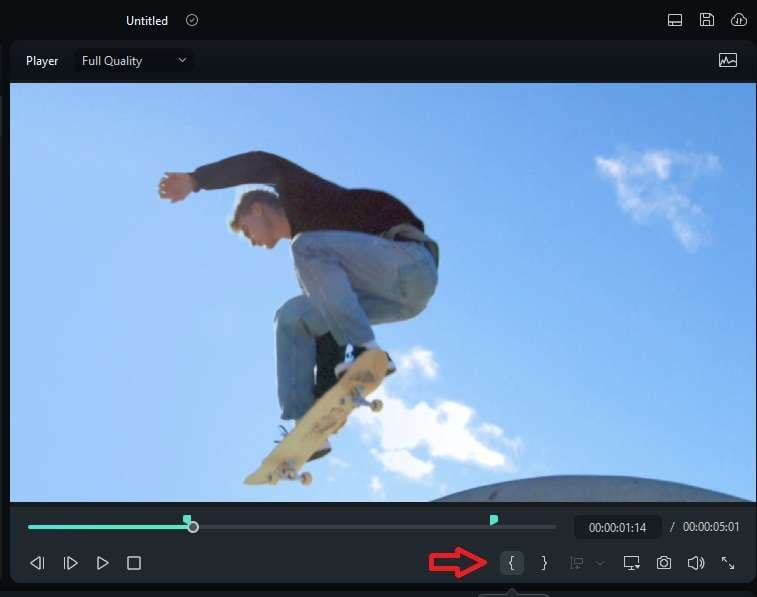
After dragging the video to the timeline, tap Filmora's In Point and Out Point buttons to trim the video in the app's Player panel.
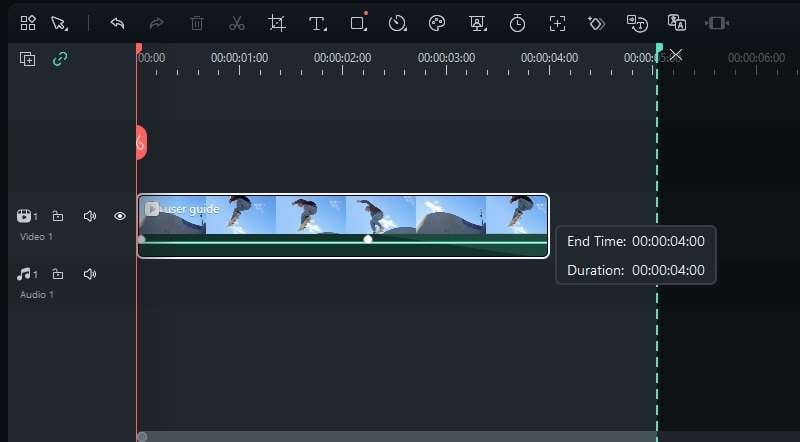
Additionally, use the Trim (Split) button above Filmora's Timeline panel and drag the edge of your clip forward or backward to trim videos for Instagram.
Filmora's extensive collection of editing tools ranges from the essentials like trimming and cutting to professional edits like transitions and effects, making it indispensable for more than just Instagram edits. The app can also be a complete all-in-one editing studio for other intents and purposes.
How to Trim a Video for Instagram with an Android App
Suppose you don't have access to a desktop PC or can't use Windows or macOS video editing apps. In that case, you can trim videos for Instagram on your smartphone. For Android users, the Wondershare Filmora AI Video Editor and Maker is an excellent choice, and here's how you can use it:
- Find Filmora on the Google Play Store and download it.
- Launch the app on your Android phone and tap the Plus button at the bottom center.

- Choose a clip and hit Import.
- Tap the Trim button in the bottom left corner.

- Move the clip's beginning and end sliders to achieve the desired length. You can also zoom in on the Timeline for more precise trimming.

- Once done, tap the Export button in the top right corner to save the trimmed video for Instagram posts or stories.

While at it, you can also try Filmora's fantastic AI-powered features like AI Auto Cut, AI Remover, Dynamic Captions, and more.
How to Trim a Video for Instagram With an iPhone App
On the iOS side, the Crop Video: for Insta Size app can be a fantastic choice for iPhones and iPads. Like Filmora for Android, Crop Video for iOS has a simple user interface that even beginners can easily navigate. Nonetheless, we've also included a step-by-step guide for it, so here's what you'll need to do to trim videos for Instagram with the Crop Video app:
- Download Crop Video from the App Store and install it on your iPhone or iPad.
- Open the Crop Video app and import a video you want to trim for Instagram.
- Find the Trim & Cut button in the bottom right corner of the app's screen and tap it.

- Choose the Trim option on top of the screen and trim videos for Instagram.

- When satisfied with the results, click the Done button above the video's timeline.
- Finally, tap the Export button at the top and save the trimmed video to your iPhone.
The Crop Video app for iOS also has integrated sharing features, so you can immediately share the trimmed videos on Instagram, Facebook, YouTube, or email.
How to Trim a Video for Instagram Online?
For those who'd like to avoid downloading and installing any apps on any platform, you can try the 123apps Instagram Video Cutter. It is a free tool to trim videos for Instagram, but you should know that it does contain some ads that will pop up while using this tool, which is normal for free tools like this.
Here's what you'll need to do:
- Head to the official website of the 123apps online Instagram Video Cutter.
- Click Open File to upload your videos.

- Adjust the duration of the video or directly type in the number value to trim videos.

- Once you finish that, click Save to encode, and finally, click Save again to download the video.

Conclusion
In this article, we have discussed different ways to trim videos for Instagram.
Due to these restrictions and a lack of basic story editing features, most Instagram users prefer third-party video editing tools. For desktop users, DemoCreator's beginner-friendly Video Editor is undoubtedly the top choice, providing precise movements and effortless trimming. In this article, we also discussed solutions that are available for other devices. Hopefully, you can find one that will solve your issue.


